Project Overview
This project is a web-based real-time chat application that allows users to communicate with each other instantly.
Users can send and receive messages in real time, making the communication fast and interactive. The application is designed to simulate basic messaging platforms.
It is typically built using React for the frontend and Node.js with Socket.IO for real-time communication.
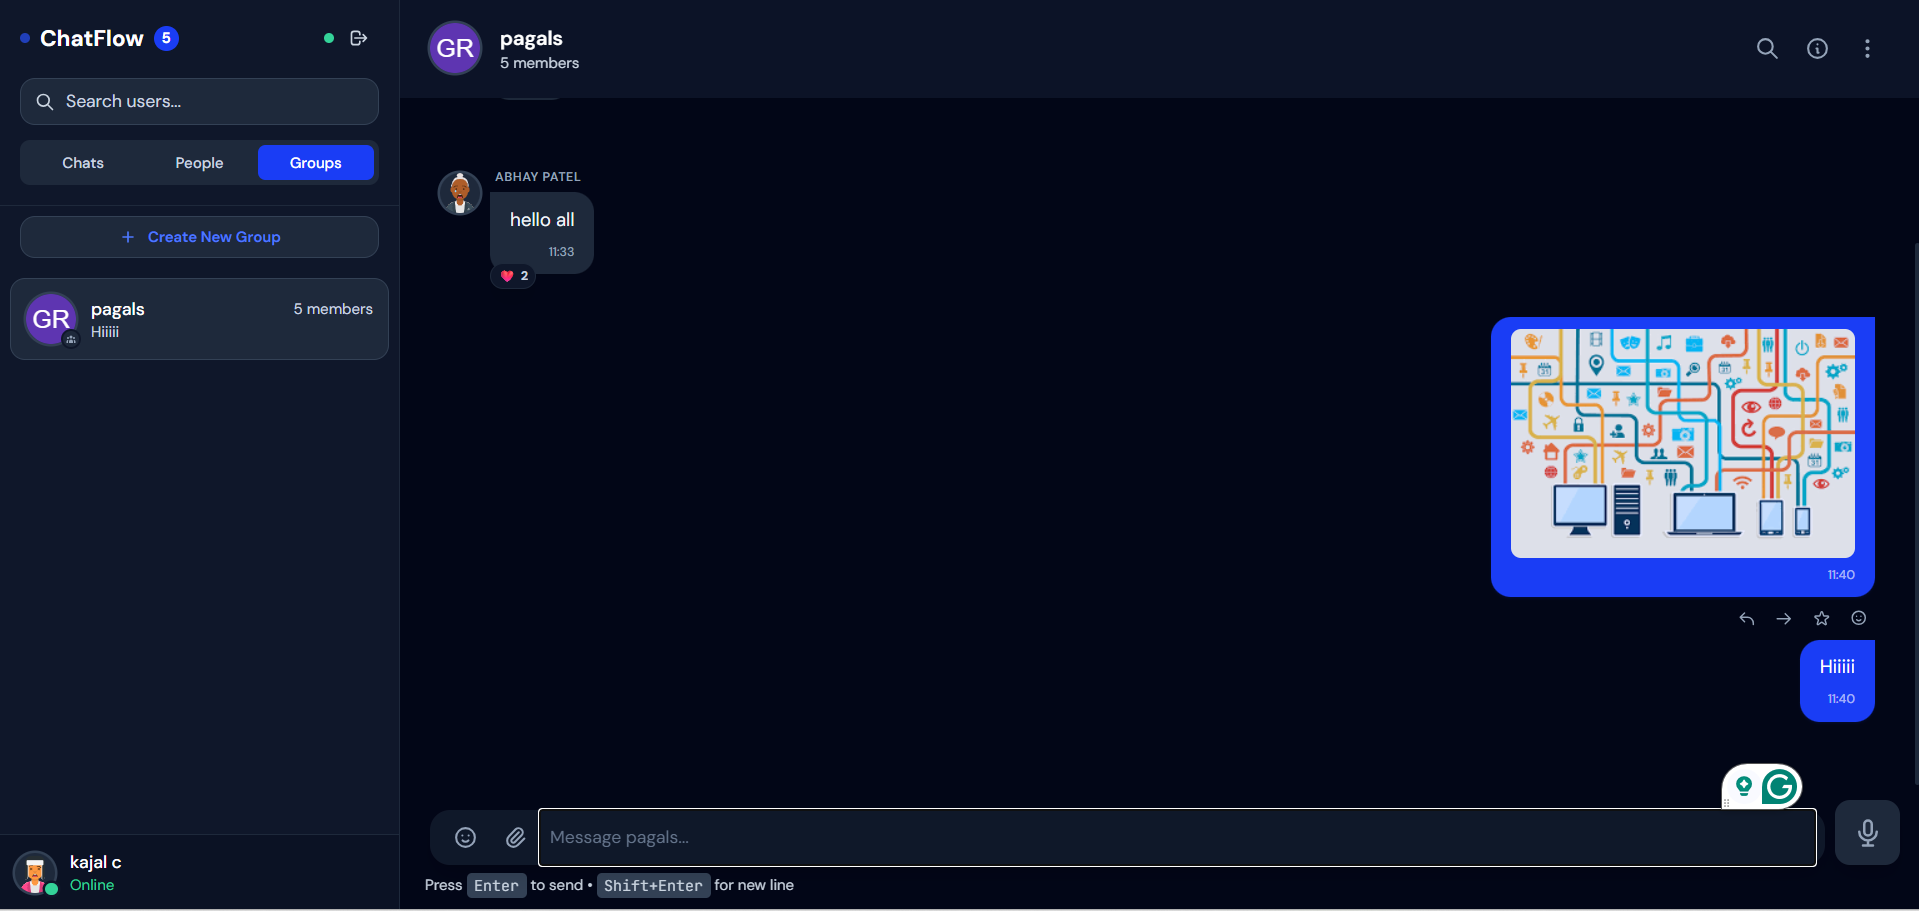
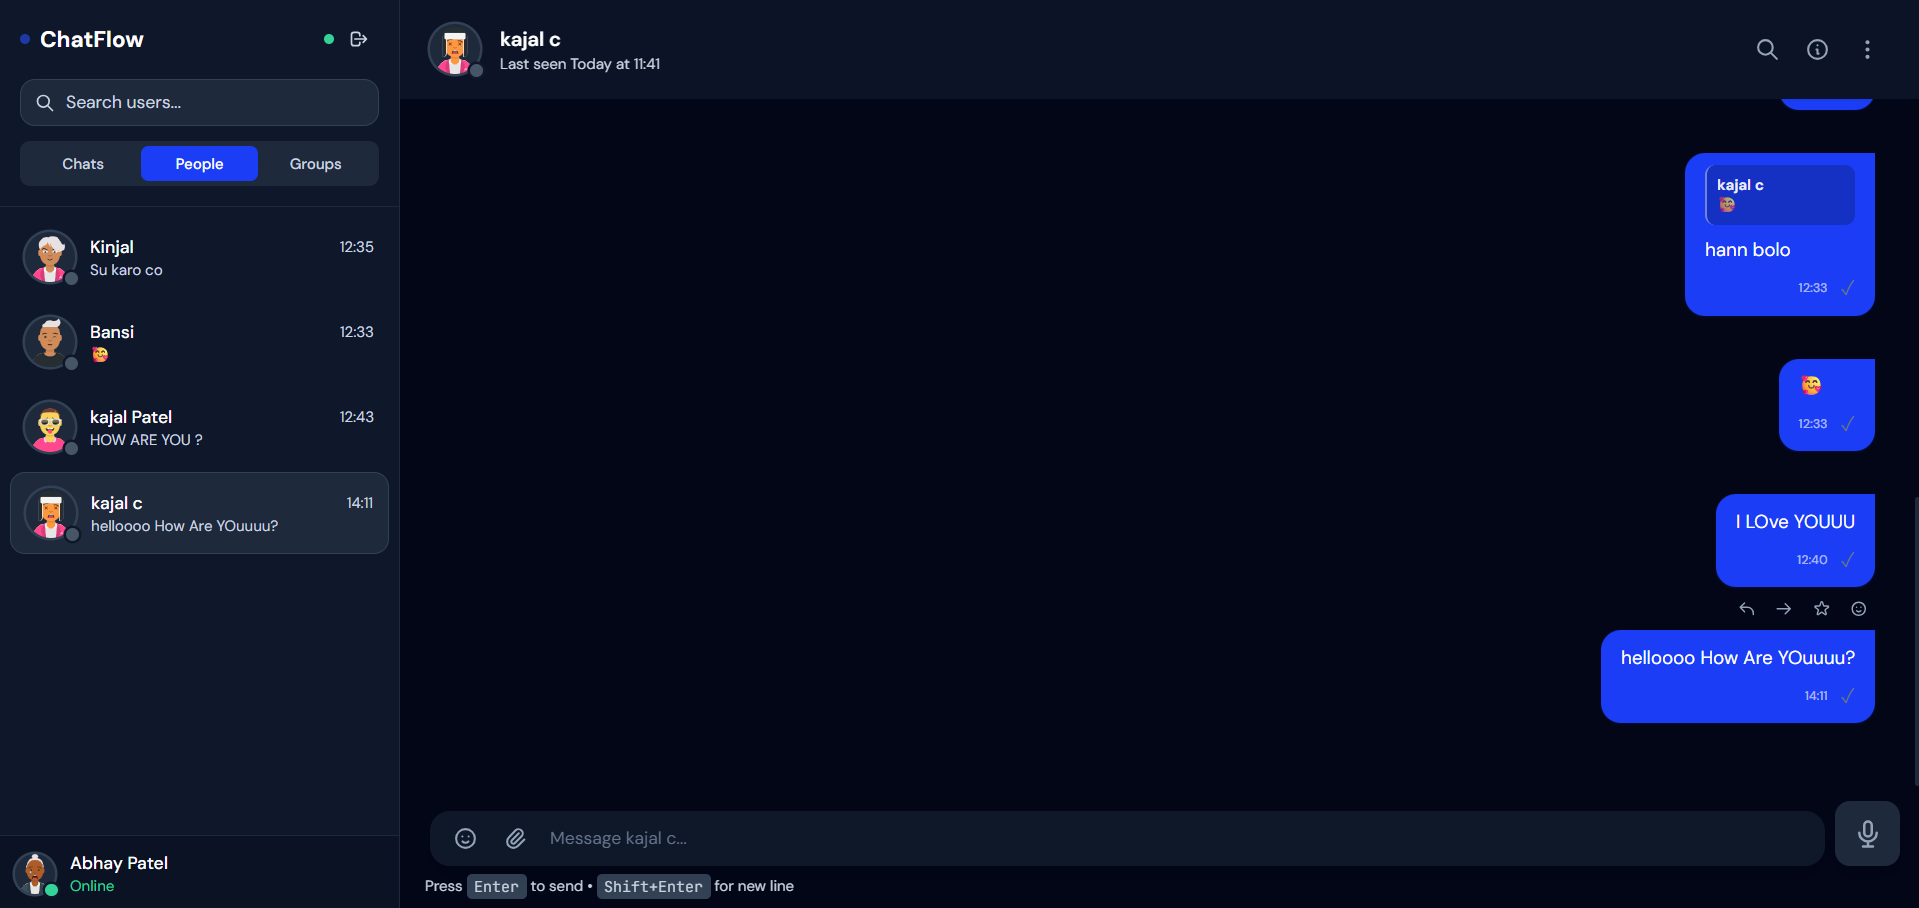
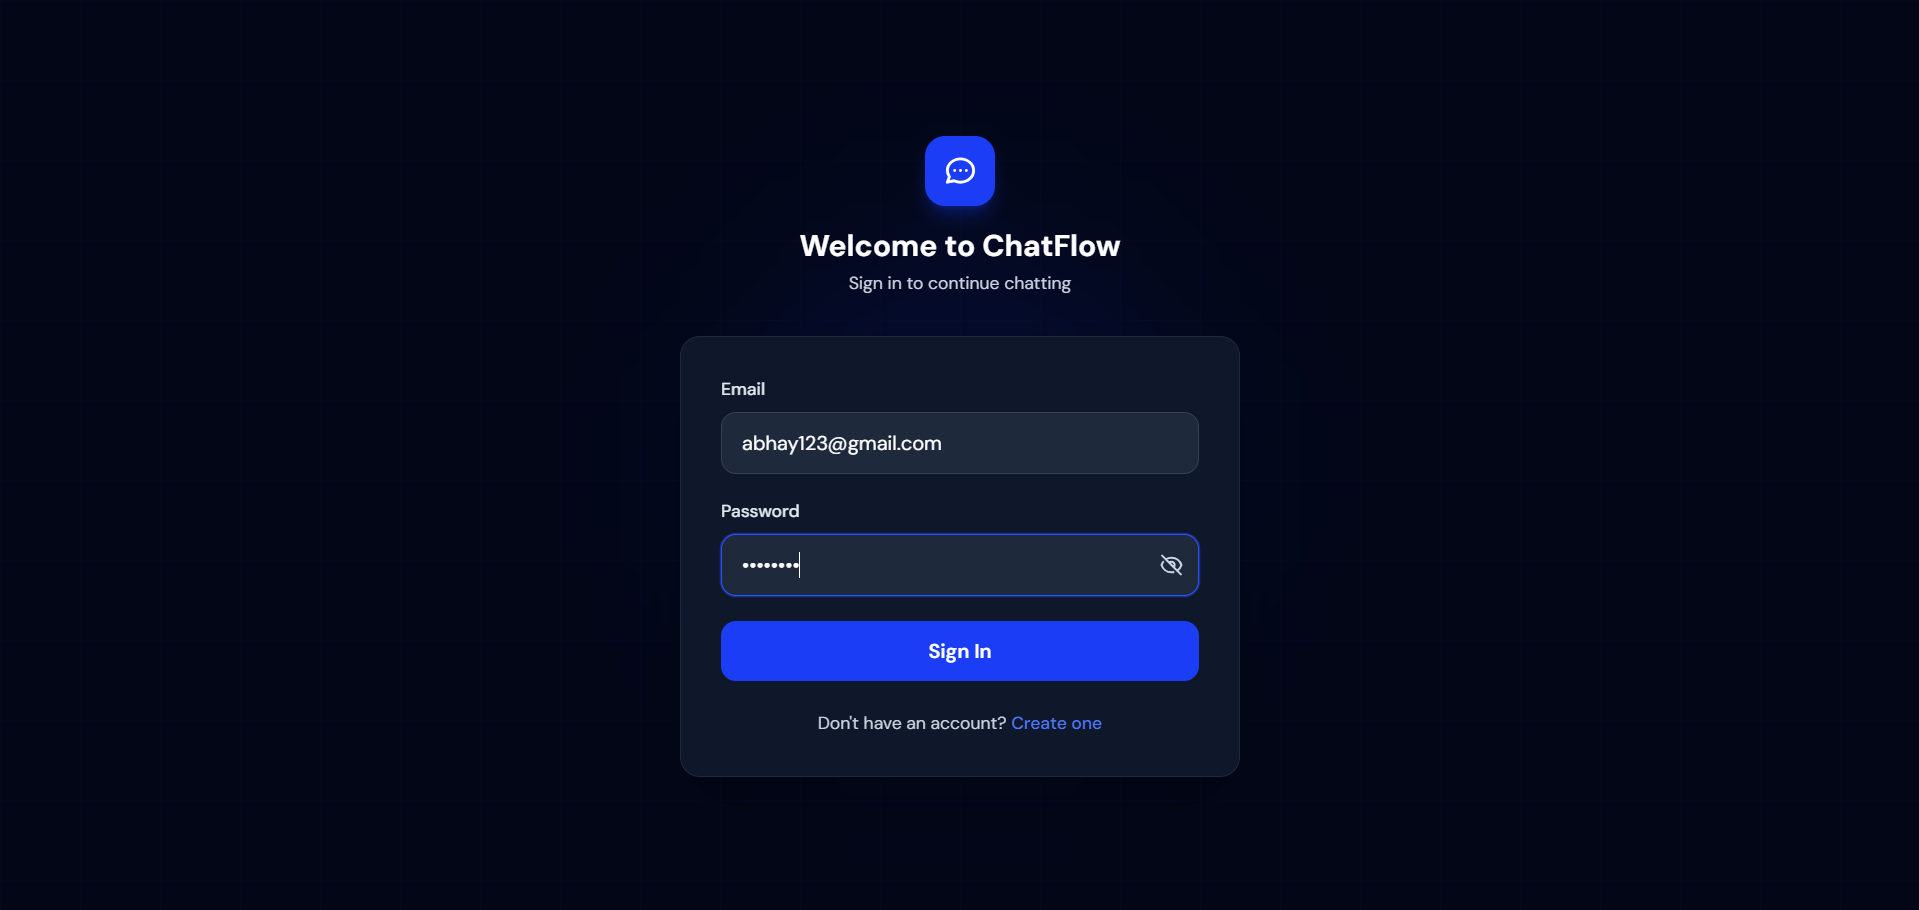
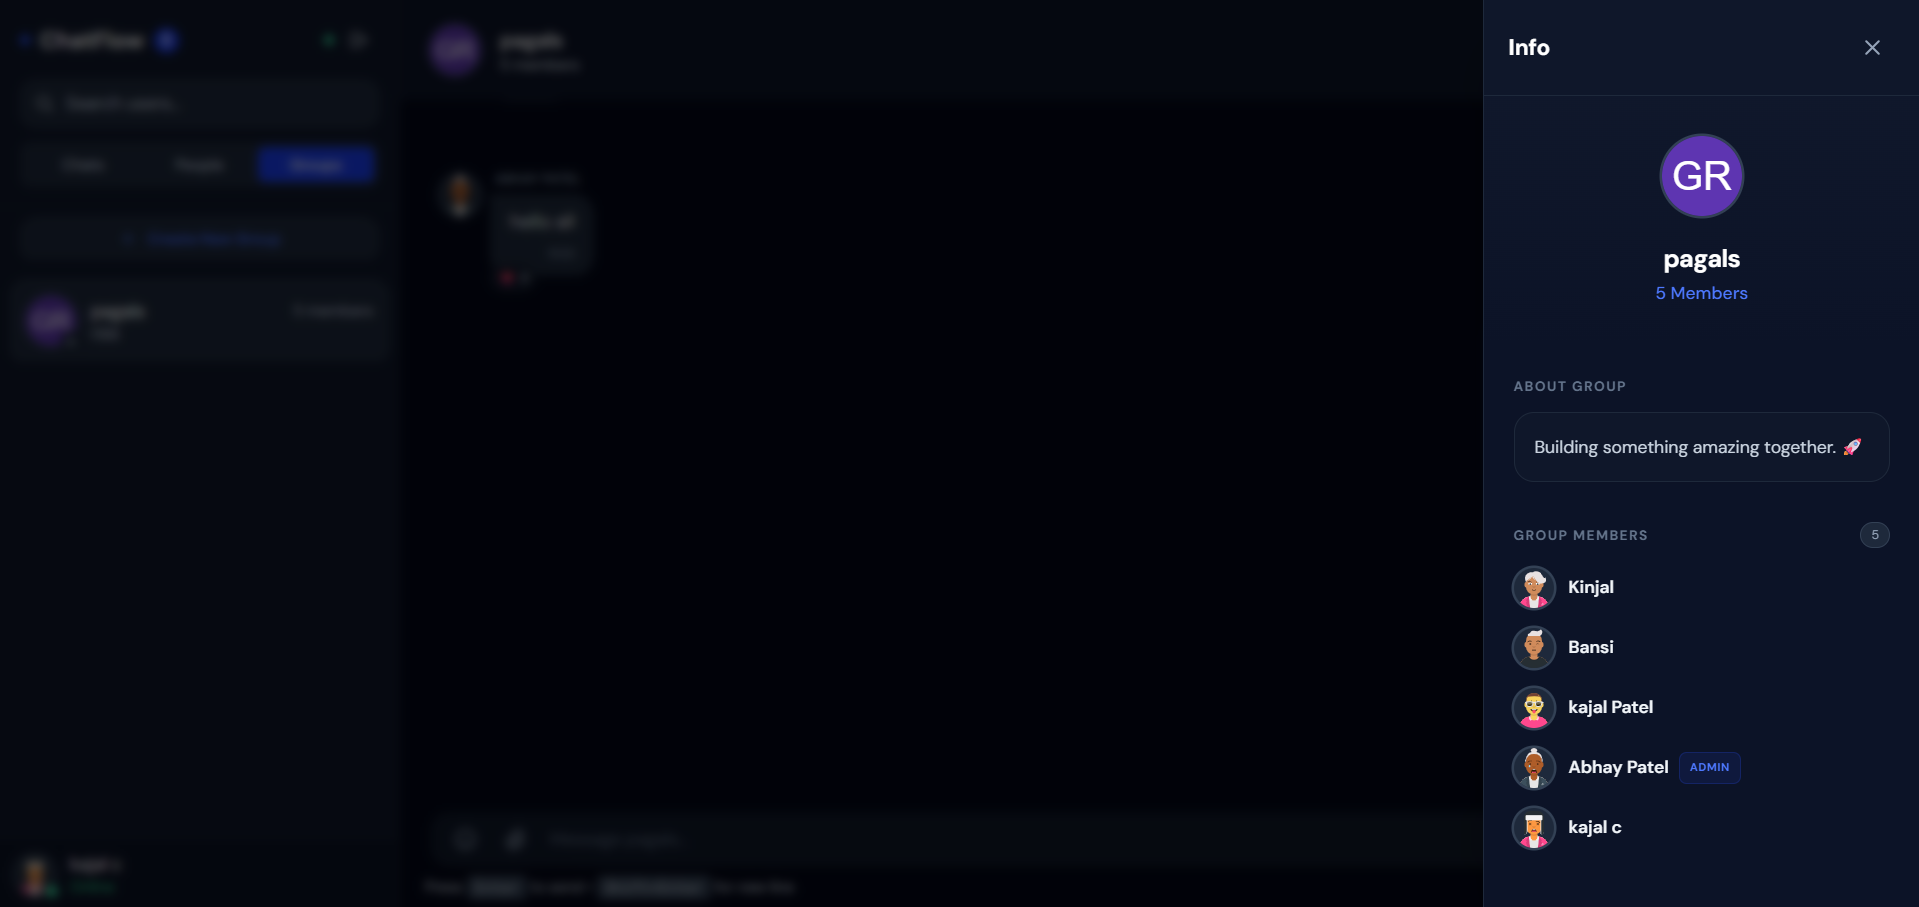
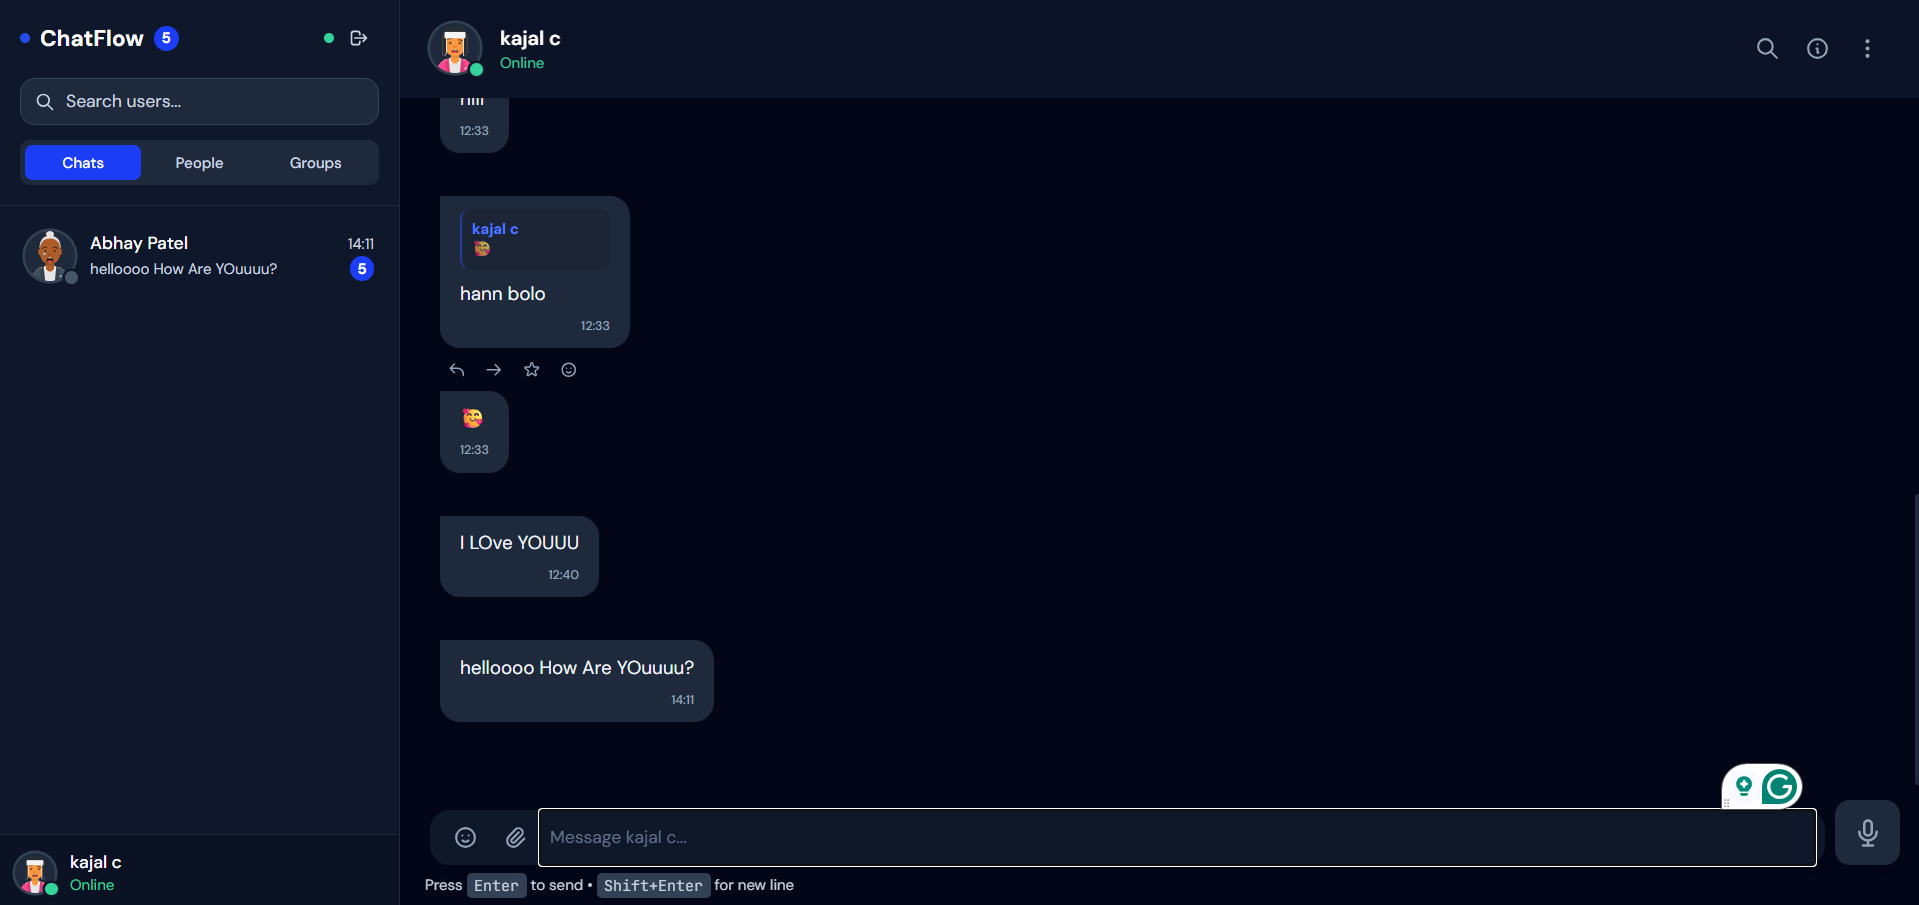
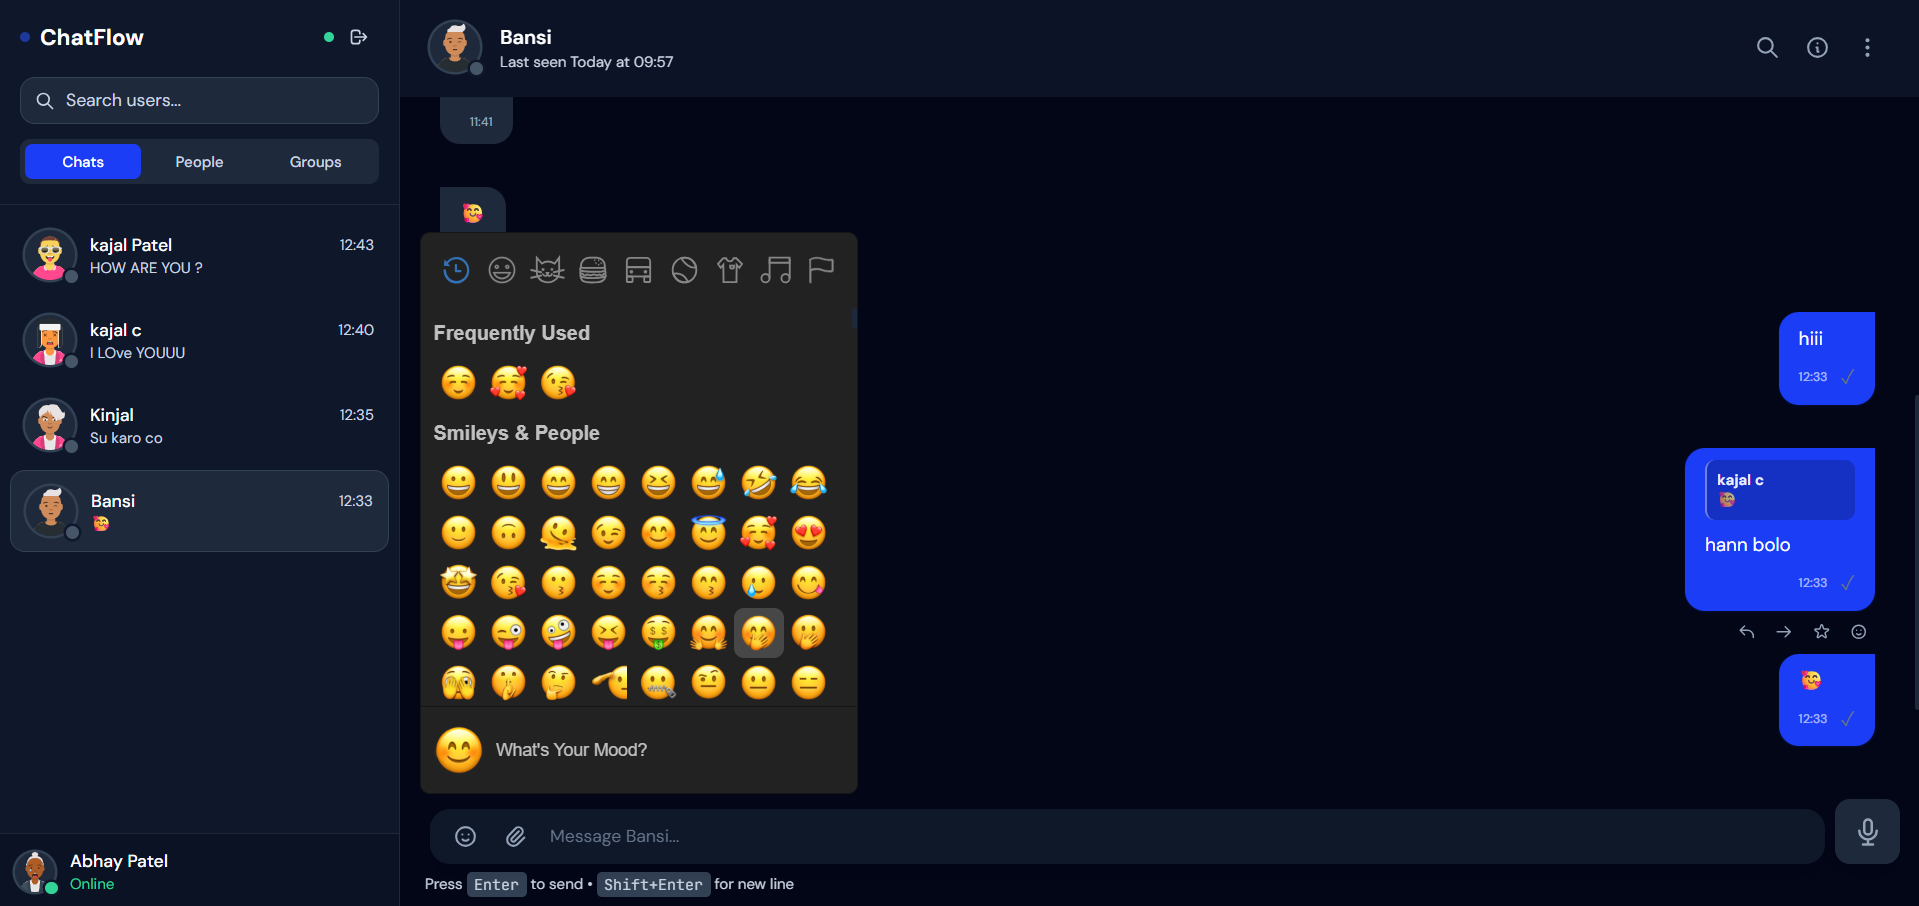
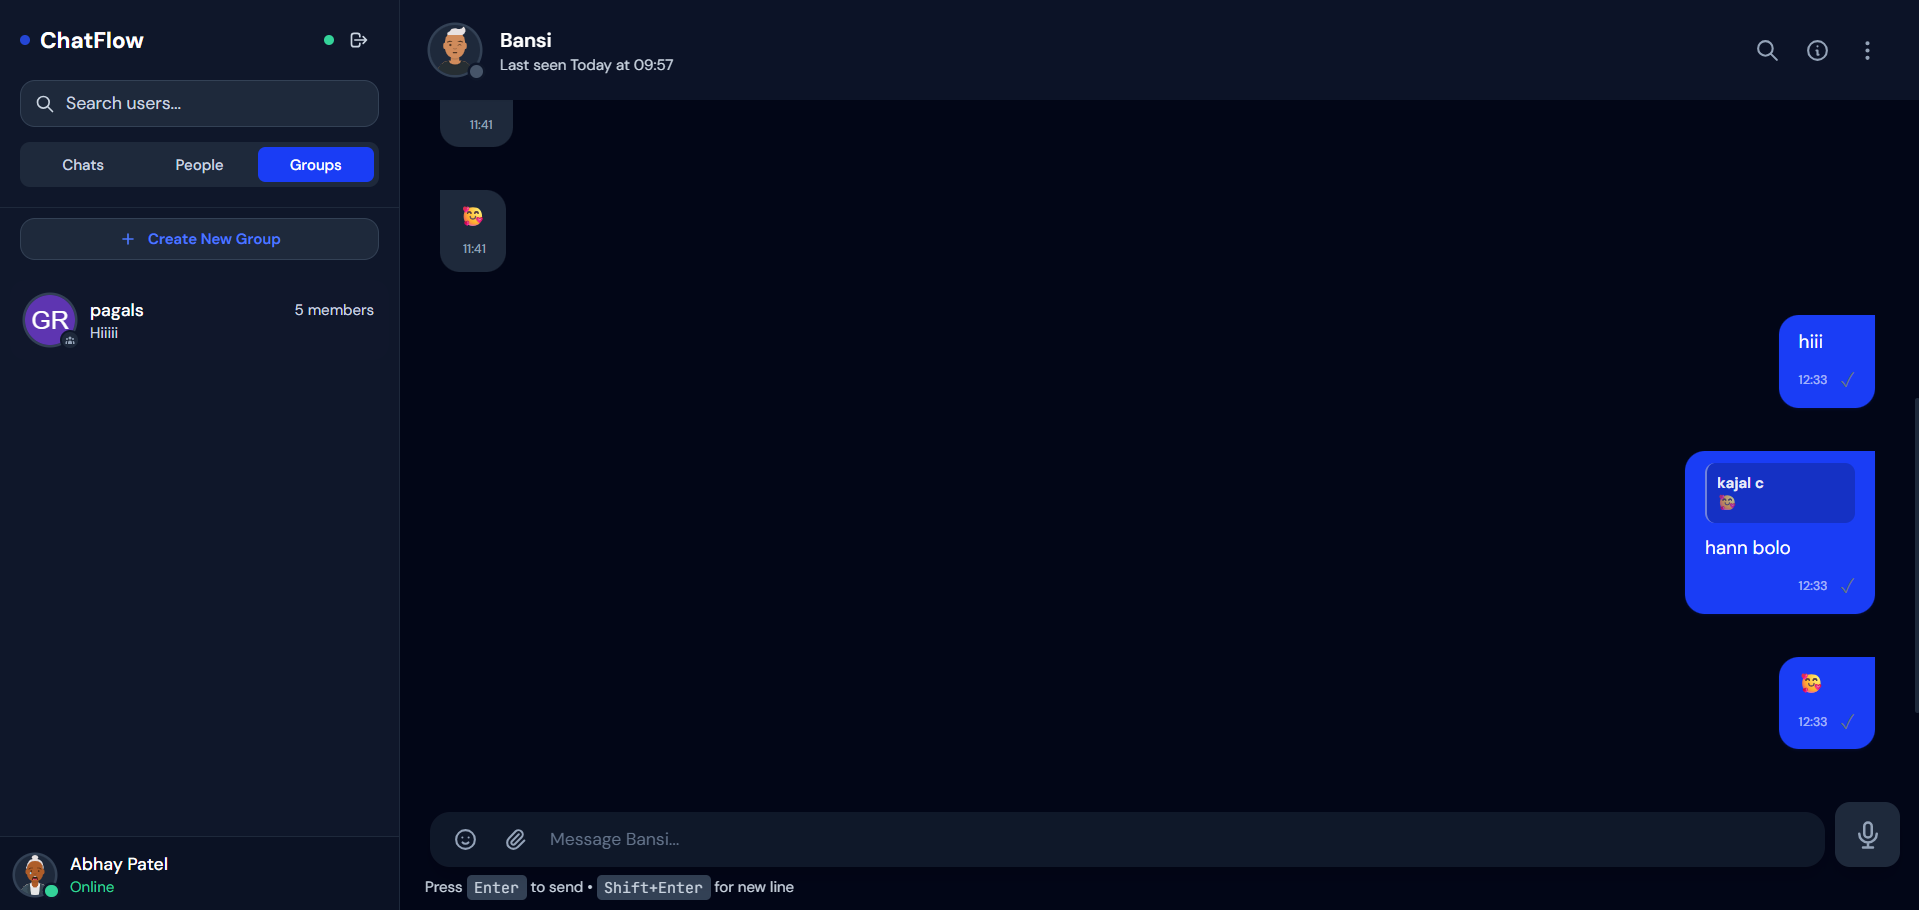
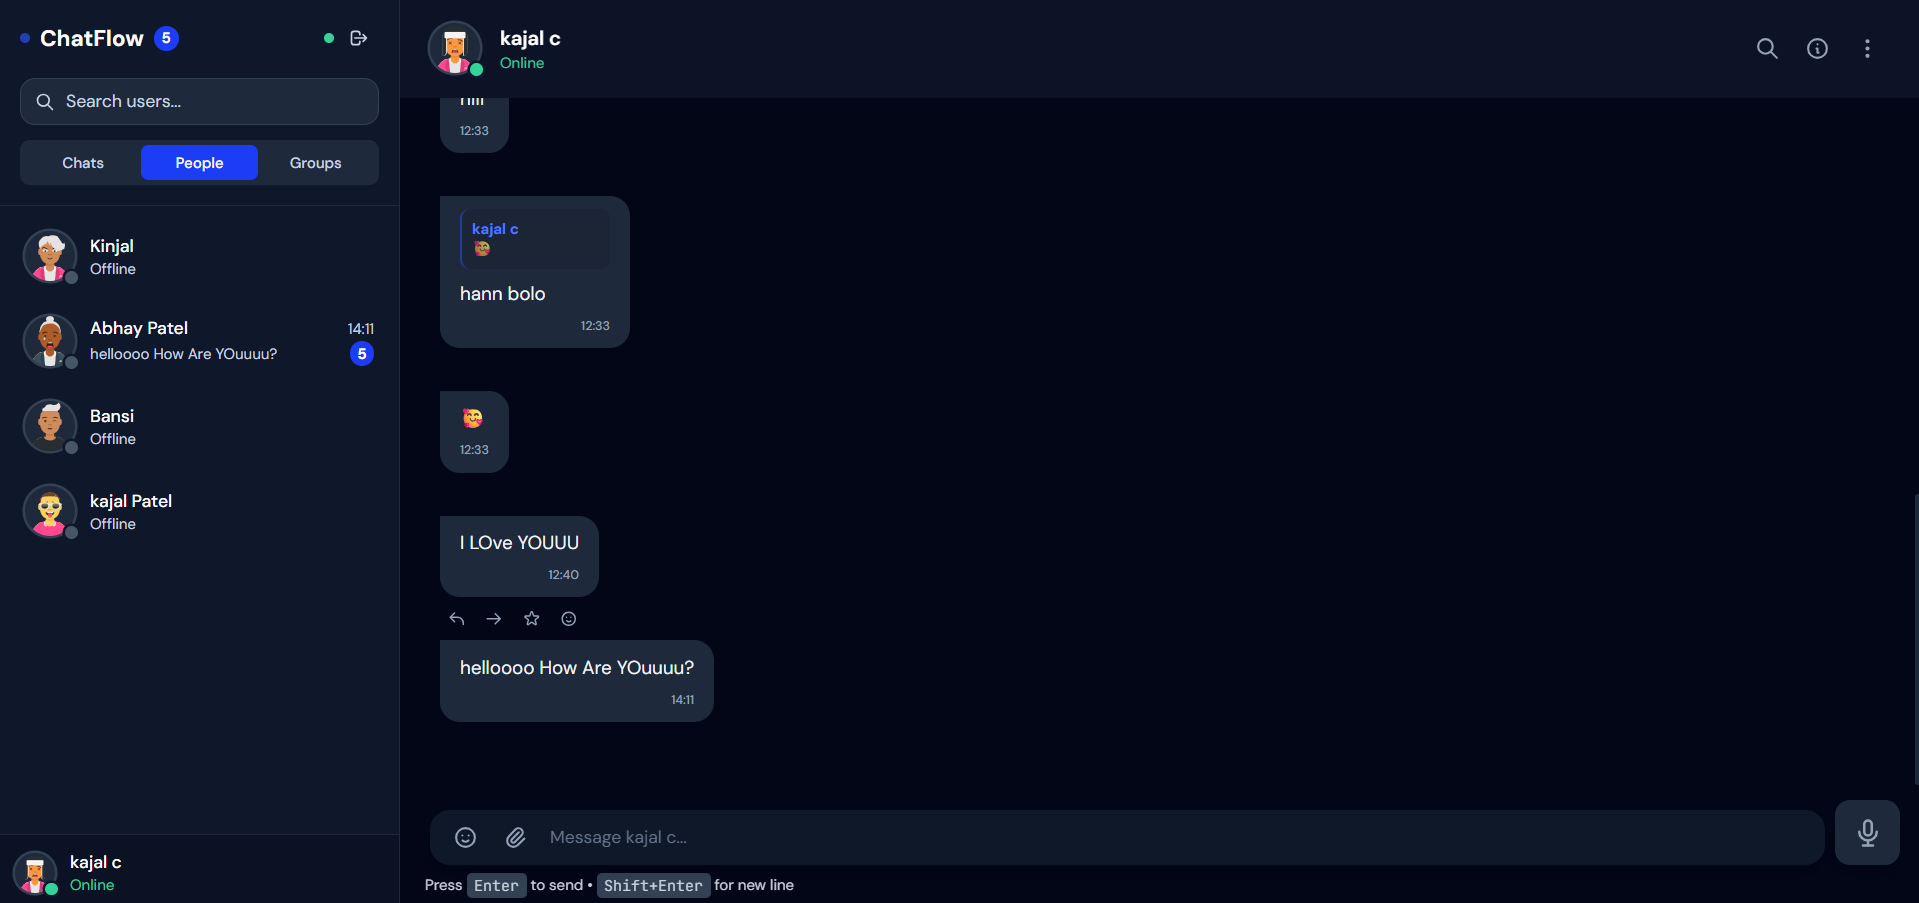
Screenshots
Key Features
- Real-time messaging
- One-to-one chat functionality
- Instant message delivery
- User-friendly interface
- Online/offline status (optional)
- Typing indicator (optional)
- Responsive design
Functionality
- User opens the chat application
- User connects to the server via Socket.IO
- User sends a message
- Message is sent to backend server (Node.js)
- Server broadcasts message to other users instantly
- Receiver gets the message in real time
- Messages may be stored in MongoDB
- UI updates instantly without refresh
Technology Used
- React: Frontend UI
- Node.js: Backend server
- Express.js: API handling
- Socket.IO: Real-time communication
- MongoDB: Message storage, optional
- CSS / Tailwind CSS: styling
Why This Project Is Useful
- Helps understand real-time applications
- Useful for learning:
- WebSockets
- Event-based communication
- Frontend-backend integration
- Good for portfolio and interviews
- Similar to real-world apps like messaging platforms
Deployment and Environment Setup
- Environment Variables Setup:
- backend/.env
- PORT: 3000
- MONGO_URI: mongodb_url_string
- JWT_SECRET: your_jwt_secret_key_here (if needed)
- frontend/.env
- VITE_API_URL: backend_url
- backend/.env
- Deployment Overview:
- Render or Railway for backend hosting
- Vercel or Netlify for frontend hosting
- MongoDB Atlas for the database
- Backend Deployment:
- Push your code to GitHub.
- Go to Render.com or Railway.app.
- Create a new Web Service and connect your GitHub repository.
- Choose “backend/” as the root directory.
- Add the following environment variables on Render:
- PORT=10000
- MONGO_URI=your MongoDB Atlas URI
- JWT_SECRET=your JWT secret
- Start command: npm start (Ensure your backend/package.json includes “start”: “node server.js”)
- After deployment, note your backend URL, e.g. https://your-backend-name.onrender.com
- Frontend Deployment:
- Go to Vercel.com or Netlify.com.
- Create a new project and connect the GitHub repo.
- Select the “frontend/” folder as root.
- In environment variables, set:
- VITE_API_URL=https://your-backend-domain.com/api (or REACT_APP_API_URL if using CRA)
- Deploy.
- MongoDB Atlas Setup:
- Go to https://cloud.mongodb.com
- Create a free cluster.
- Add your current IP address in Network Access.
- Create a database user and password.
- Copy the connection string and replace username, password, and database name in MONGO_URI in backend/.env
Download Source Code
Project Setup Instructions
Note: This project is for educational purposes only. Not for commercial sale.


