Project Overview
This project is a full-stack Notes Management System developed using the MERN stack (MongoDB, Express.js, React.js, and Node.js). It allows users to register and log in securely, after which they can create, view, update, and delete their personal notes. Each user can manage their notes through a simple and responsive interface. The system also includes an admin panel where the admin can view all users, manage user accounts, and monitor overall activity. The project demonstrates real-world concepts such as authentication using JWT, RESTful API design, and full-stack integration.
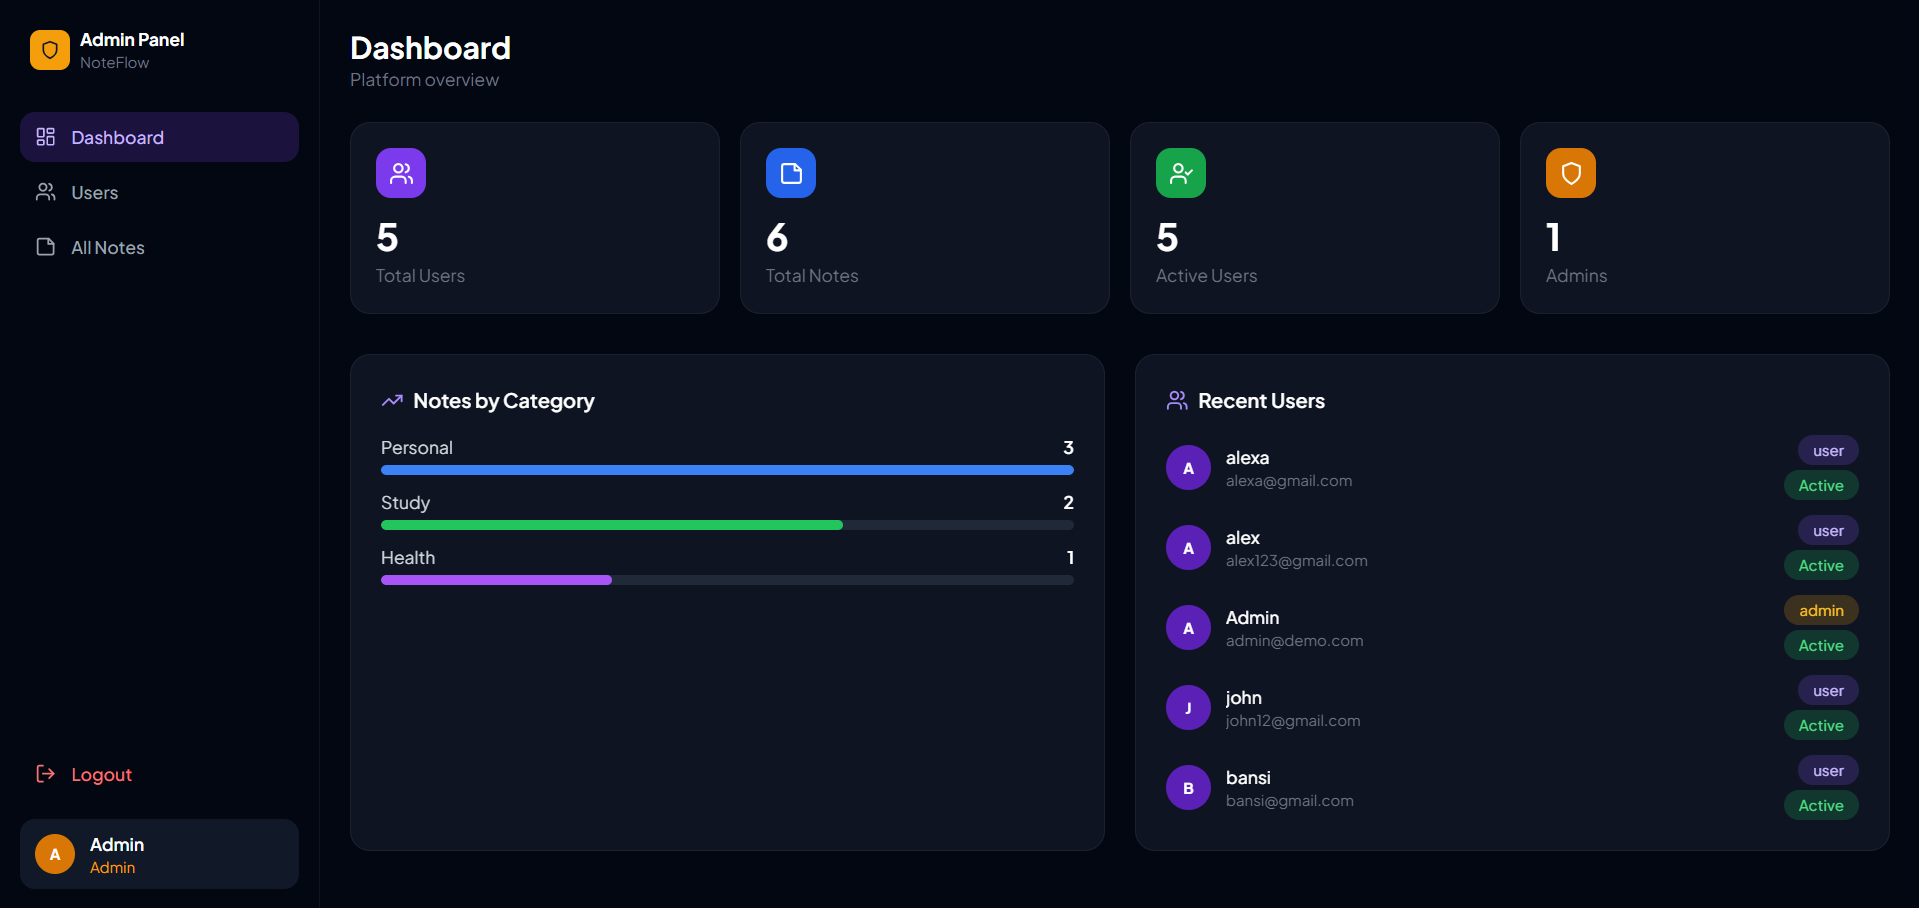
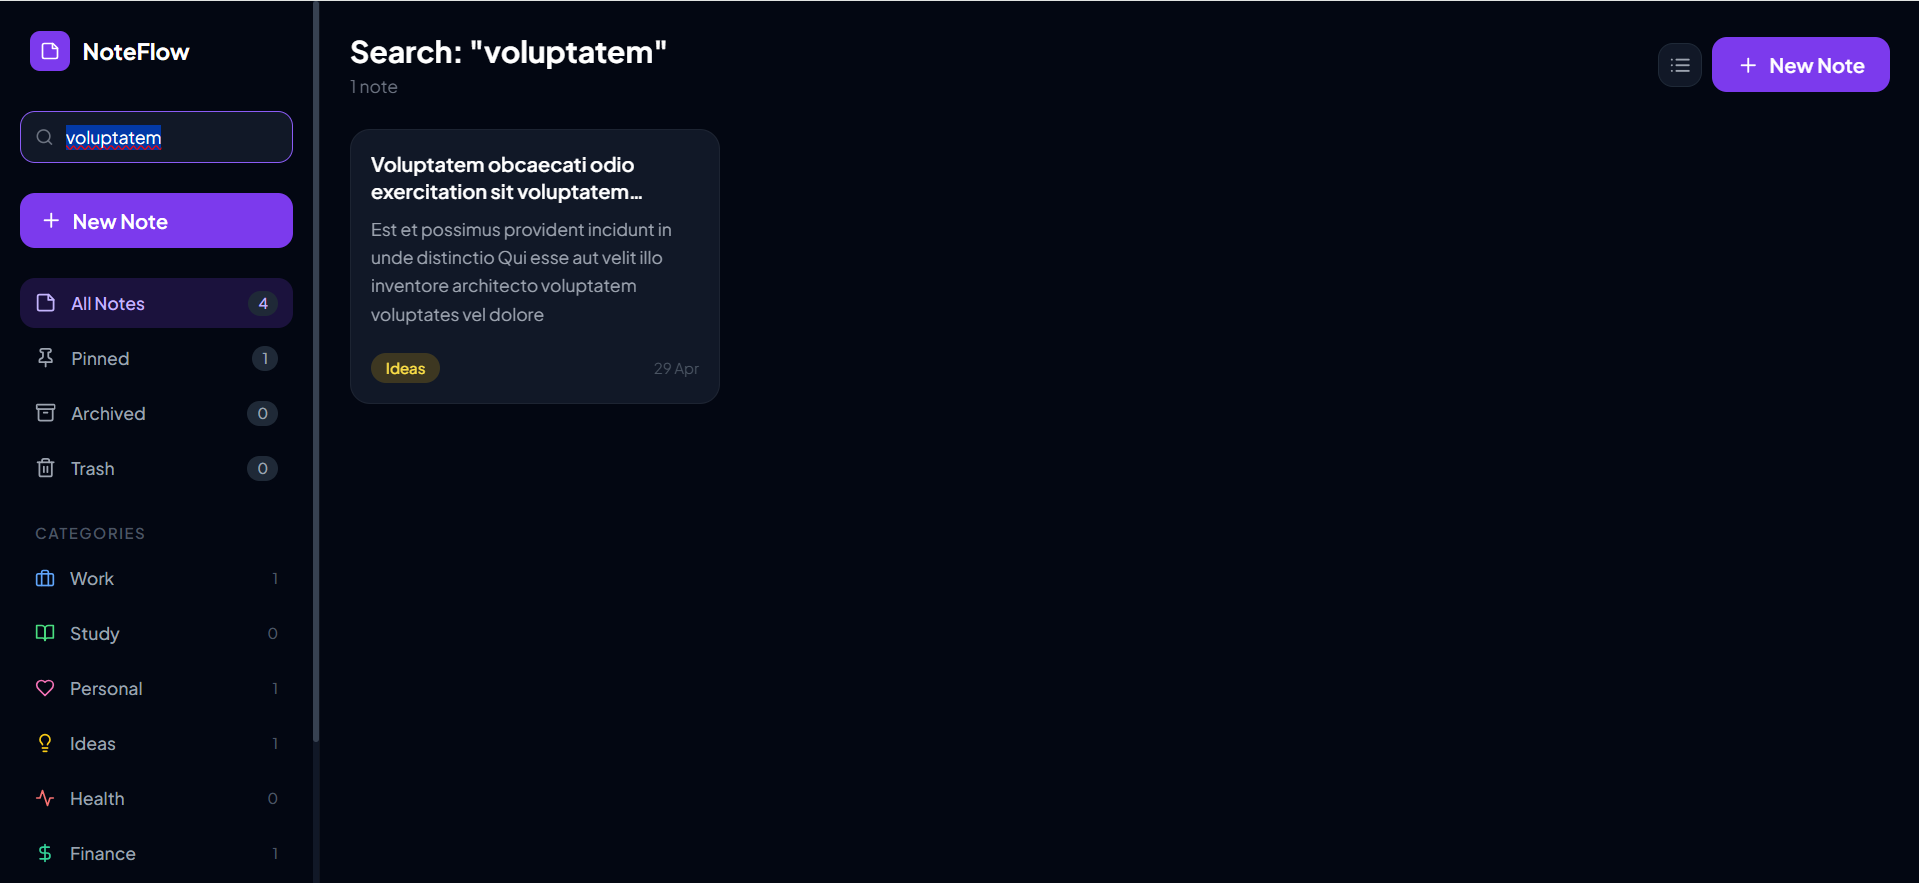
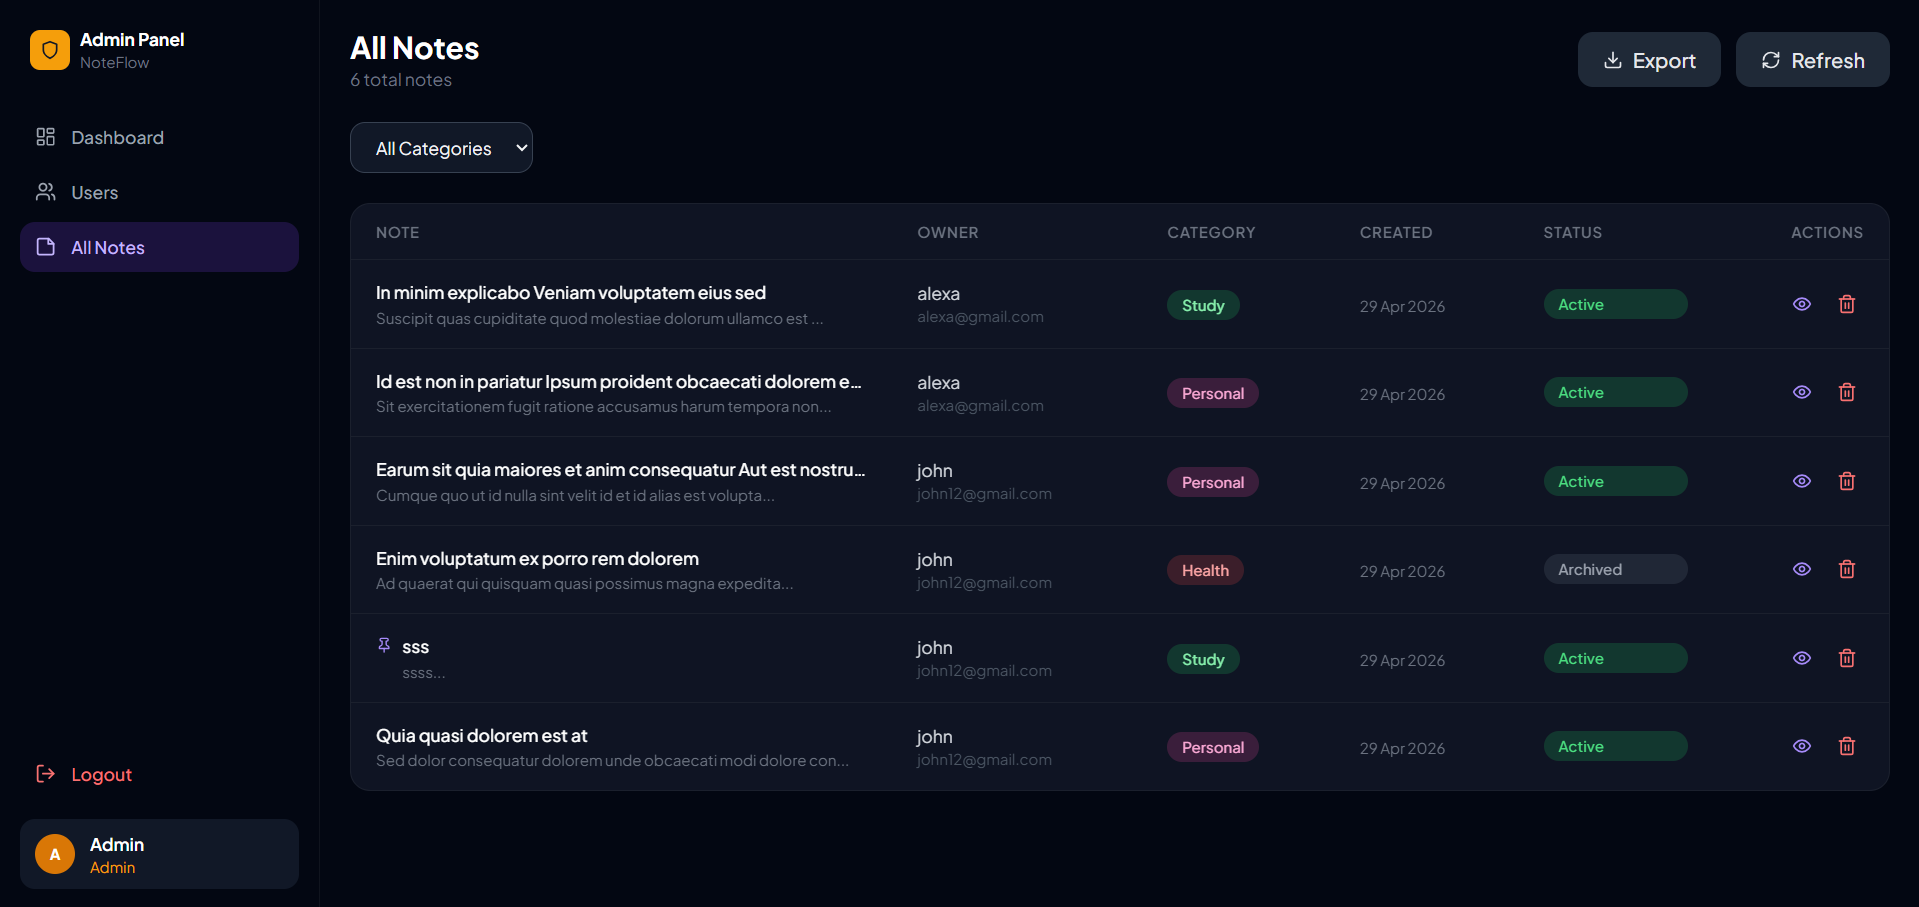
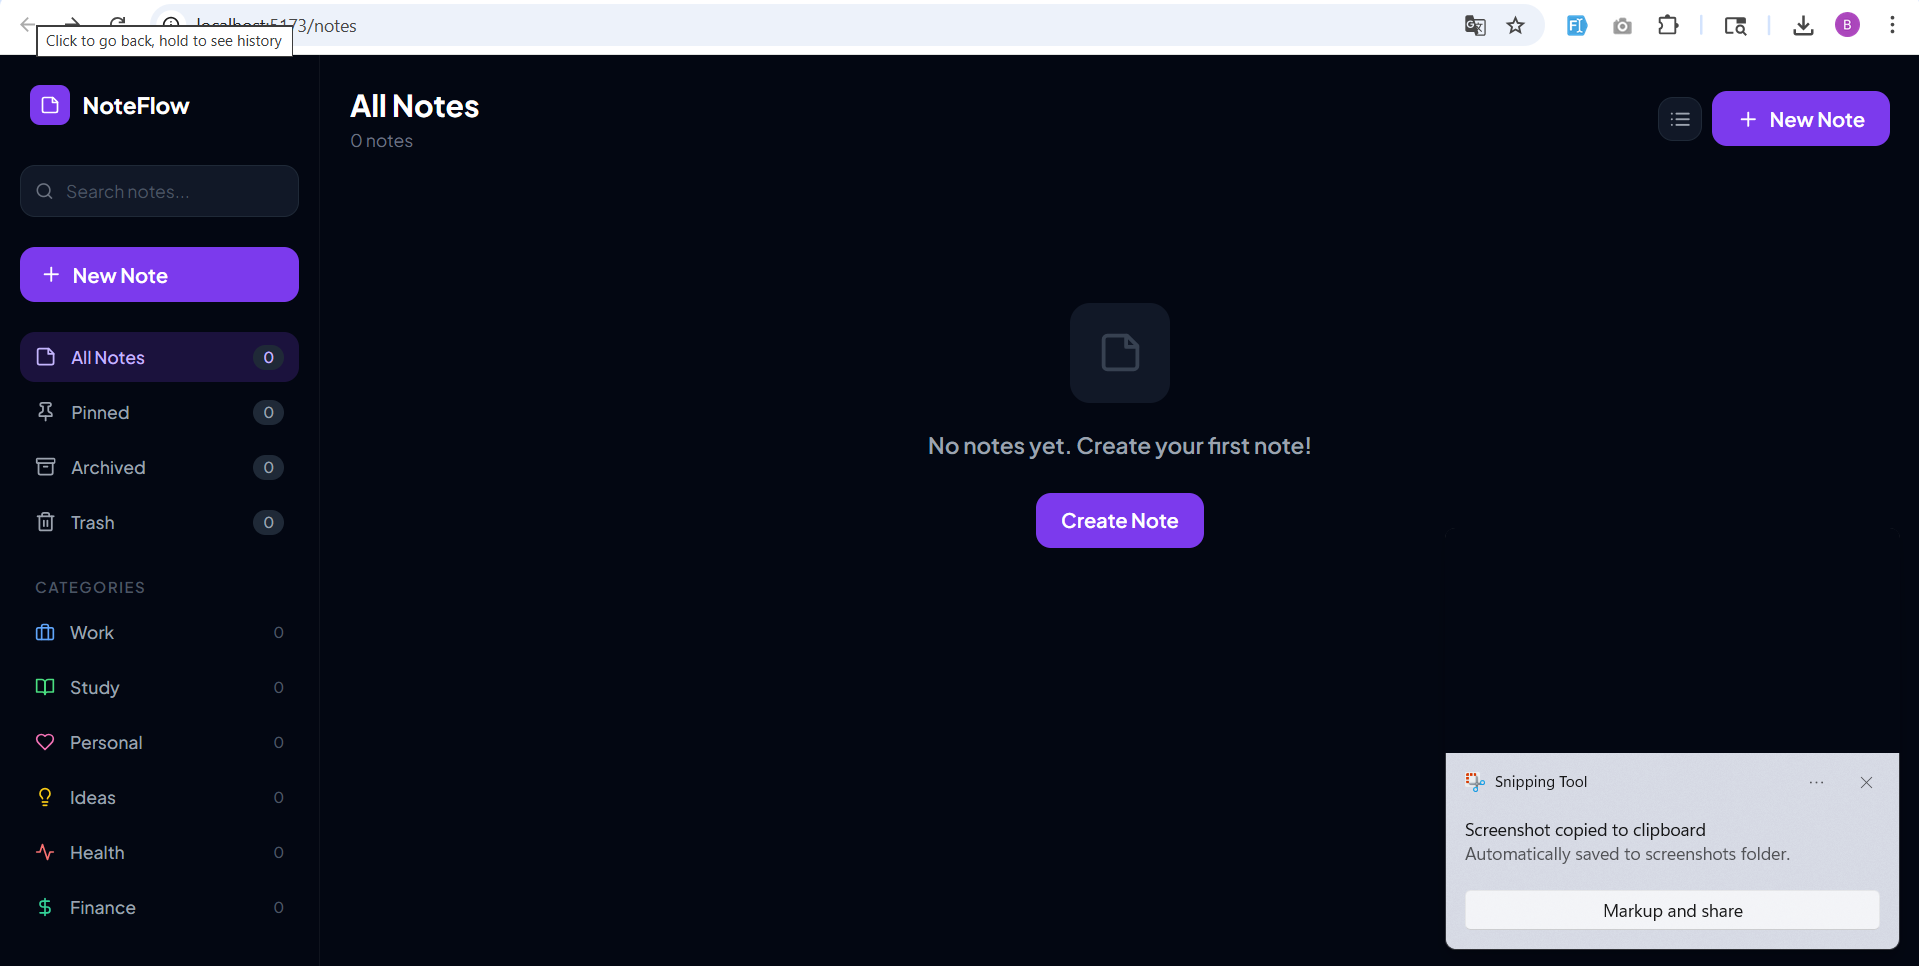
Screenshots
Key Features
- User Features:
- User registration and login
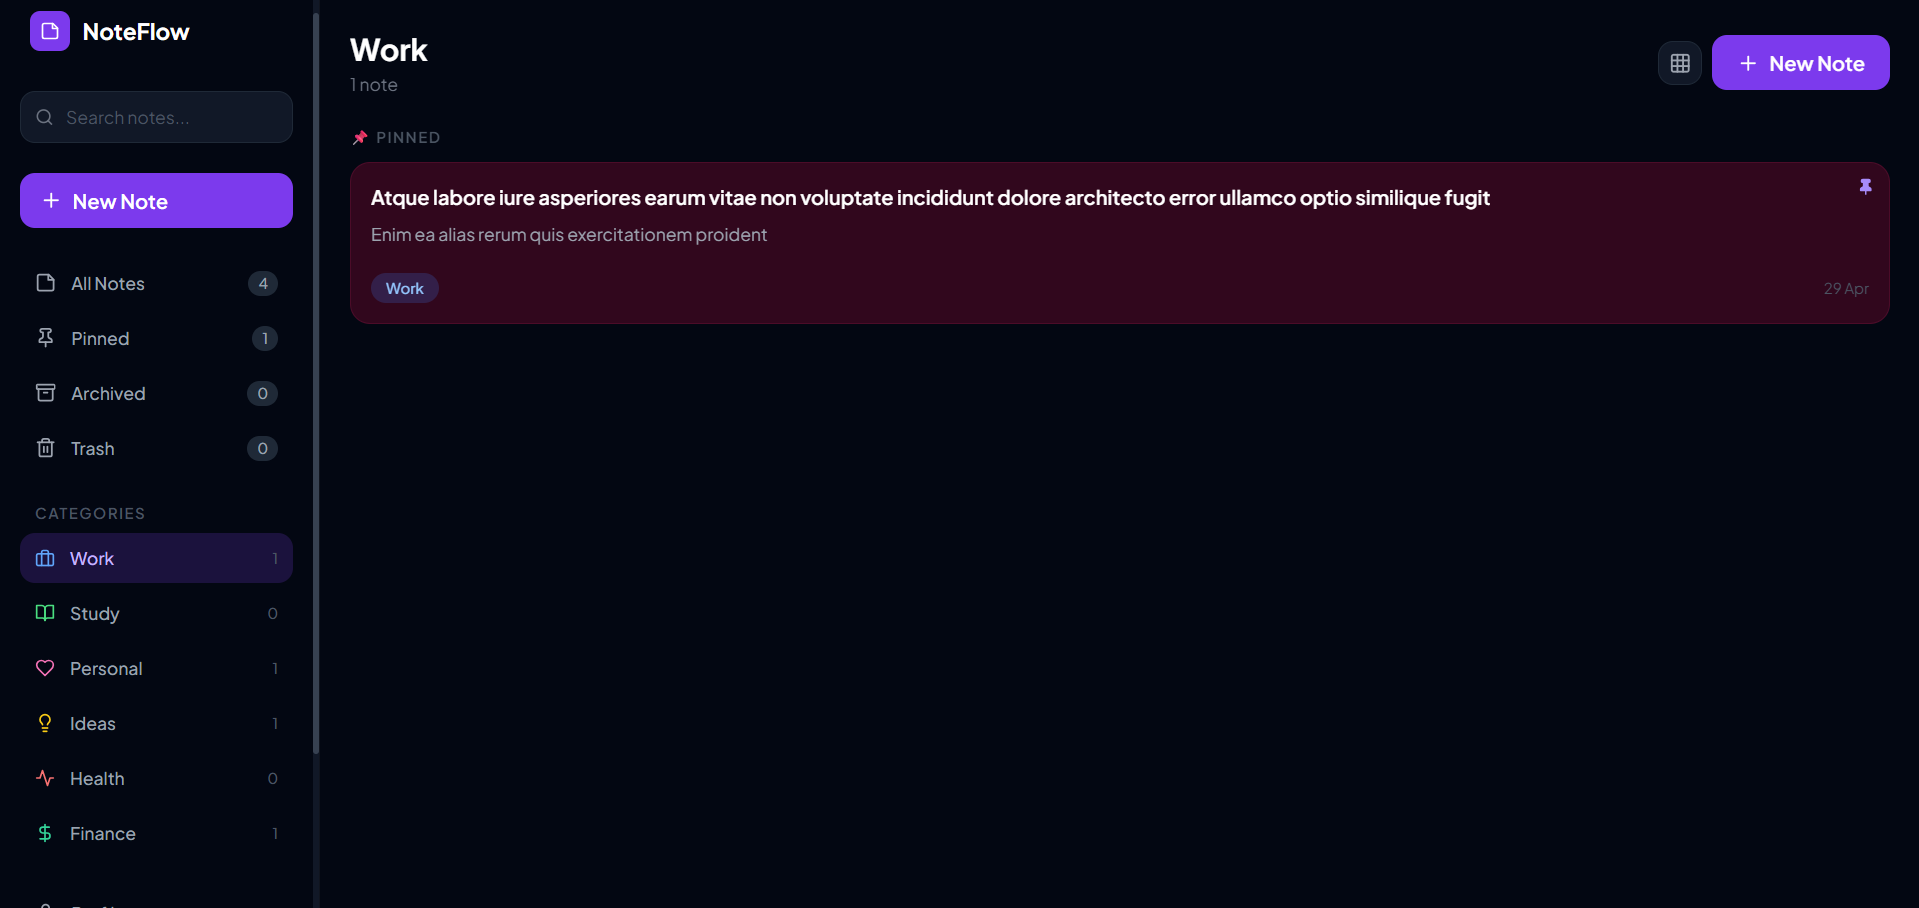
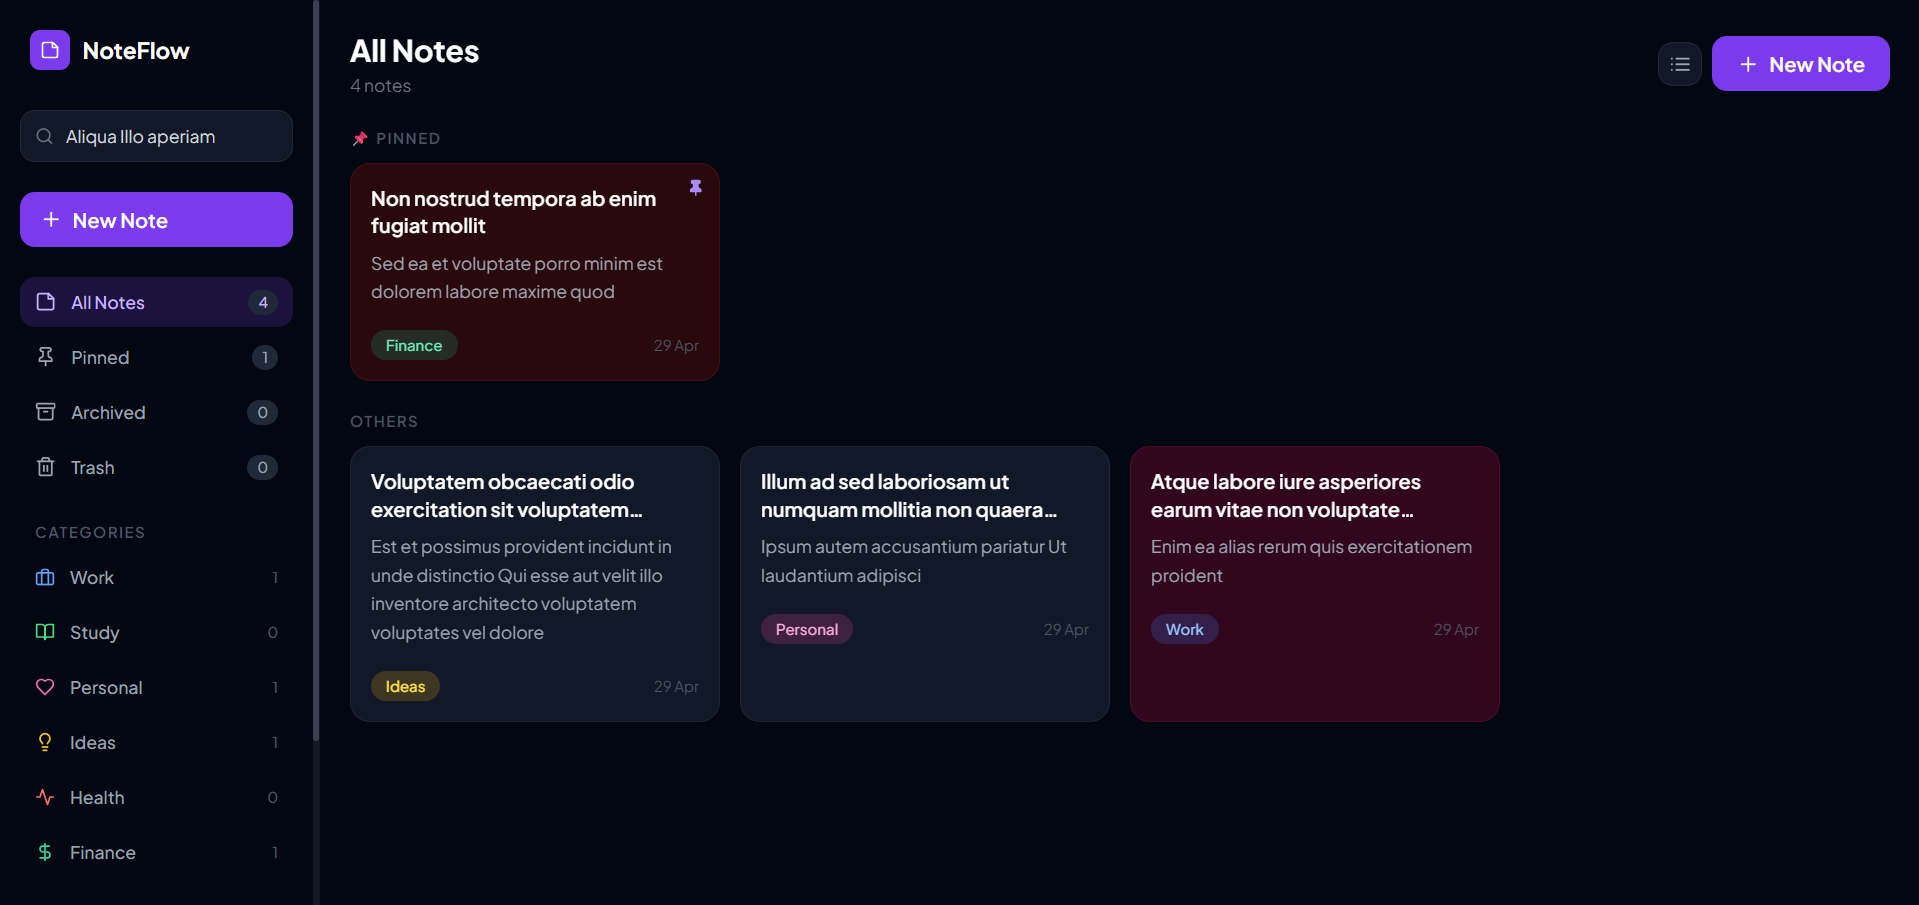
- Create, edit, delete notes
- View all personal notes
- Secure authentication system
- Modal-based UI for editing
- Admin Features:
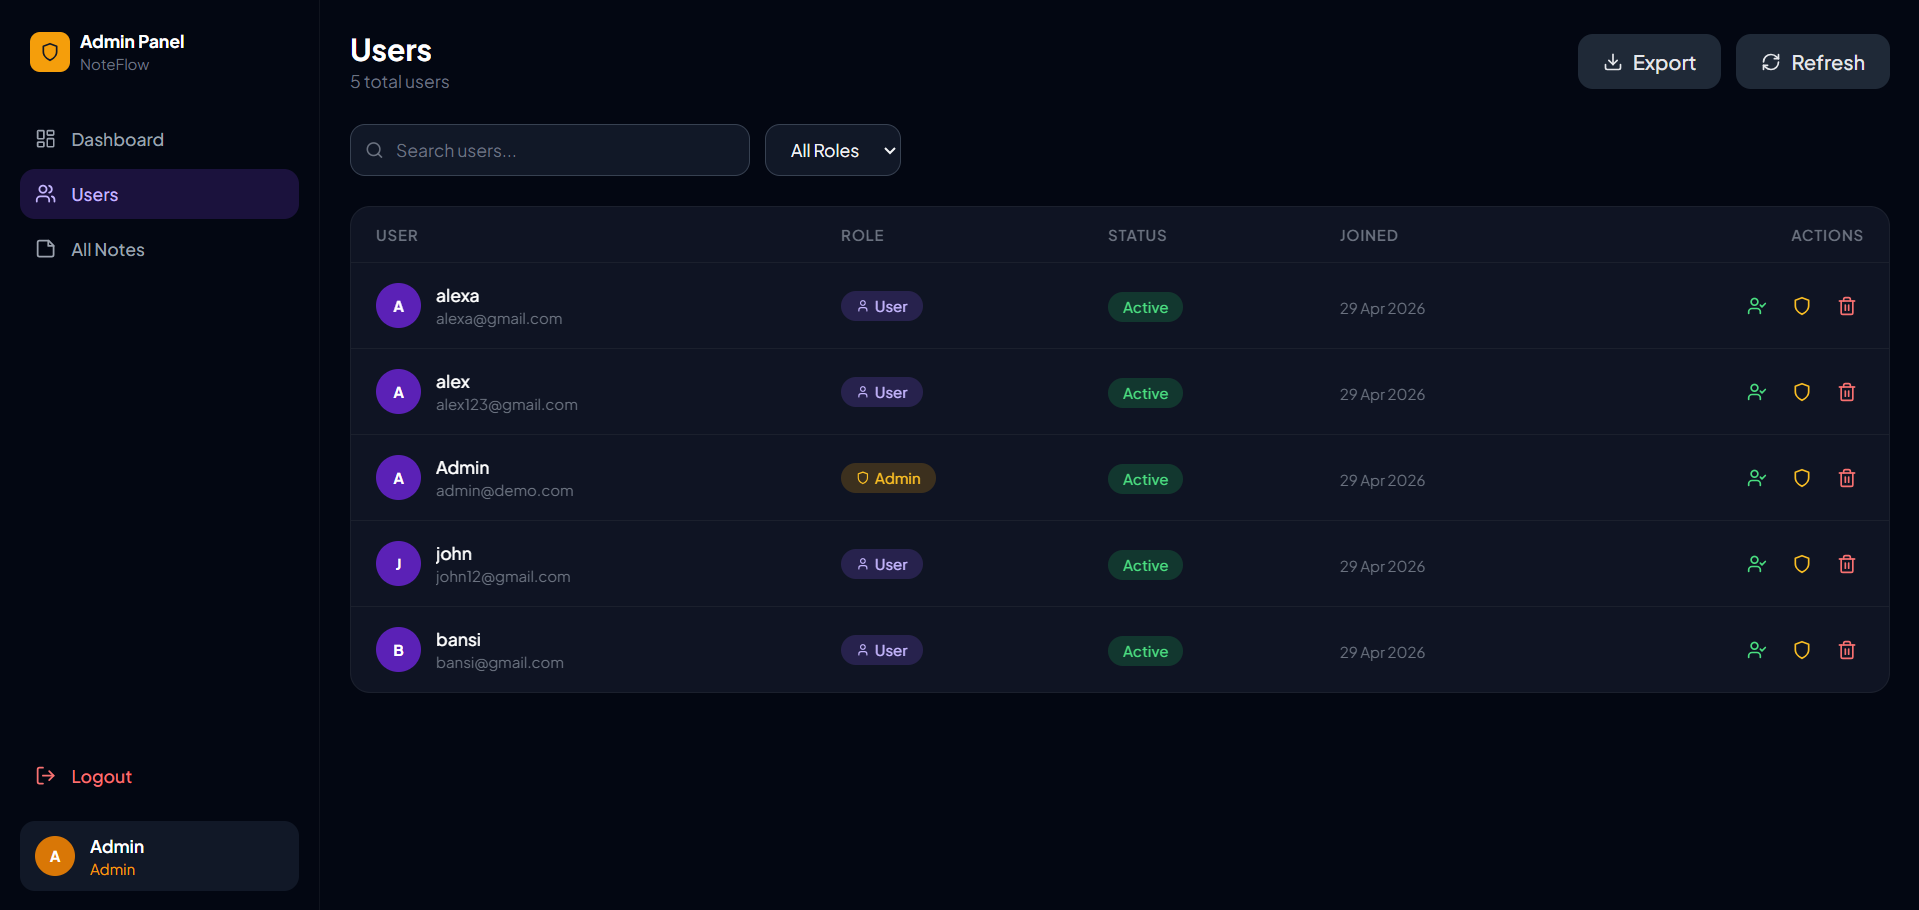
- Admin login system
- View all users
- Manage or delete users
- Monitor user activity
- System Features:
- RESTful API architecture
- JWT authentication
- Error handling middleware
- MongoDB database integration
- Responsive frontend design
Functionaliy
- Authentication:
- User registers → data stored in database
- User logs in → JWT token generated
- Token used for accessing protected routes
- Notes Management:
- Create notes → stored in database
- View notes → displayed in UI
- Update notes → edited via modal
- Delete notes → removed from database
- Admin Panel:
- Admin logs in
- Access admin routes
- View and manage all users
- Monitor system activity
- API Structure:
/api/auth→ authentication routes/api/notes→ notes CRUD operations/api/admin→ admin controls
Technology Used
- Frontend:
- React.js
- Context API
- Axios
- CSS / PostCSS
- Backend:
- Node.js
- Express.js
- MongoDB
- Mongoose
- Other Tools:
- JWT (JSON Web Token)
- dotenv
- Middleware (authentication & error handling)
Why This Project Is Useful
- Helps understand full-stack development using MERN stack
- Covers real-world concepts like authentication, CRUD operations, and API design
- Demonstrates role-based access control (Admin/User)
- Useful for portfolio, college submission, and interview preparation
Deployment and Environment Setup
- Environment Variables Setup:
- backend/.env
- PORT: 3000
- MONGO_URI: mongodb_url_string
- JWT_SECRET: your_jwt_secret_key_here (if needed)
- frontend/.env
- VITE_API_URL: backend_url
- backend/.env
- Deployment Overview:
- Render or Railway for backend hosting
- Vercel or Netlify for frontend hosting
- MongoDB Atlas for the database
- Backend Deployment:
- Push your code to GitHub.
- Go to Render.com or Railway.app.
- Create a new Web Service and connect your GitHub repository.
- Choose “backend/” as the root directory.
- Add the following environment variables on Render:
- PORT=10000
- MONGO_URI=your MongoDB Atlas URI
- JWT_SECRET=your JWT secret
- Start command: npm start (Ensure your backend/package.json includes “start”: “node server.js”)
- After deployment, note your backend URL, e.g. https://your-backend-name.onrender.com
- Frontend Deployment:
- Go to Vercel.com or Netlify.com.
- Create a new project and connect the GitHub repo.
- Select the “frontend/” folder as root.
- In environment variables, set:
- VITE_API_URL=https://your-backend-domain.com/api (or REACT_APP_API_URL if using CRA)
- Deploy.
- MongoDB Atlas Setup:
- Go to https://cloud.mongodb.com
- Create a free cluster.
- Add your current IP address in Network Access.
- Create a database user and password.
- Copy the connection string and replace username, password, and database name in MONGO_URI in backend/.env
Download Source Code
Project Setup Instructions
Note: This project is for educational purposes only. Not for commercial sale.


