Project Overview
This project is a web-based Memory Card Matching Game developed using React / JavaScript.
The game challenges players to match pairs of cards by remembering their positions. Players flip two cards at a time, and if both cards match, they remain open; otherwise, they flip back automatically.
The application is interactive, fun, and useful for improving memory and concentration skills while also demonstrating frontend game development concepts.
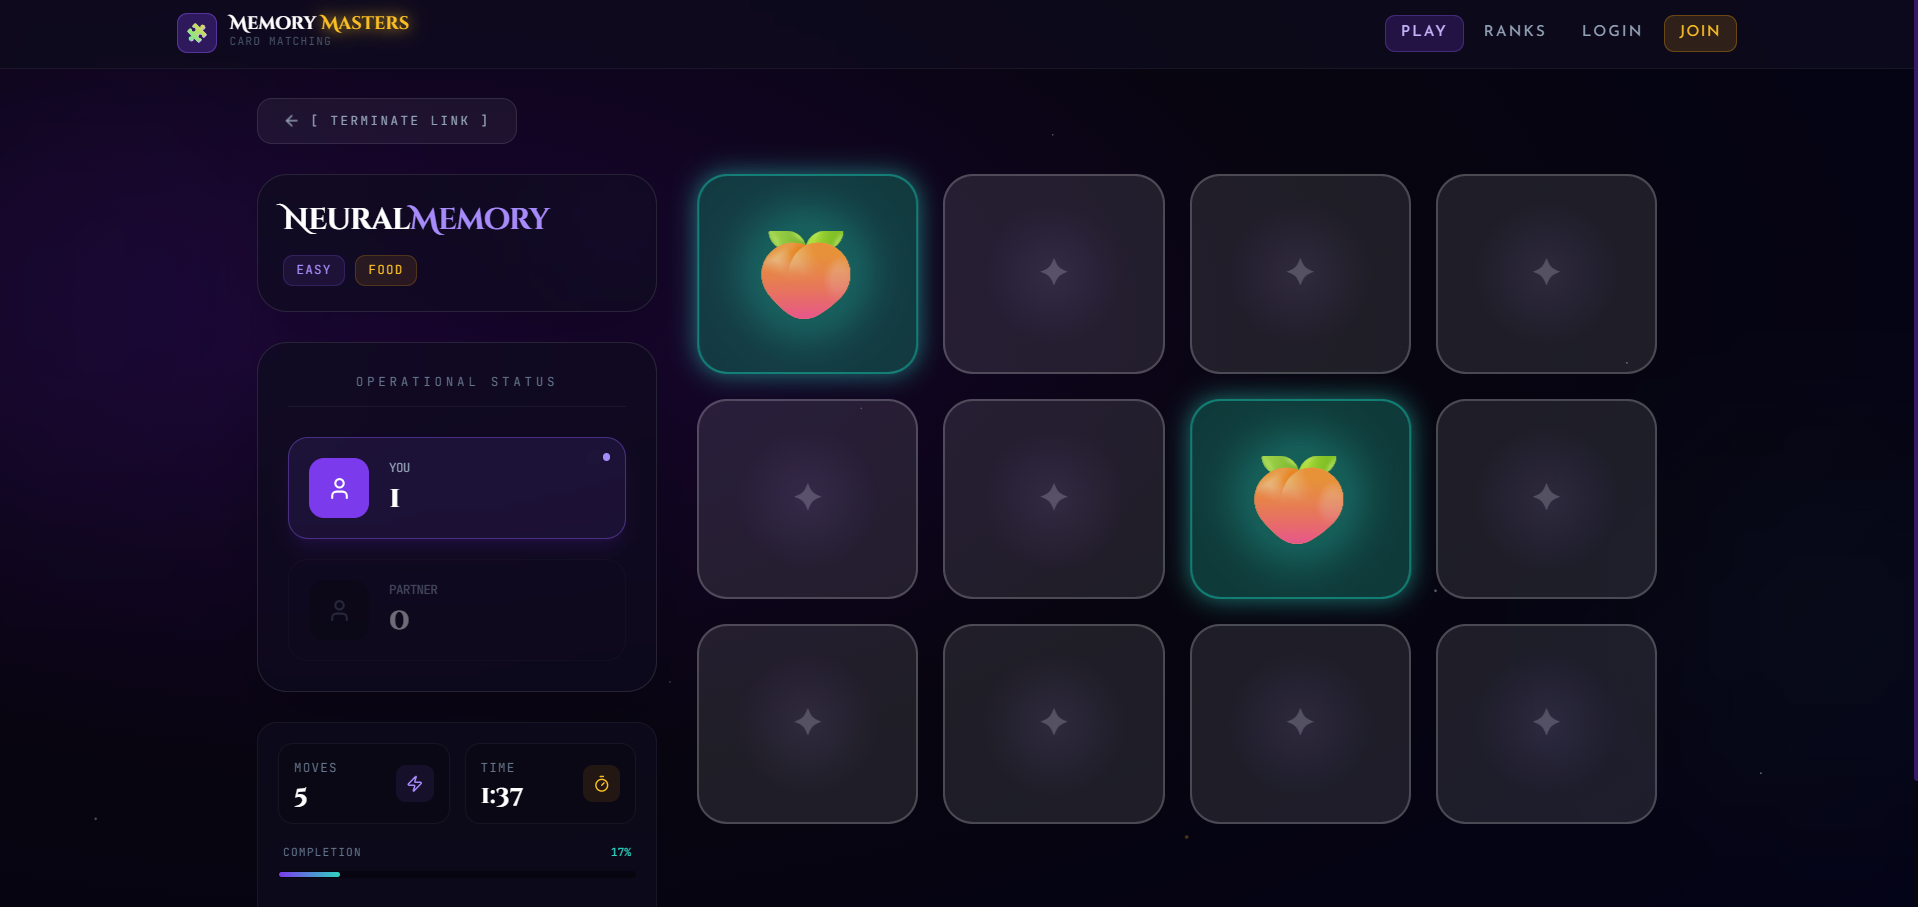
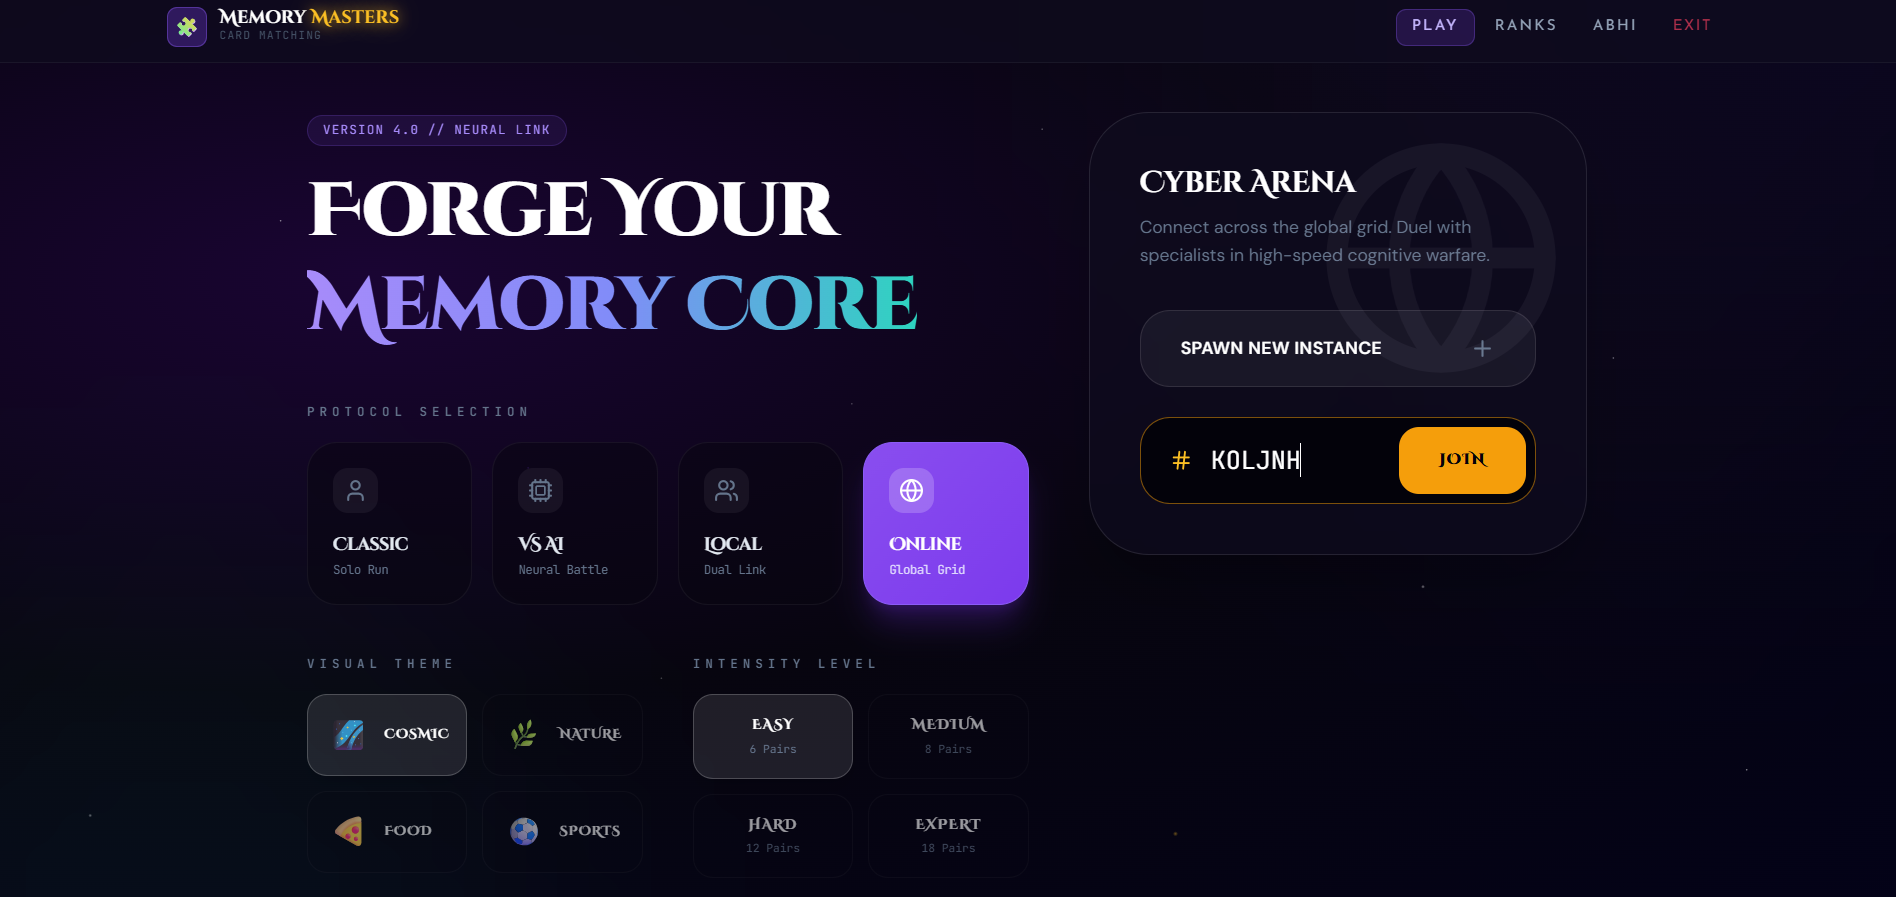
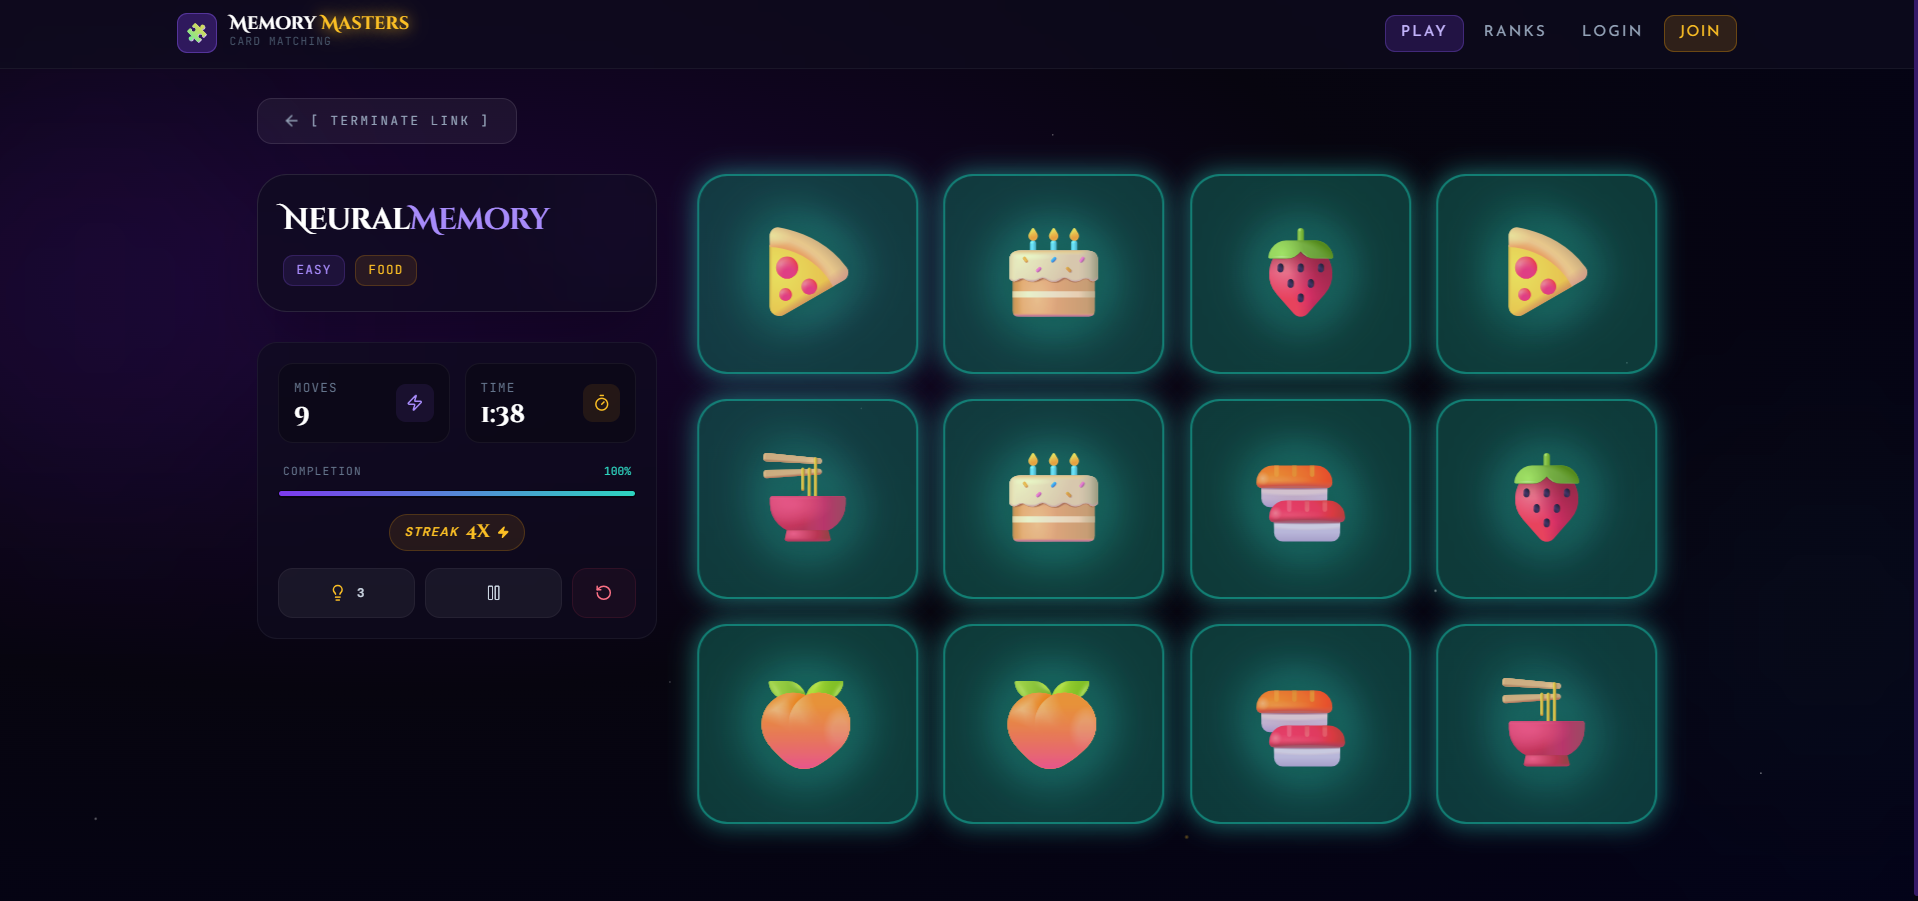
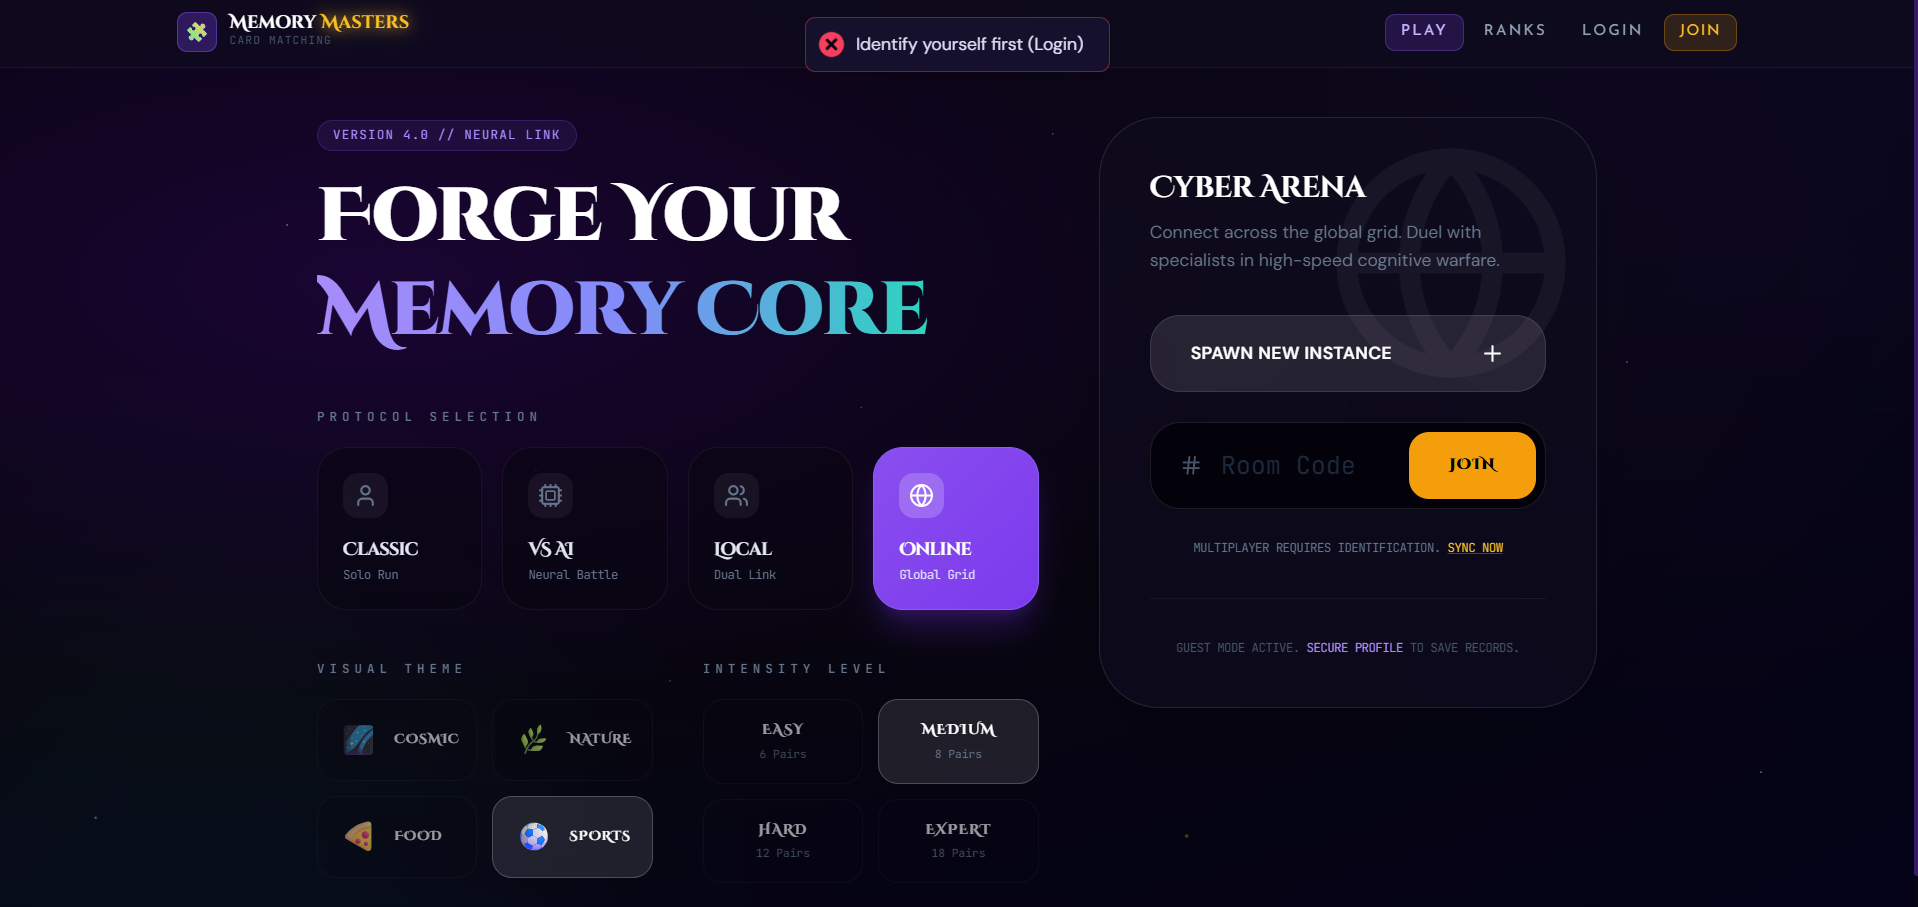
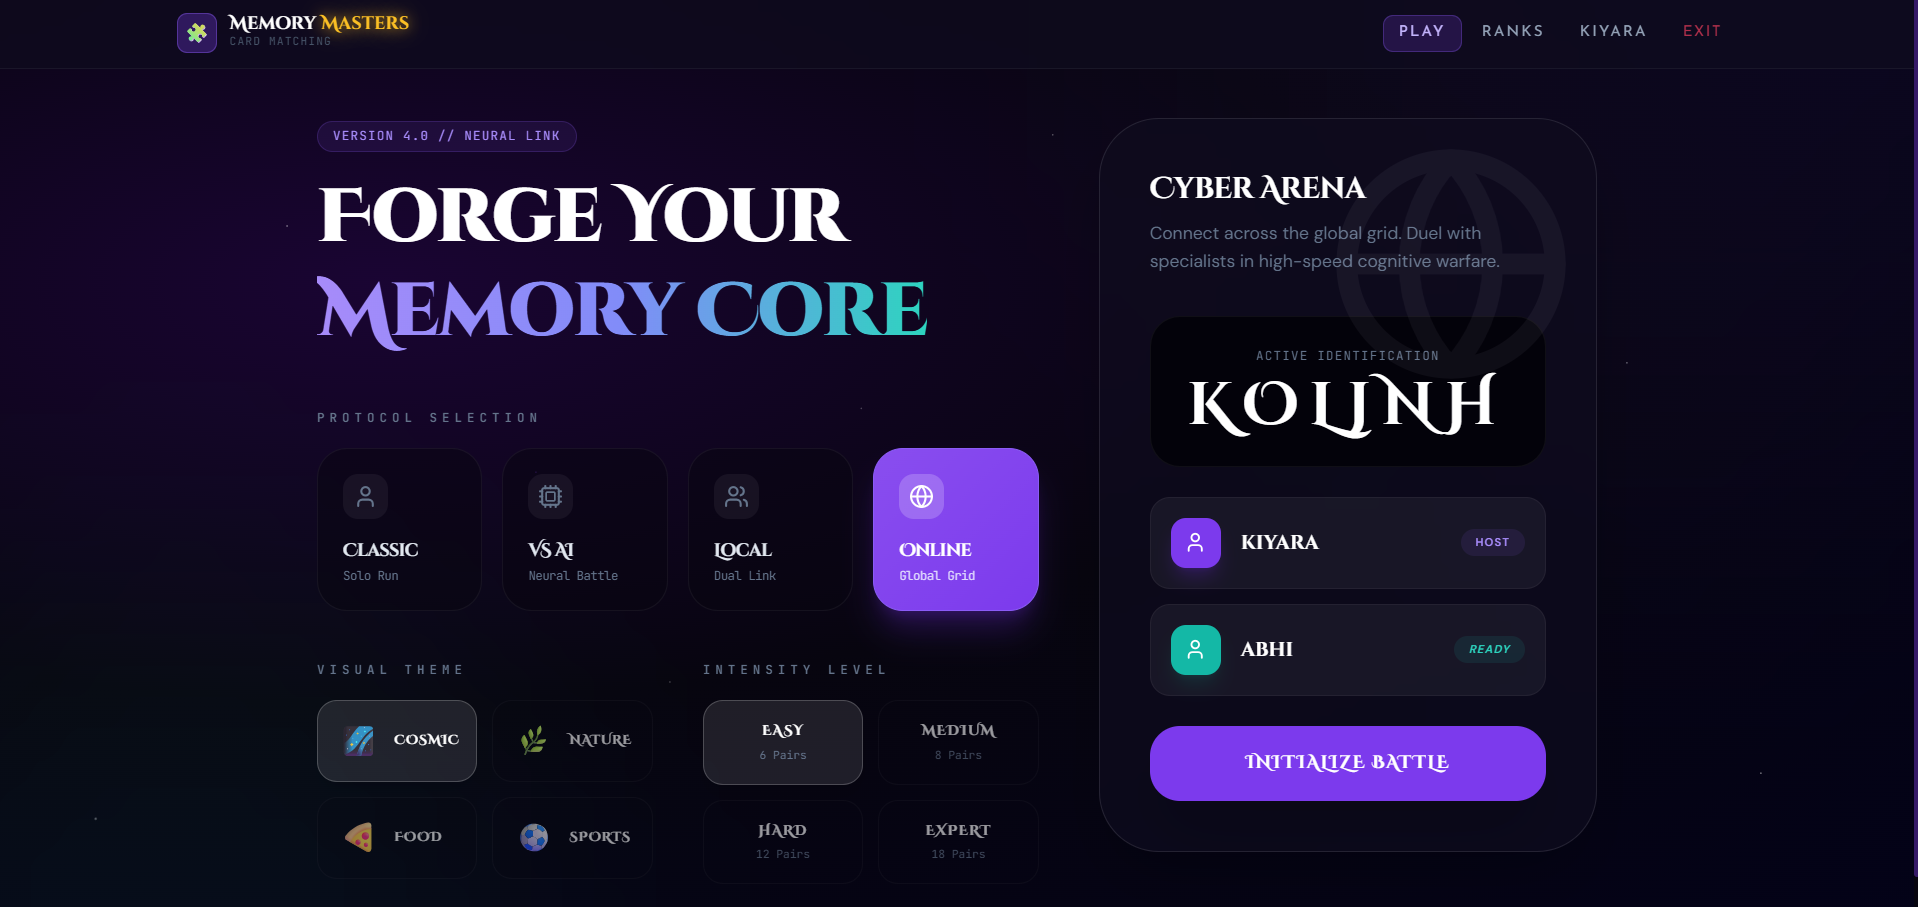
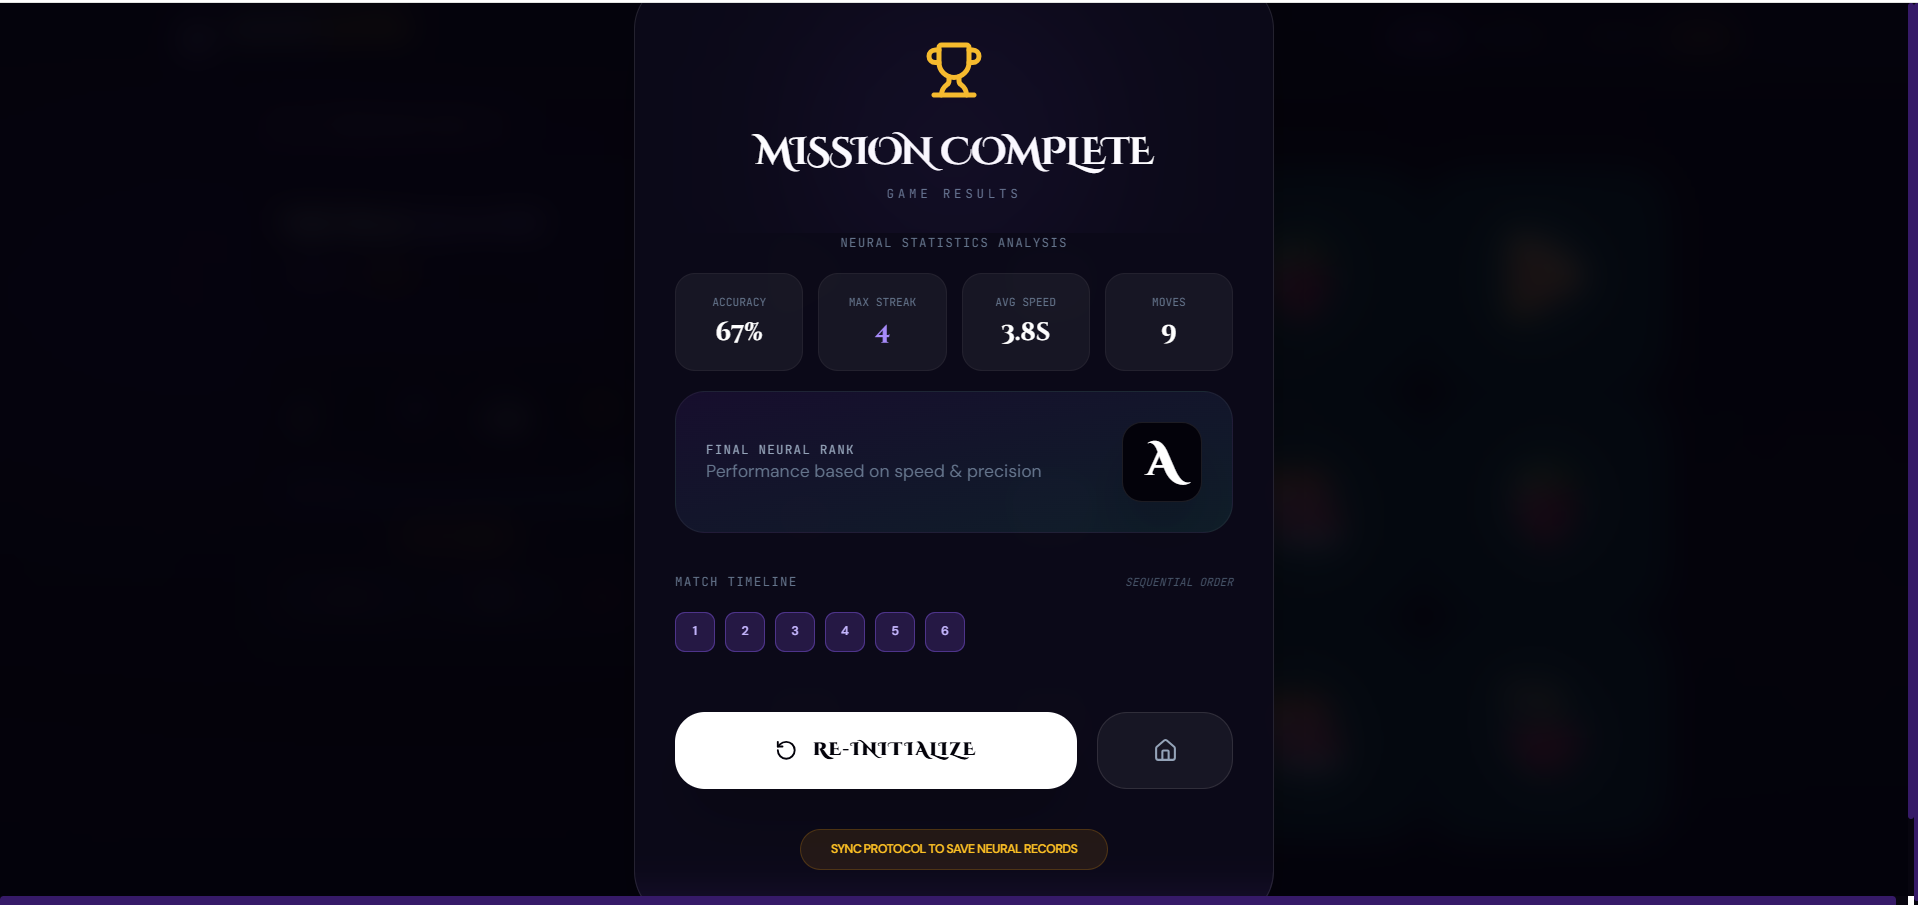
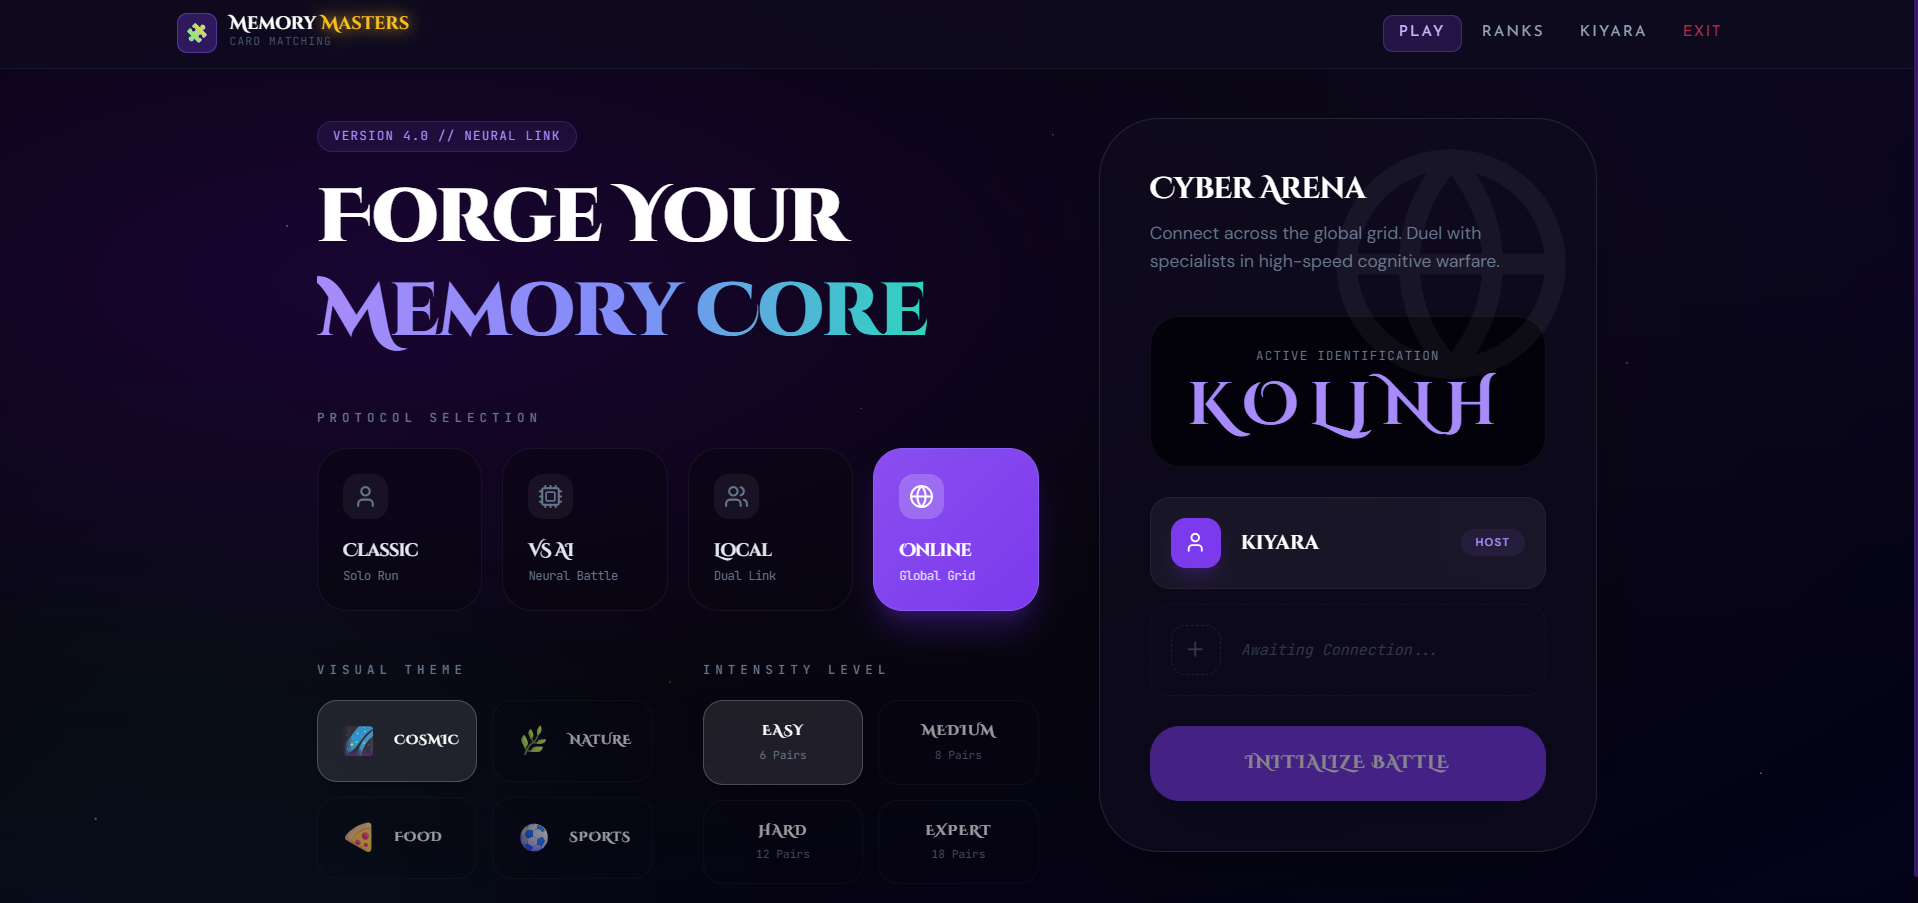
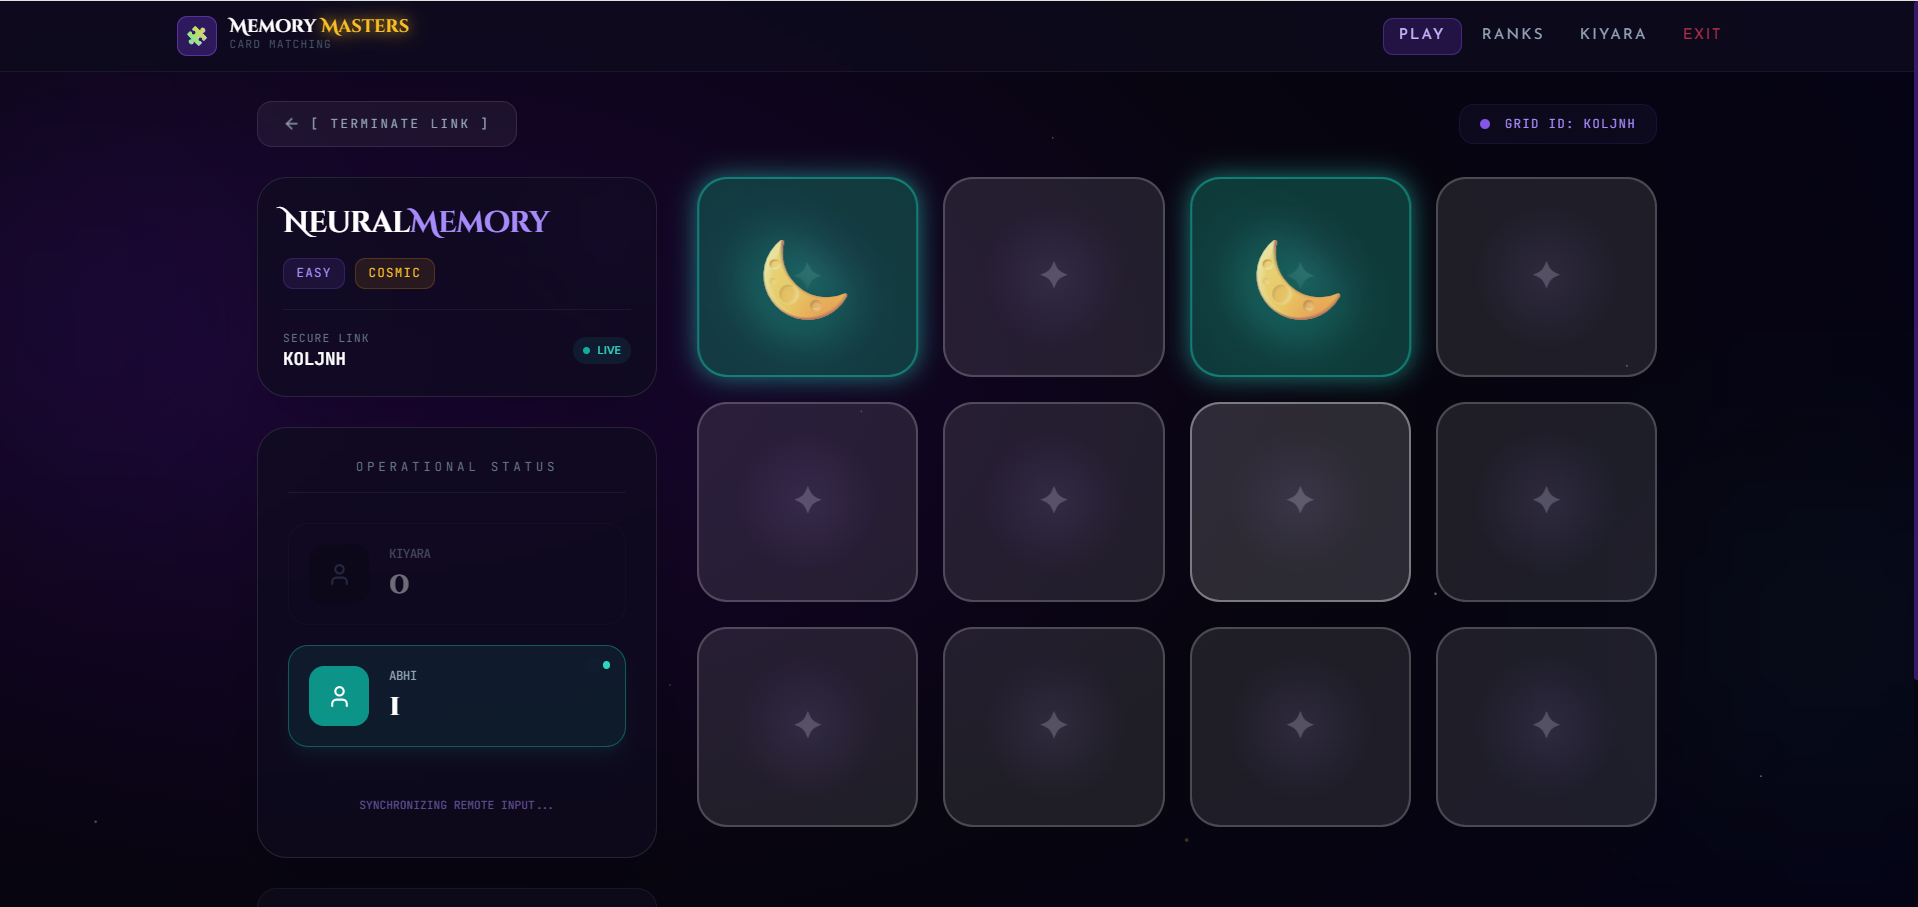
Screenshots

Key Features
- Card matching gameplay
- Card flip animations/effects
- Memory-based challenge
- Match detection system
- Move counter or timer (optional)
- Restart/New Game functionality
- Responsive design
- Smooth and interactive UI
Functionaliy
- Game Start
- The game loads shuffled cards on the screen
- All cards are initially placed face down
- Card Selection
- Player clicks on a card to flip it
- Player selects a second card
- Match Checking
- System compares both selected cards
- If cards match:
- Cards remain open
- If cards do not match:
- Cards flip back after a short delay
- Game Progress
- The game continues until all card pairs are matched
- Move counter or timer may track player performance
- Restart Game
- User can restart the game anytime
- Cards shuffle again for a new round
Technology Used
- React: Frontend development
- JavaScript: Game logic
- CSS / Tailwind CSS: Styling & animations
- HTML: Structure
Why This Project Is Useful
- Helps understand:
- State management
- Array manipulation
- Event handling
- Game logic implementation
- Good for practicing:
- React components
- Dynamic UI updates
- Interactive frontend development
- Useful for:
- Portfolio projects
- Mini game development
- Logic-building practice
Deployment and Environment Setup
- Environment Variables Setup:
- backend/.env
- PORT: 3000
- MONGO_URI: mongodb_url_string
- JWT_SECRET: your_jwt_secret_key_here (if needed)
- frontend/.env
- VITE_API_URL: backend_url
- backend/.env
- Deployment Overview:
- Render or Railway for backend hosting
- Vercel or Netlify for frontend hosting
- MongoDB Atlas for the database
- Backend Deployment:
- Push your code to GitHub.
- Go to Render.com or Railway.app.
- Create a new Web Service and connect your GitHub repository.
- Choose “backend/” as the root directory.
- Add the following environment variables on Render:
- PORT=10000
- MONGO_URI=your MongoDB Atlas URI
- JWT_SECRET=your JWT secret
- Start command: npm start (Ensure your backend/package.json includes “start”: “node server.js”)
- After deployment, note your backend URL, e.g. https://your-backend-name.onrender.com
- Frontend Deployment:
- Go to Vercel.com or Netlify.com.
- Create a new project and connect the GitHub repo.
- Select the “frontend/” folder as root.
- In environment variables, set:
- VITE_API_URL=https://your-backend-domain.com/api (or REACT_APP_API_URL if using CRA)
- Deploy.
- MongoDB Atlas Setup:
- Go to https://cloud.mongodb.com
- Create a free cluster.
- Add your current IP address in Network Access.
- Create a database user and password.
- Copy the connection string and replace username, password, and database name in MONGO_URI in backend/.env
Download Source Code
Project Setup Instructions
Note: This project is for educational purposes only. Not for commercial sale.


