Project Overview
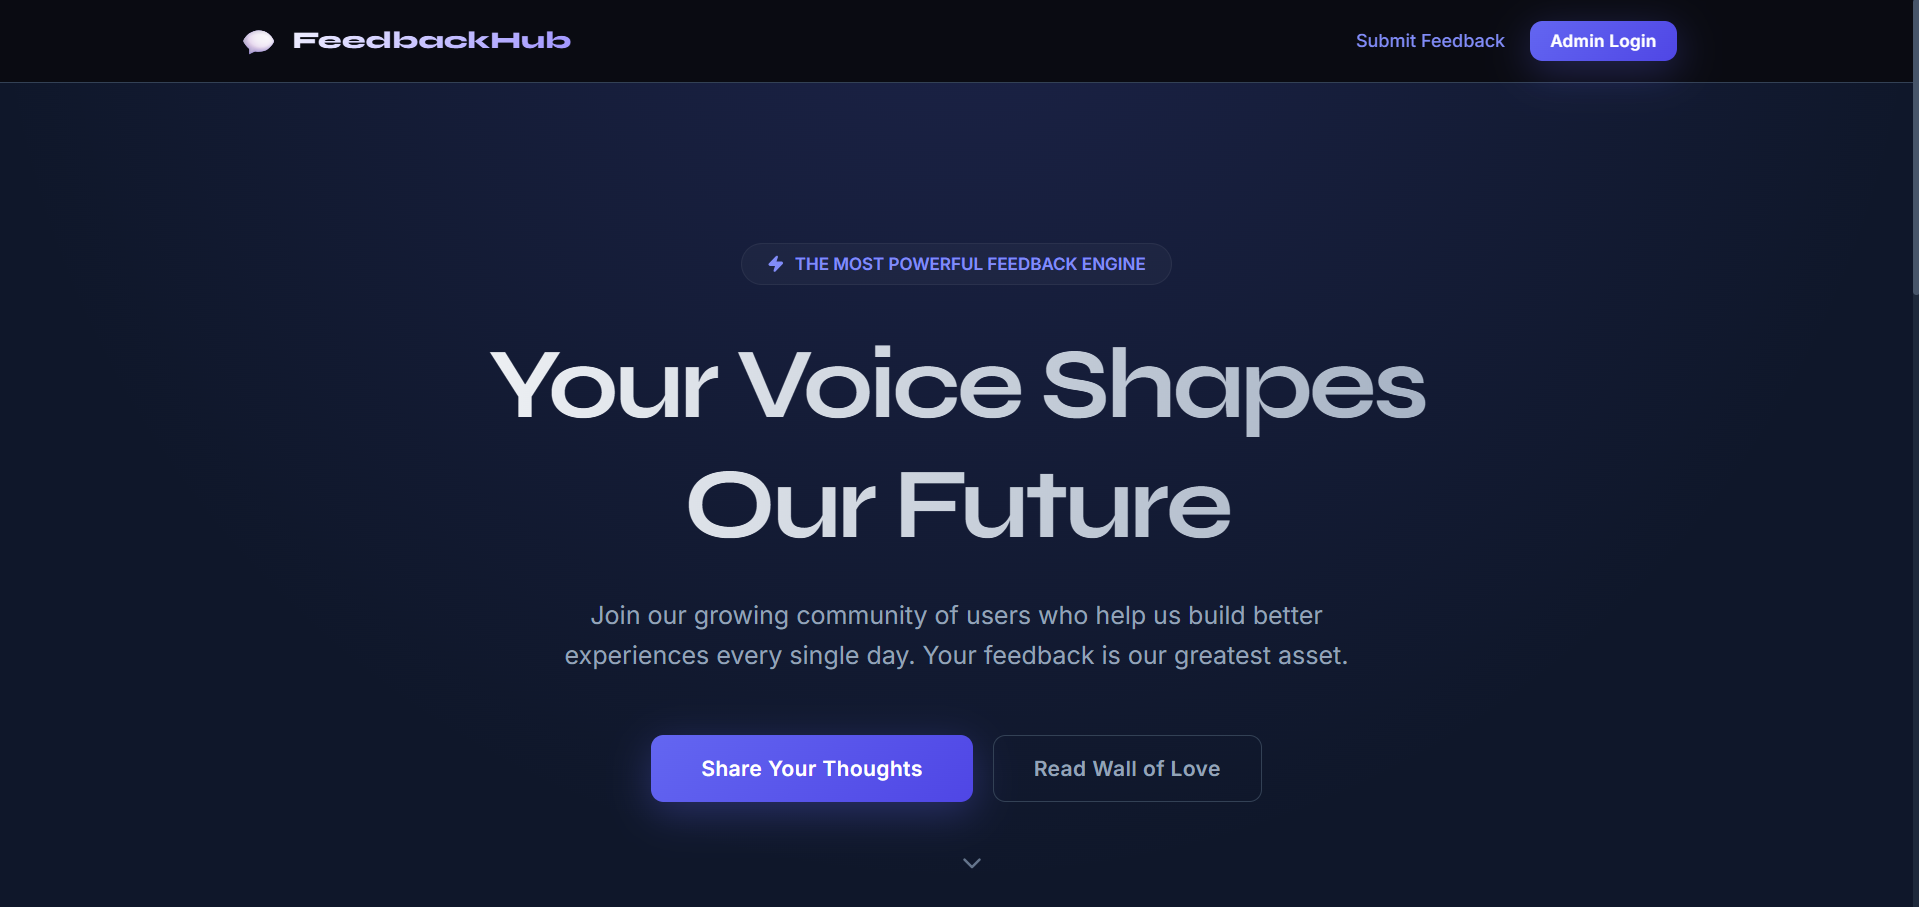
This project is a full-stack Feedback Collector System built using the MERN stack (MongoDB, Express.js, React.js, and Node.js). The application allows users to submit feedback through a simple and user-friendly interface. The submitted feedback is stored in a MongoDB database and can be viewed by the admin through a dashboard.
The system is designed to collect, manage, and analyze user feedback efficiently. It demonstrates real-world concepts such as form handling, API integration, data storage, and frontend-backend communication. The project is useful for understanding how feedback systems work in real applications like websites, services, or products.
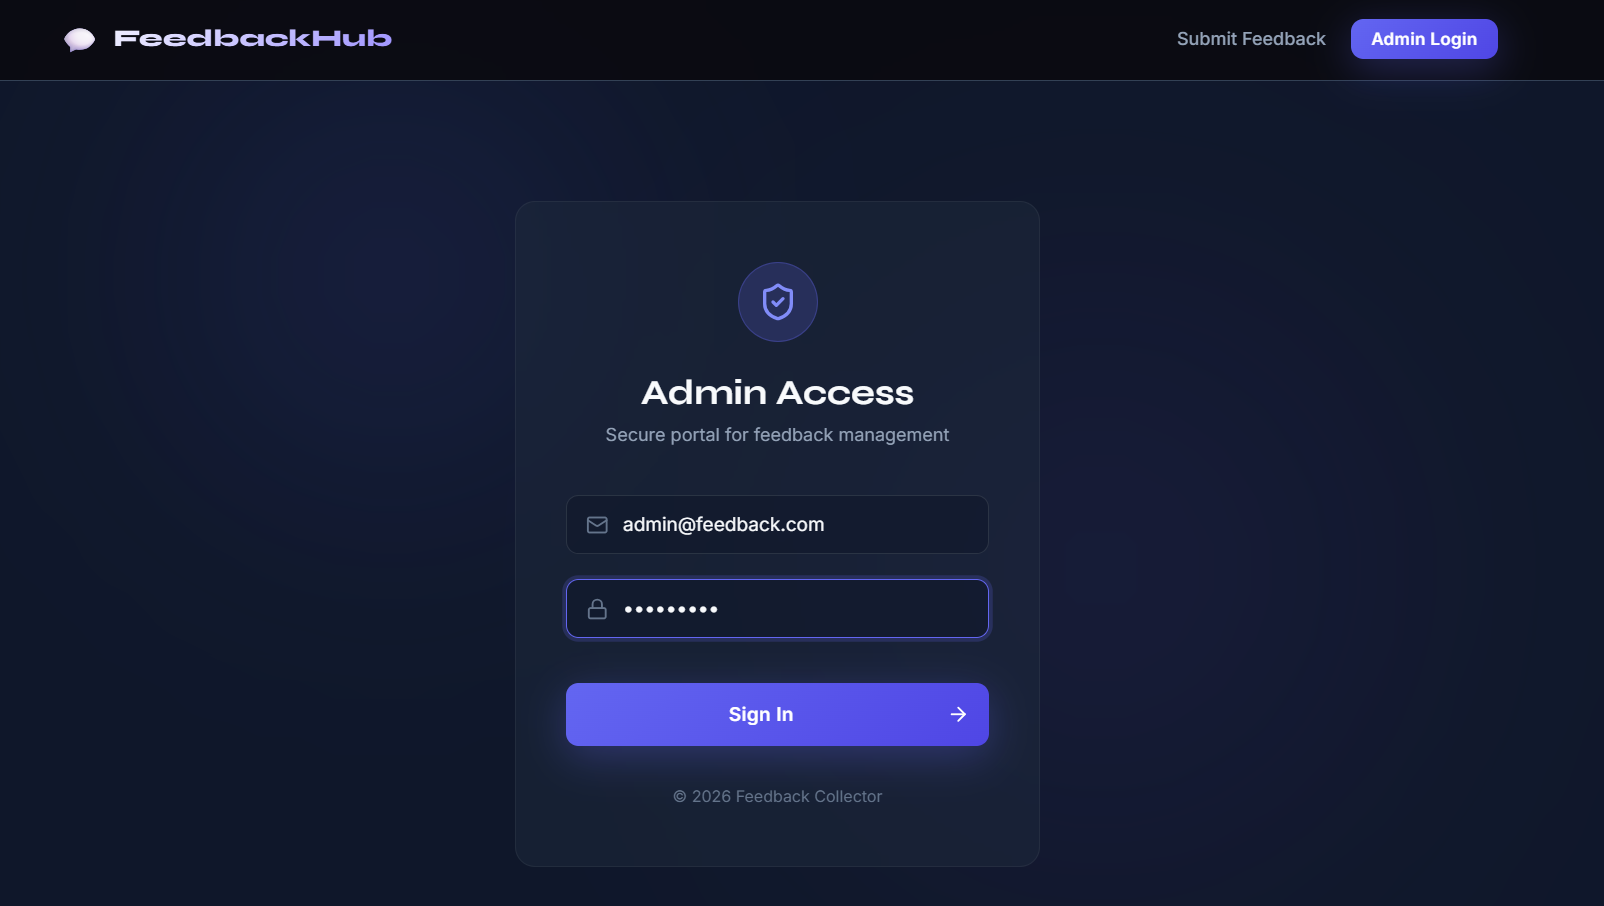
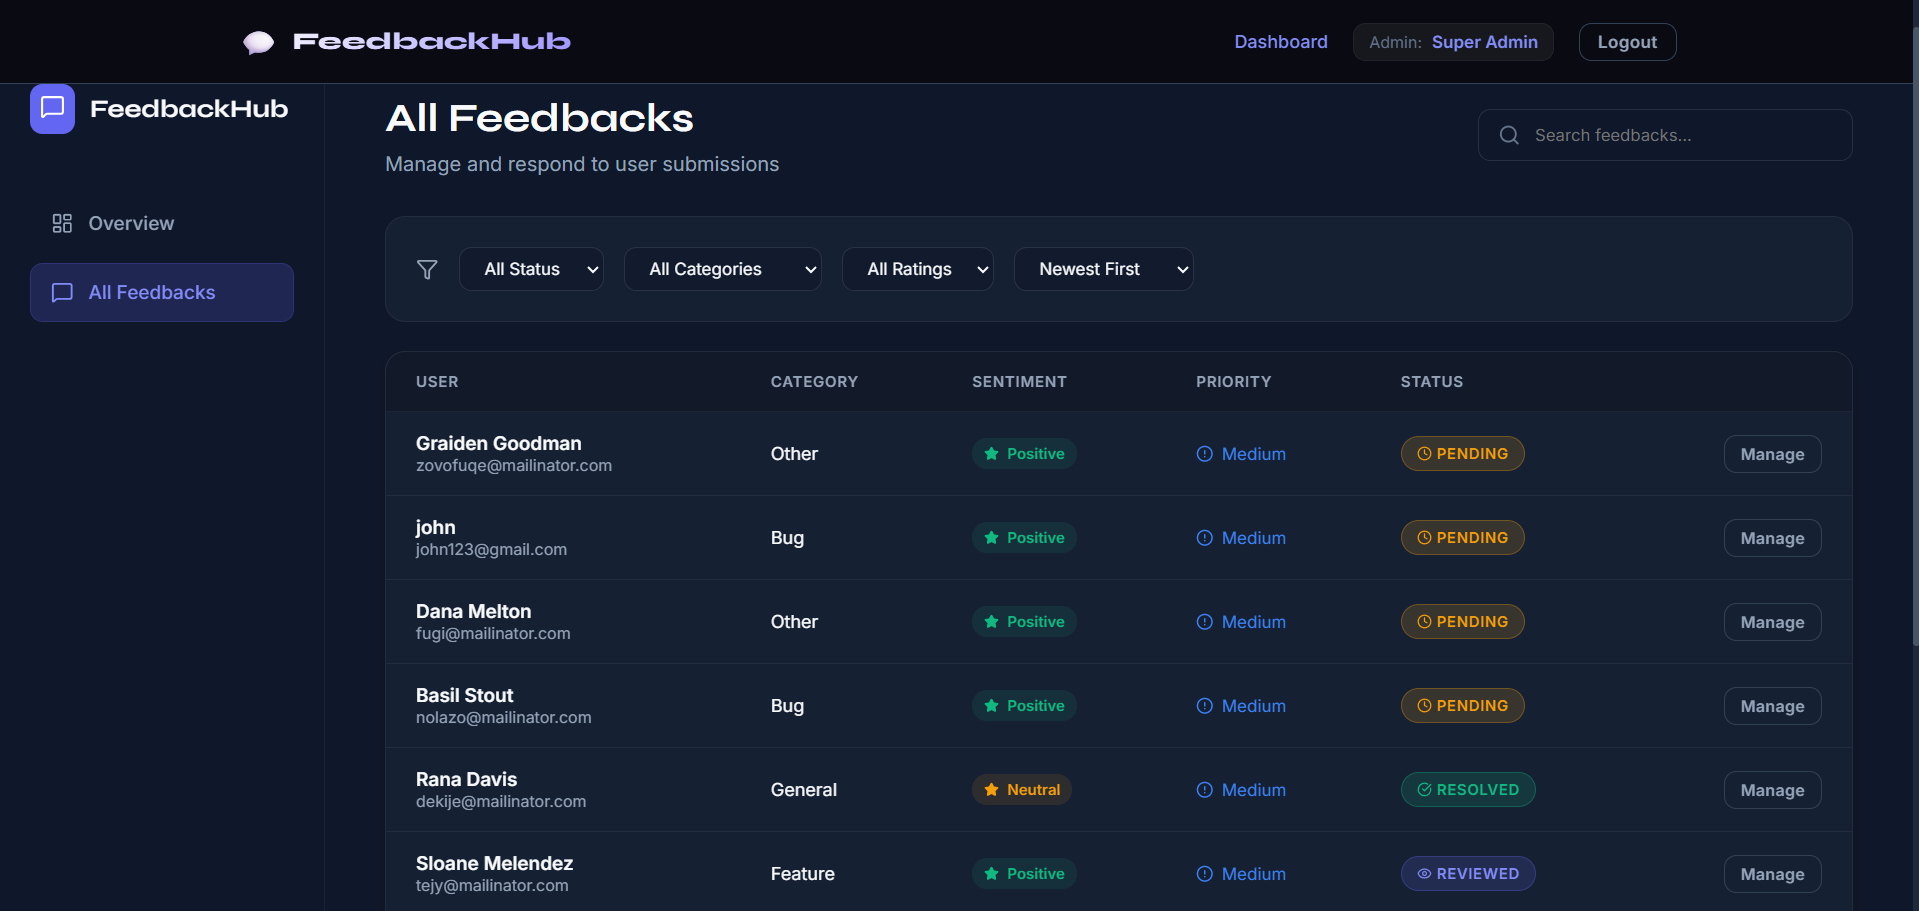
Screenshots
Key Features
- User Features:
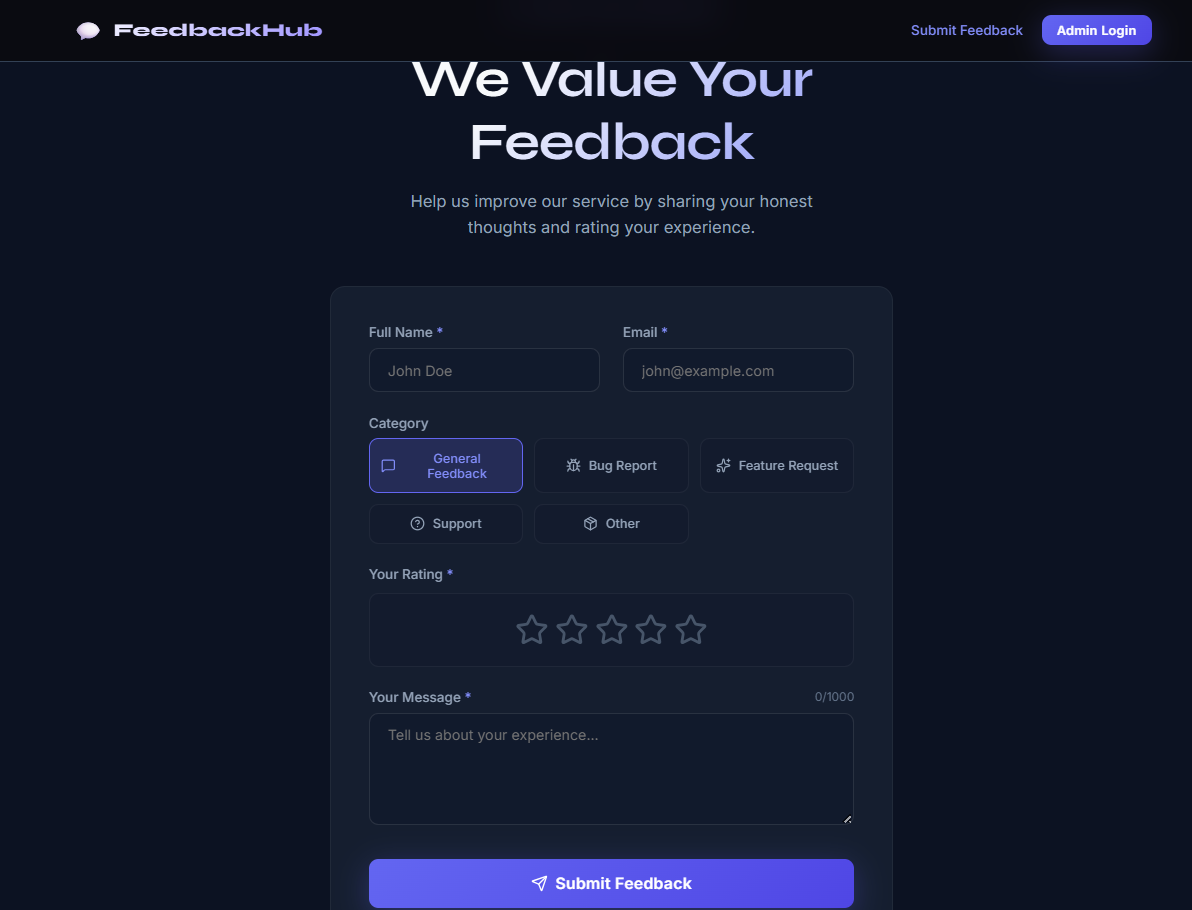
- Submit feedback using a form
- Input fields like name, email, message, rating (if included)
- Simple and responsive UI
- Form validation
- Admin Features:
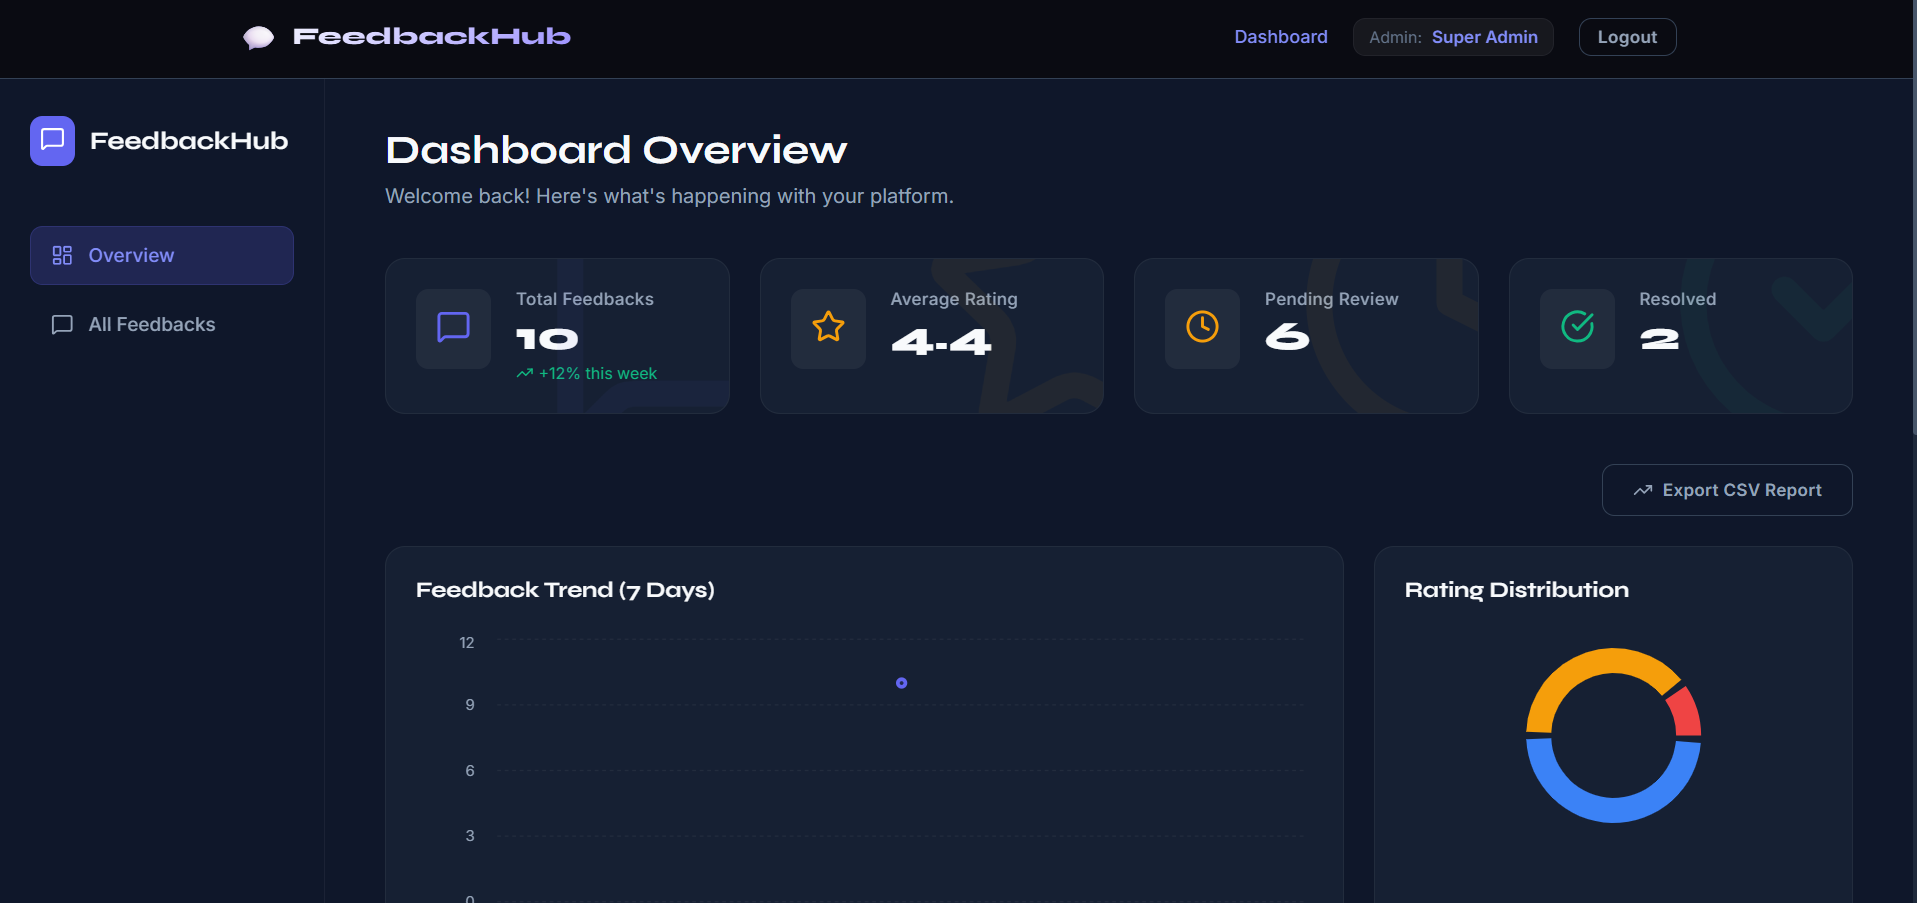
- View all submitted feedback
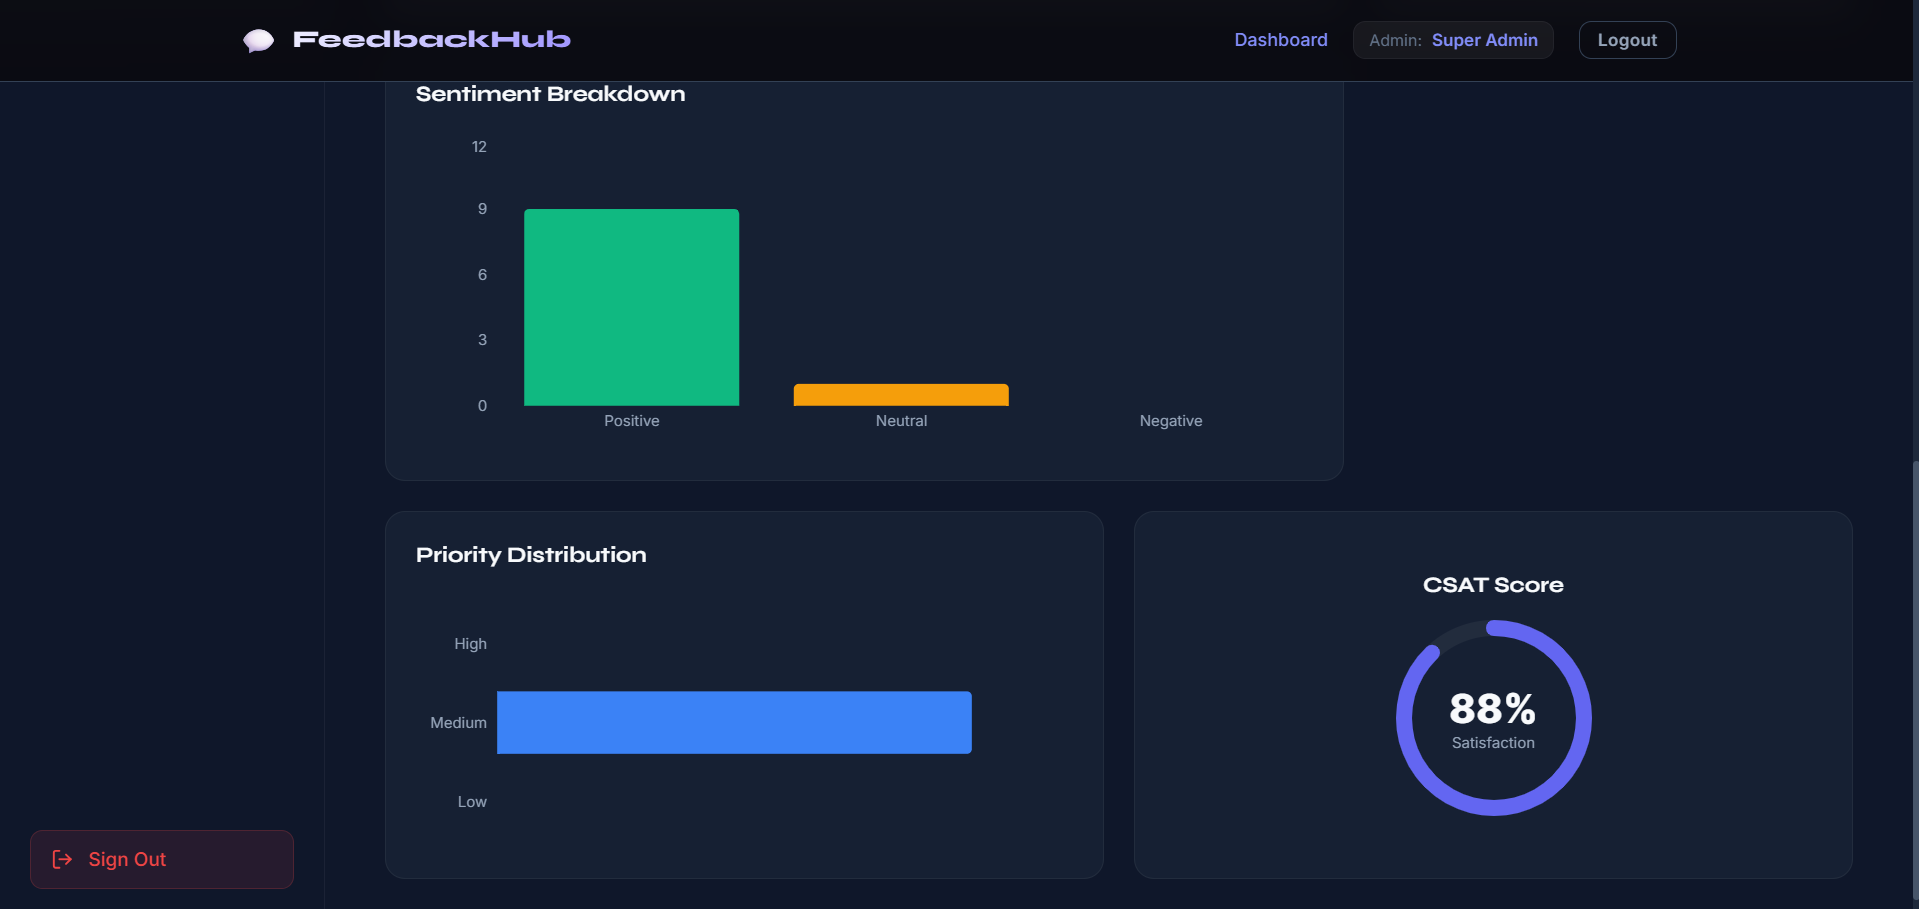
- Dashboard to manage feedback data
- Monitor user responses
- System Features:
- RESTful API structure
- MongoDB database storage
- Form handling with validation
- Error handling middleware
- Clean UI and data display
Functionaliy
- Feedback Submission:
- User fills out feedback form
- Data sent to backend via API
- Stored in MongoDB database
- Data Handling:
- Backend validates input data
- Saves feedback in database
- Handles errors properly
- Admin Dashboard:
- Admin views all feedback entries
- Displays feedback in list/table format
- API Structure:
/api/feedback→ submit feedback/api/admin/feedback→ view/manage feedback
Technology Used
- Frontend:
- React.js
- Axios
- CSS
- Backend:
- Node.js
- Express.js
- MongoDB
- Mongoose
- Other Tools:
- dotenv
- Middleware (error handling, validation)
Why This Project Is Useful
- Helps understand full-stack development using MERN
- Covers important concepts:
- Form handling
- API integration
- CRUD operations
- Database storage
- Useful for:
- Portfolio project
- College assignment
- Real-world application learning
Deployment and Environment Setup
- Environment Variables Setup:
- backend/.env
- PORT: 3000
- MONGO_URI: mongodb_url_string
- JWT_SECRET: your_jwt_secret_key_here (if needed)
- frontend/.env
- VITE_API_URL: backend_url
- backend/.env
- Deployment Overview:
- Render or Railway for backend hosting
- Vercel or Netlify for frontend hosting
- MongoDB Atlas for the database
- Backend Deployment:
- Push your code to GitHub.
- Go to Render.com or Railway.app.
- Create a new Web Service and connect your GitHub repository.
- Choose “backend/” as the root directory.
- Add the following environment variables on Render:
- PORT=10000
- MONGO_URI=your MongoDB Atlas URI
- JWT_SECRET=your JWT secret
- Start command: npm start (Ensure your backend/package.json includes “start”: “node server.js”)
- After deployment, note your backend URL, e.g. https://your-backend-name.onrender.com
- Frontend Deployment:
- Go to Vercel.com or Netlify.com.
- Create a new project and connect the GitHub repo.
- Select the “frontend/” folder as root.
- In environment variables, set:
- VITE_API_URL=https://your-backend-domain.com/api (or REACT_APP_API_URL if using CRA)
- Deploy.
- MongoDB Atlas Setup:
- Go to https://cloud.mongodb.com
- Create a free cluster.
- Add your current IP address in Network Access.
- Create a database user and password.
- Copy the connection string and replace username, password, and database name in MONGO_URI in backend/.env
Download Source Code
Project Setup Instructions
Note: This project is for educational purposes only. Not for commercial sale.


