Project Overview
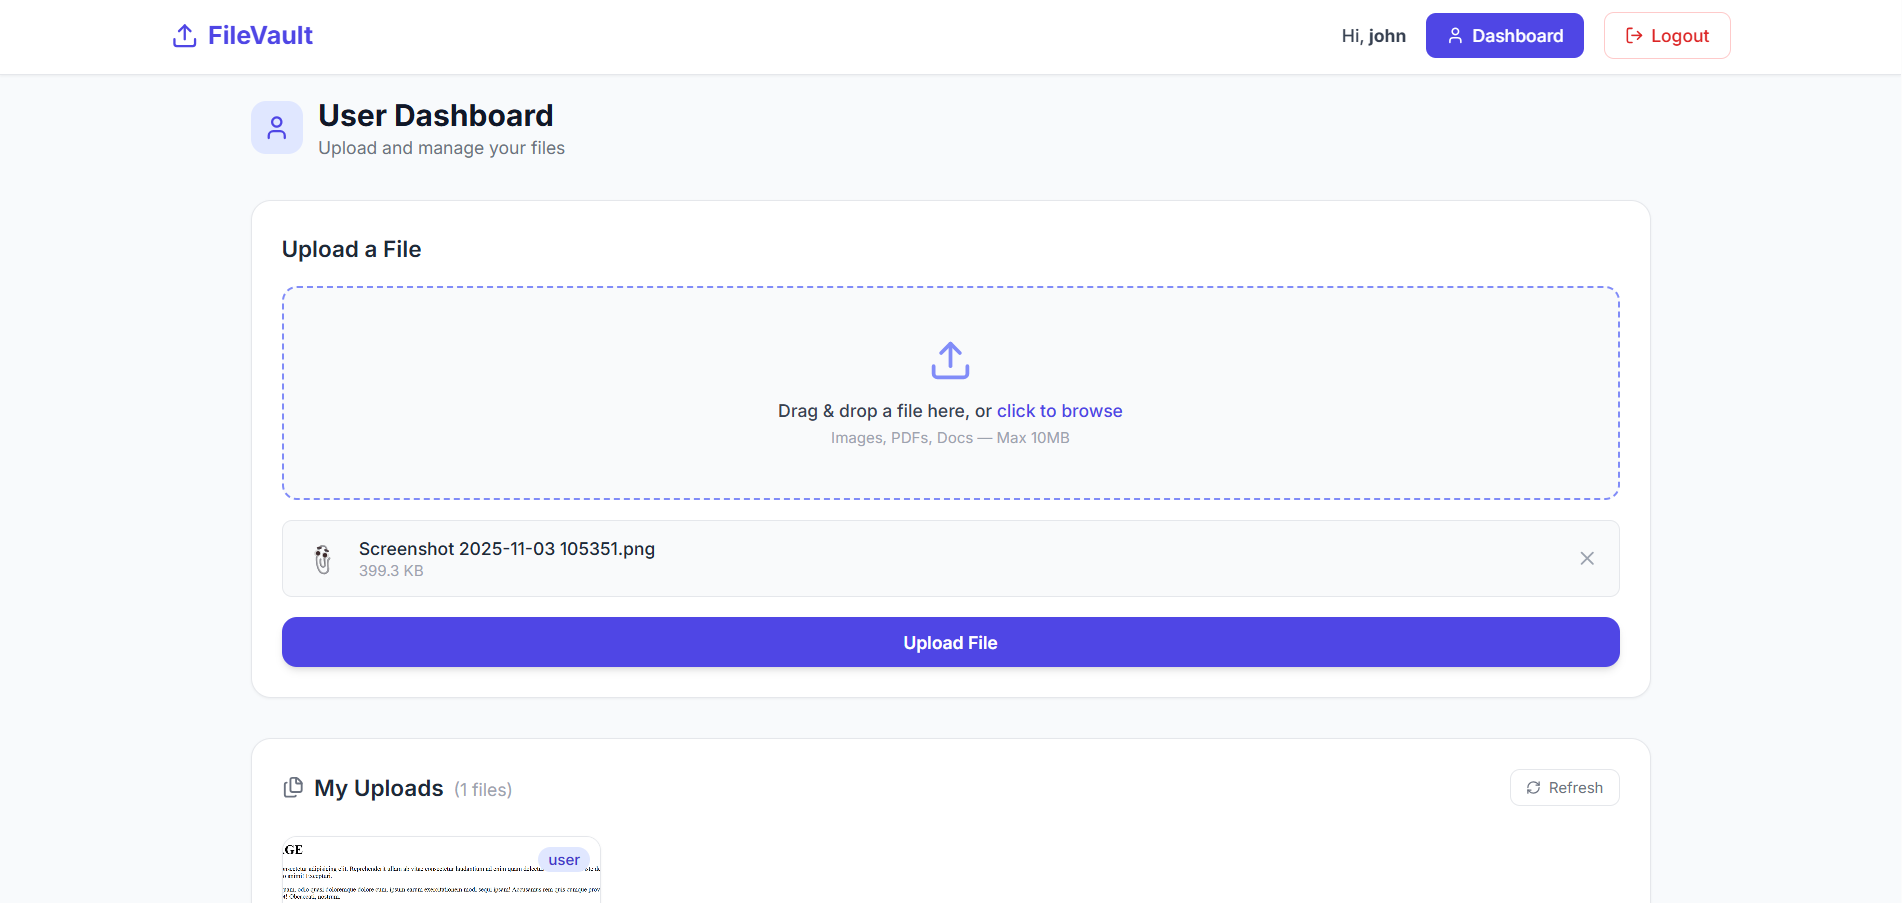
This project is a file upload application where users can upload, view, and delete files. The backend uses Multer for file handling, and the frontend is built with React.
Overall, the system is a basic version of something similar to Google Drive.
Screenshots

Key Features
- File Upload (image/file upload using Multer)
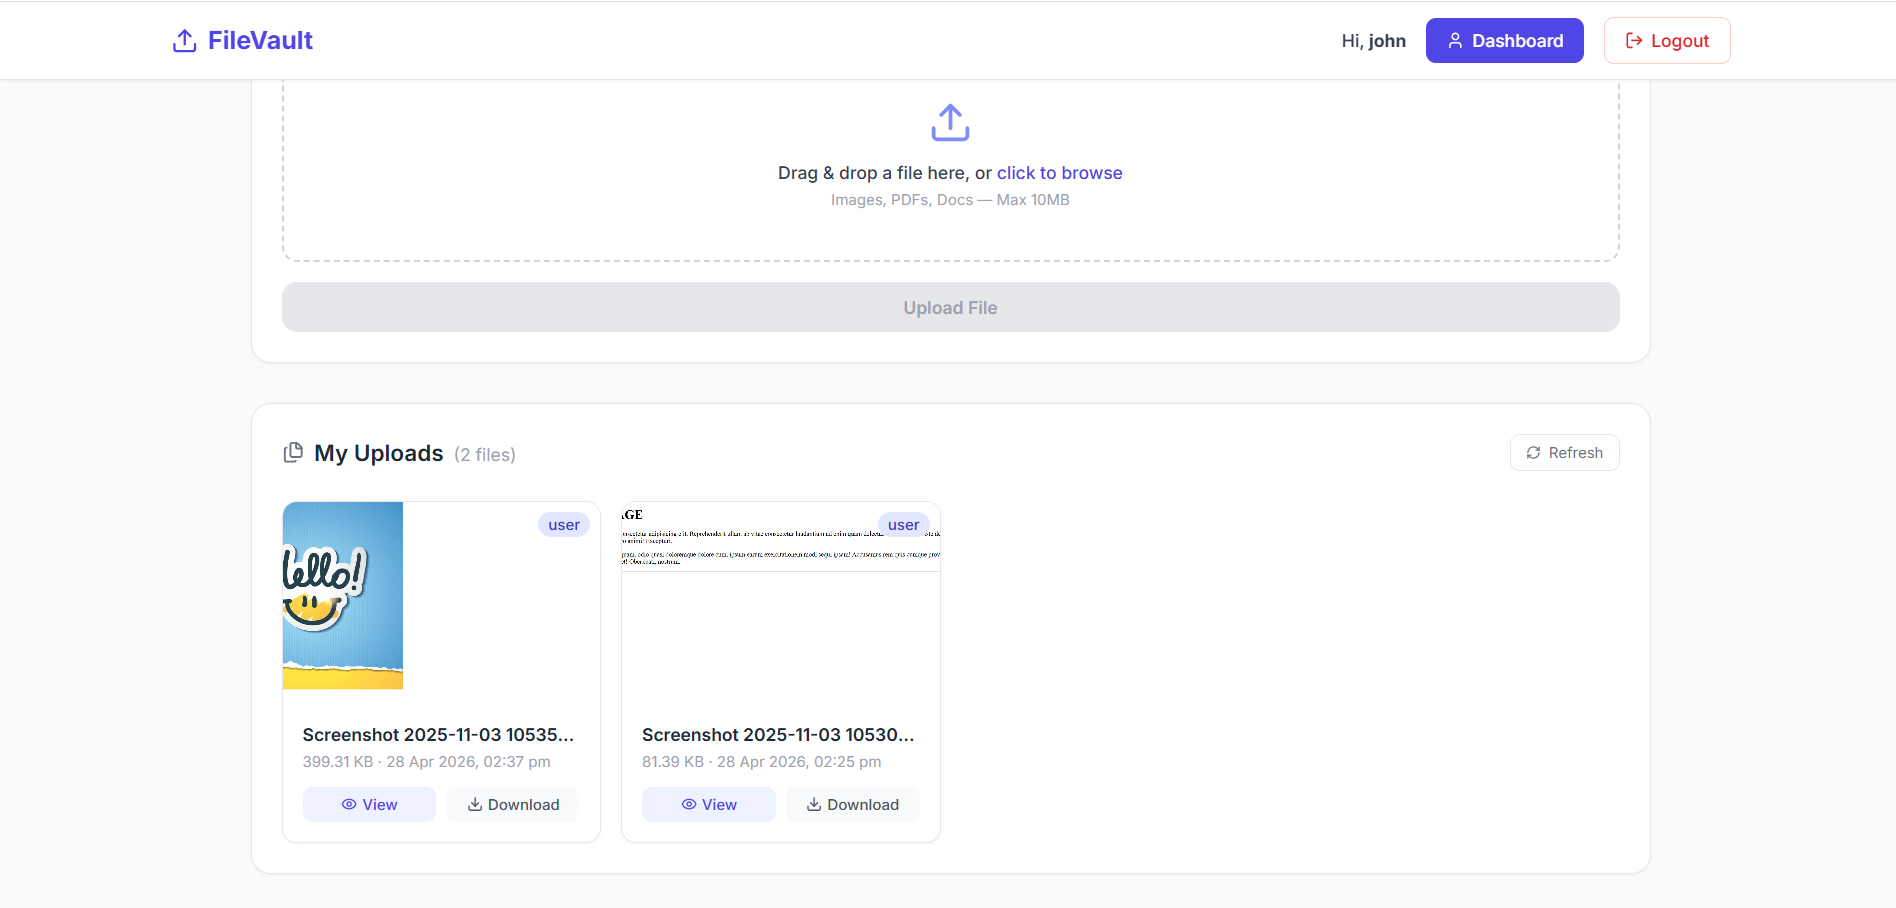
- File Listing (uploaded files ni list show thay)
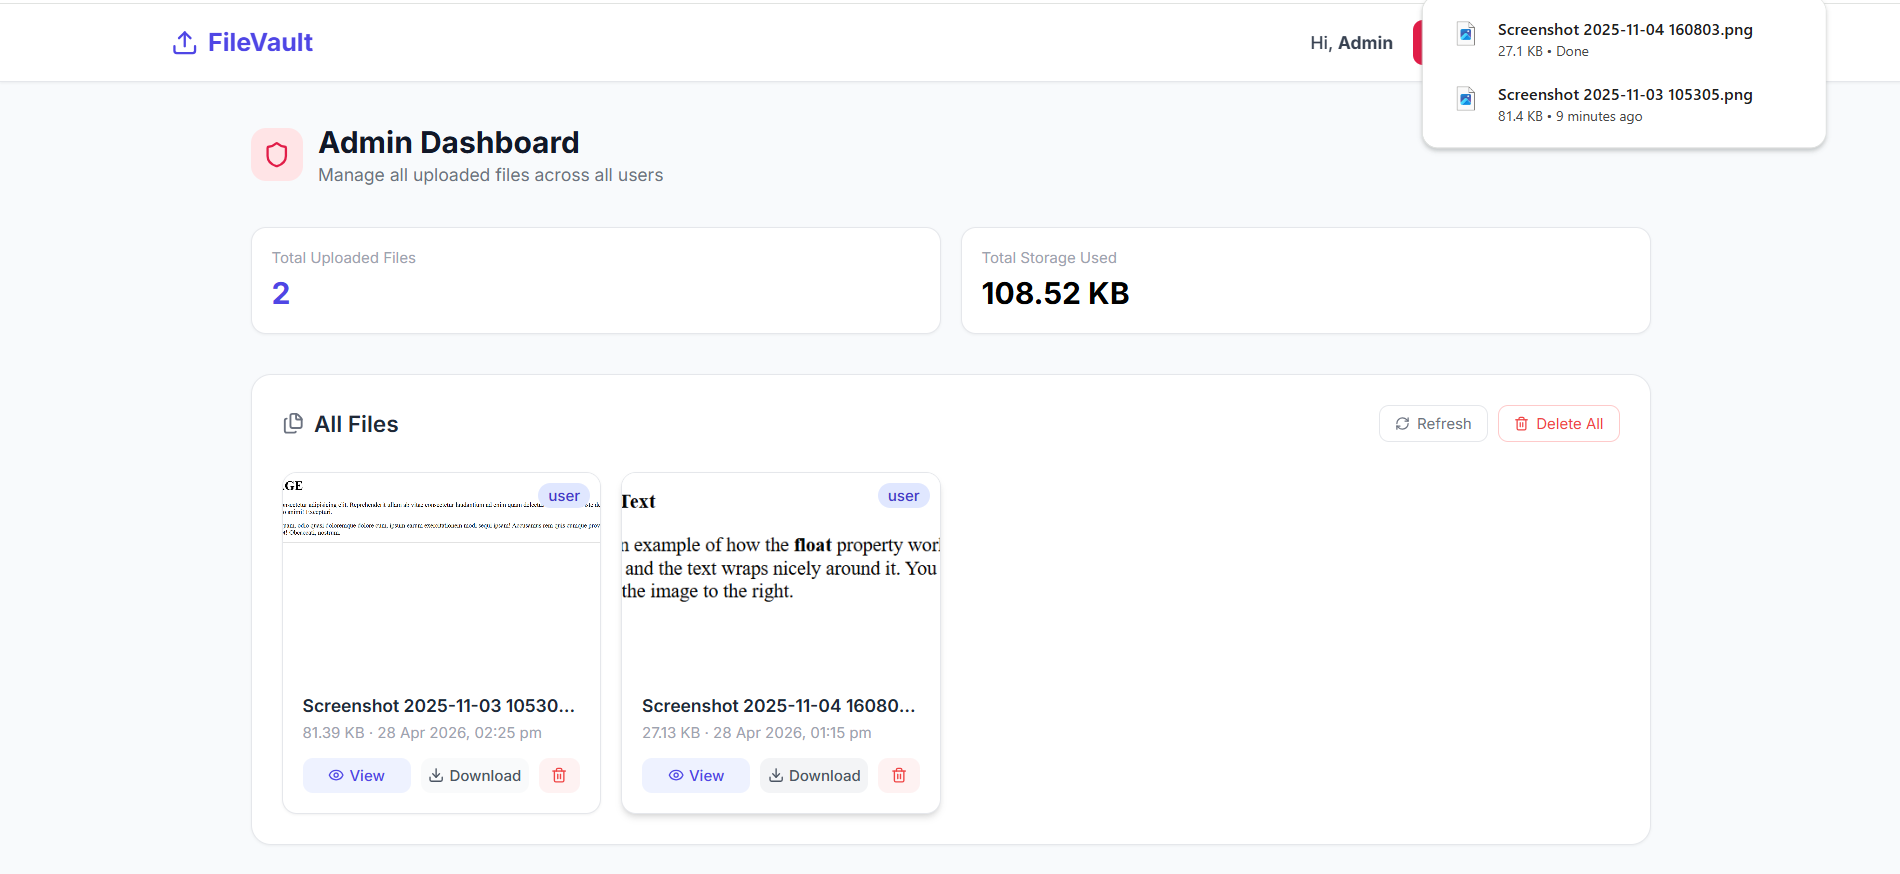
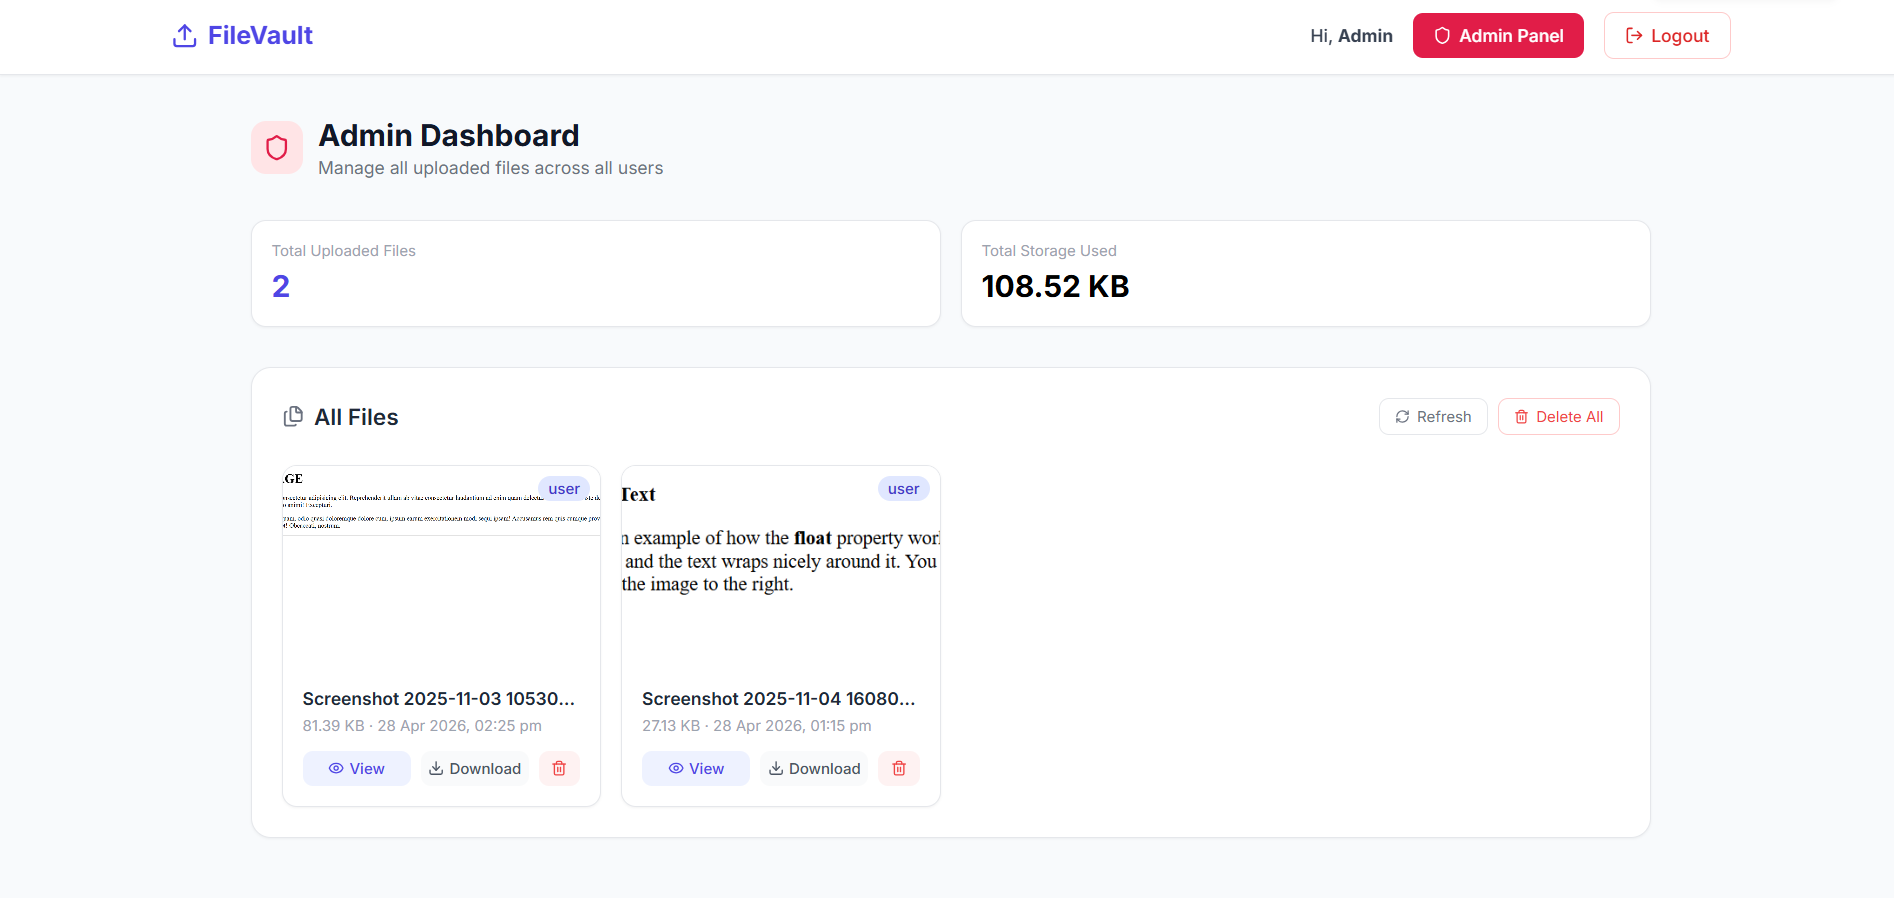
- File Delete (files remove kari shake)
- User Page & Admin Page alag-alag
- Backend API (REST APIs)
- Fast frontend using Vite + React
Functionaliy
- File Upload
- User frontend ma file select kare
- Request backend ne mokle
- Multer file ne
uploads/folder ma save kare - File info database ma store thay
- View Files
- Backend
/filesAPI thi data aape - Frontend
FileList.jsxma list show kare
- Backend
- Delete File
- User delete button click kare
- Backend API call thay
- File folder mathi remove thay (
fs.unlink) - DB mathi pan delete thay
- Pages Structure
UserPage.jsx→ normal user mate upload + viewAdminPage.jsx→ admin control (manage files)
- Backend Structure
controllers/fileController.js→ logicroutes/fileRoutes.js→ API routesmiddleware/uploadMiddleware.js→ Multer configmodels/fileModel.js→ MongoDB schemauploads/→ stored files
Technology Used
- Backend:
- Node.js
- Express.js
- Multer (file upload)
- MongoDB (file data store)
- Frontend:
- React.js
- Vite
- CSS
Why This Project Is Useful
- Multer samajva mate best practical example
- Frontend + Backend connection (API integration) samjase
- Real-world file handling (upload/delete/view) sikhvade
- Interview ma batava mate strong CRUD + file project
- Future ma cloud storage (Cloudinary, S3) add kari sakay
Deployment and Environment Setup
- Environment Variables Setup:
- backend/.env
- PORT: 3000
- MONGO_URI: mongodb_url_string
- JWT_SECRET: your_jwt_secret_key_here (if needed)
- frontend/.env
- VITE_API_URL: backend_url
- backend/.env
- Deployment Overview:
- Render or Railway for backend hosting
- Vercel or Netlify for frontend hosting
- MongoDB Atlas for the database
- Backend Deployment:
- Push your code to GitHub.
- Go to Render.com or Railway.app.
- Create a new Web Service and connect your GitHub repository.
- Choose “backend/” as the root directory.
- Add the following environment variables on Render:
- PORT=10000
- MONGO_URI=your MongoDB Atlas URI
- JWT_SECRET=your JWT secret
- Start command: npm start (Ensure your backend/package.json includes “start”: “node server.js”)
- After deployment, note your backend URL, e.g. https://your-backend-name.onrender.com
- Frontend Deployment:
- Go to Vercel.com or Netlify.com.
- Create a new project and connect the GitHub repo.
- Select the “frontend/” folder as root.
- In environment variables, set:
- VITE_API_URL=https://your-backend-domain.com/api (or REACT_APP_API_URL if using CRA)
- Deploy.
- MongoDB Atlas Setup:
- Go to https://cloud.mongodb.com
- Create a free cluster.
- Add your current IP address in Network Access.
- Create a database user and password.
- Copy the connection string and replace username, password, and database name in MONGO_URI in backend/.env
Download Source Code
Project Setup Instructions
Note: This project is for educational purposes only. Not for commercial sale.


