Project Overview
The Role-Based Authentication System is a secure web application built using the MERN stack (MongoDB, Express.js, React.js, Node.js). This project allows users to register with a specific role — User, Seller, or Admin — and access different dashboards or pages based on their assigned roles.
It uses JWT (JSON Web Token) for authentication to ensure secure login sessions. Each user’s credentials and role are stored in MongoDB, and upon successful login, a JWT token is generated by the backend and stored in localStorage on the client side for session management.
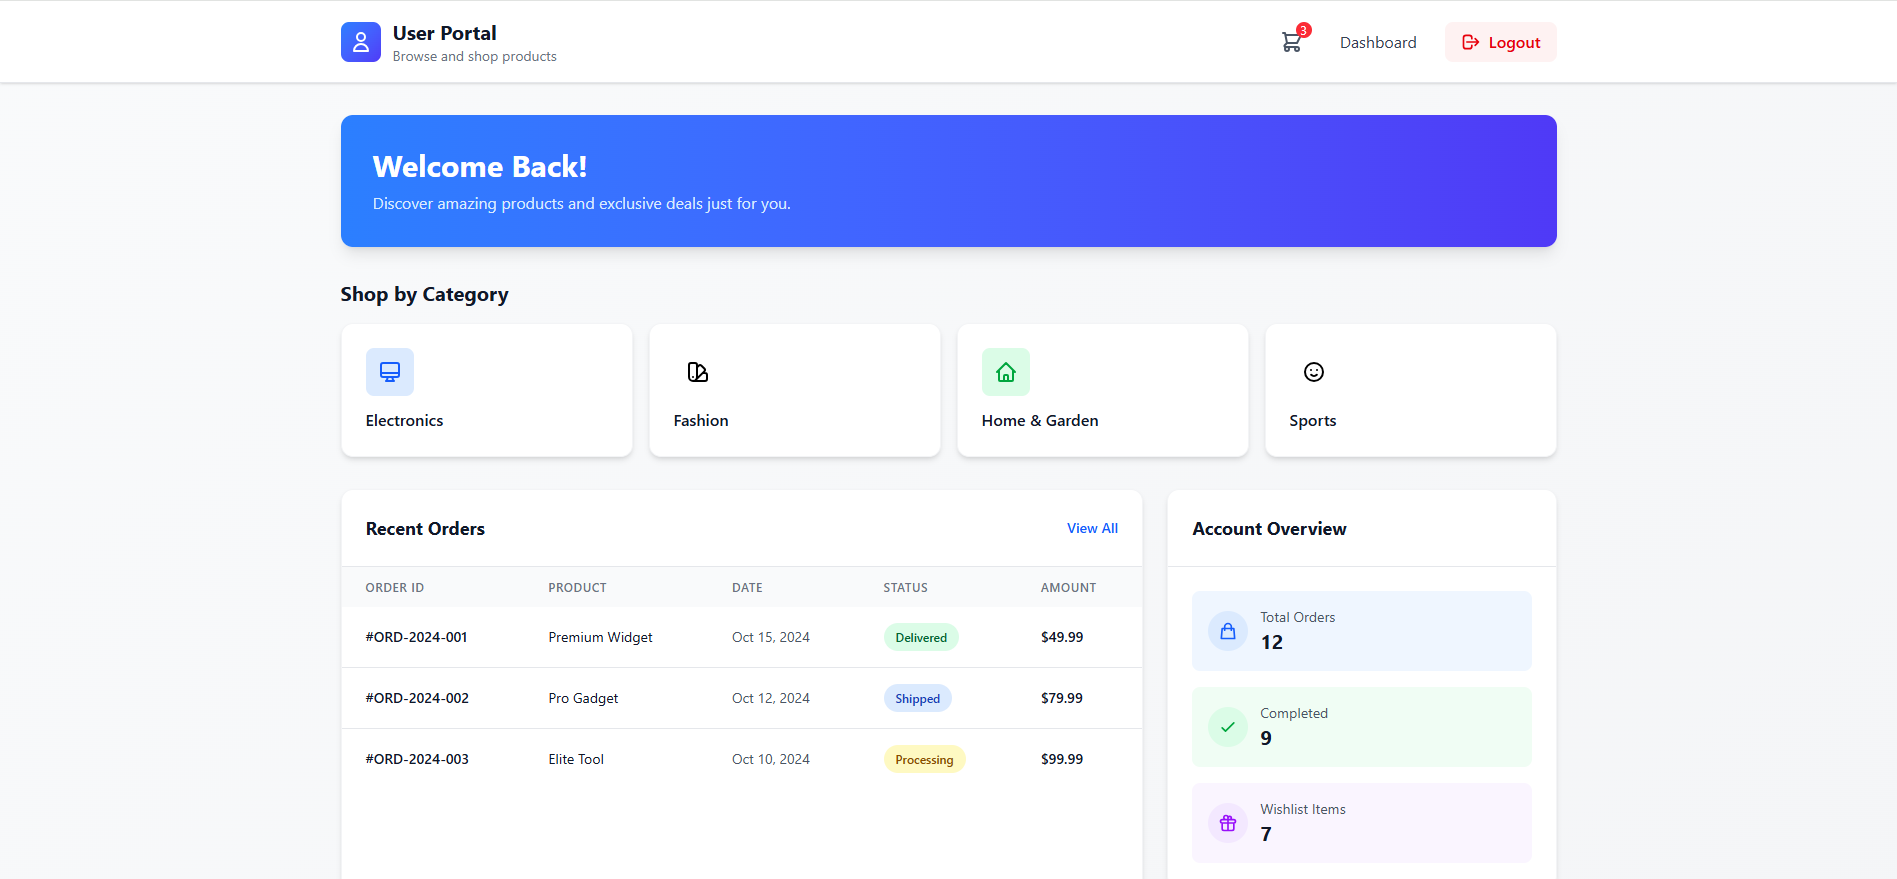
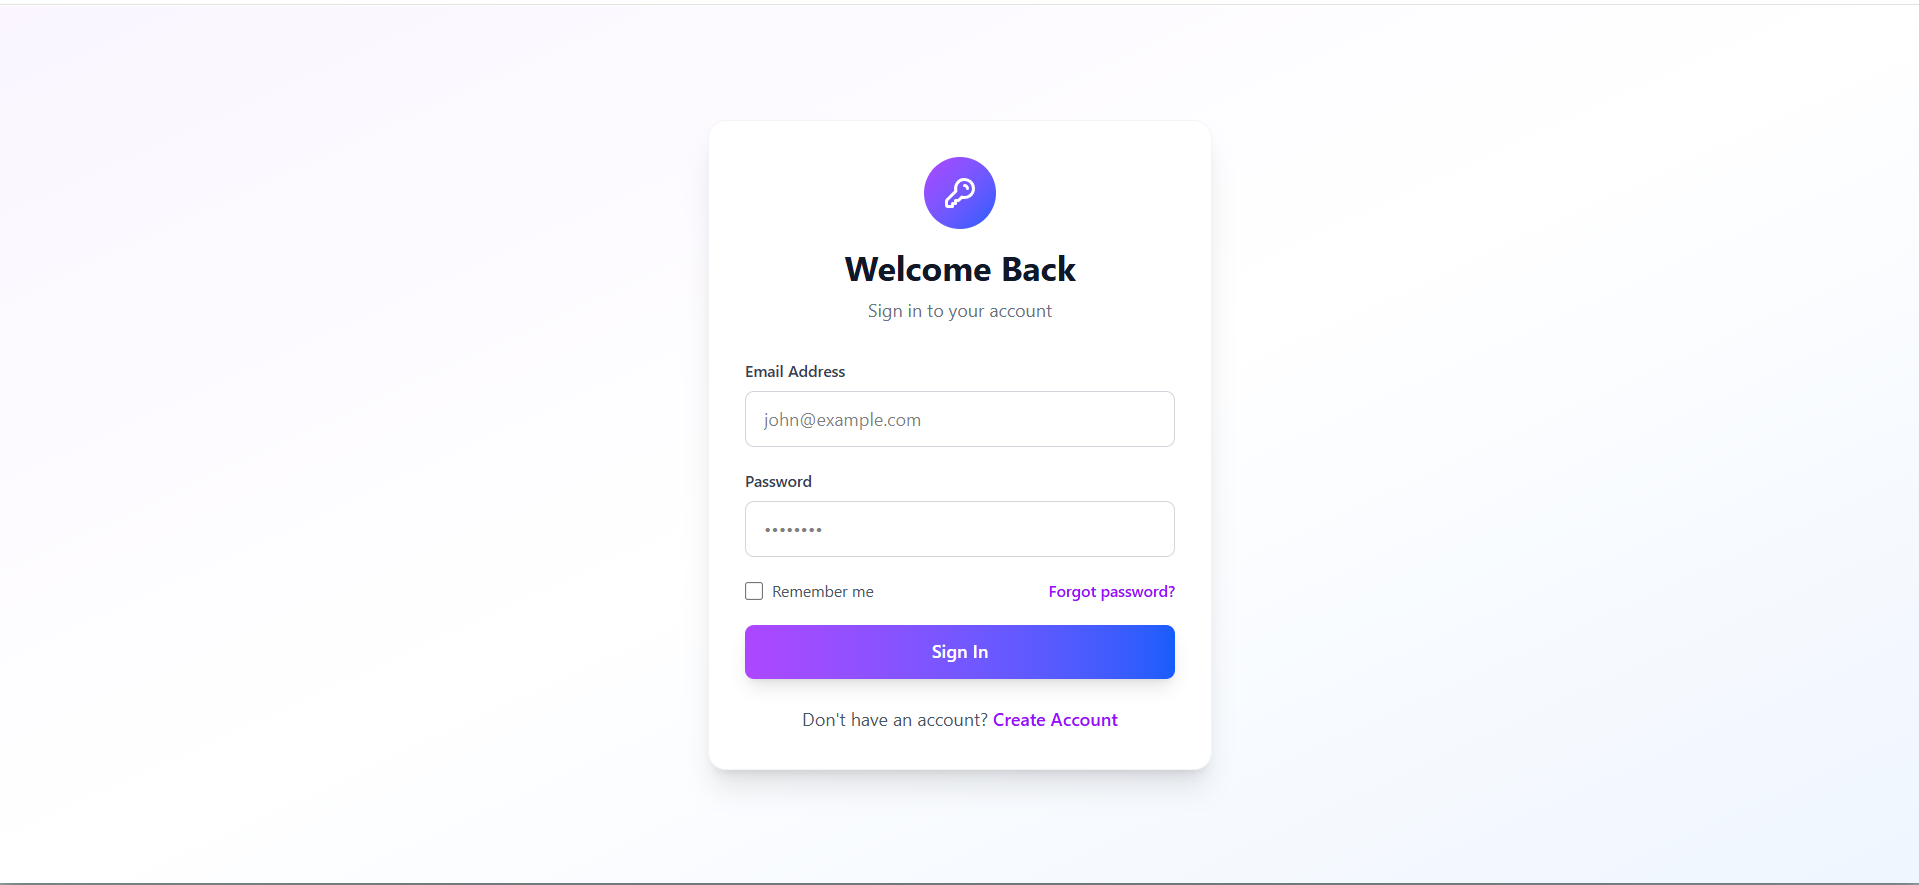
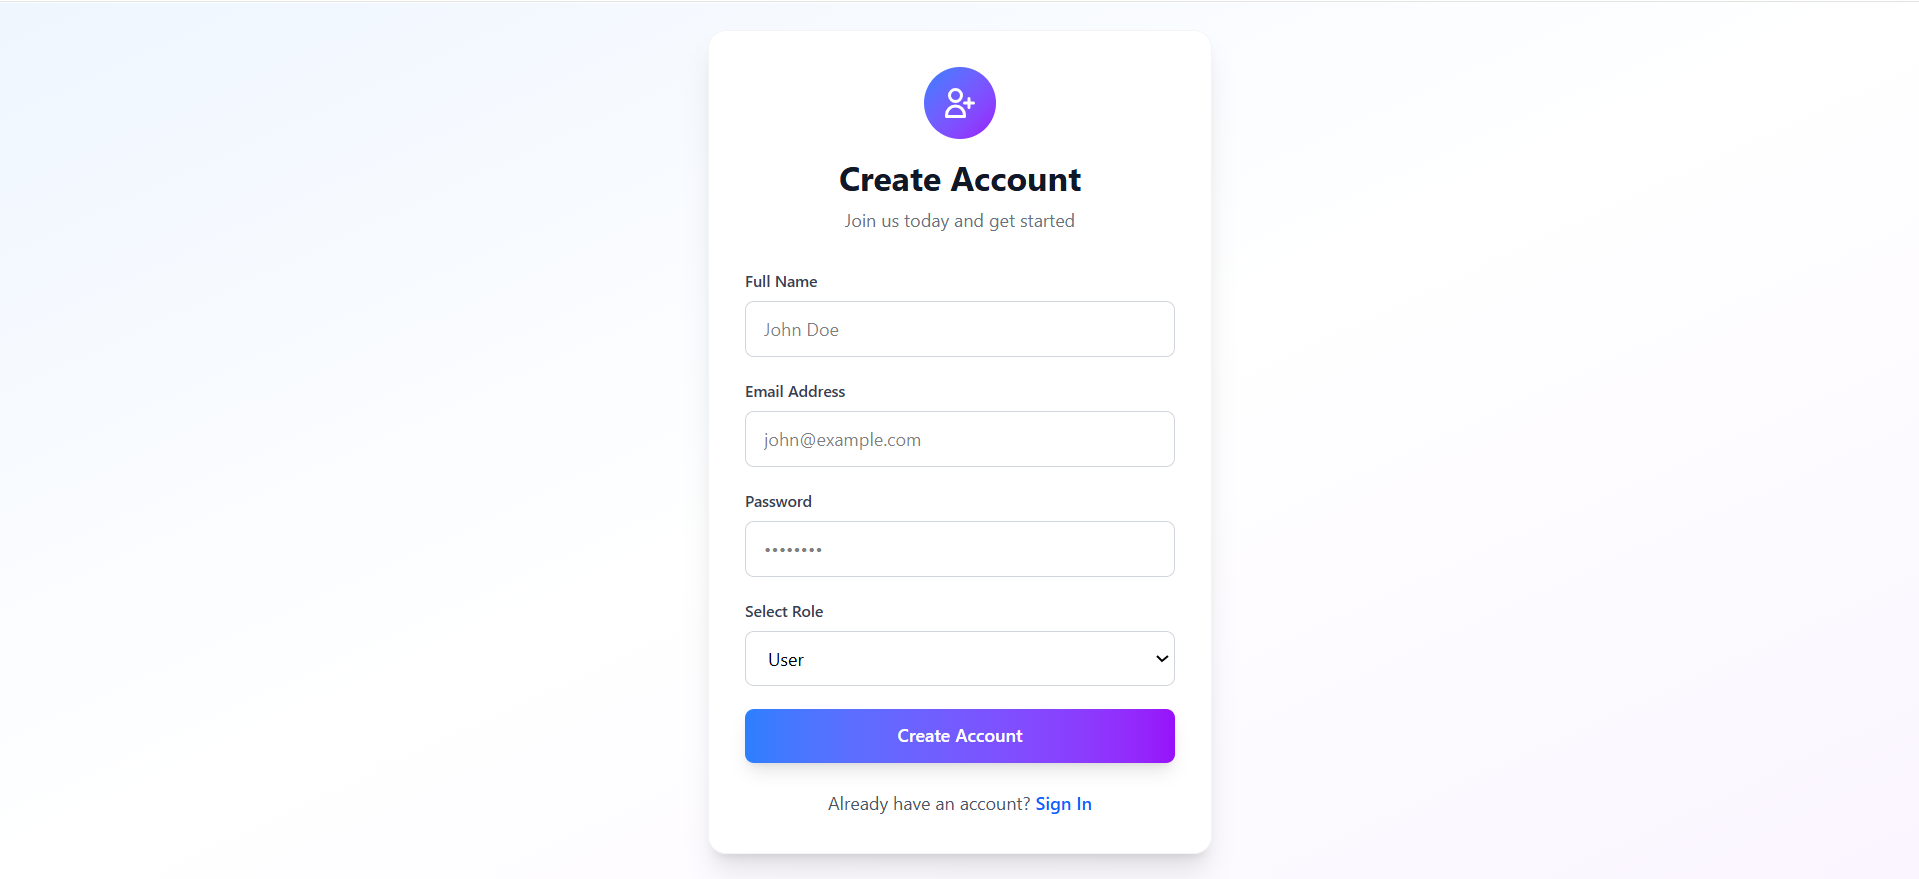
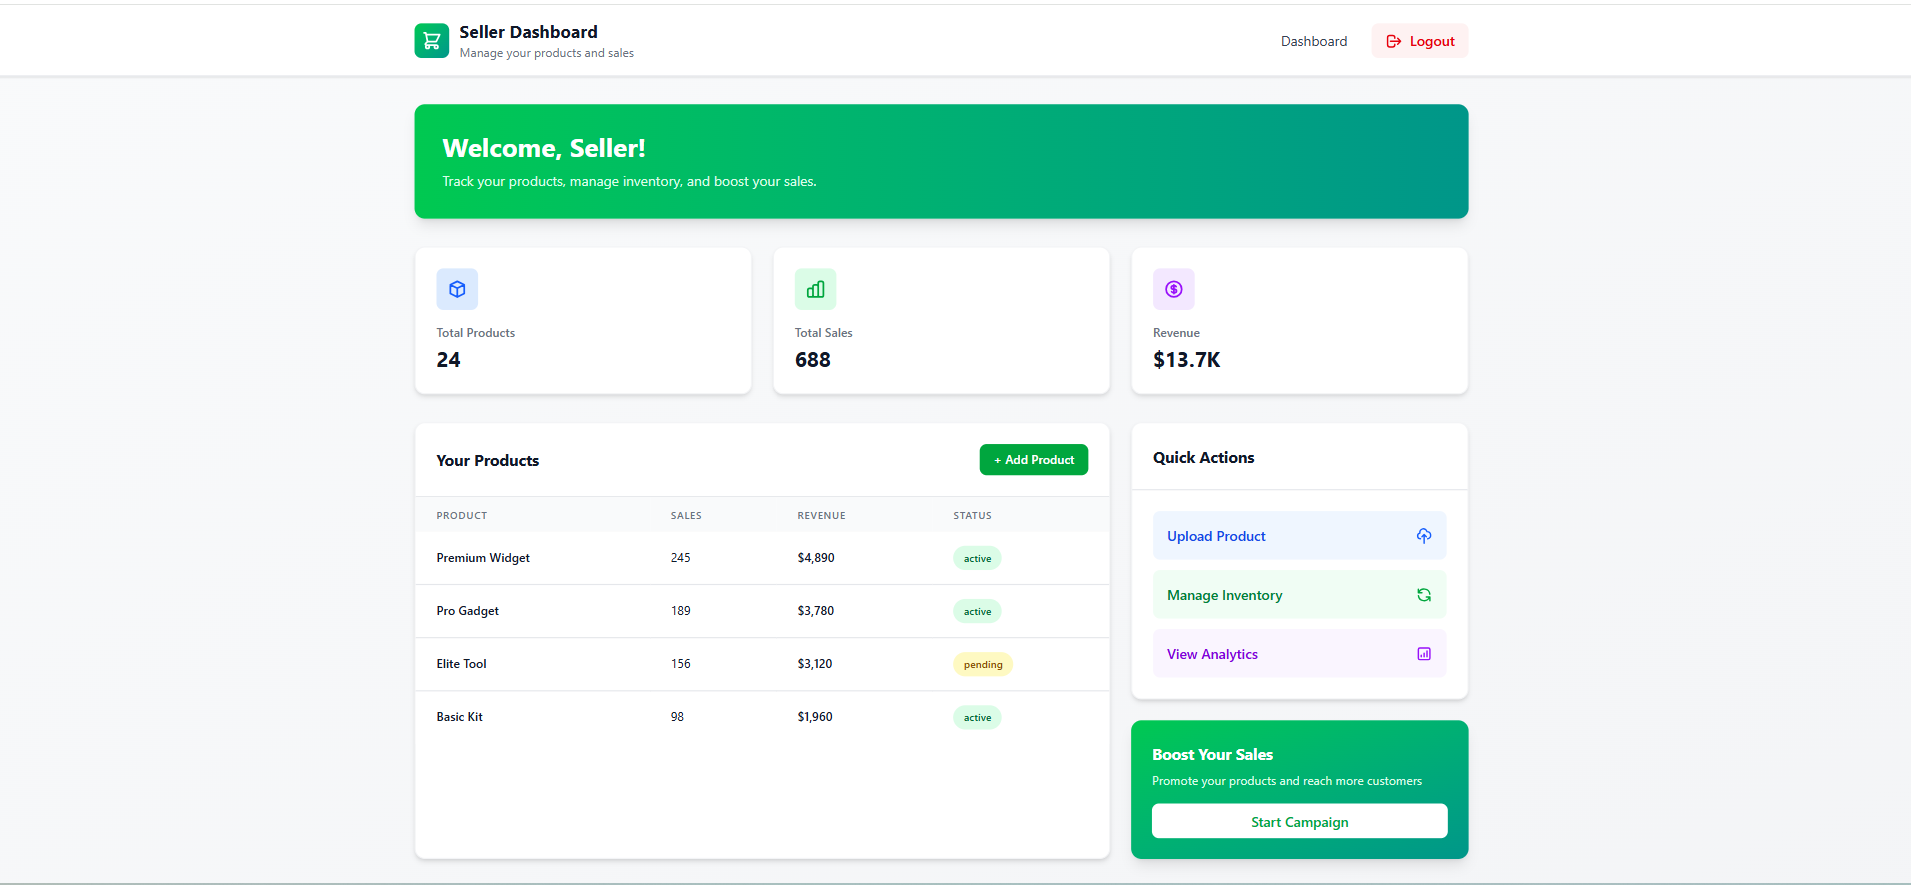
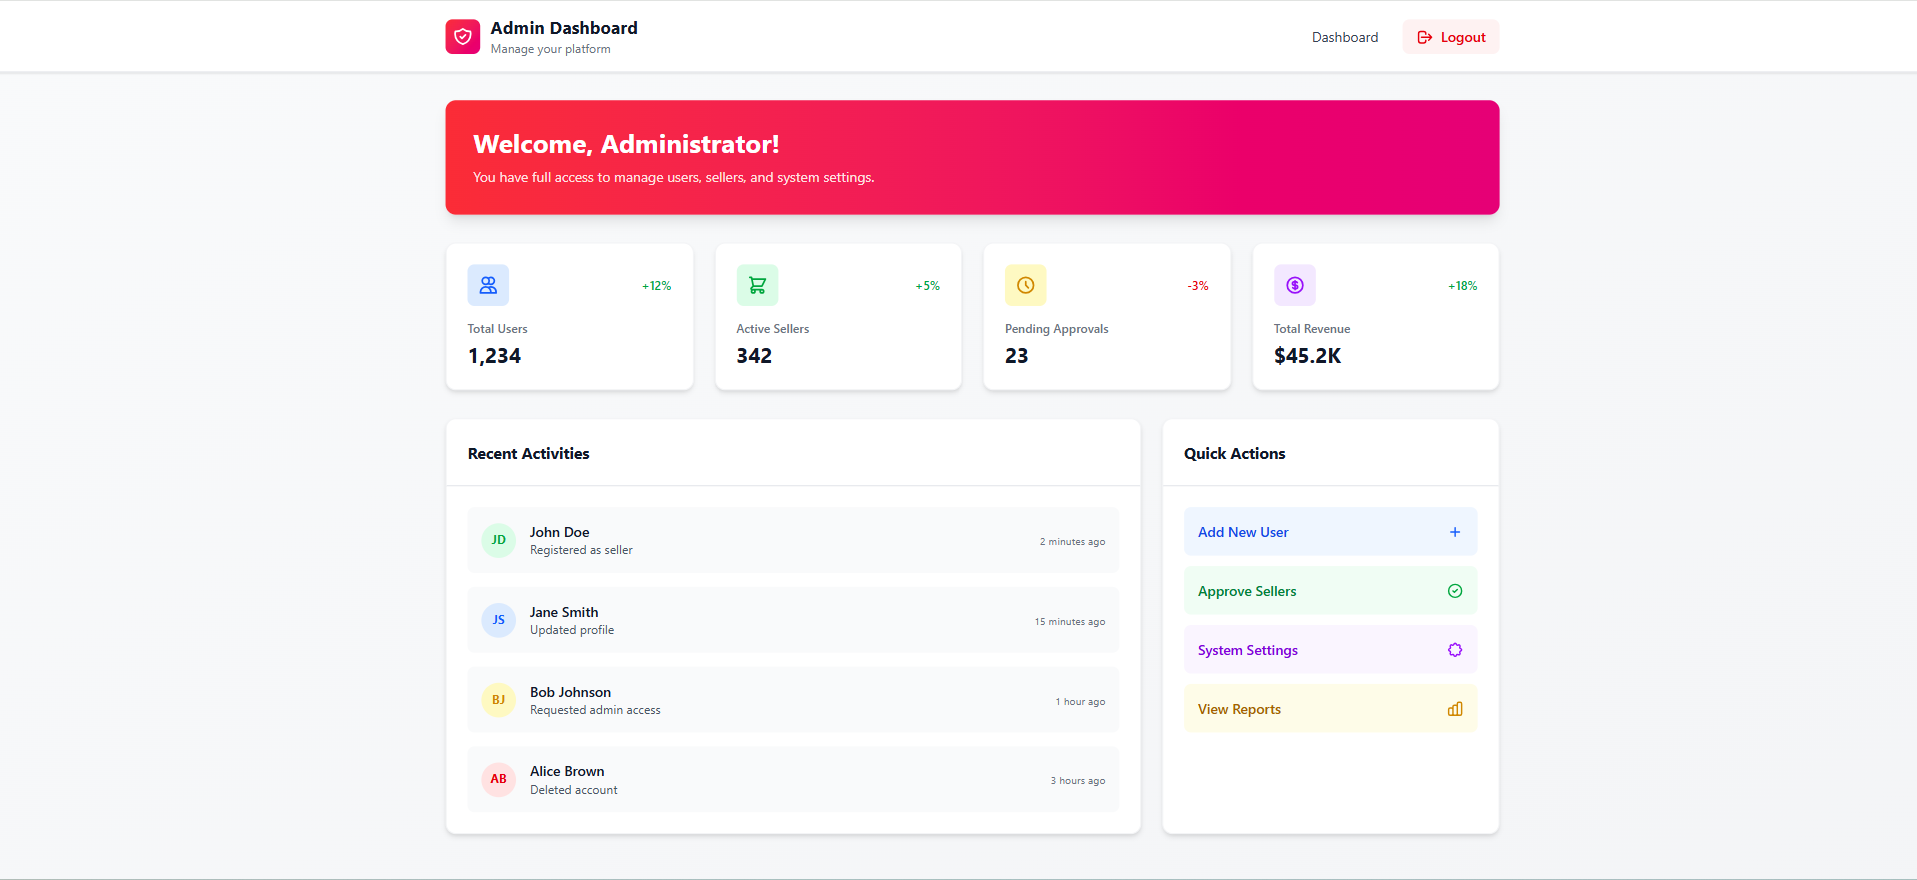
Screenshots
Key Features
- Role-based Access Control (RBAC): Different dashboards and permissions for User, Seller, and Admin.
- JWT Authentication: Secure login using JWT secret key for backend verification.
- Secure Login & Registration: Passwords are encrypted and safely stored in the database.
- Dynamic Role Routing: Redirects to role-specific pages after successful login.
- Persistent Login: JWT stored in localStorage allows maintaining sessions until logout.
- Protected Routes: Only authorized roles can access their respective routes.
- MongoDB Data Management: Stores user data, roles, and authentication tokens securely.
- Logout Functionality: Clears JWT from localStorage to end session securely.
Functionality
- User Registration:
- Register by selecting role (User, Seller, or Admin).
- Data saved in MongoDB including hashed passwords and role type.
- User Login:
- Authenticate with email and password.
- Backend generates a unique JWT token with role info.
- Role Validation:
- JWT decoded in frontend to check user role and redirect accordingly.
- Example:
- User → User Dashboard
- Seller → Seller Dashboard
- Admin → Admin Panel
- Access Control:
- Unauthorized users cannot access other roles’ pages.
- Middleware in backend checks token validity and role.
- Session Management:
- Token stored in localStorage until user logs out.
- Logout:
- Deletes JWT token and resets authentication state.
Technology Used
- Frontend:
- React.js: For building dynamic user interfaces
- Axios / Fetch API: For API communication
- React Router DOM: For page navigation and protected routes
- CSS / Bootstrap / Tailwind CSS: For styling
- Backend:
- Node.js: Server-side JavaScript runtime
- Express.js: Backend framework for routing and API handling
- JWT (jsonwebtoken): For secure authentication and role verification
- bcrypt.js: For password hashing
- Database:
- MongoDB: To store user data, roles, and authentication details
Why THis Project Is Useful
- Real-world Security Practice: Implements authentication and authorization just like professional applications.
- Great for Learning MERN Stack: Covers frontend, backend, and database integration in one project.
- Foundation for Larger Apps: Can be extended to include e-commerce, dashboards, or admin systems.
- Improves Understanding of JWT & Role Management: Demonstrates how to handle secure login sessions and access control.
- Portfolio-Worthy Project: A complete full-stack project to showcase in resumes and GitHub.
Deployment and Environment Setup
- Environment Variables Setup:
- backend/.env
- PORT: 3000
- MONGO_URI: mongodb_url_string
- JWT_SECRET: your_jwt_secret_key_here (if needed)
- frontend/.env
- VITE_API_URL: backend_url
- backend/.env
- Deployment Overview:
- Render or Railway for backend hosting
- Vercel or Netlify for frontend hosting
- MongoDB Atlas for the database
- Backend Deployment:
- Push your code to GitHub.
- Go to Render.com or Railway.app.
- Create a new Web Service and connect your GitHub repository.
- Choose “backend/” as the root directory.
- Add the following environment variables on Render:
- PORT=10000
- MONGO_URI=your MongoDB Atlas URI
- JWT_SECRET=your JWT secret
- Start command: npm start (Ensure your backend/package.json includes “start”: “node server.js”)
- After deployment, note your backend URL, e.g. https://your-backend-name.onrender.com
- Frontend Deployment:
- Go to Vercel.com or Netlify.com.
- Create a new project and connect the GitHub repo.
- Select the “frontend/” folder as root.
- In environment variables, set:
- VITE_API_URL=https://your-backend-domain.com/api (or REACT_APP_API_URL if using CRA)
- Deploy.
- MongoDB Atlas Setup:
- Go to https://cloud.mongodb.com
- Create a free cluster.
- Add your current IP address in Network Access.
- Create a database user and password.
- Copy the connection string and replace username, password, and database name in MONGO_URI in backend/.env
Download Source Code
Project Setup Instructions
Note: This project is for educational purposes only. Not for commercial sale.