Project Overview
The File Sharing App is a MERN-stack web application that allows users to easily upload, store, and share files through automatically generated download links. Users can select any file (such as documents, images, or PDFs) from their local system, and the application securely saves the file on the server. Once uploaded, a unique URL is generated that can be shared with others on the same network (via localhost or local IP).
This project demonstrates secure file handling, backend API integration, and link-based access — all built using Node.js, Express, MongoDB, and React.
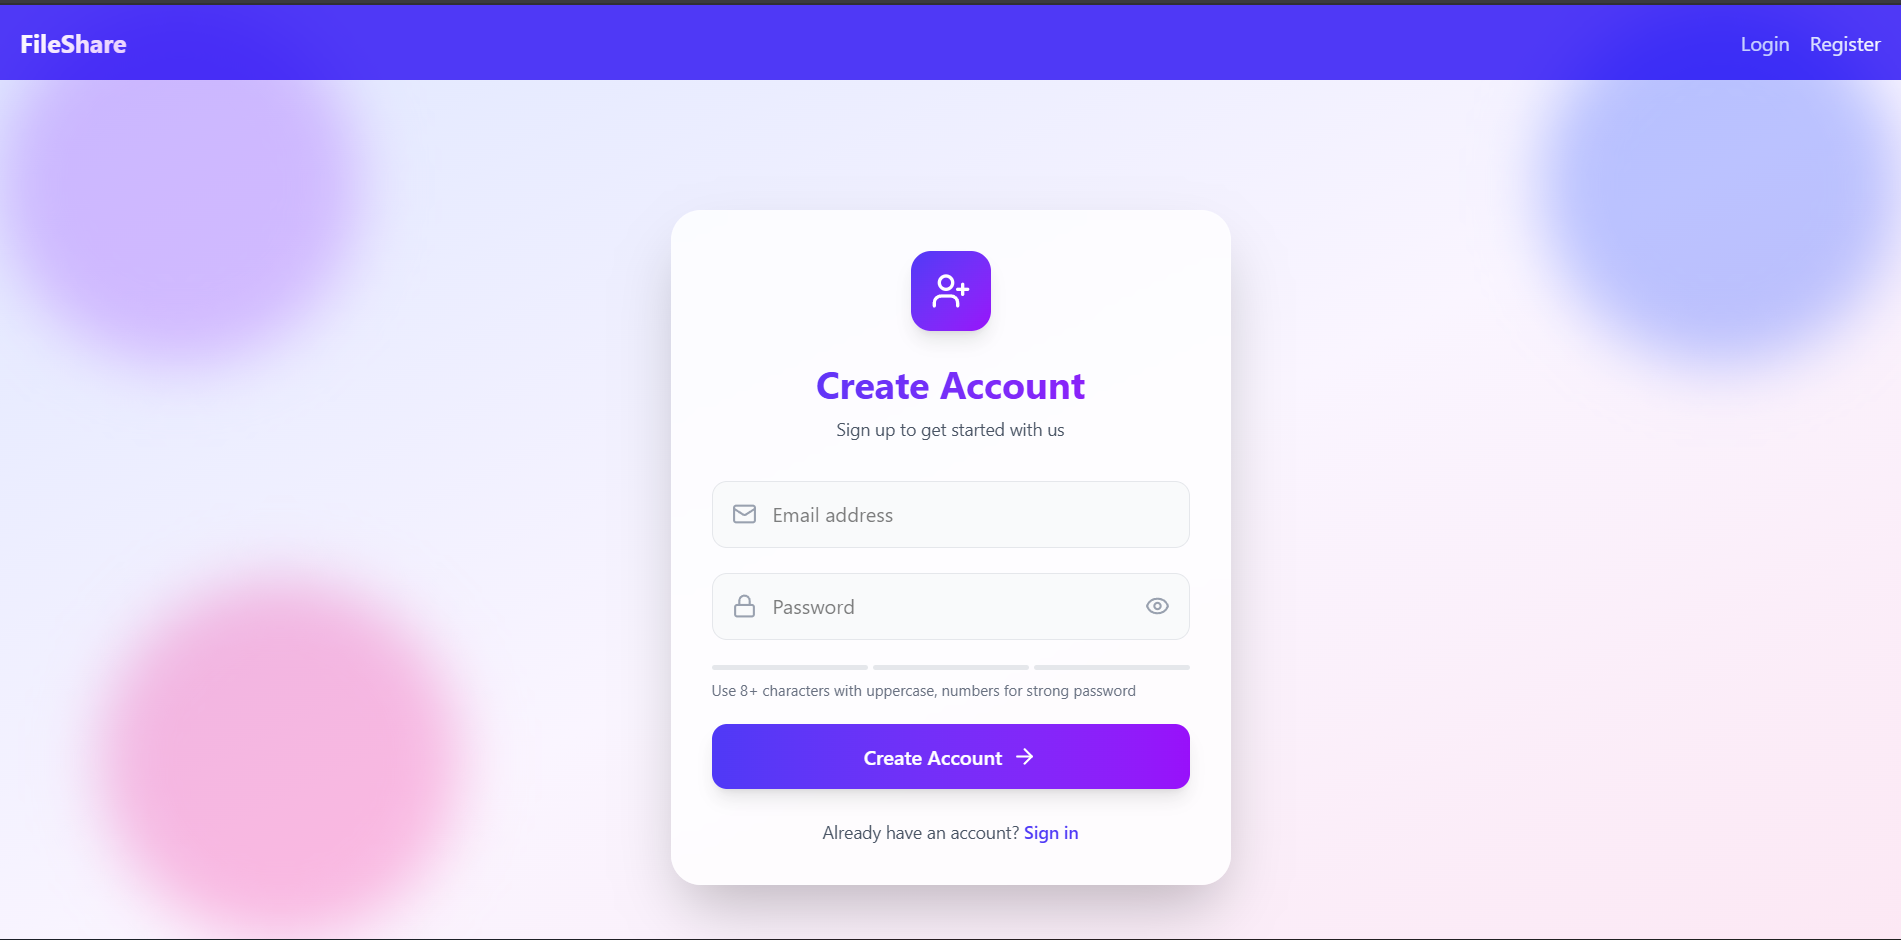
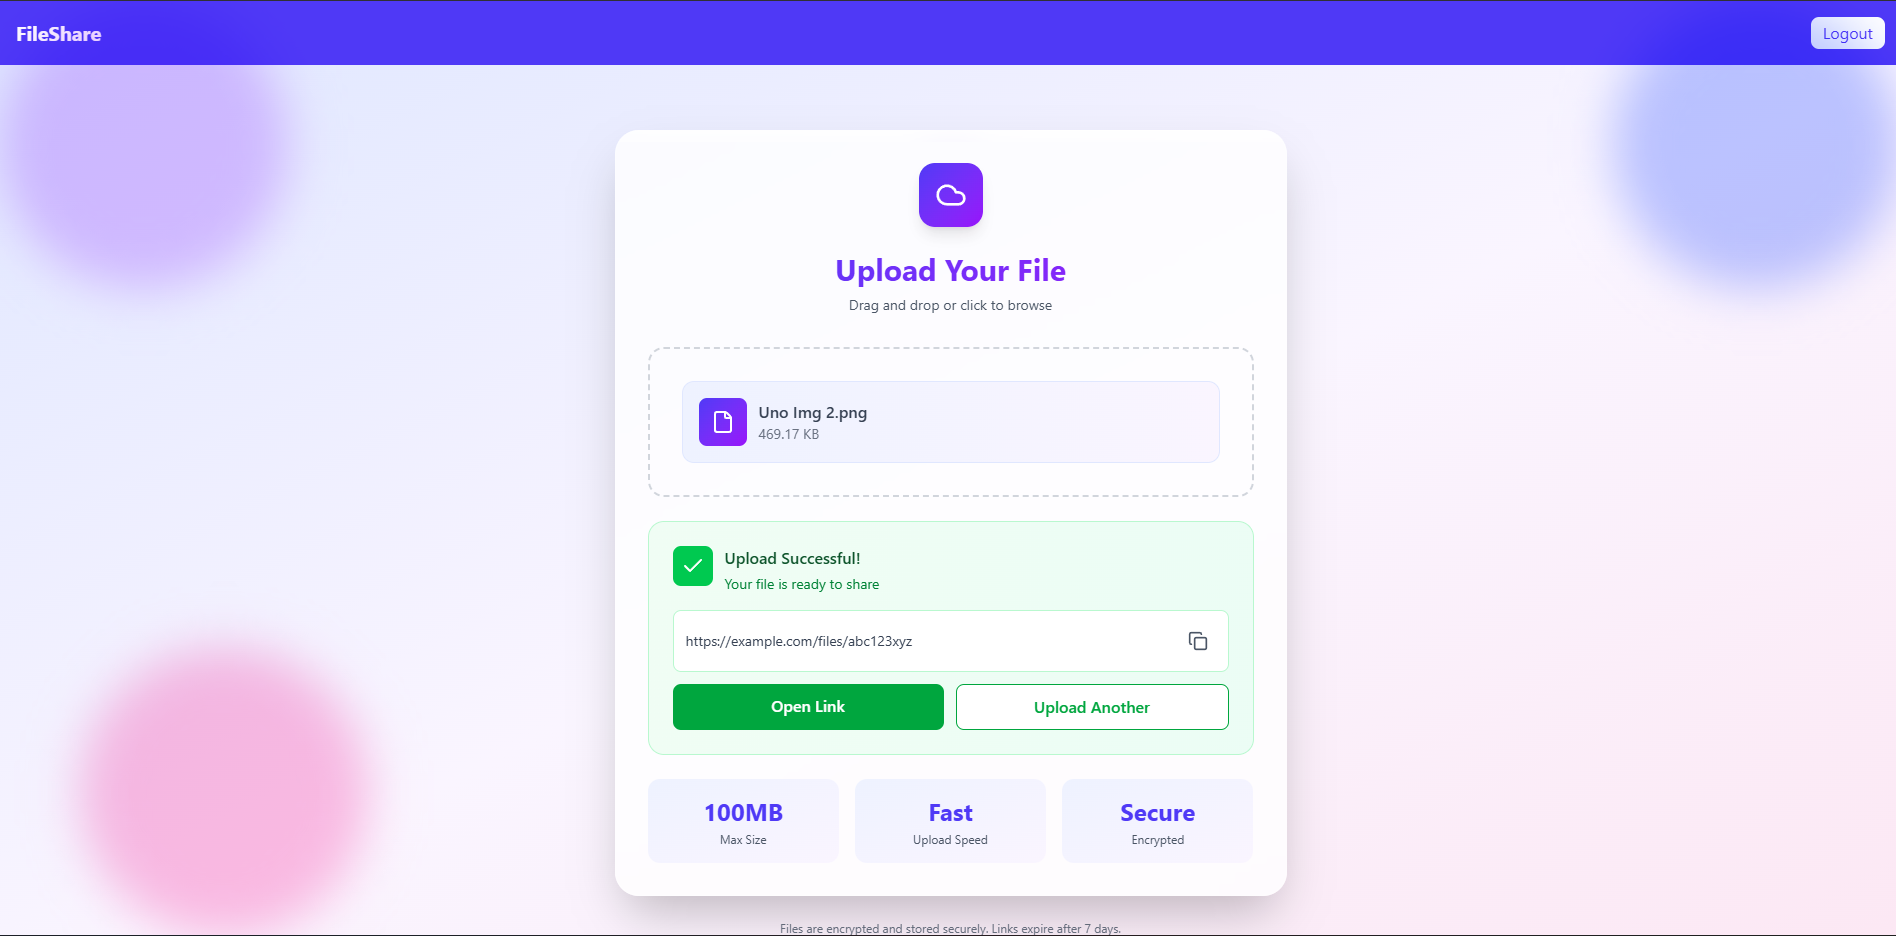
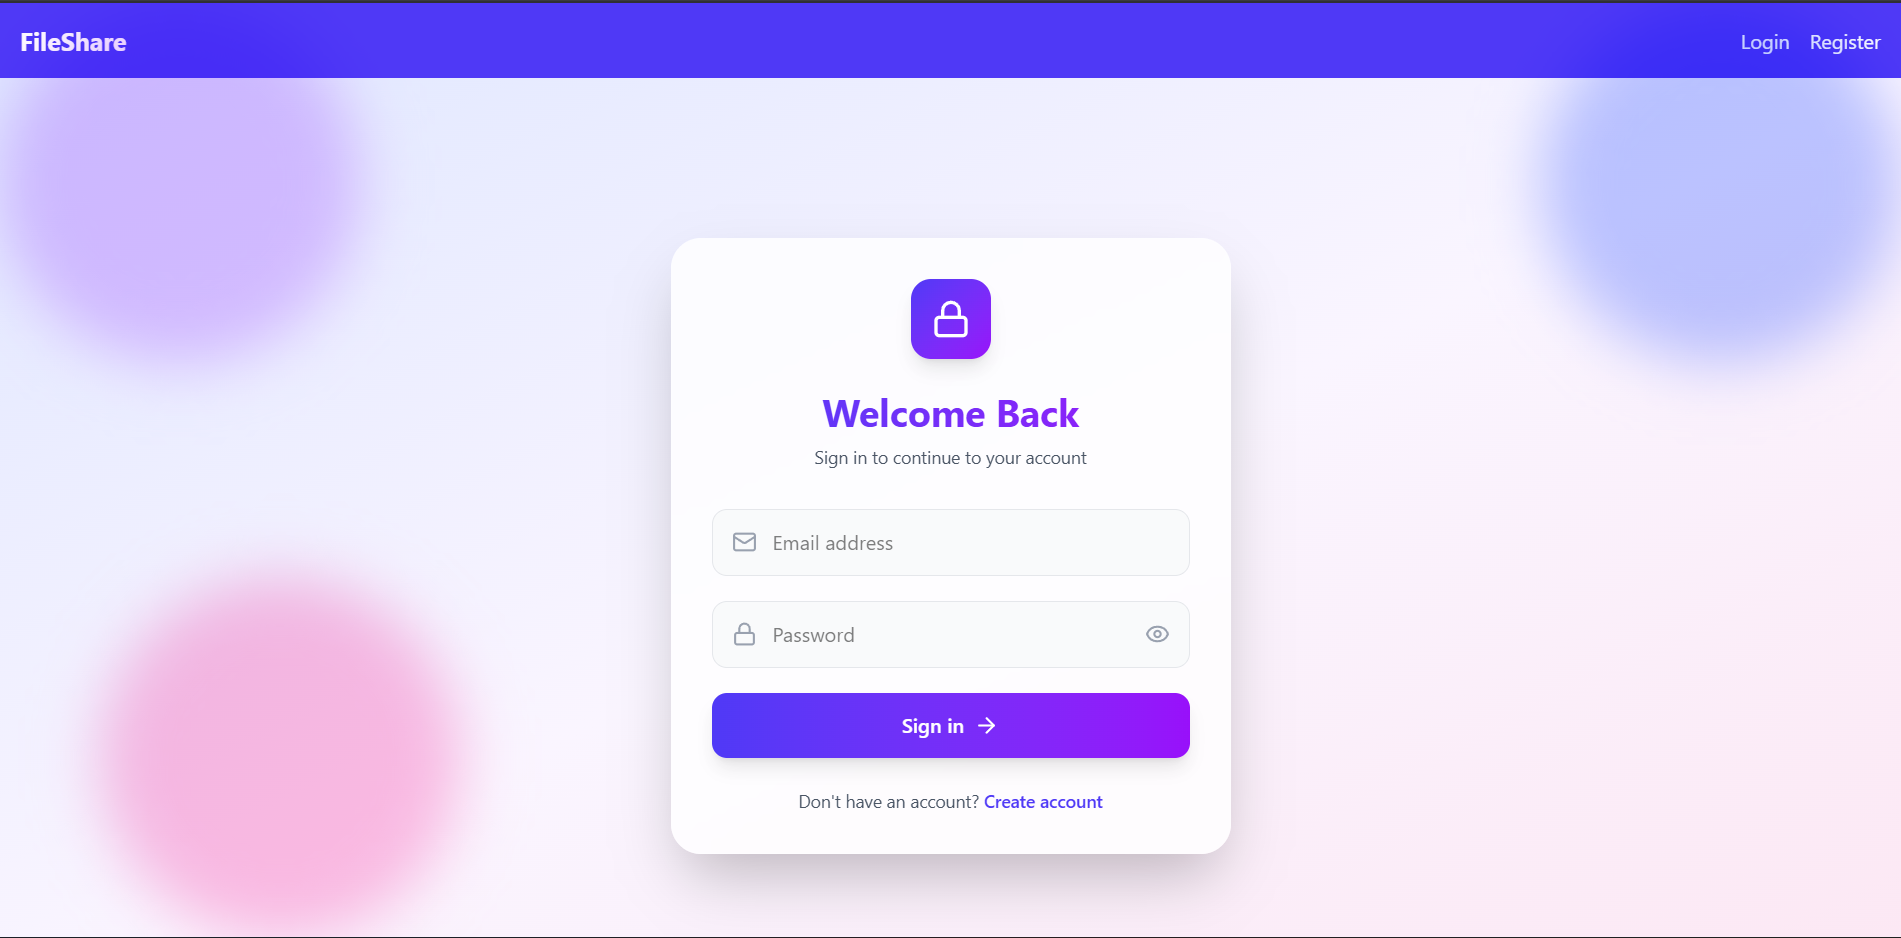
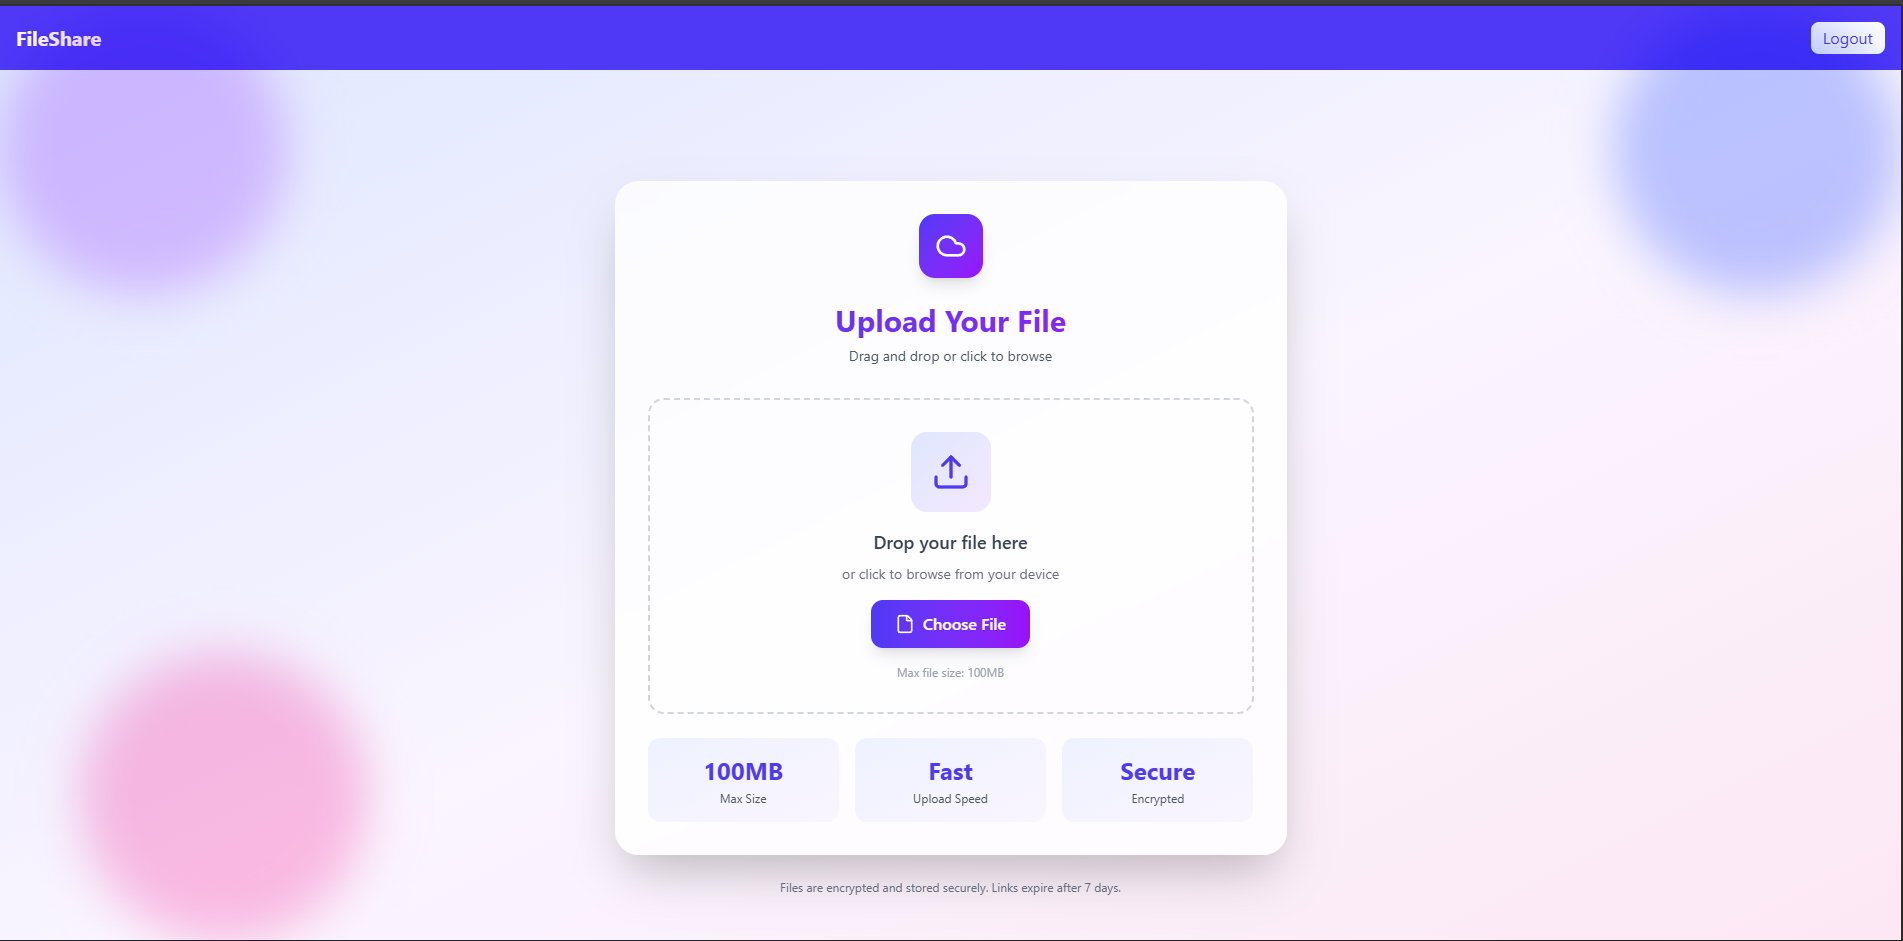
Screenshots

Key Features
- File Upload System: Users can upload any file type (image, PDF, document, etc.) through a simple and intuitive interface.
- Auto-Generated Shareable Link: After a successful upload, the system generates a unique link that can be copied and accessed on the same network.
- Local File Access: Uploaded files are stored locally on the server (
/uploadsdirectory), and can be viewed or downloaded vialocalhost. - Error Handling & Validation: Ensures that invalid files or missing uploads are properly handled with descriptive messages.
- Clean UI & Real-Time Feedback: The React frontend provides smooth form handling, upload progress feedback, and a user-friendly interface.
- Multer Integration: Uses Multer middleware for secure and efficient file handling on the backend.
Functionality
- Upload File: The user selects a file from their computer and submits it through the frontend.
- Store on Server: The backend (Node + Express) receives the file and stores it inside the
uploadsfolder. - Generate Link: After storing the file, the backend returns a unique URL such as http://localhost:5000/uploads/filename.png
- Access or Share Locally: Anyone connected to the same computer or local network can use this link to view or download the file.
- Database Storage (Optional): The metadata of uploaded files (file name, path, upload time, etc.) can be stored in MongoDB for tracking and management.
Technology Used
- Frontend:
- React.js: Builds the user interface and component structure
- Axios: Handles API communication between frontend and backend
- React Router DOM: Manages client-side routing and page navigation
- Backend:
- Node.js & Express.js: Powers the server setup and API routing
- jsonwebtoken (JWT): Implements secure, token-based authentication
- bcrypt.js: Provides password encryption and hashing for security
- dotenv: Manages environment variables safely
- Database:
- MongoDB (Mongoose): Stores user data, and uploaded file links
Why This Project Is Useful
- Practical Real-World Concept: Demonstrates how modern applications handle file uploads, server storage, and dynamic link generation.
- Strengthens Backend Knowledge: Helps understand middleware integration (Multer), route handling, and Express static file serving.
- Frontend-Backend Interaction: Improves understanding of how frontend and backend communicate via REST APIs.
- Reusable in Other Projects: The upload & link-generation logic can be easily reused in portfolio apps, admin panels, or document management systems.
- Ideal for Beginners & Portfolios: This project is simple to implement, demonstrates full-stack integration, and makes an excellent portfolio project.
Deployment and Environment Setup
- Environment Variables Setup:
- backend/.env
- PORT: 3000
- MONGO_URI: mongodb_url_string
- JWT_SECRET: your_jwt_secret_key_here (if needed)
- frontend/.env
- VITE_API_URL: backend_url
- backend/.env
- Deployment Overview:
- Render or Railway for backend hosting
- Vercel or Netlify for frontend hosting
- MongoDB Atlas for the database
- Backend Deployment:
- Push your code to GitHub.
- Go to Render.com or Railway.app.
- Create a new Web Service and connect your GitHub repository.
- Choose “backend/” as the root directory.
- Add the following environment variables on Render:
- PORT=10000
- MONGO_URI=your MongoDB Atlas URI
- JWT_SECRET=your JWT secret
- Start command: npm start (Ensure your backend/package.json includes “start”: “node server.js”)
- After deployment, note your backend URL, e.g. https://your-backend-name.onrender.com
- Frontend Deployment:
- Go to Vercel.com or Netlify.com.
- Create a new project and connect the GitHub repo.
- Select the “frontend/” folder as root.
- In environment variables, set:
- VITE_API_URL=https://your-backend-domain.com/api (or REACT_APP_API_URL if using CRA)
- Deploy.
- MongoDB Atlas Setup:
- Go to https://cloud.mongodb.com
- Create a free cluster.
- Add your current IP address in Network Access.
- Create a database user and password.
- Copy the connection string and replace username, password, and database name in MONGO_URI in backend/.env
Download Source Code
Project Setup Instructions
Note: This project is for educational purposes only. Not for commercial sale.