Project Overview
AutoServe is a comprehensive, full-stack MERN application designed to facilitate seamless vehicle service bookings. It provides dedicated panels for both customers and garage owners, creating a centralized platform to manage vehicle maintenance and service requests.
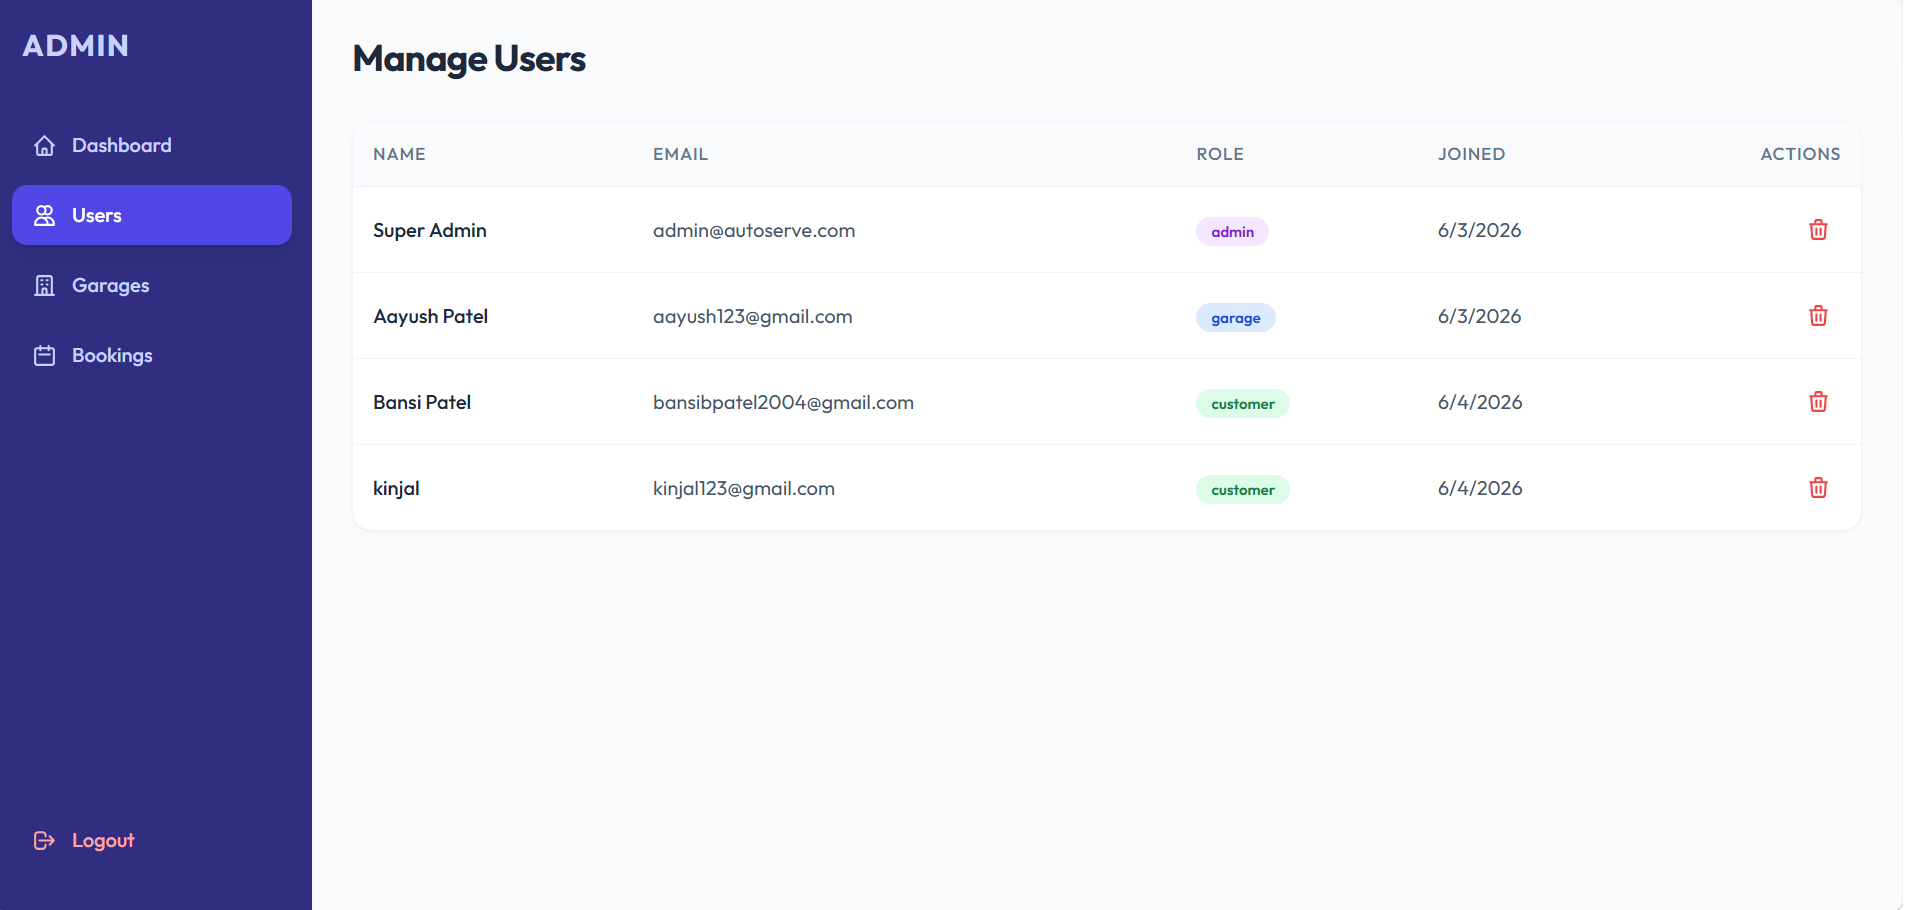
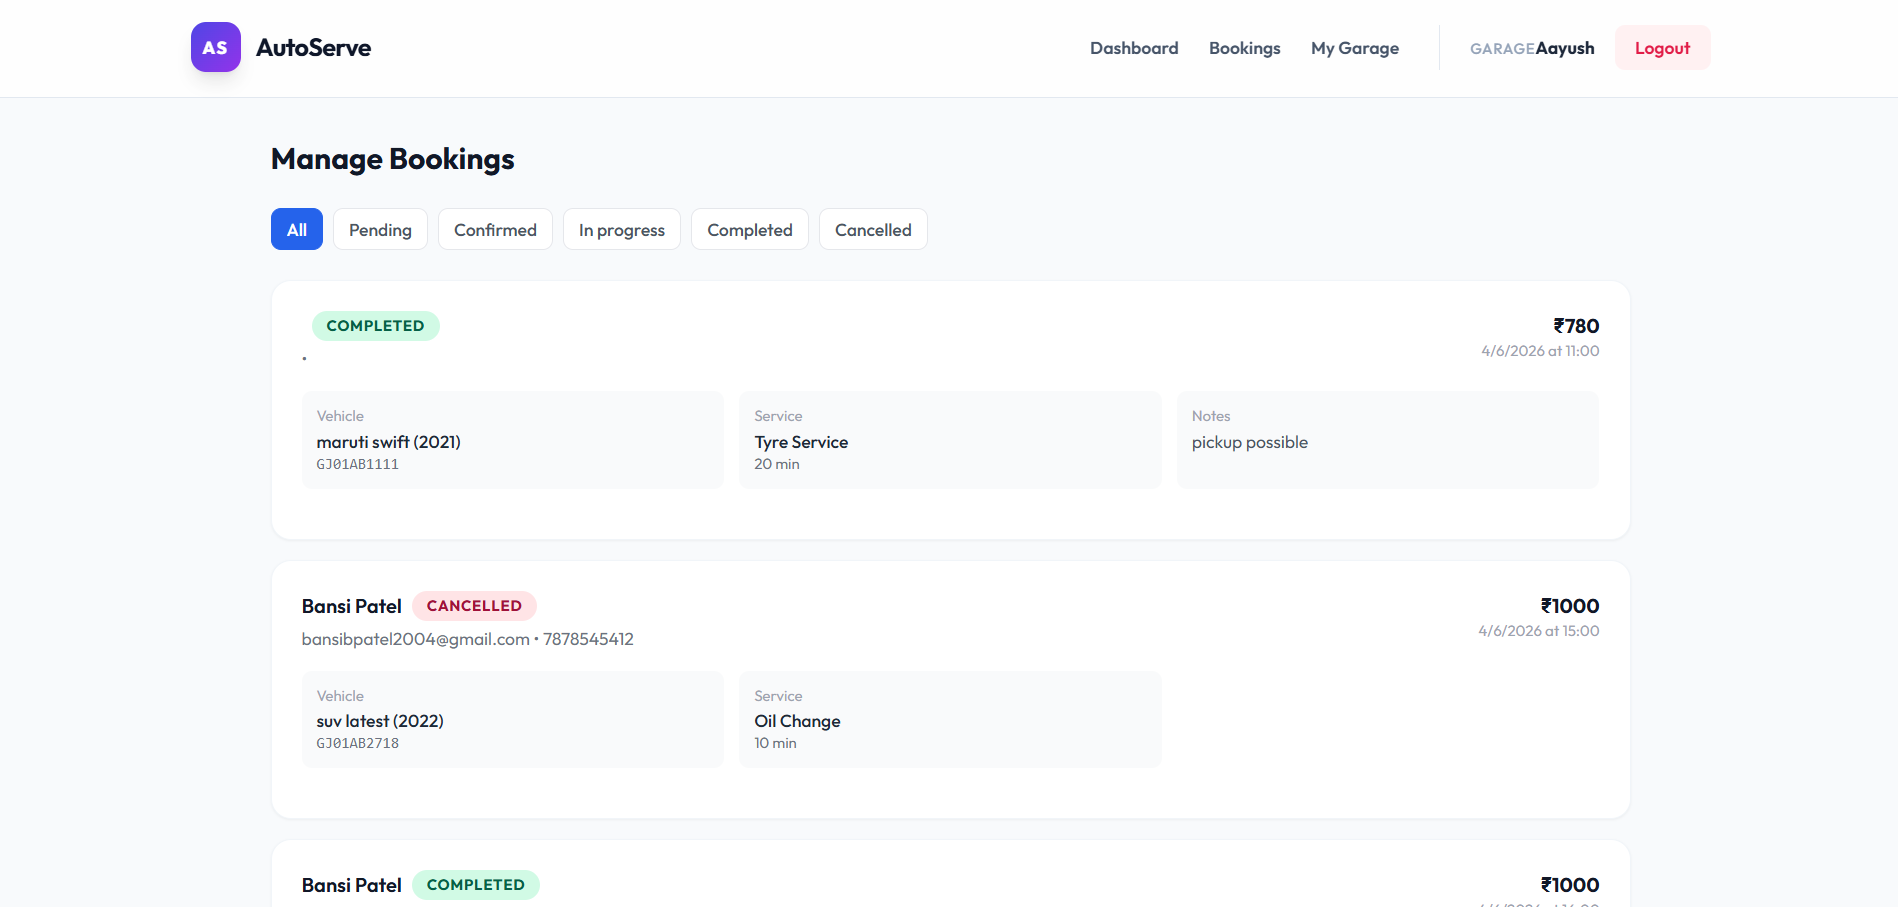
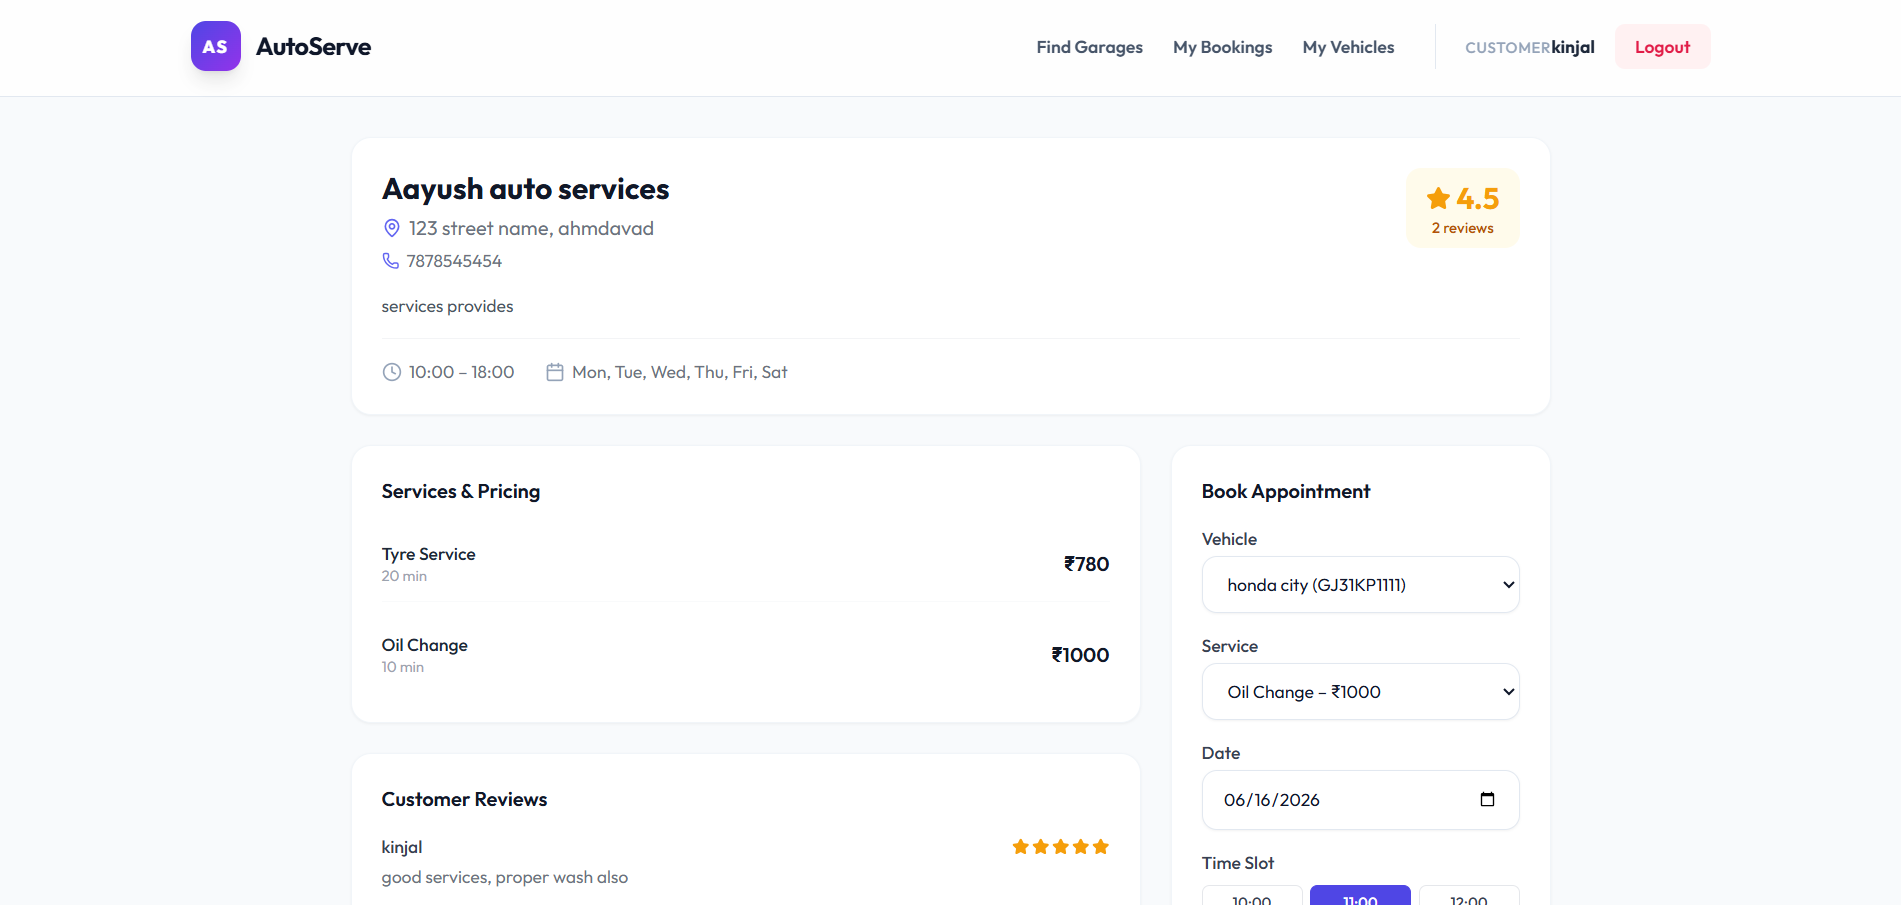
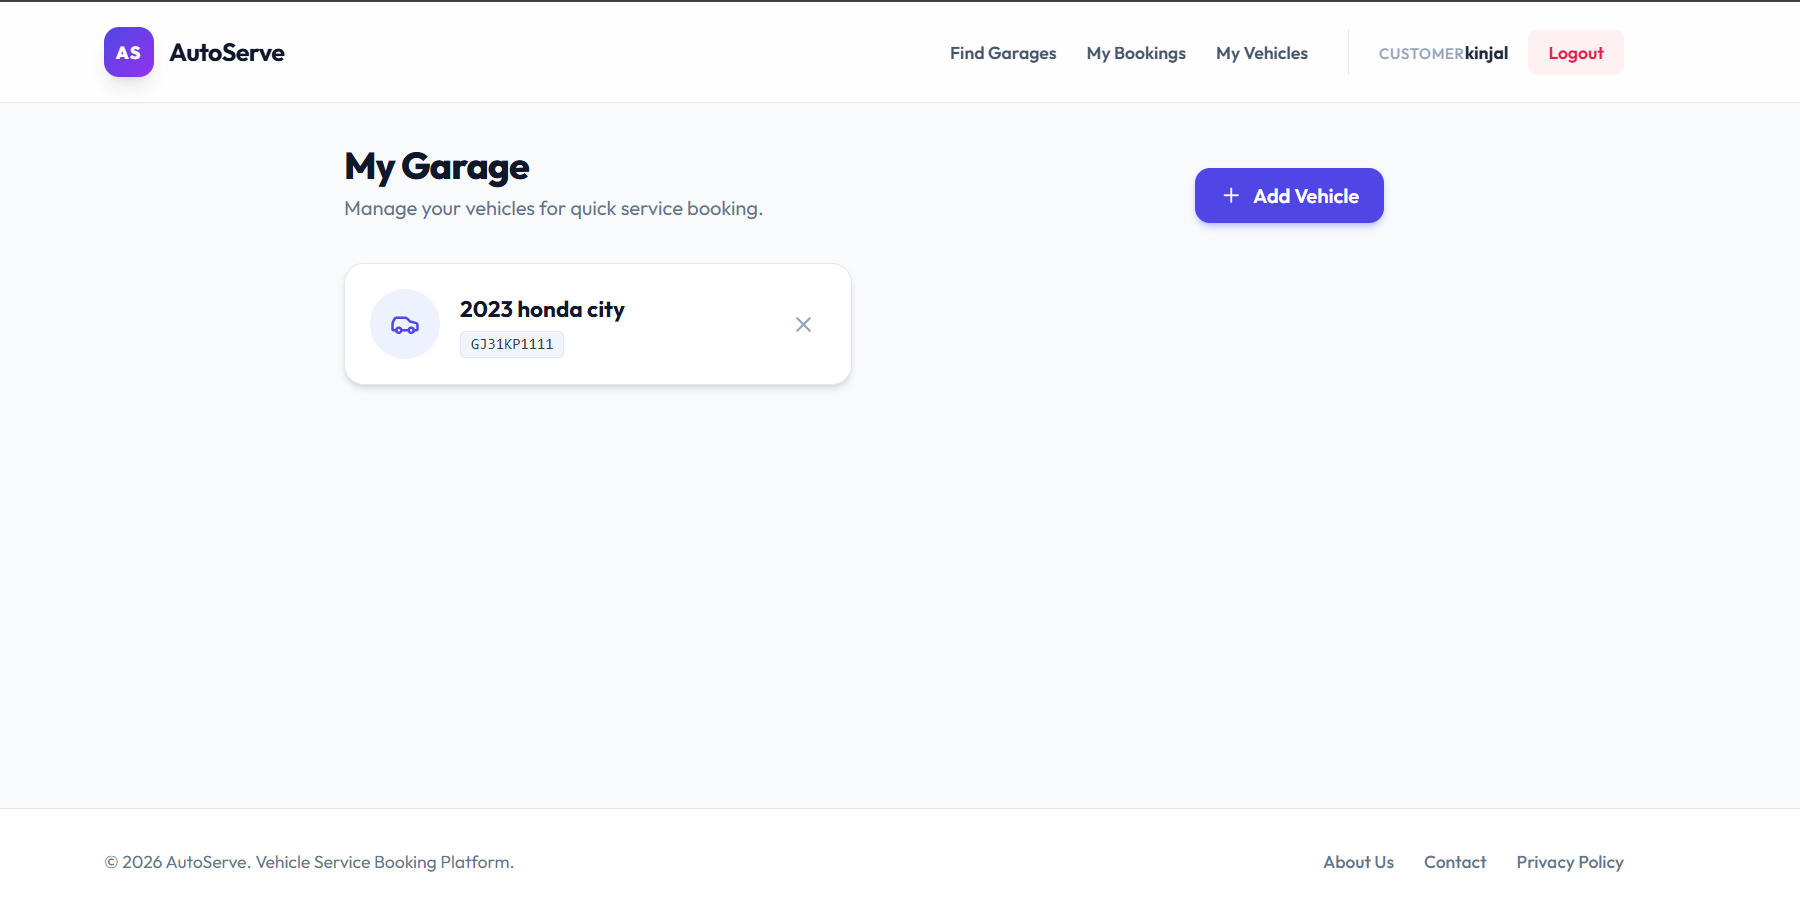
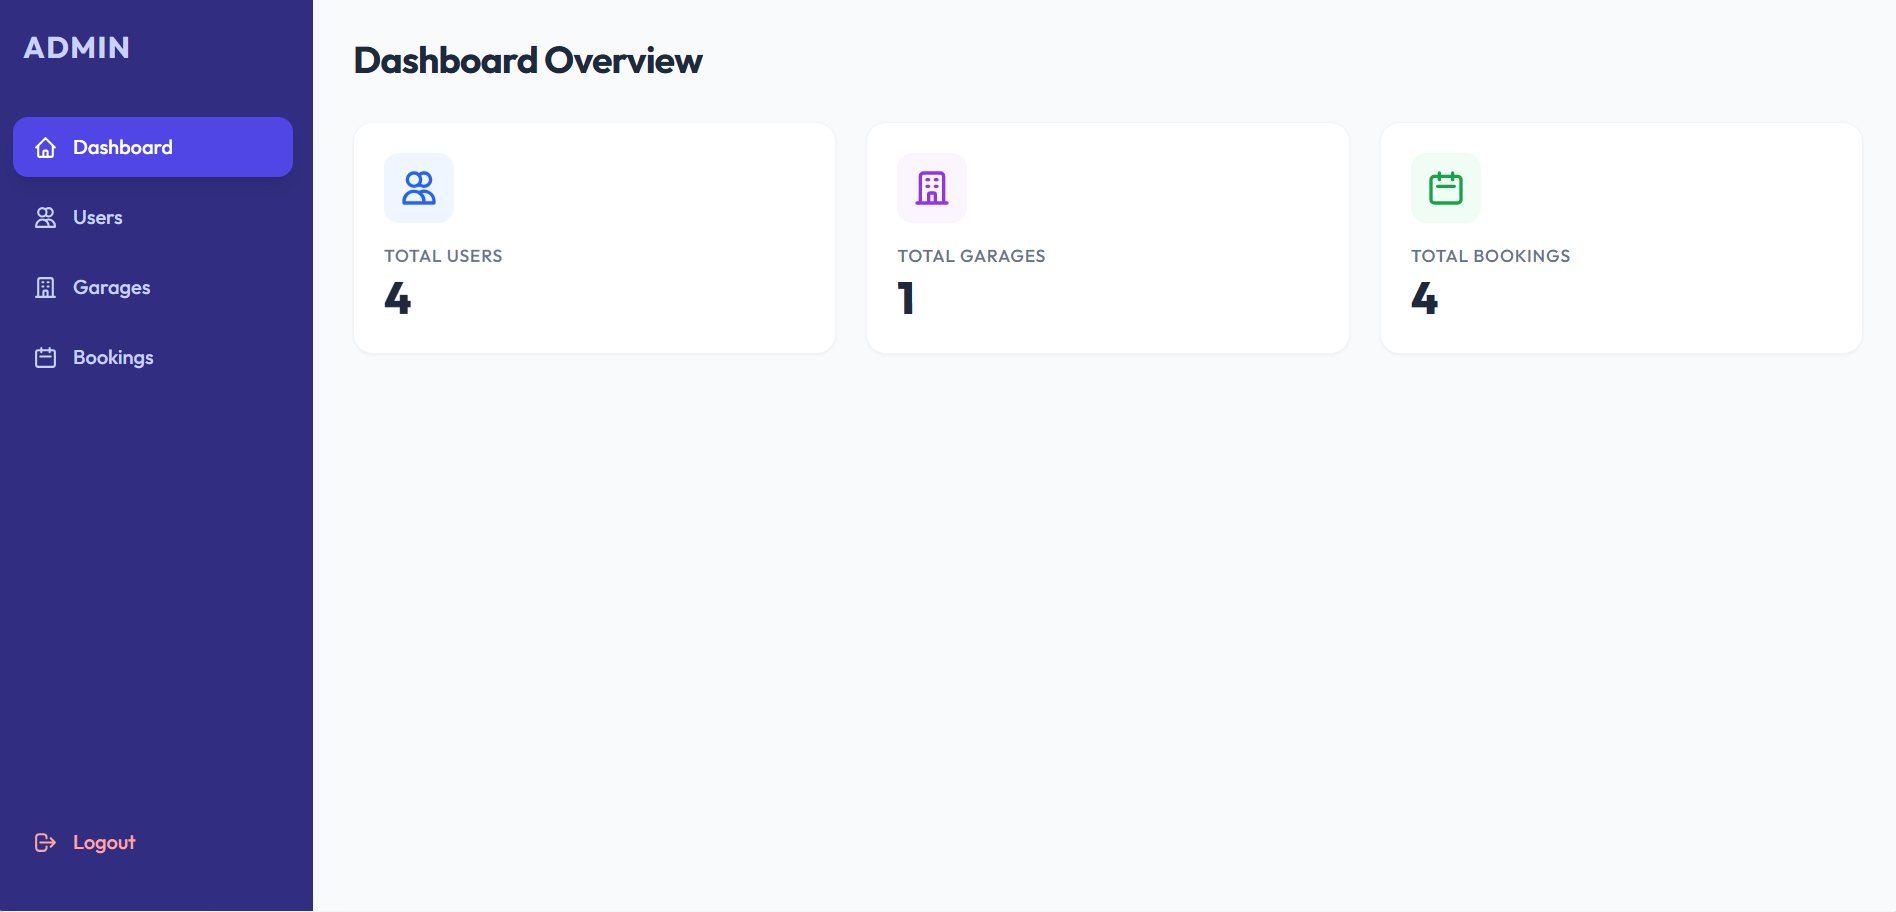
Screenshots
Key Features
- Role-Based Access Control: Secure JWT authentication tailored for different user types (Customers and Garage Owners).
- Intelligent Booking System: Customers can search for garages and book specific time slots, with built-in conflict prevention to avoid double bookings.
- Real-Time Tracking: Customers have access to a history timeline to track the real-time status of their service requests.
- Comprehensive Garage Dashboard: Garage owners have a dashboard displaying essential statistics, including revenue, total bookings, and today’s appointments.
- Streamlined Status Flow: Garages can efficiently manage bookings through a logical status progression (pending → confirmed → in-progress → completed).
- Customizable Garage Profiles: Garages can set up detailed profiles outlining their specific services, pricing, working hours, and operational days.
- Feedback Mechanism: Customers can cancel bookings if needed and leave reviews for garages after a service is completed.
- Modern User Interface: A clean, responsive UI built with Tailwind CSS for optimal user experience across devices.
Functionaliy
- 1. Customer Functionality:
- Vehicle Management: Add, update, view, and delete personal vehicles from their profile.
- Garage Discovery: Browse and search through available registered garages.
- Booking Management: Create new service bookings by selecting available time slots, view booking history, and cancel active bookings if necessary.
- Reviews: Write reviews and rate garages based on their service experience.
- 2. Garage Owner Functionality:
- Profile Management: Set up and edit their garage profile, including offered services, pricing, and operational hours.
- Booking Handling: View all incoming booking requests, update their statuses (confirming, marking as in-progress, or completing), and view available time slots.
- Analytics: Access a dashboard that aggregates data to show revenue, booking counts, and daily schedules.
Technology Used
- Frontend: React, Vite (for fast building and development), and Tailwind CSS (for styling).
- Backend:Node.js, Express.js.
- Database: MongoDB.
- Authentication: JSON Web Tokens (JWT) for secure, stateless authentication.
Why This Project Is Useful
- For Customers: It eliminates the hassle of calling multiple garages to check availability or compare prices. It brings transparency to vehicle servicing by allowing them to book specific slots, track the progress of their vehicle in real-time, and read/write reviews.
- For Garage Owners: It digitalizes their operations. The dashboard and booking management tools help them organize their workflow, manage appointments efficiently without manual ledgers, avoid overbooking, and track their revenue, ultimately professionalizing their service delivery.
Deployment and Environment Setup
- Environment Variables Setup:
- backend/.env
- PORT: 3000
- MONGO_URI: mongodb_url_string
- JWT_SECRET: your_jwt_secret_key_here (if needed)
- frontend/.env
- VITE_API_URL: backend_url
- backend/.env
- Deployment Overview:
- Render or Railway for backend hosting
- Vercel or Netlify for frontend hosting
- MongoDB Atlas for the database
- Backend Deployment:
- Push your code to GitHub.
- Go to Render.com or Railway.app.
- Create a new Web Service and connect your GitHub repository.
- Choose “backend/” as the root directory.
- Add the following environment variables on Render:
- PORT=10000
- MONGO_URI=your MongoDB Atlas URI
- JWT_SECRET=your JWT secret
- Start command: npm start (Ensure your backend/package.json includes “start”: “node server.js”)
- After deployment, note your backend URL, e.g. https://your-backend-name.onrender.com
- Frontend Deployment:
- Go to Vercel.com or Netlify.com.
- Create a new project and connect the GitHub repo.
- Select the “frontend/” folder as root.
- In environment variables, set:
- VITE_API_URL=https://your-backend-domain.com/api (or REACT_APP_API_URL if using CRA)
- Deploy.
- MongoDB Atlas Setup:
- Go to https://cloud.mongodb.com
- Create a free cluster.
- Add your current IP address in Network Access.
- Create a database user and password.
- Copy the connection string and replace username, password, and database name in MONGO_URI in backend/.env
Download Source Code
Project Setup Instructions
Note: This project is for educational purposes only. Not for commercial sale.


