Project Overview
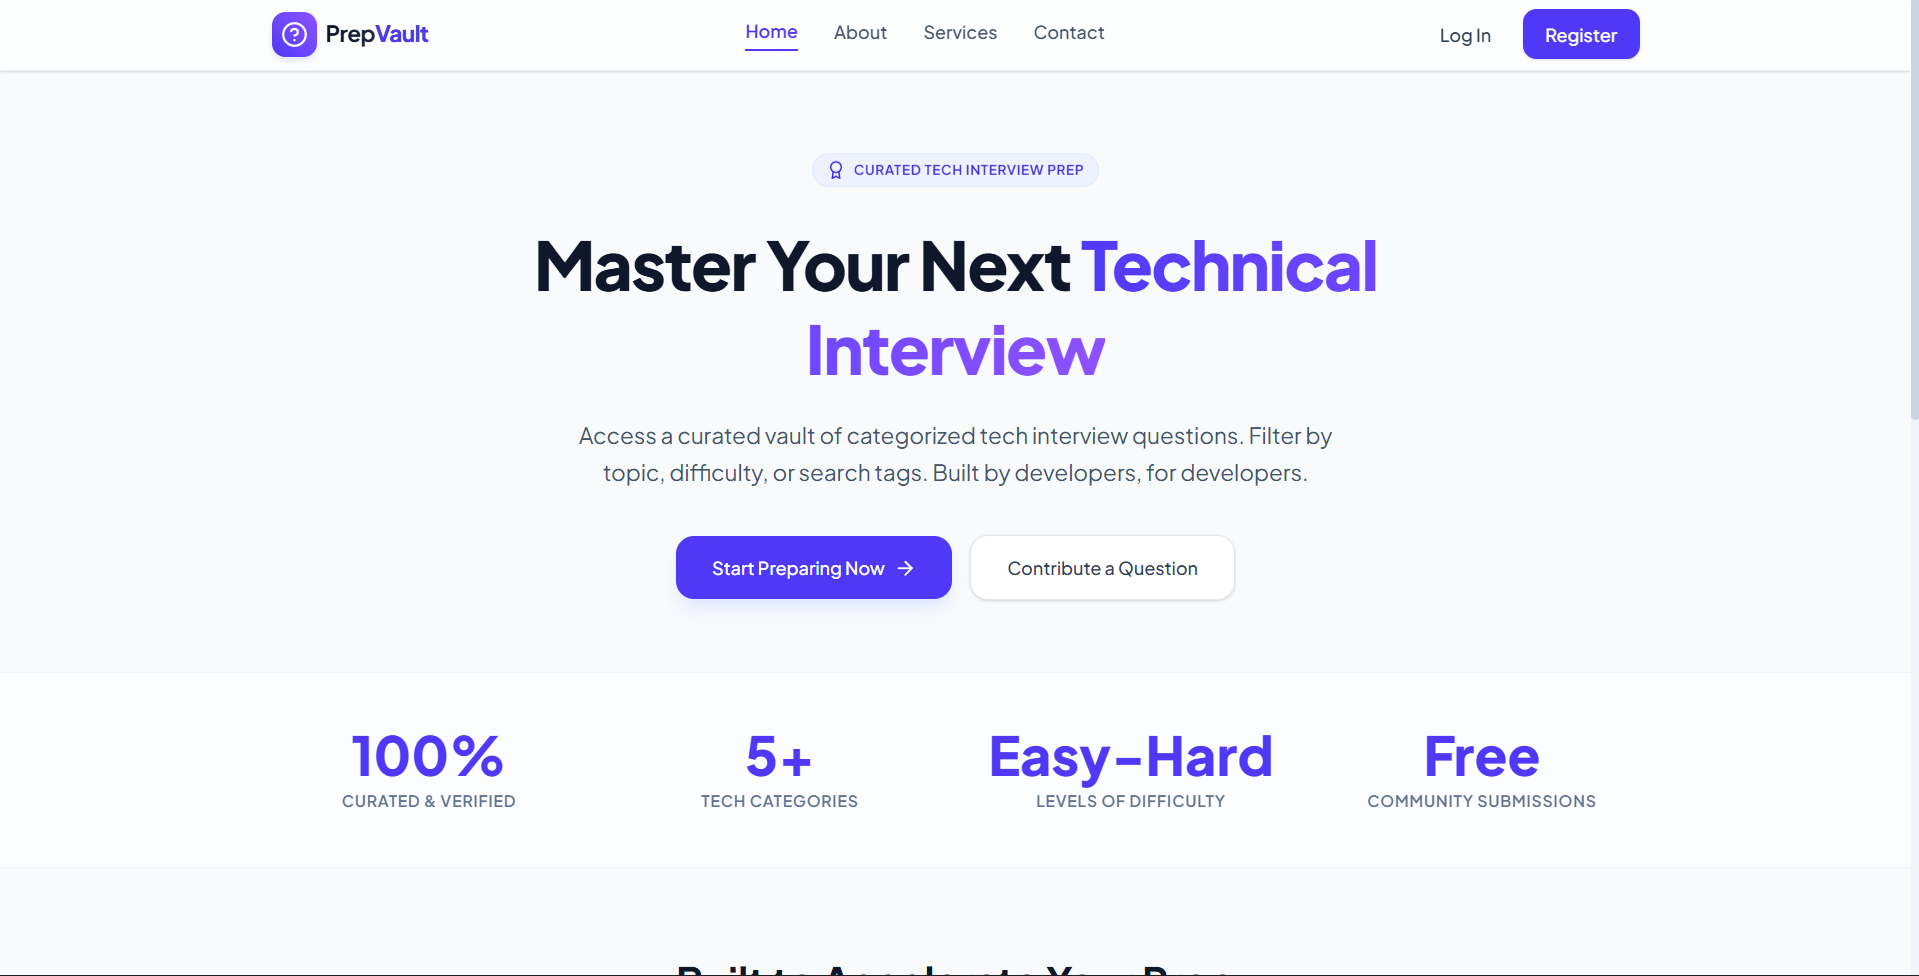
PrepVault is a premium curated technical interview preparation platform built on the MERN stack that enables candidates to browse, search, and filter categorization-based interview questions, read solutions, and submit their own real-world interview experiences for admin verification.
Screenshots
Key Features
- Interactive Question Explorer: Real-time search and filter controls for categories like Frontend, Backend, Databases, System Design, and Behavioral.
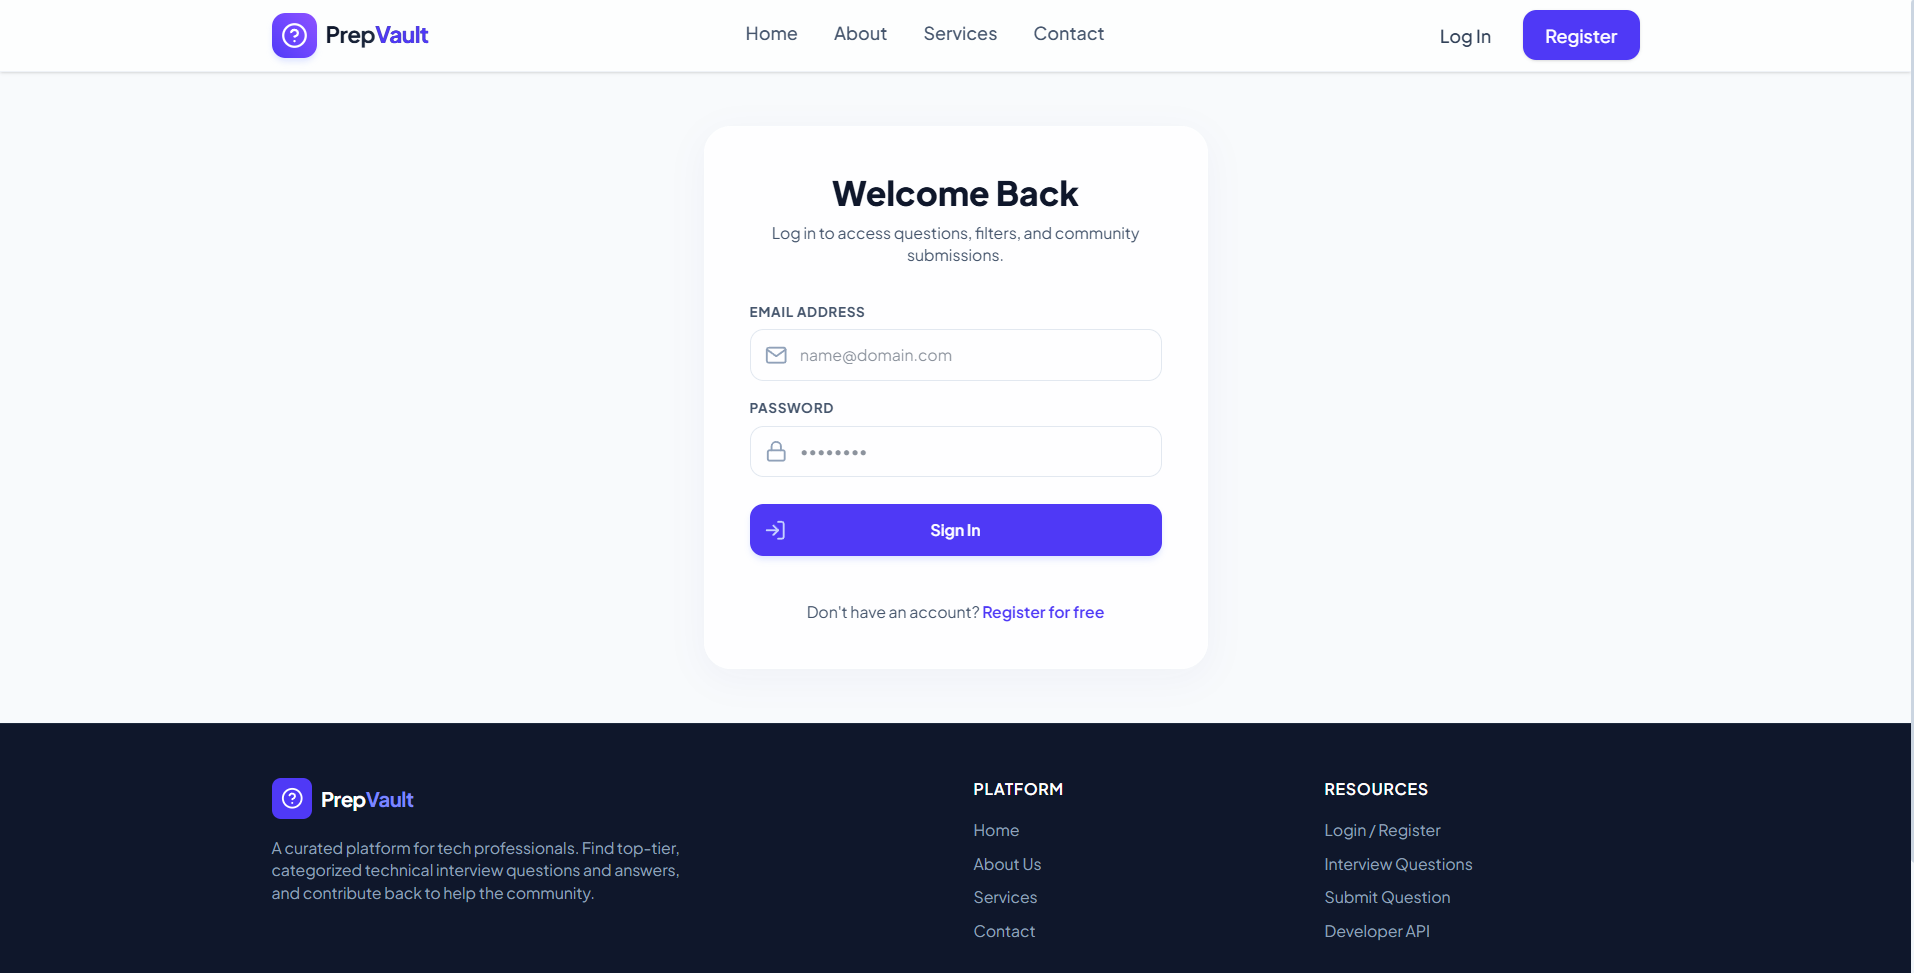
- Multi-Module Authorization: Public access to marketing pages and secure JWT-token-based access to the core question directory and dashboards.
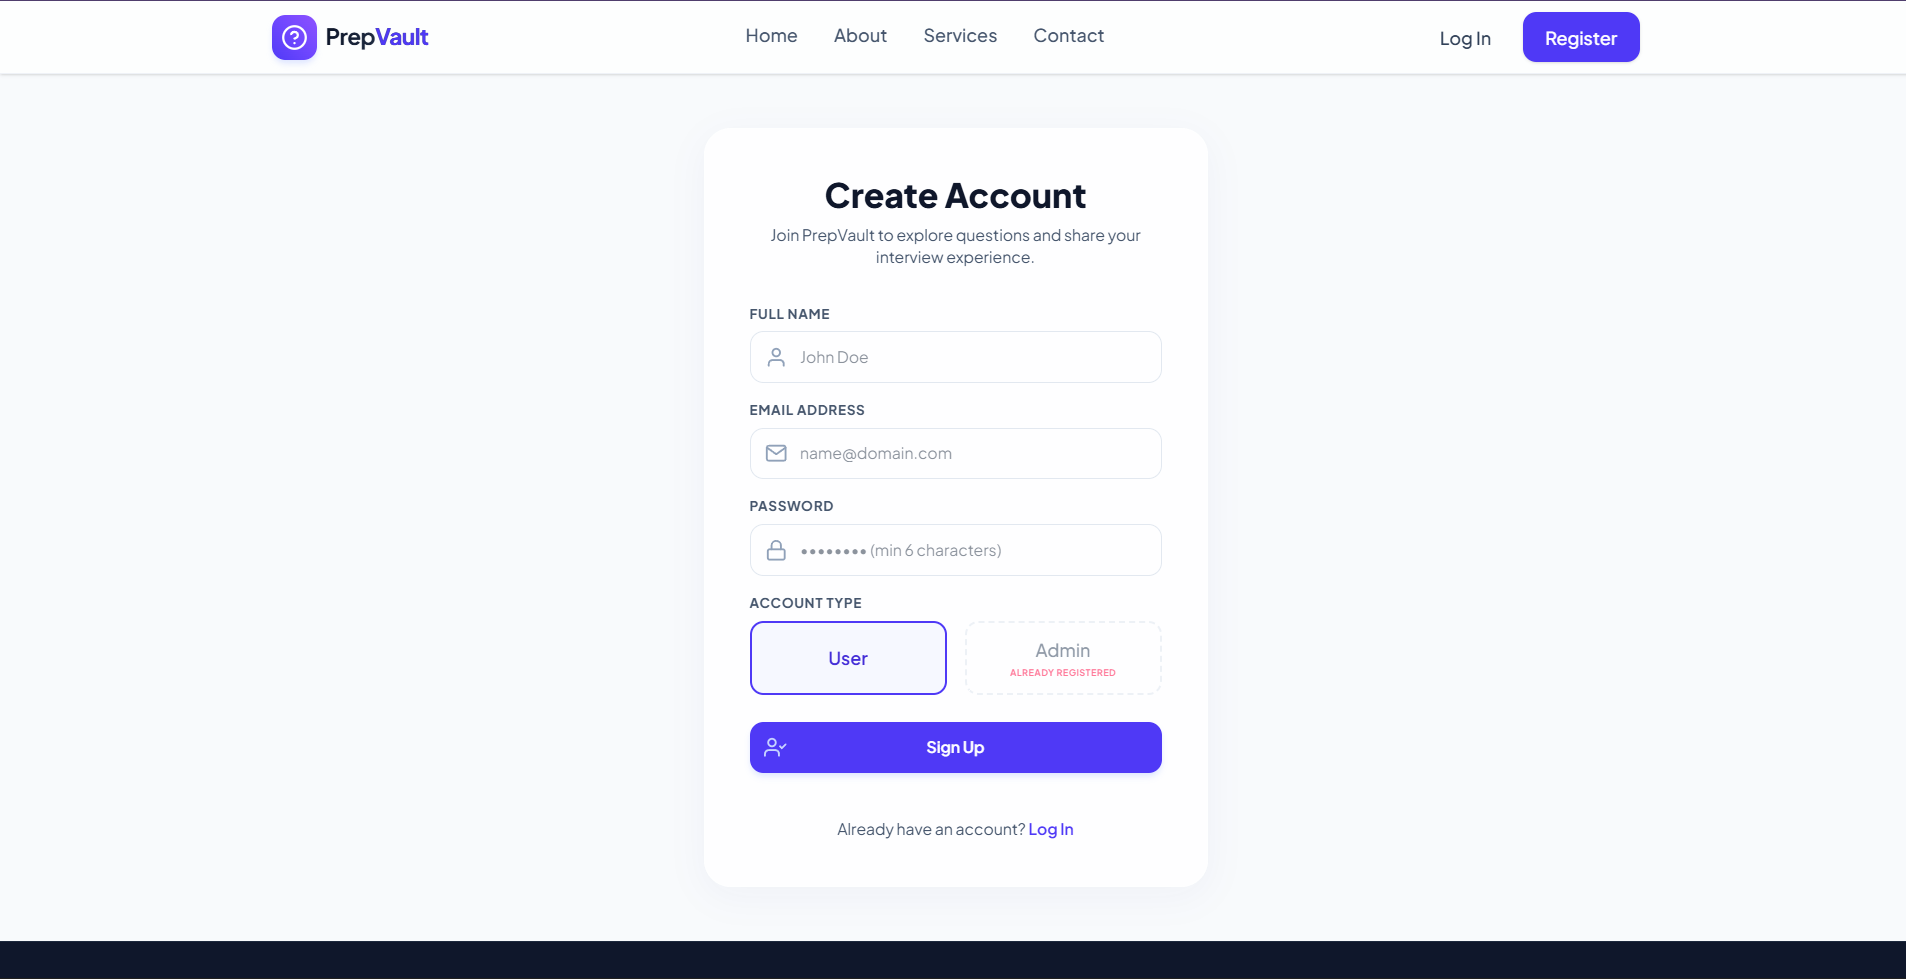
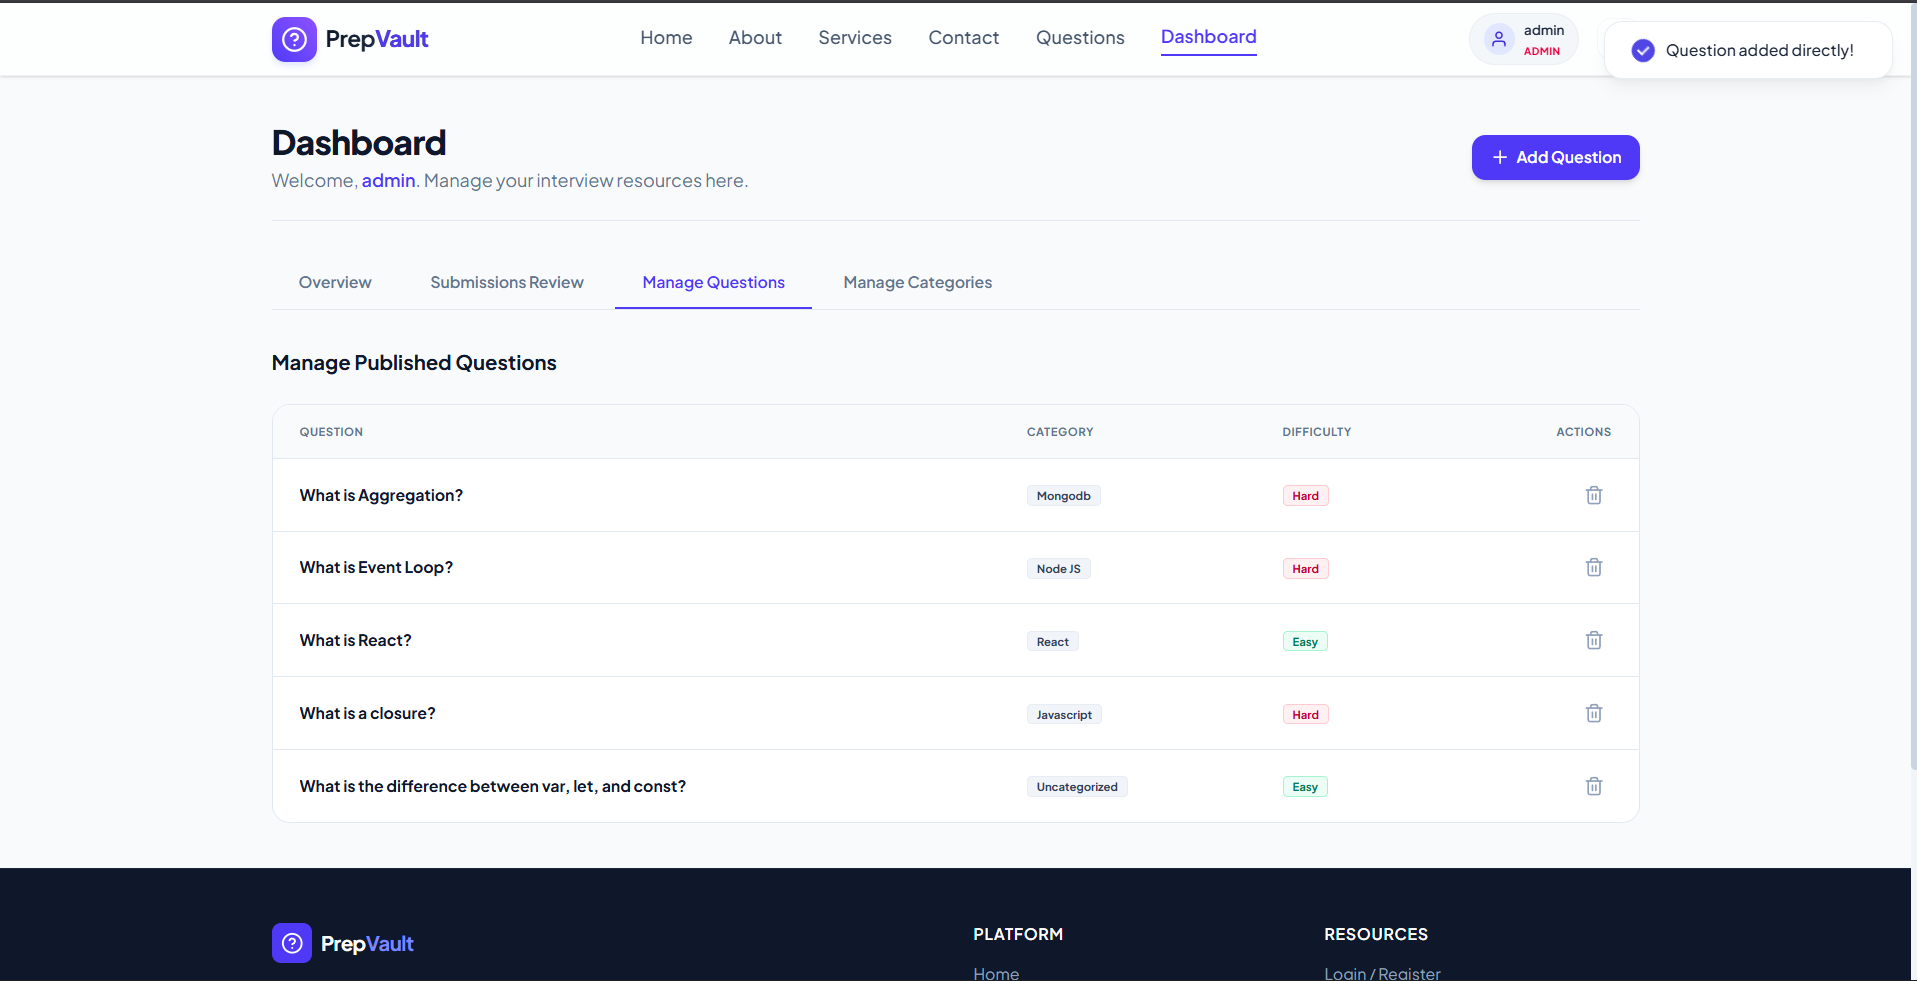
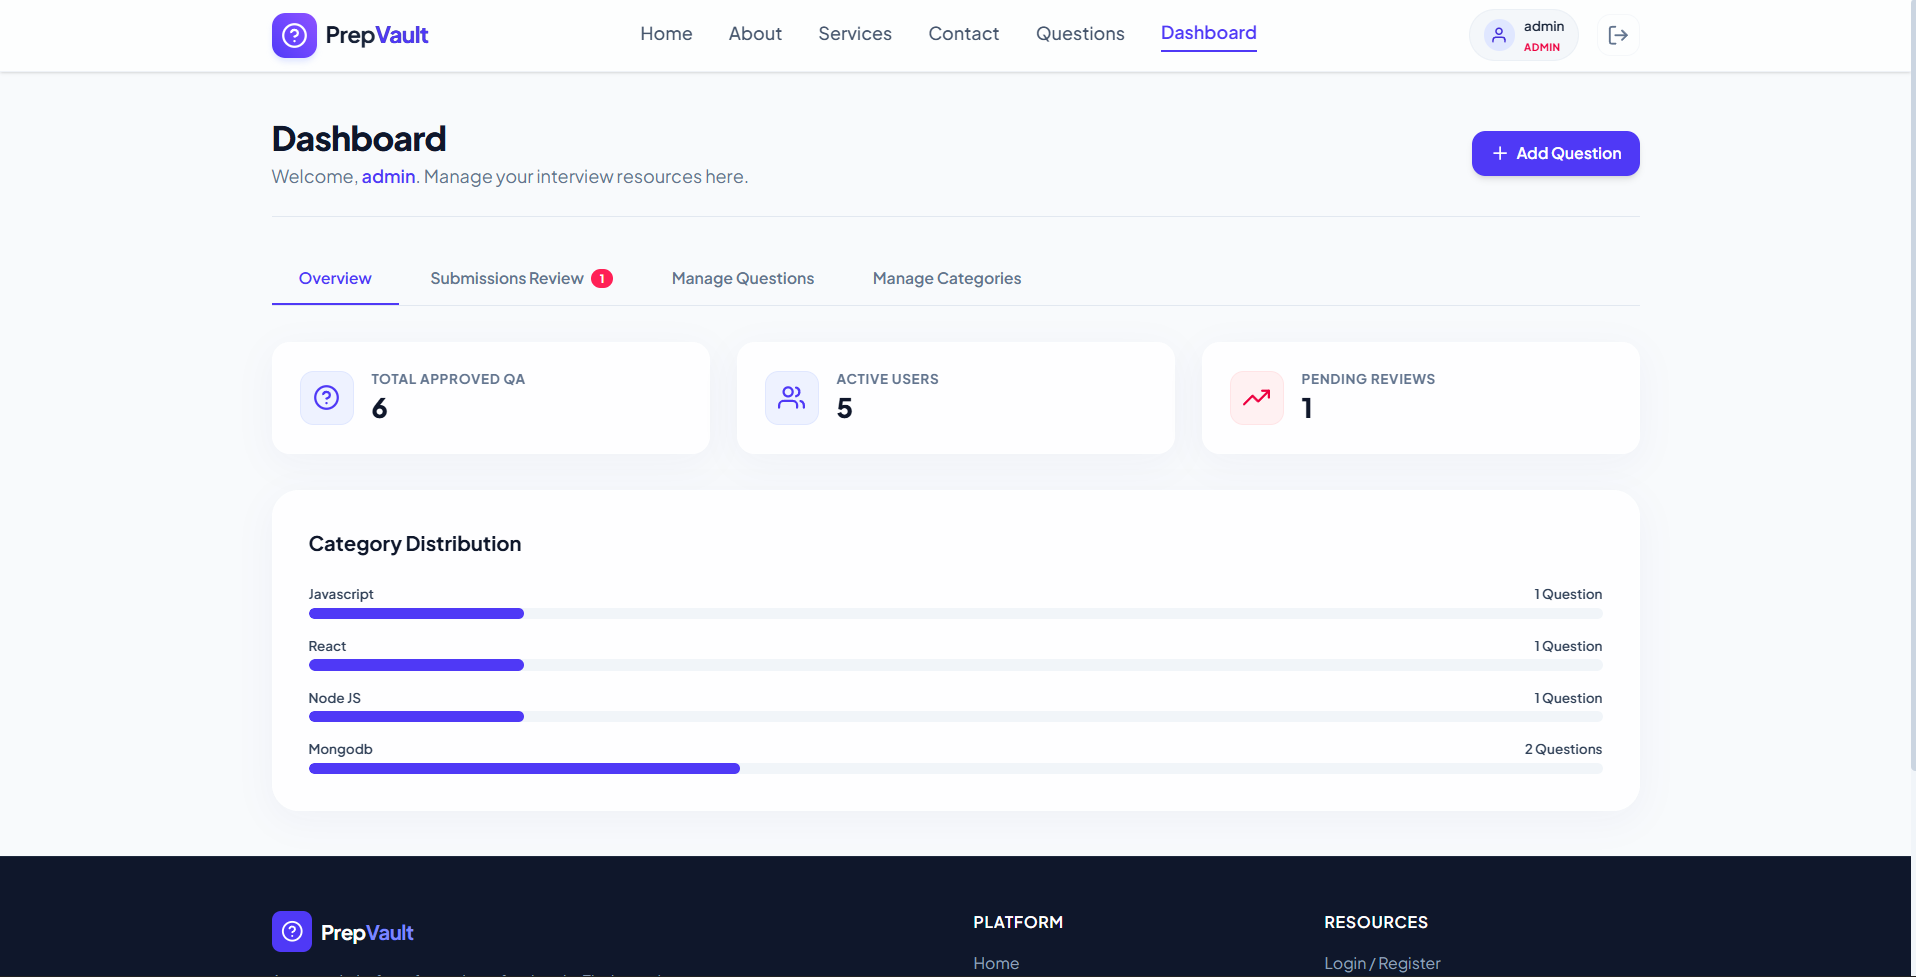
- Role-Based Dashboards: Dedicated, responsive views for standard users to submit questions and admin users to manage the content queue.
- Community Contributions: A crowd-sourced submission pipeline that allows authenticated users to submit real interview questions they encountered.
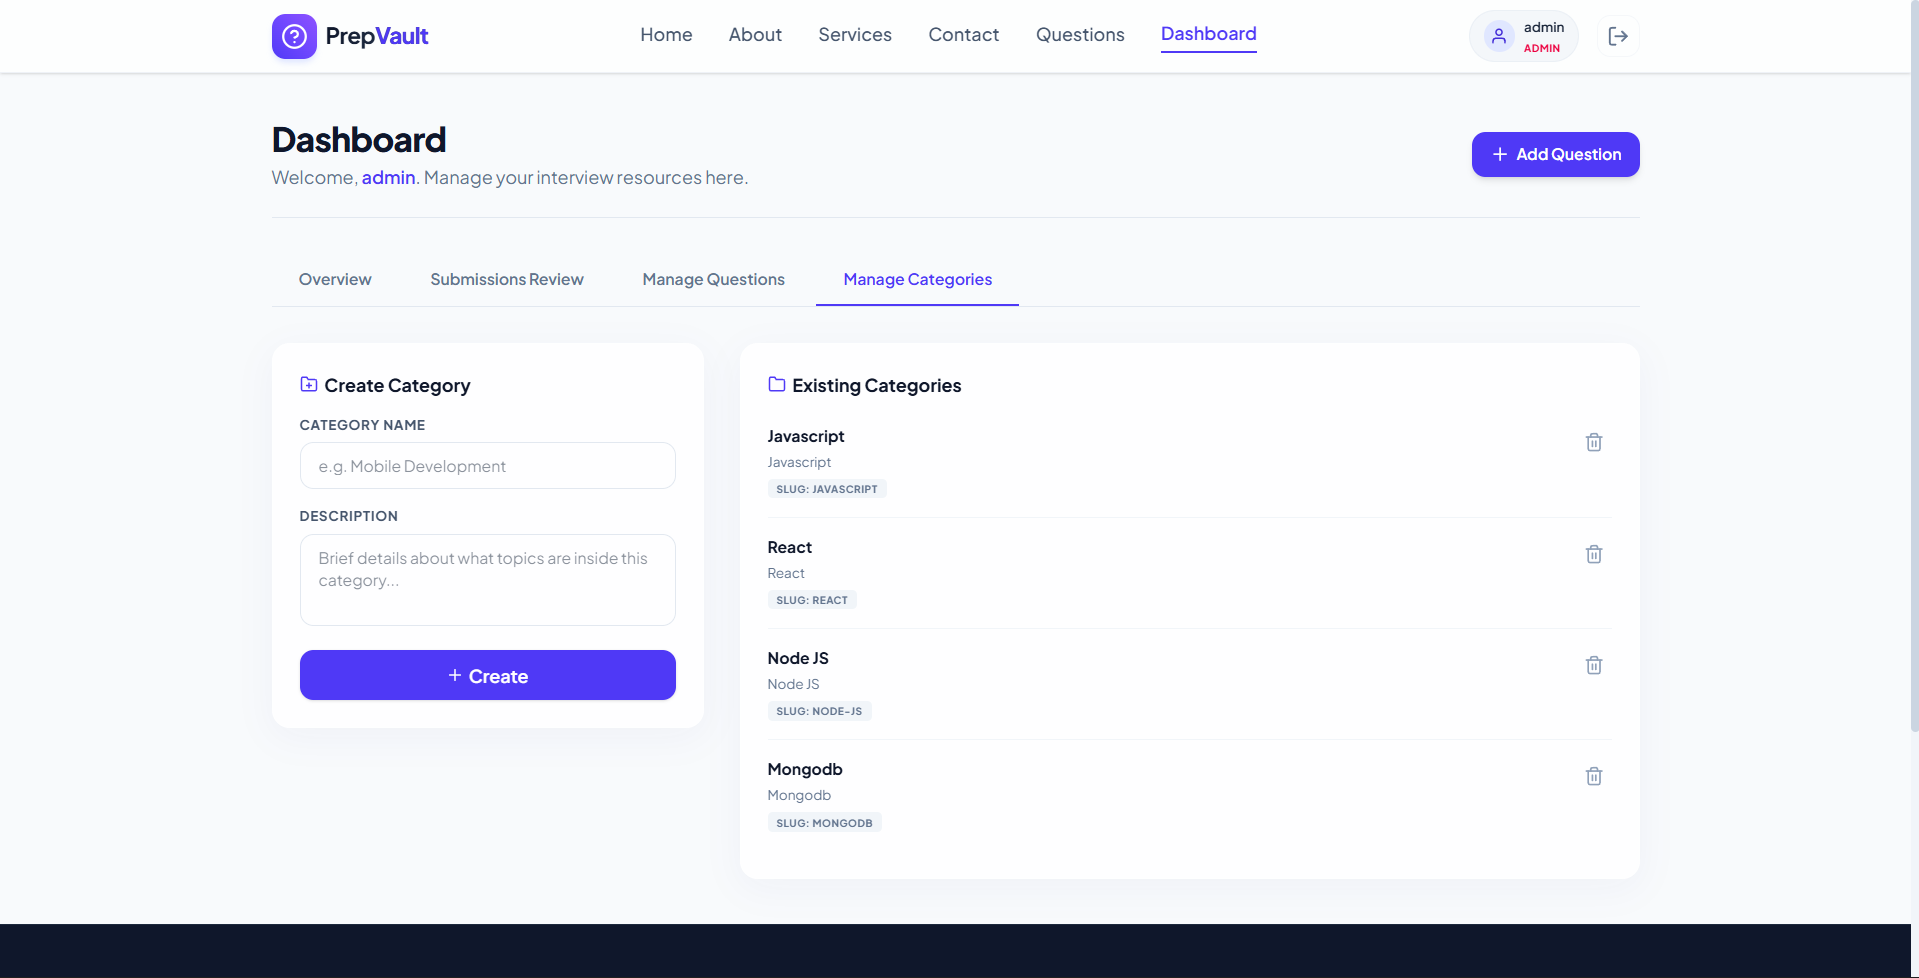
- Admin Management Panel: A secure panel to approve/reject submissions, create categories, and directly add, edit, or delete questions.
Functionaliy
- User Authentication: Secure registration, login, and token-based state management using bcrypt hashing and JSON Web Tokens (JWT).
- Question Searching & Filtering: Users search questions by keyword, tags, and category, and filter by difficulty levels (Easy, Medium, Hard).
- Question Submission & Review: Registered candidates submit new questions, which are held in a pending queue until approved by an administrator.
- Administrative Content Control: Admins can create or delete categories, and add, edit, or delete questions directly with instant updates.
- Database Seeding & Setup: The backend automatically seeds initial categories and questions when starting up to ensure immediate platform usability.
Technology Used
- Frontend: React (Vite), React Router DOM, Tailwind CSS v4, React Hot Toast, React Icons
- Backend: Node.js, Express.js
- Database: MongoDB, Mongoose ODM
- Authentication: JSON Web Tokens (JWT), Bcrypt.js
Why This Project Is Useful
- Structured Prep: Provides structured, categorized interview preparation instead of scattered, unorganized online resources.
- Verified Content: Community-submitted questions undergo administrative review to ensure high quality and accurate solutions.
- Real-world Scenarios: Focuses on questions actually encountered in real company interviews to keep candidates aligned with modern standards.
- Community Driven: Benefits from candidate contributions, ensuring the questions remain fresh and up-to-date with current industry trends.
- Role Segregation: Empowers administrators with robust moderation capabilities while offering users a clean, distraction-free environment.
Deployment and Environment Setup
- Environment Variables Setup:
- backend/.env
- PORT: 3000
- MONGO_URI: mongodb_url_string
- JWT_SECRET: your_jwt_secret_key_here (if needed)
- frontend/.env
- VITE_API_URL: backend_url
- backend/.env
- Deployment Overview:
- Render or Railway for backend hosting
- Vercel or Netlify for frontend hosting
- MongoDB Atlas for the database
- Backend Deployment:
- Push your code to GitHub.
- Go to Render.com or Railway.app.
- Create a new Web Service and connect your GitHub repository.
- Choose “backend/” as the root directory.
- Add the following environment variables on Render:
- PORT=10000
- MONGO_URI=your MongoDB Atlas URI
- JWT_SECRET=your JWT secret
- Start command: npm start (Ensure your backend/package.json includes “start”: “node server.js”)
- After deployment, note your backend URL, e.g. https://your-backend-name.onrender.com
- Frontend Deployment:
- Go to Vercel.com or Netlify.com.
- Create a new project and connect the GitHub repo.
- Select the “frontend/” folder as root.
- In environment variables, set:
- VITE_API_URL=https://your-backend-domain.com/api (or REACT_APP_API_URL if using CRA)
- Deploy.
- MongoDB Atlas Setup:
- Go to https://cloud.mongodb.com
- Create a free cluster.
- Add your current IP address in Network Access.
- Create a database user and password.
- Copy the connection string and replace username, password, and database name in MONGO_URI in backend/.env
Download Source Code
Project Setup Instructions
Note: This project is for educational purposes only. Not for commercial sale.


