Project Overview
TableReserve is a premium, full-stack MERN application designed to bridge the gap between restaurant owners and diners. It provides a seamless platform for users to discover restaurants and book tables, while empowering restaurant owners with a comprehensive business console to manage their profile, menu, and reservations.
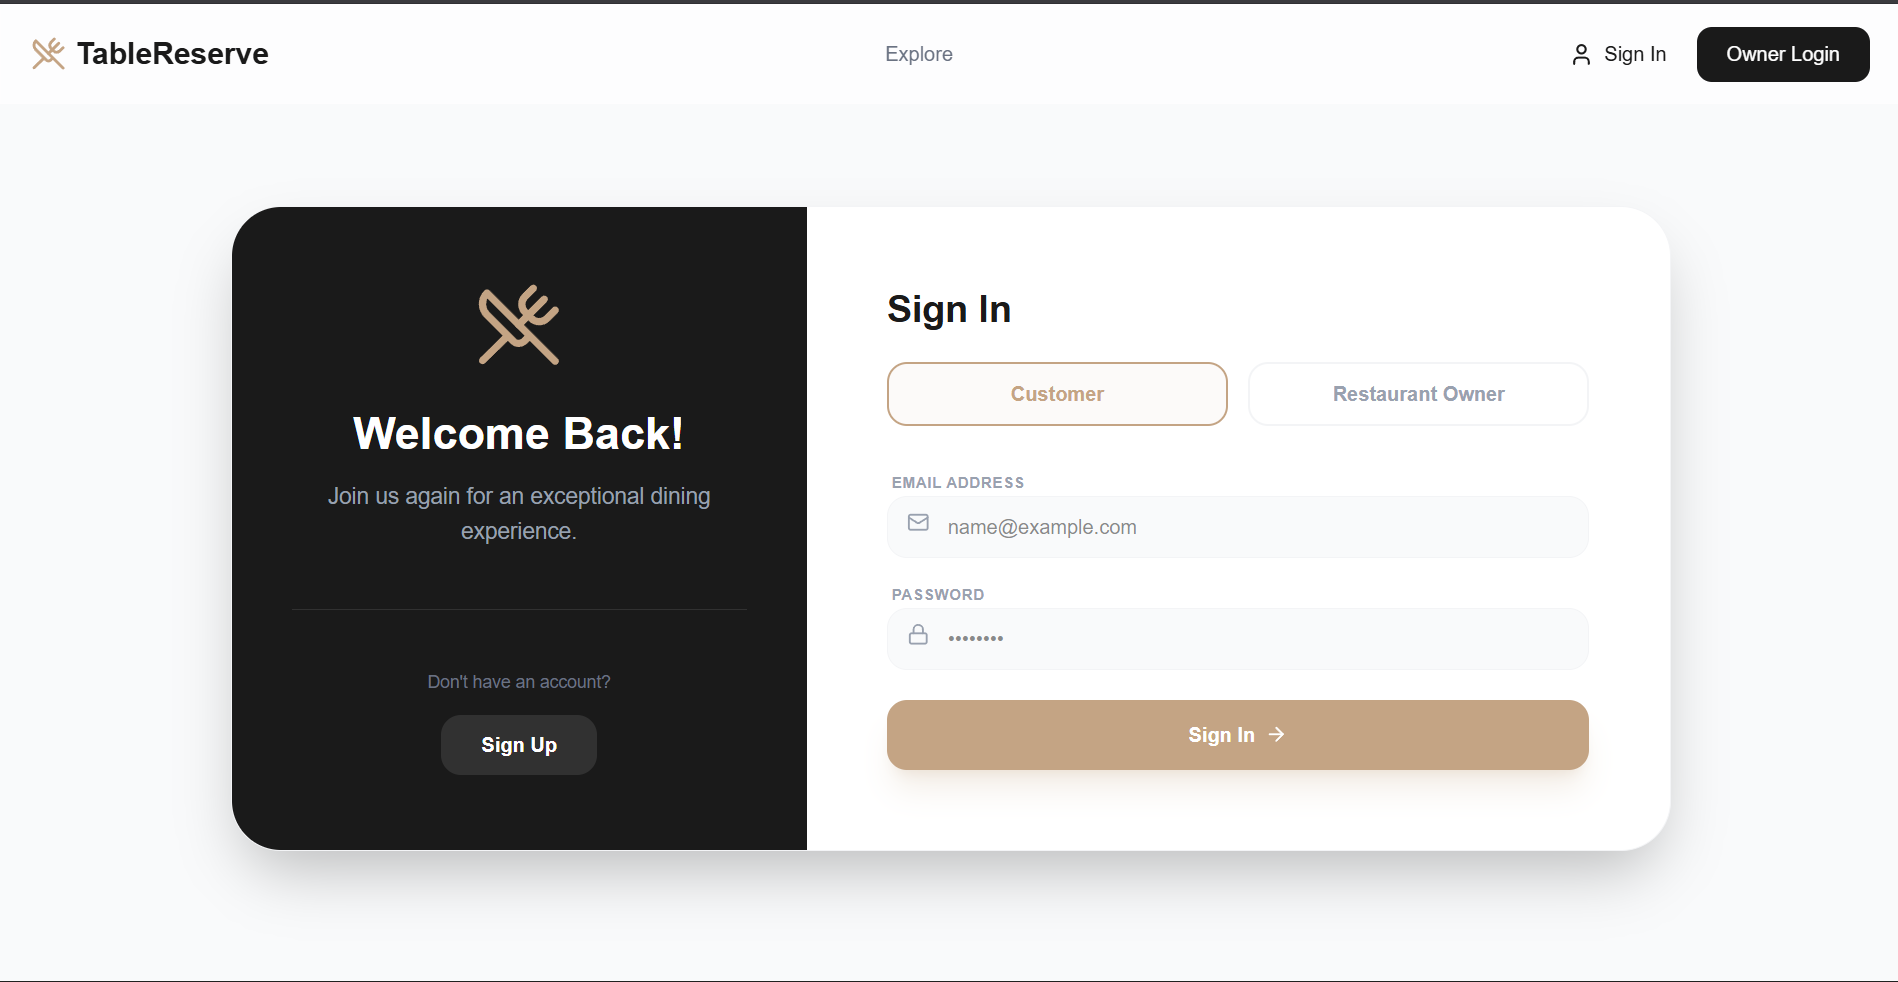
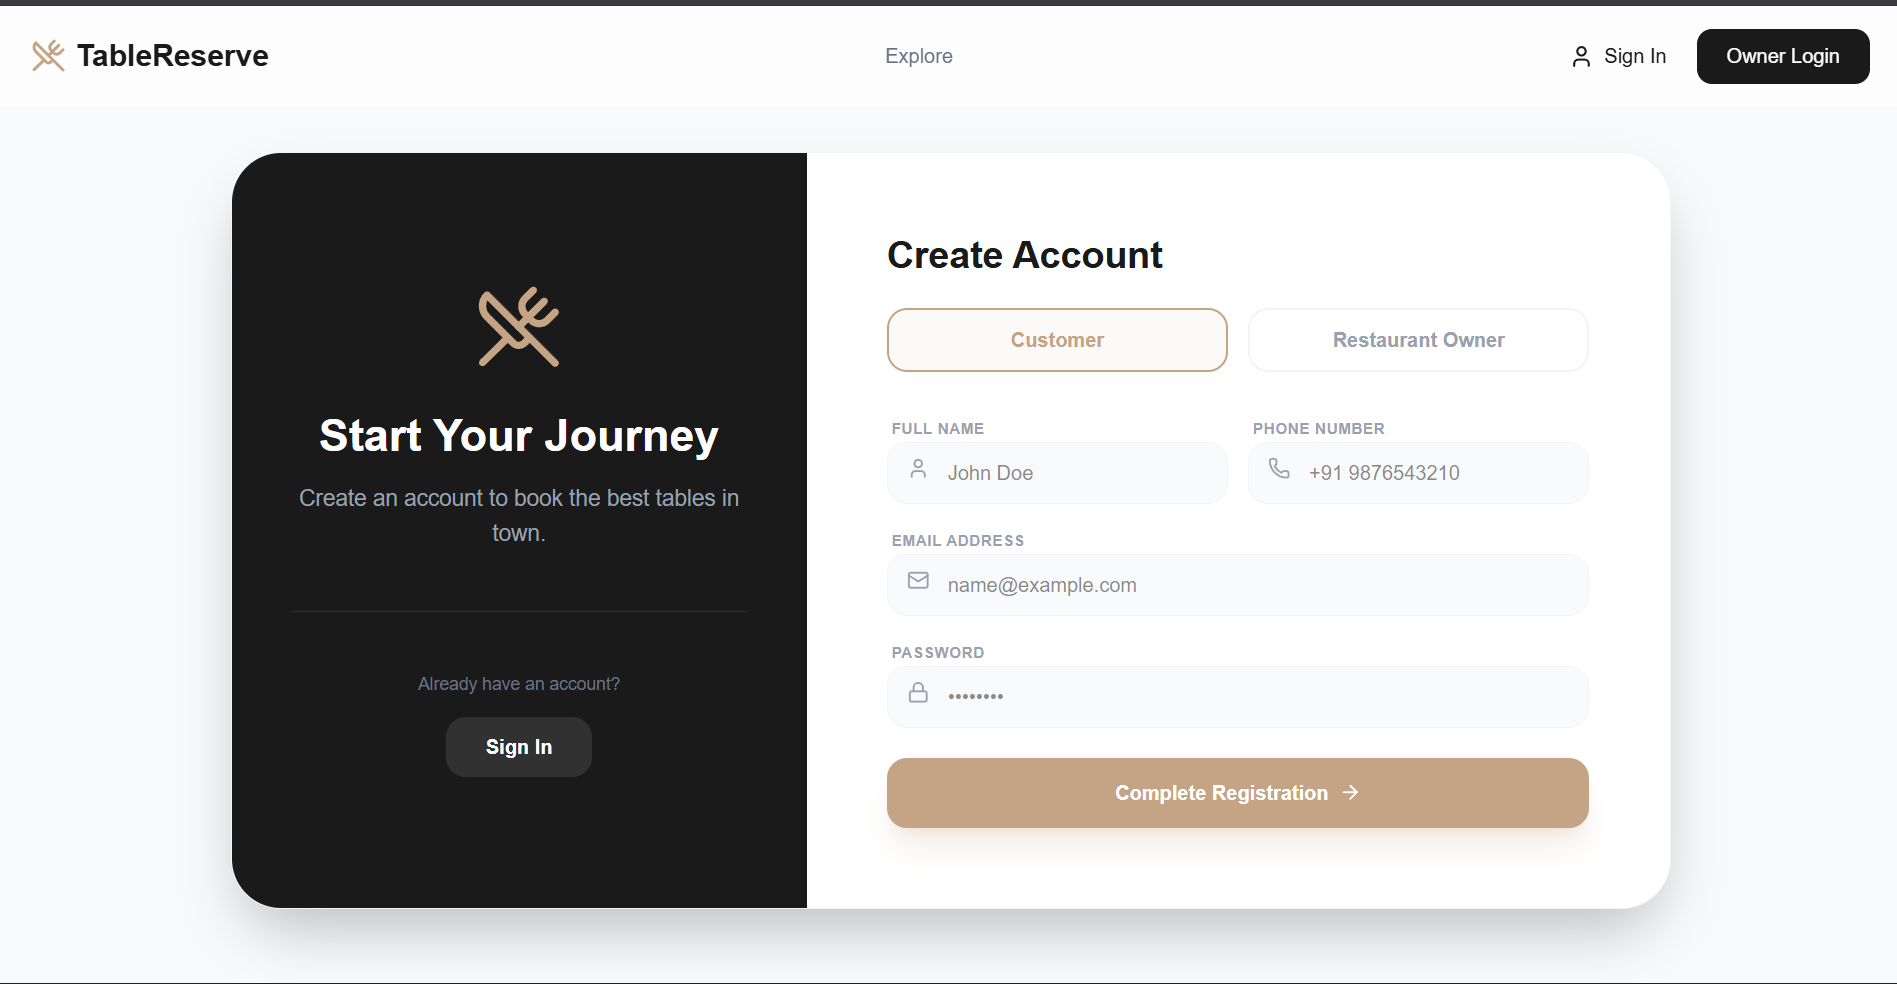
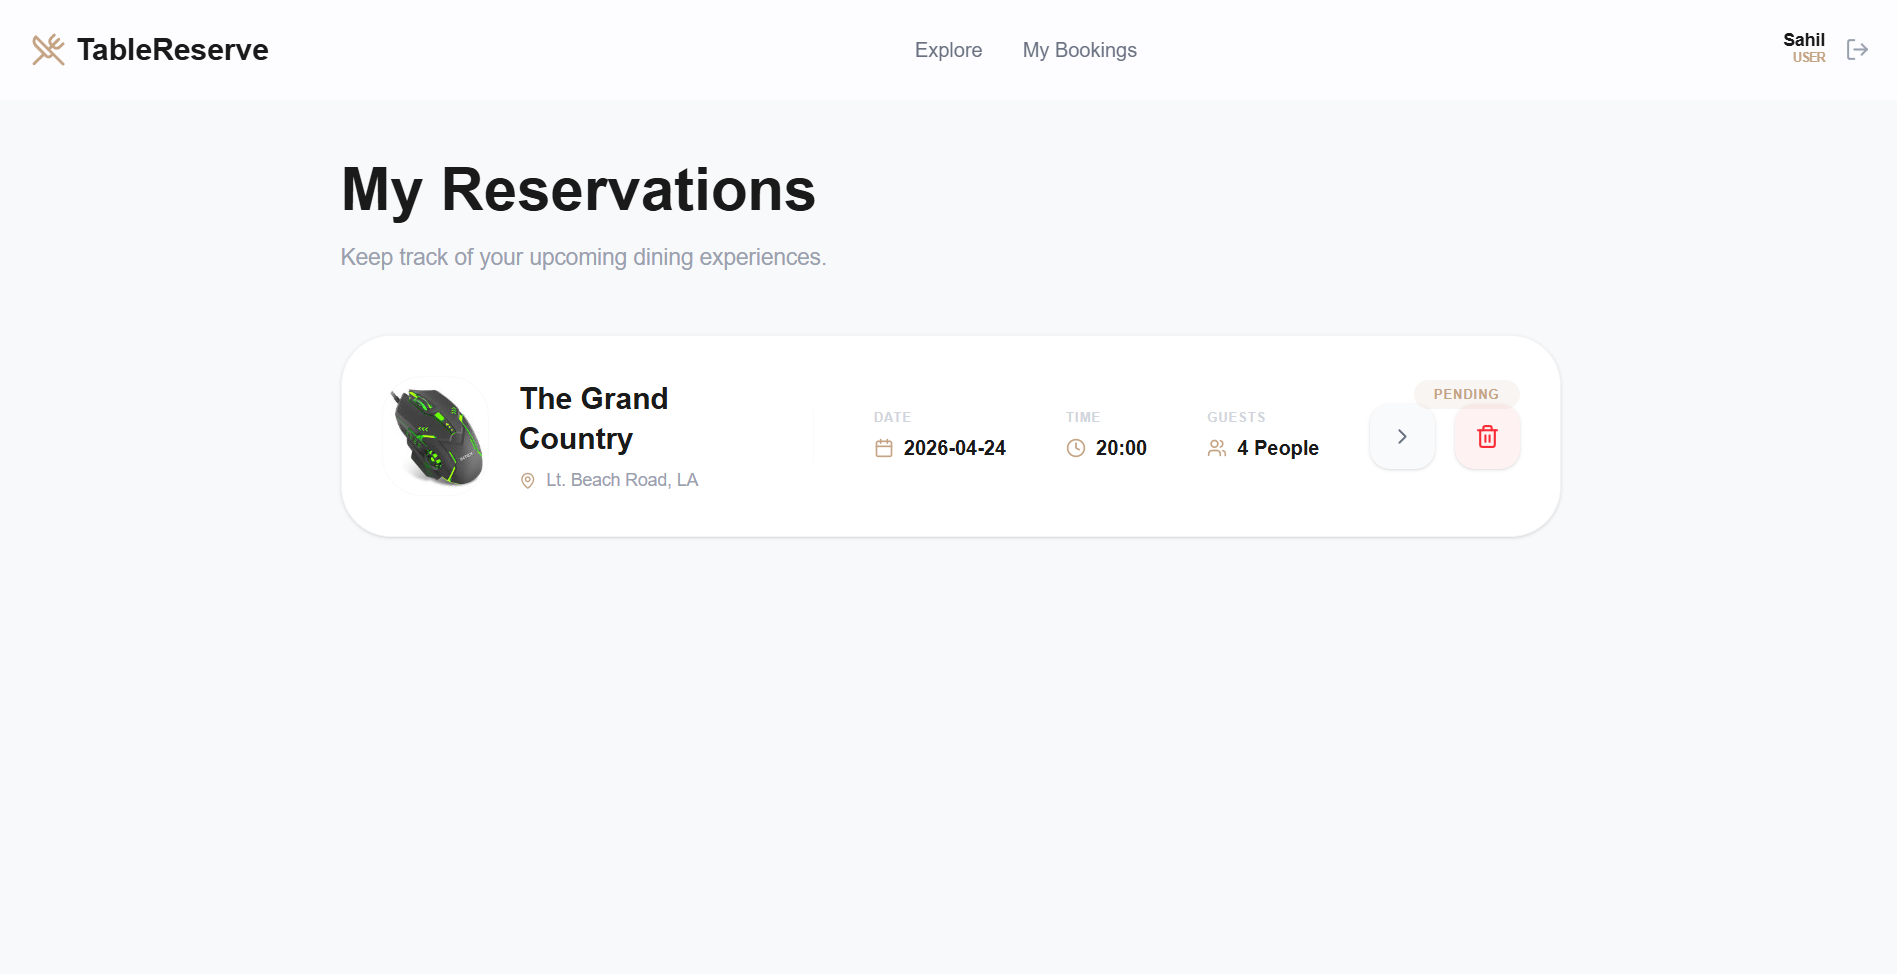
Screenshots
Key Features
- For Users(Diners)
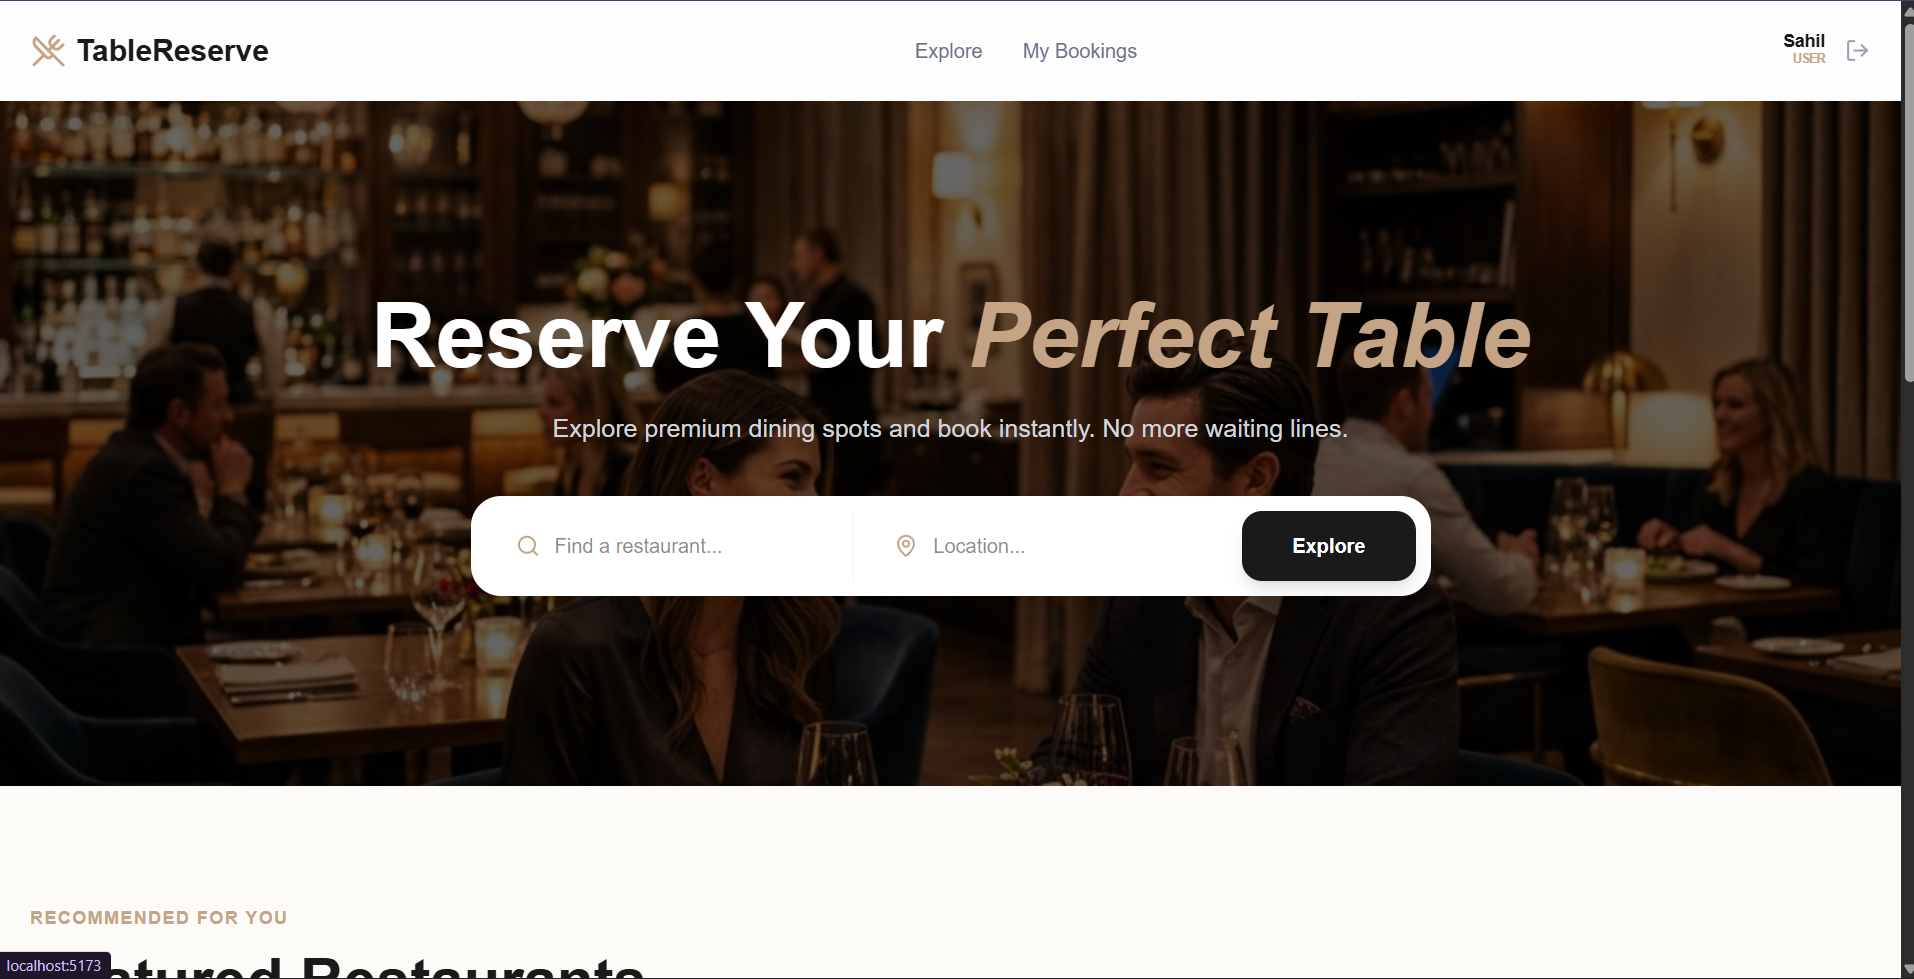
- Dynamic Restaurant Discovery: Browse a curated list of restaurants with high-quality images, cuisine categories, and price levels.
- Detailed Restaurant Profiles: View deep-dive information including detailed descriptions, signature menus, and business hours.
- One-Tap Booking: A streamlined reservation system that collects only essential data (Date, Time slot, Guests).
- Personal Reservation Hub: A dedicated “My Bookings” page to track upcoming dinners and manage cancellations.
- Glassmorphic UI: A premium, modern interface with smooth animations and responsive design.
- For Restaurant Owners
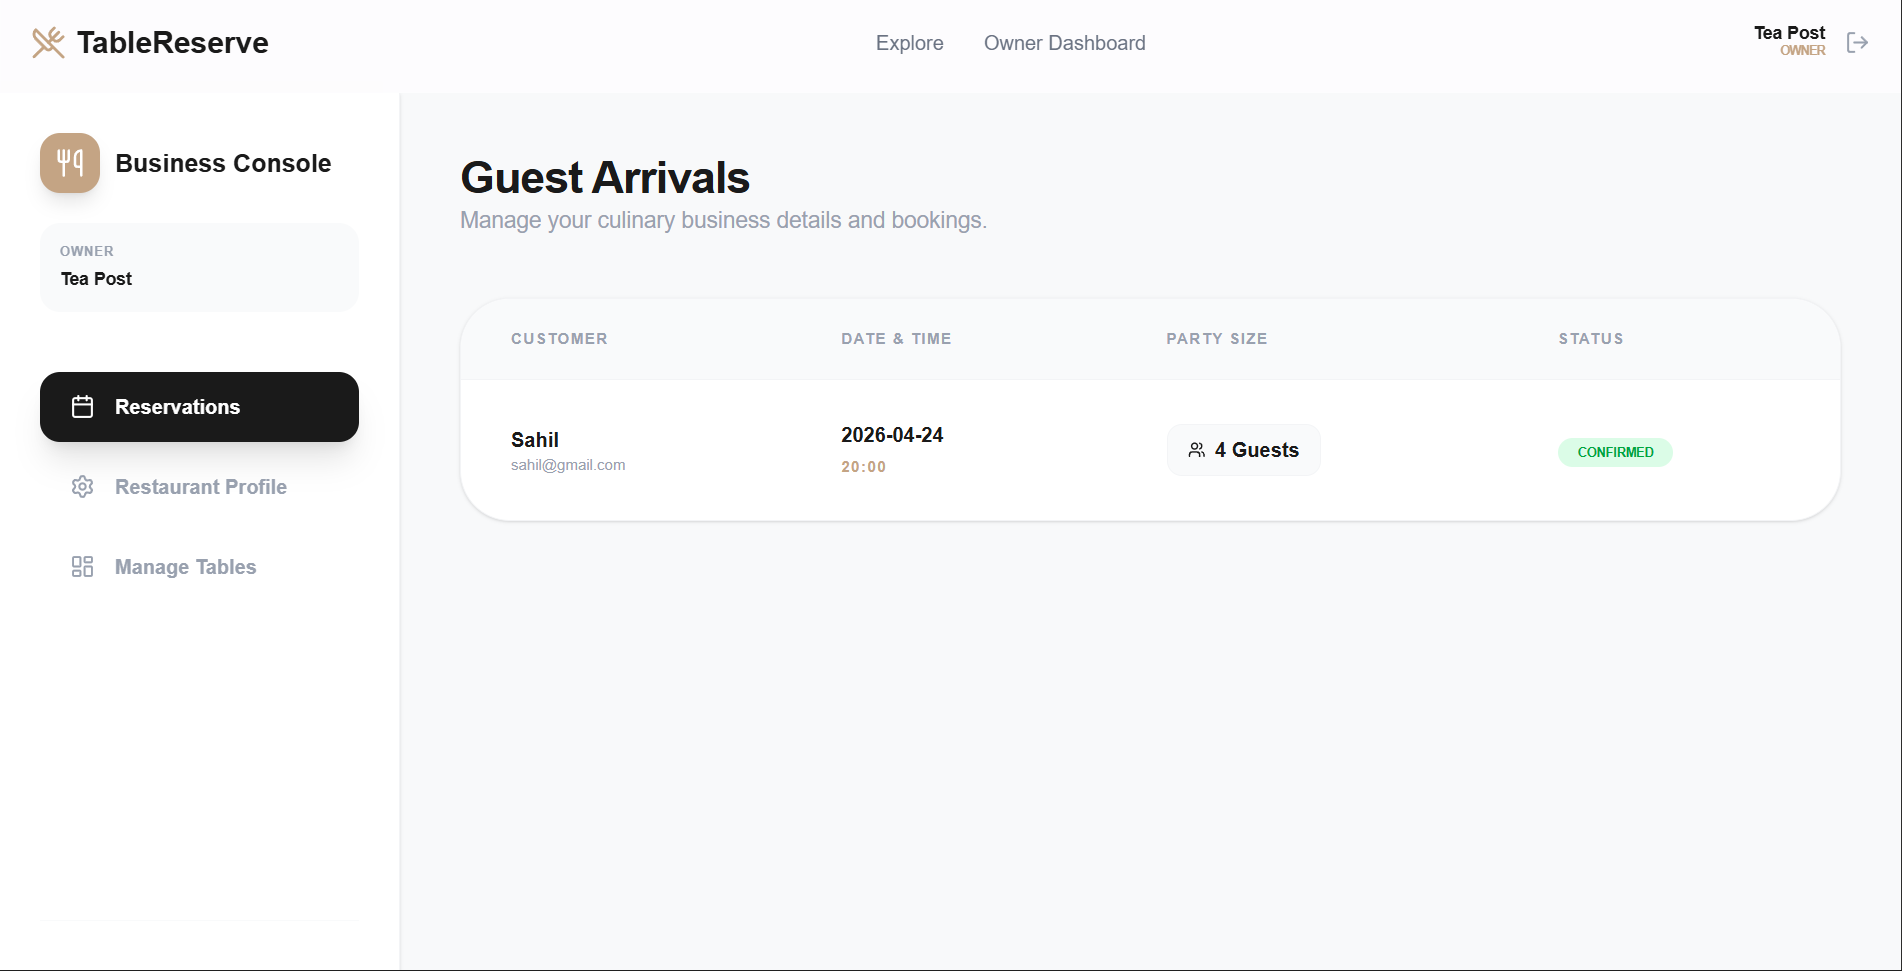
- Business Control Center: A dedicated dashboard to monitor guest arrivals and business performance.
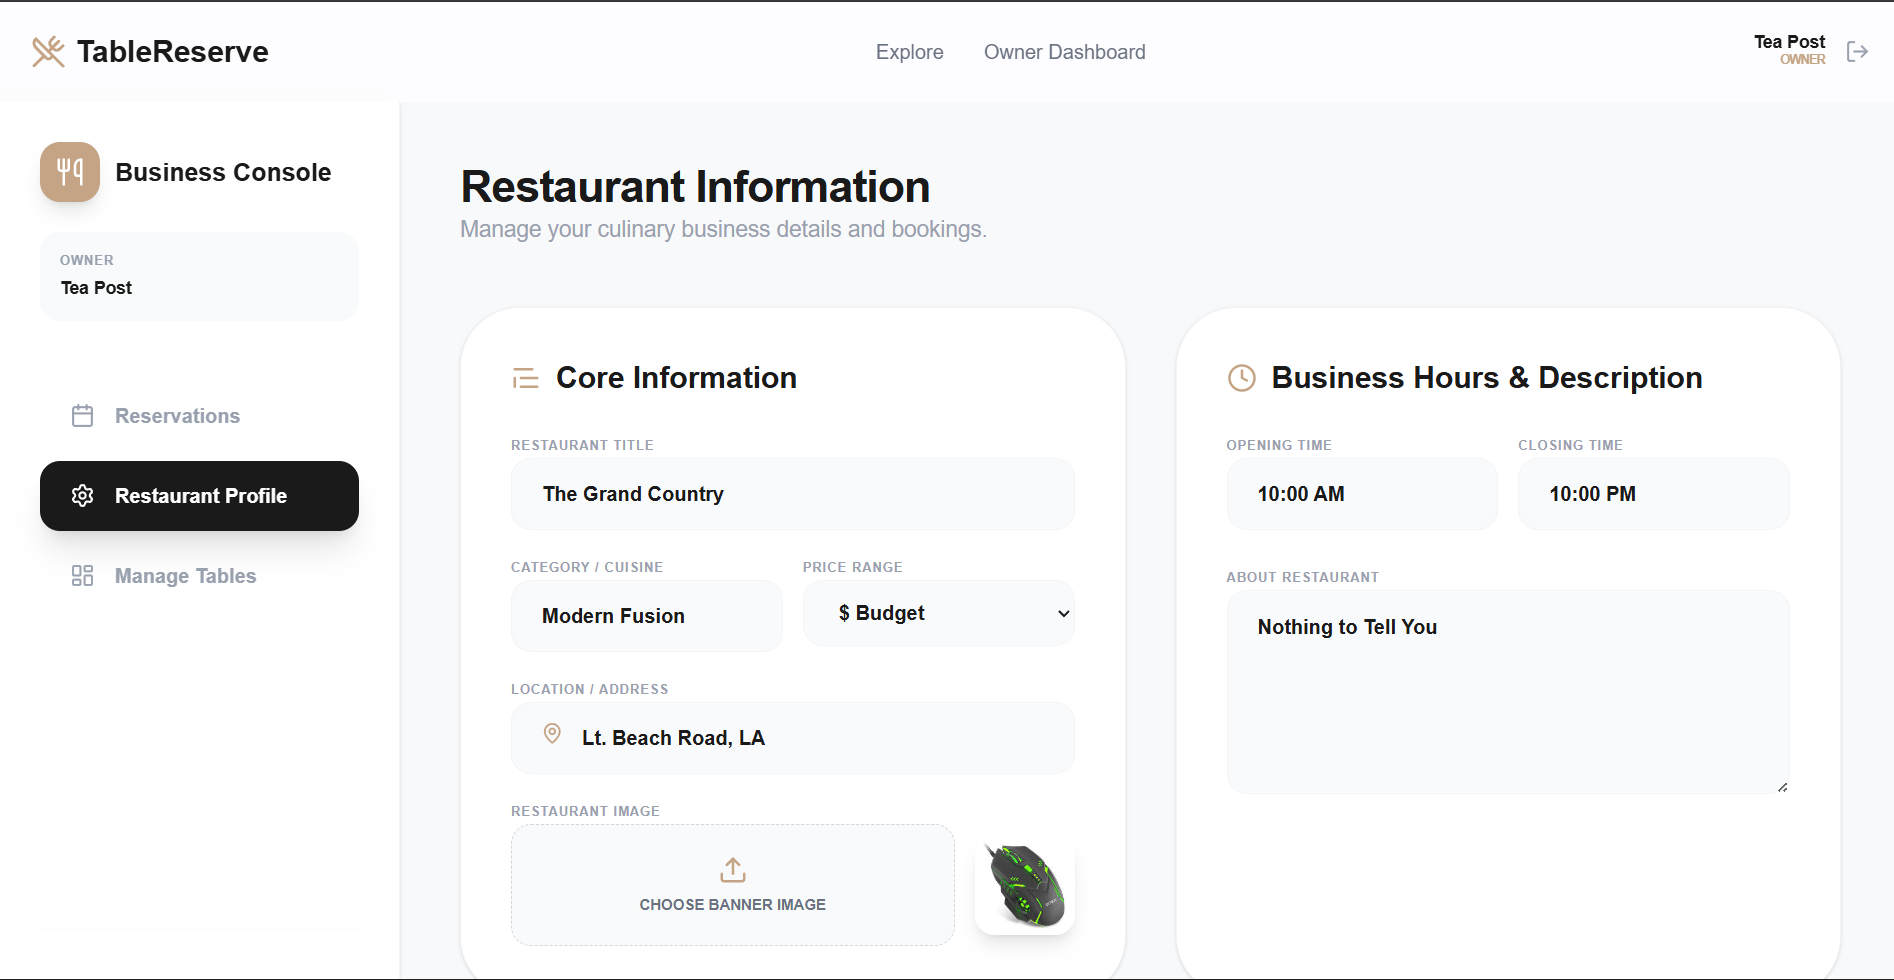
- Full Profile Management: Update restaurant name, location, cuisine type, and professional banner images.
- Digital Menu Creator: Build and manage a digital menu with items, categories, and pricing.
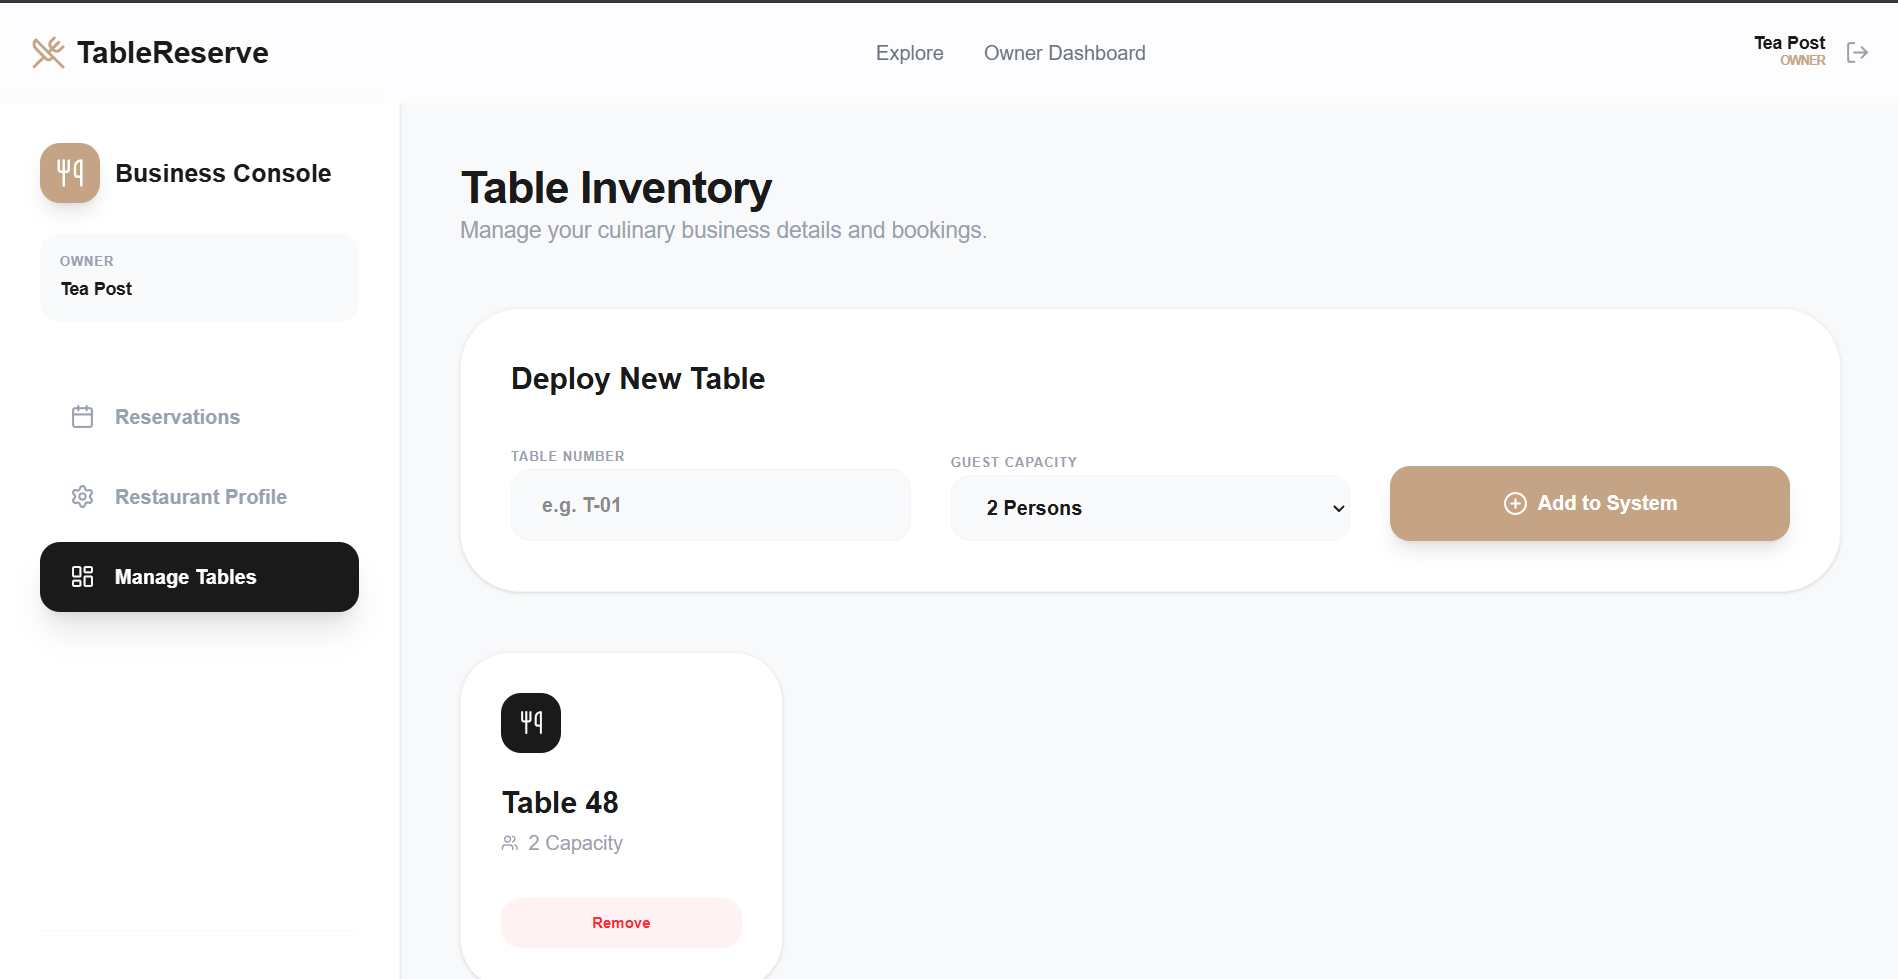
- Table Inventory System: Deploy and manage specific table layouts (Table numbers and capacities) that persist in the database.
- Automated Business Setup: New owners are automatically provisioned with a restaurant profile upon registration.
Functionaliy
- Role-Based Access Control (RBAC): Secure separation between User and Owner views using JWT and protected middleware.
- Real-time Image Handling: Integrated
multersystem for handling restaurant banners and certificates. - Database Persistence: Full CRUD operations for restaurants and bookings, ensuring data is never lost on refresh.
- Smart Filtering: Home page provides a clean interface to explore restaurants by location and type.
Technology Used
- Frontend: React.js – A library used for building a modern and interactive user interface.
- Styling: Tailwind CSS – A utility-first CSS framework used for creating the premium, custom-designed UI.
- Icons: Lucide-React – Provides modern and lightweight vector icons for better visual design.
- Backend: Node.js / Express – Used for building robust server-side logic and managing the API.
- Database: MongoDB / Mongoose – A NoSQL database used for flexible data storage for restaurants, users, and bookings.
- Authentication: JWT / Bcrypt.js – Handles secure token-based login and password encryption.
- File Storage: Multer – A middleware used for handling multipart/form-data, such as uploading restaurant images.
Why This Project Is Useful
- Digitizes Traditional Dining: Eliminates the need for phone calls and manual logbooks, reducing errors and saving time for both parties.
- Boosts Business Visibility: Provides local restaurants with a professional digital presence to showcase their menu and ambiance to a wider audience.
- Enhanced Operational Efficiency: Owners can plan their staffing and inventory based on confirmed guest arrivals and party sizes.
- Premium User Experience: In an age of digital convenience, offering a “glassmorphic” and responsive interface builds trust and encourages repeat bookings.
- Scalability: The modular MERN architecture allows for future additions like review systems, pre-payment for tables, or loyalty programs.
Deployment and Environment Setup
- Environment Variables Setup:
- backend/.env
- PORT: 3000
- MONGO_URI: mongodb_url_string
- JWT_SECRET: your_jwt_secret_key_here (if needed)
- frontend/.env
- VITE_API_URL: backend_url
- backend/.env
- Deployment Overview:
- Render or Railway for backend hosting
- Vercel or Netlify for frontend hosting
- MongoDB Atlas for the database
- Backend Deployment:
- Push your code to GitHub.
- Go to Render.com or Railway.app.
- Create a new Web Service and connect your GitHub repository.
- Choose “backend/” as the root directory.
- Add the following environment variables on Render:
- PORT=10000
- MONGO_URI=your MongoDB Atlas URI
- JWT_SECRET=your JWT secret
- Start command: npm start (Ensure your backend/package.json includes “start”: “node server.js”)
- After deployment, note your backend URL, e.g. https://your-backend-name.onrender.com
- Frontend Deployment:
- Go to Vercel.com or Netlify.com.
- Create a new project and connect the GitHub repo.
- Select the “frontend/” folder as root.
- In environment variables, set:
- VITE_API_URL=https://your-backend-domain.com/api (or REACT_APP_API_URL if using CRA)
- Deploy.
- MongoDB Atlas Setup:
- Go to https://cloud.mongodb.com
- Create a free cluster.
- Add your current IP address in Network Access.
- Create a database user and password.
- Copy the connection string and replace username, password, and database name in MONGO_URI in backend/.env
Download Source Code
Project Setup Instructions
Note: This project is for educational purposes only. Not for commercial sale.


