Project Overview
The Subscription Tracker is a premium, full-stack MERN (MongoDB, Express, React, Node.js) application designed to solve the growing problem of “subscription creep.” It provides users with a centralized, high-performance dashboard to monitor, manage, and optimize their recurring digital expenses. By offering a clear financial overview, it empowers users to take control of their monthly spending and never get caught off guard by a renewal again.
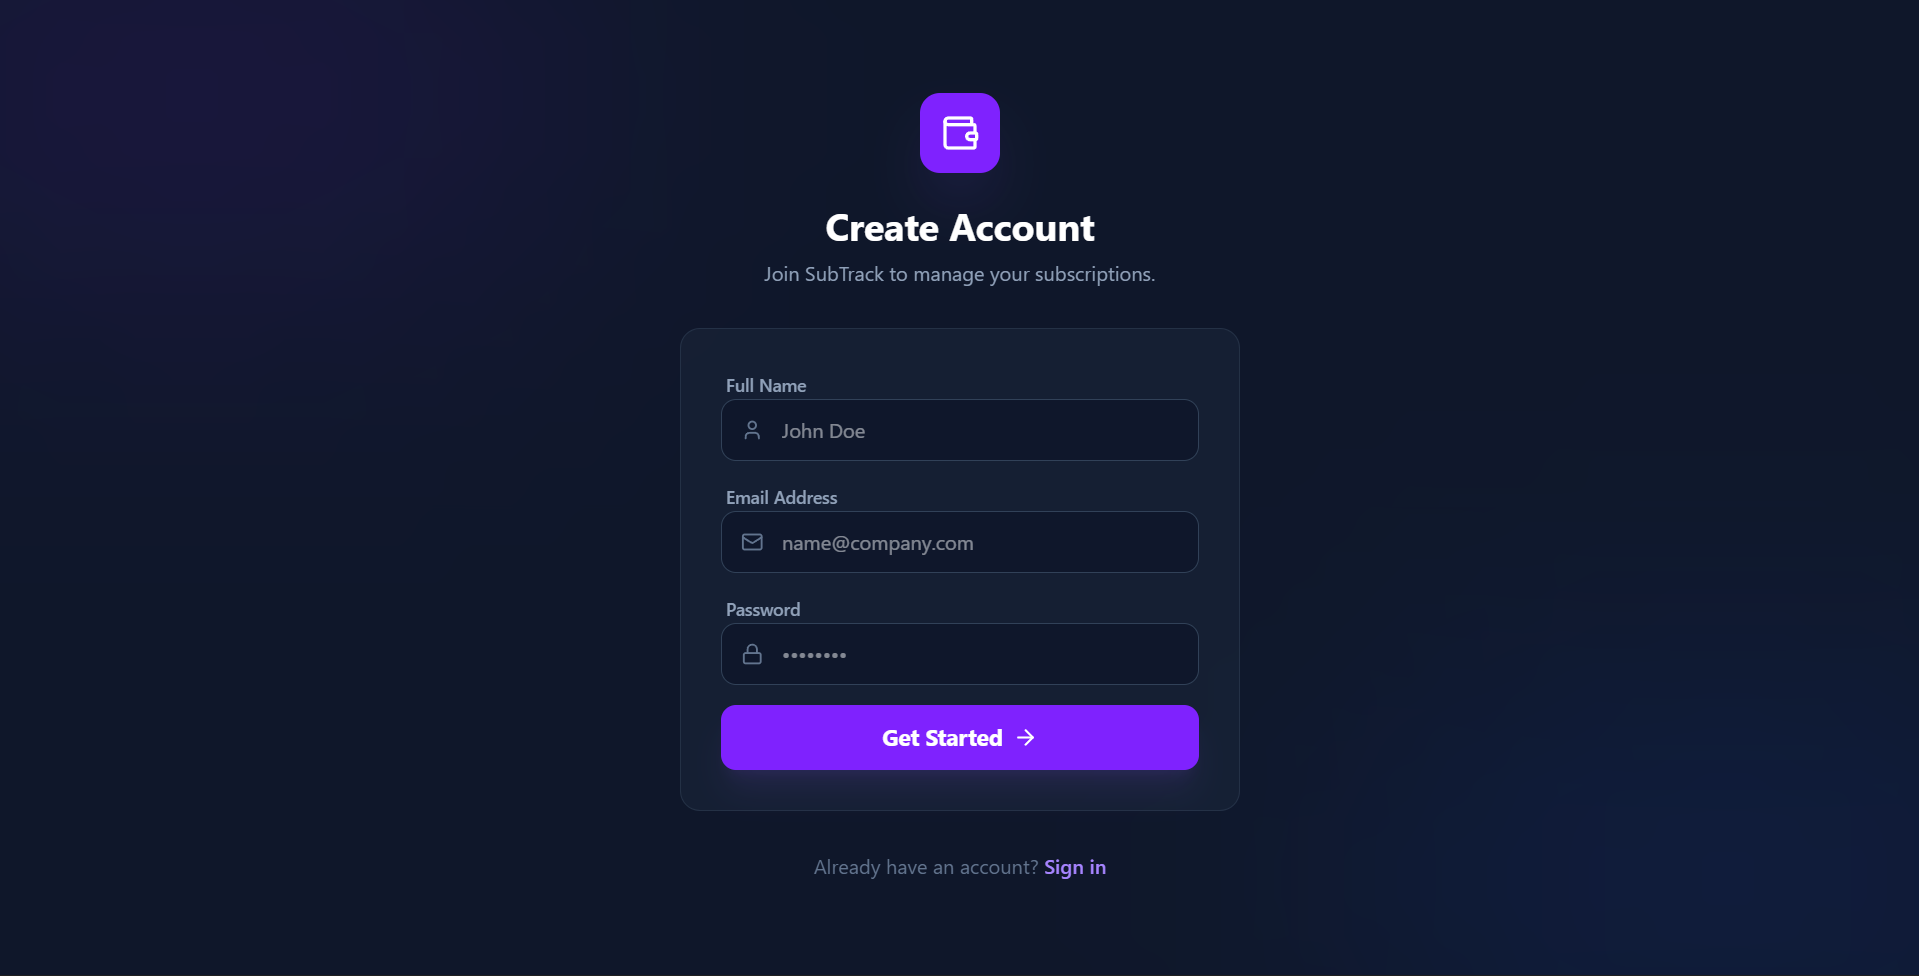
Screenshots

Key Features
- Premium Aesthetics: A stunning dark-mode interface utilizing Glassmorphism, vibrant gradients, and smooth micro-animations for a high-end feel.
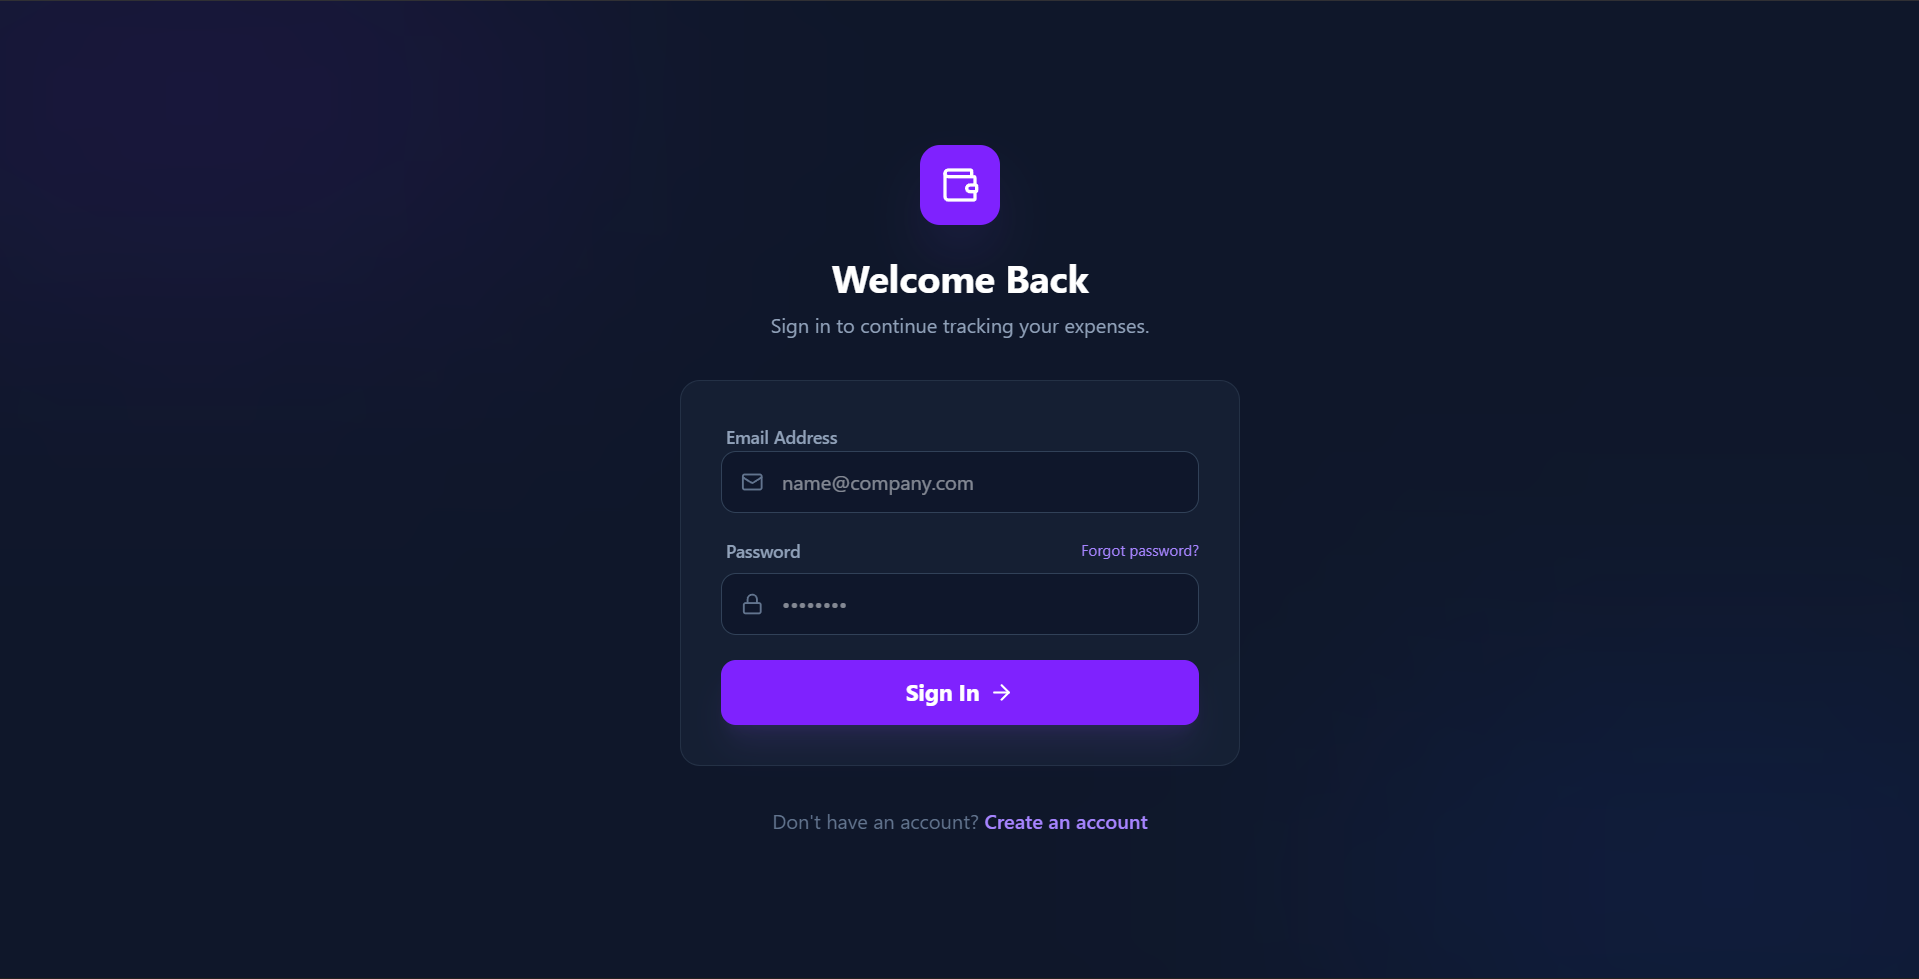
- Secure Authentication: Robust user security using JSON Web Tokens (JWT) and bcryptjs password encryption.
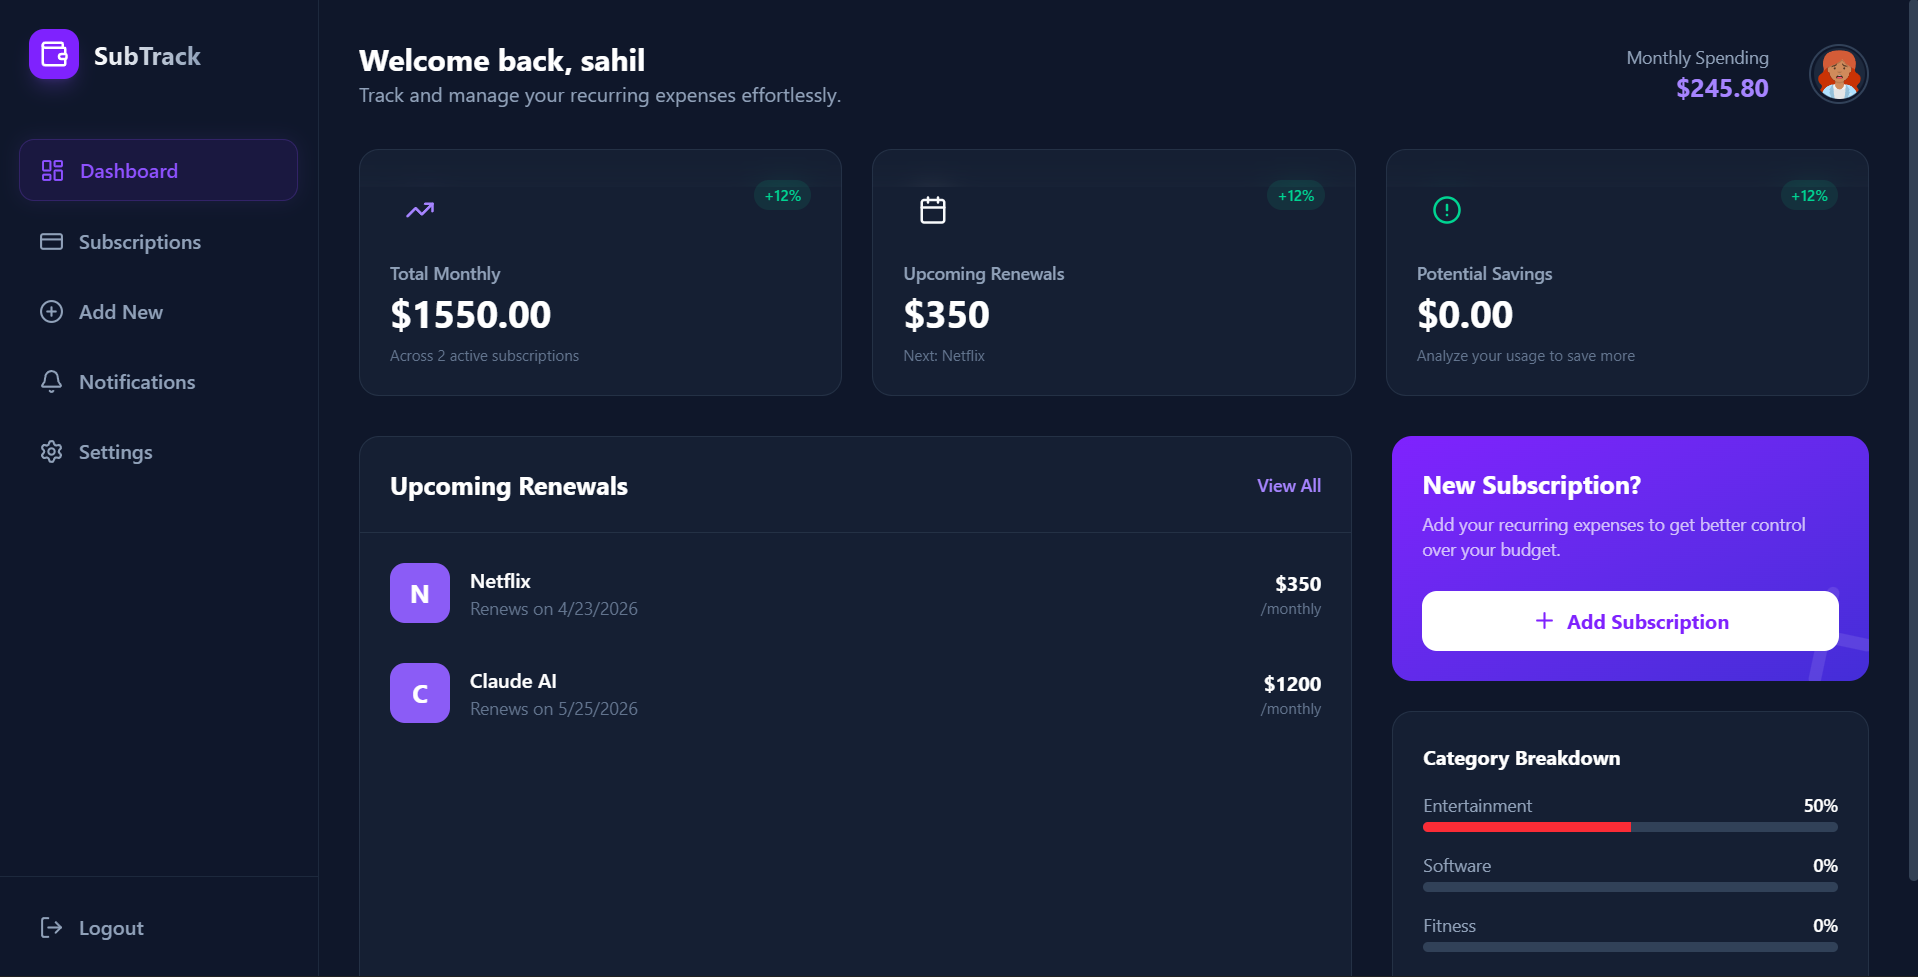
- Intelligent Dashboard: Real-time calculation of total monthly expenditure and dynamic category breakdowns.
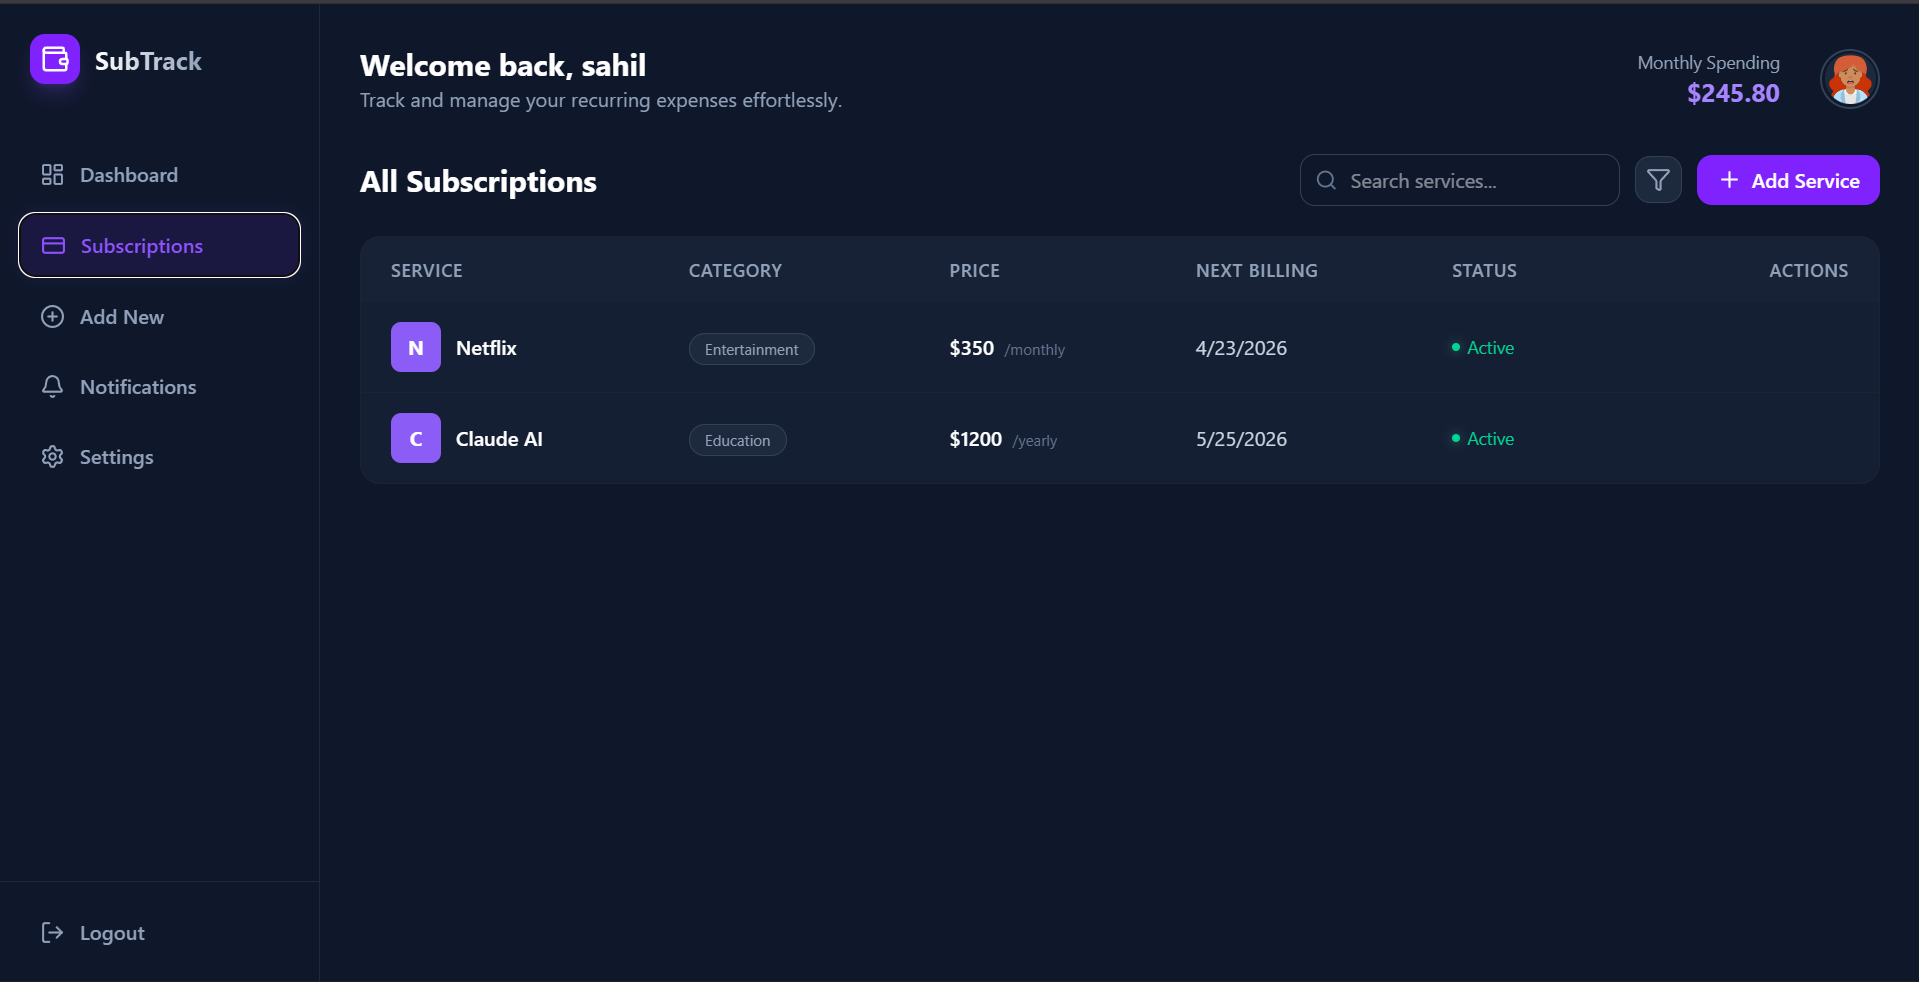
- Visual Status Tracking: At-a-glance status indicators (Active/Paused/Cancelled) with glowing visual cues.
- Smart Categorization: Automatically groups expenses (Entertainment, Software, Fitness, etc.) to identify where your money is going.
Functionality
- User Onboarding: Secure signup and login flow with persisted sessions.
- Dashboard Overview: View total monthly spending, upcoming renewals for the next 7 days, and potential savings.
- Comprehensive Management: A searchable and filterable list of all subscriptions with detailed billing cycles (Monthly/Yearly).
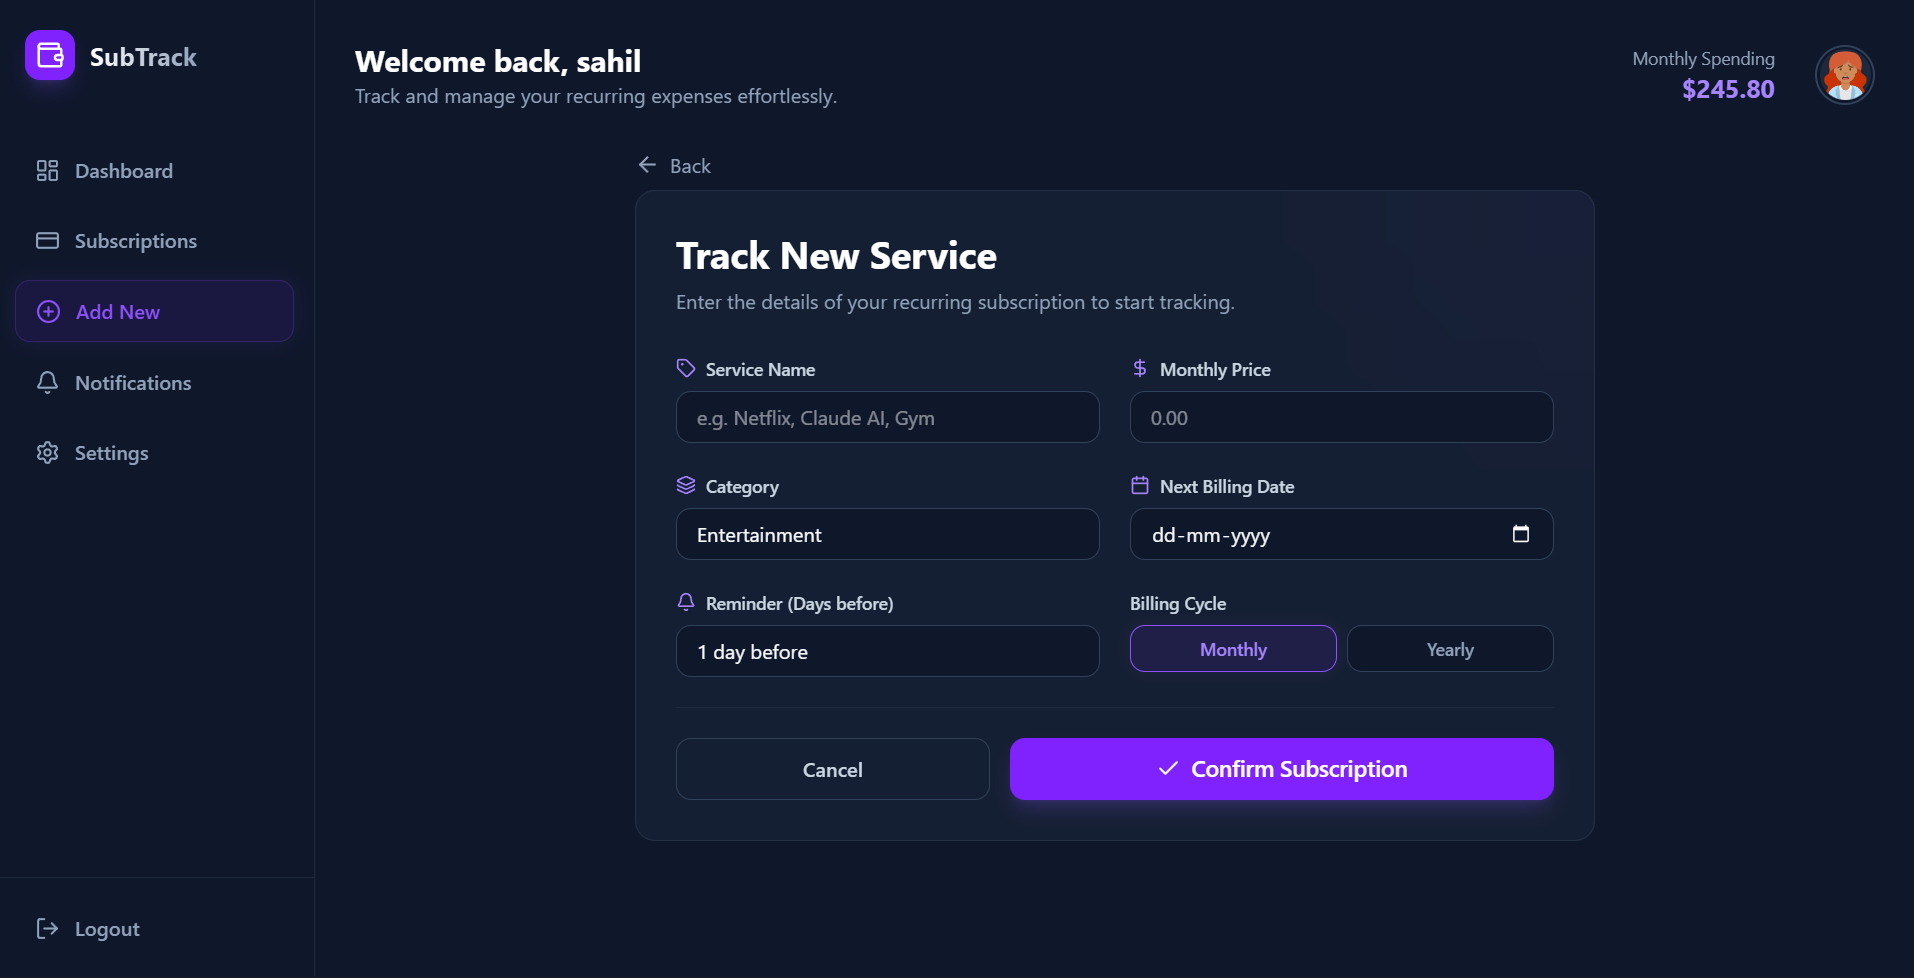
- Subscription CRUD: Full ability to add new services, edit existing ones, or delete subscriptions you no longer use.
- Billing Reminders: Tracking of “Next Billing Date” to keep you prepared for upcoming charges.
Technology Used
- Frontend:
- React 19: Modern UI library for a fast, component-based interface.
- Tailwind CSS v4: Cutting-edge styling engine for the premium design system.
- Lucide React: Beautiful, consistent iconography.
- Axios: Reliable communication with the backend API.
- React Router: Seamless navigation between dashboard and management pages.
- Backend:
- Node.js & Express: High-performance server-side environment and routing.
- MongoDB & Mongoose: Flexible NoSQL database for storing user profiles and subscription data.
- JWT & Bcrypt: Industry-standard security for authentication and data protection.
Why This Project Is Useful
- In today’s digital economy, it is easy to lose track of the dozens of $10–$20 services we subscribe to. This project is useful because:
- Financial Awareness: It uncovers the “hidden costs” of small recurring payments that add up to thousands of dollars annually.
- Avoids Waste: By visualizing every service in one place, users can quickly identify and cancel unused subscriptions.
- Prevents Surprises: Automated billing date tracking ensures that users are never surprised by an unexpected withdrawal from their bank account.
- Budgeting Tool: Acts as a specialized budgeting assistant specifically focused on the fastest-growing sector of personal finance: recurring digital services.
Deployment and Environment Setup
- Environment Variables Setup:
- backend/.env
- PORT: 5000
- MONGO_URI: mongodb_url_string
- JWT_SECRET: your_jwt_secret_key_here (if needed)
- frontend/.env
- VITE_API_URL: backend_url
- backend/.env
- Deployment Overview:
- Render or Railway for backend hosting
- Vercel or Netlify for frontend hosting
- MongoDB Atlas for the database
- Backend Deployment:
- Push your code to GitHub.
- Go to Render.com or Railway.app.
- Create a new Web Service and connect your GitHub repository.
- Choose “backend/” as the root directory.
- Add the following environment variables on Render:
- PORT=10000
- MONGO_URI=your MongoDB Atlas URI
- JWT_SECRET=your JWT secret
- Start command: npm start (Ensure your backend/package.json includes “start”: “node server.js”)
- After deployment, note your backend URL, e.g. https://your-backend-name.onrender.com
- Frontend Deployment:
- Go to Vercel.com or Netlify.com.
- Create a new project and connect the GitHub repo.
- Select the “frontend/” folder as root.
- In environment variables, set:
- VITE_API_URL=https://your-backend-domain.com/api (or REACT_APP_API_URL if using CRA)
- Deploy.
- MongoDB Atlas Setup:
- Go to https://cloud.mongodb.com
- Create a free cluster.
- Add your current IP address in Network Access.
- Create a database user and password.
- Copy the connection string and replace username, password, and database name in MONGO_URI in backend/.env
Download Source Code
Project Setup Instructions
Note: This project is for educational purposes only. Not for commercial sale.


