Project Overview
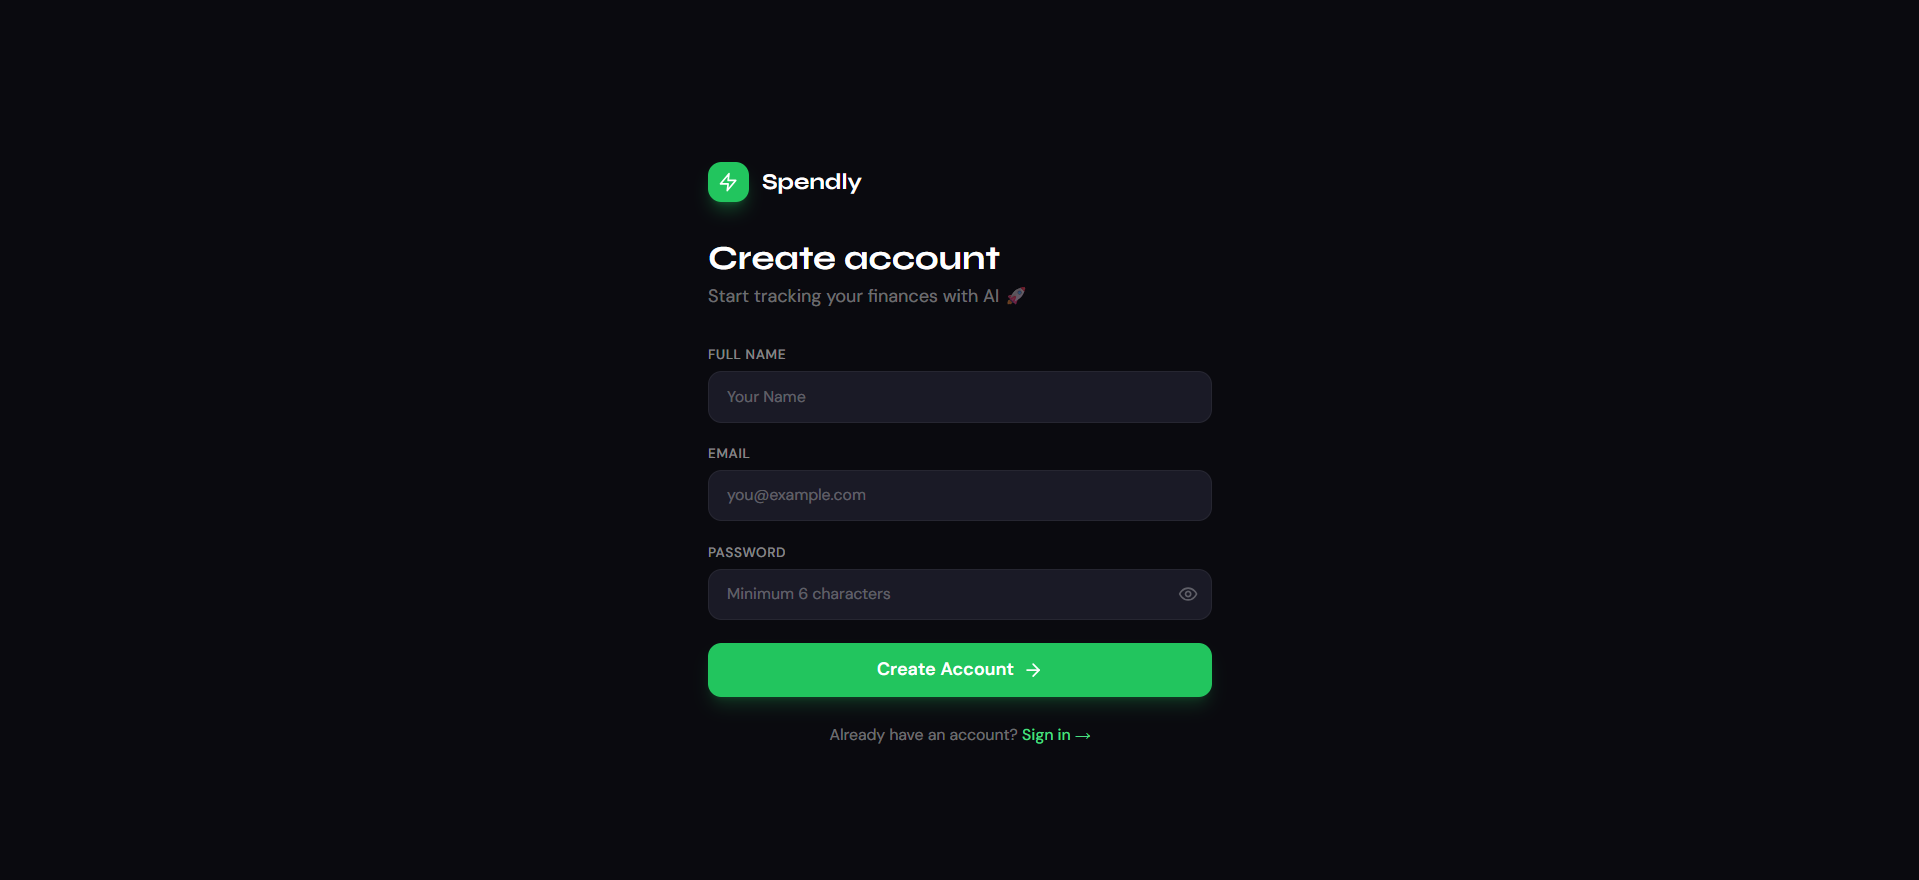
This project is a web-based expense management system built to help users track their daily income and expenses.
It allows users to add, view, and manage financial transactions in an organized way. The goal of the project is to provide a simple and efficient way to monitor spending and improve financial planning.
The application typically includes a user-friendly interface and may use modern technologies like React for the frontend and Node.js for backend processing.
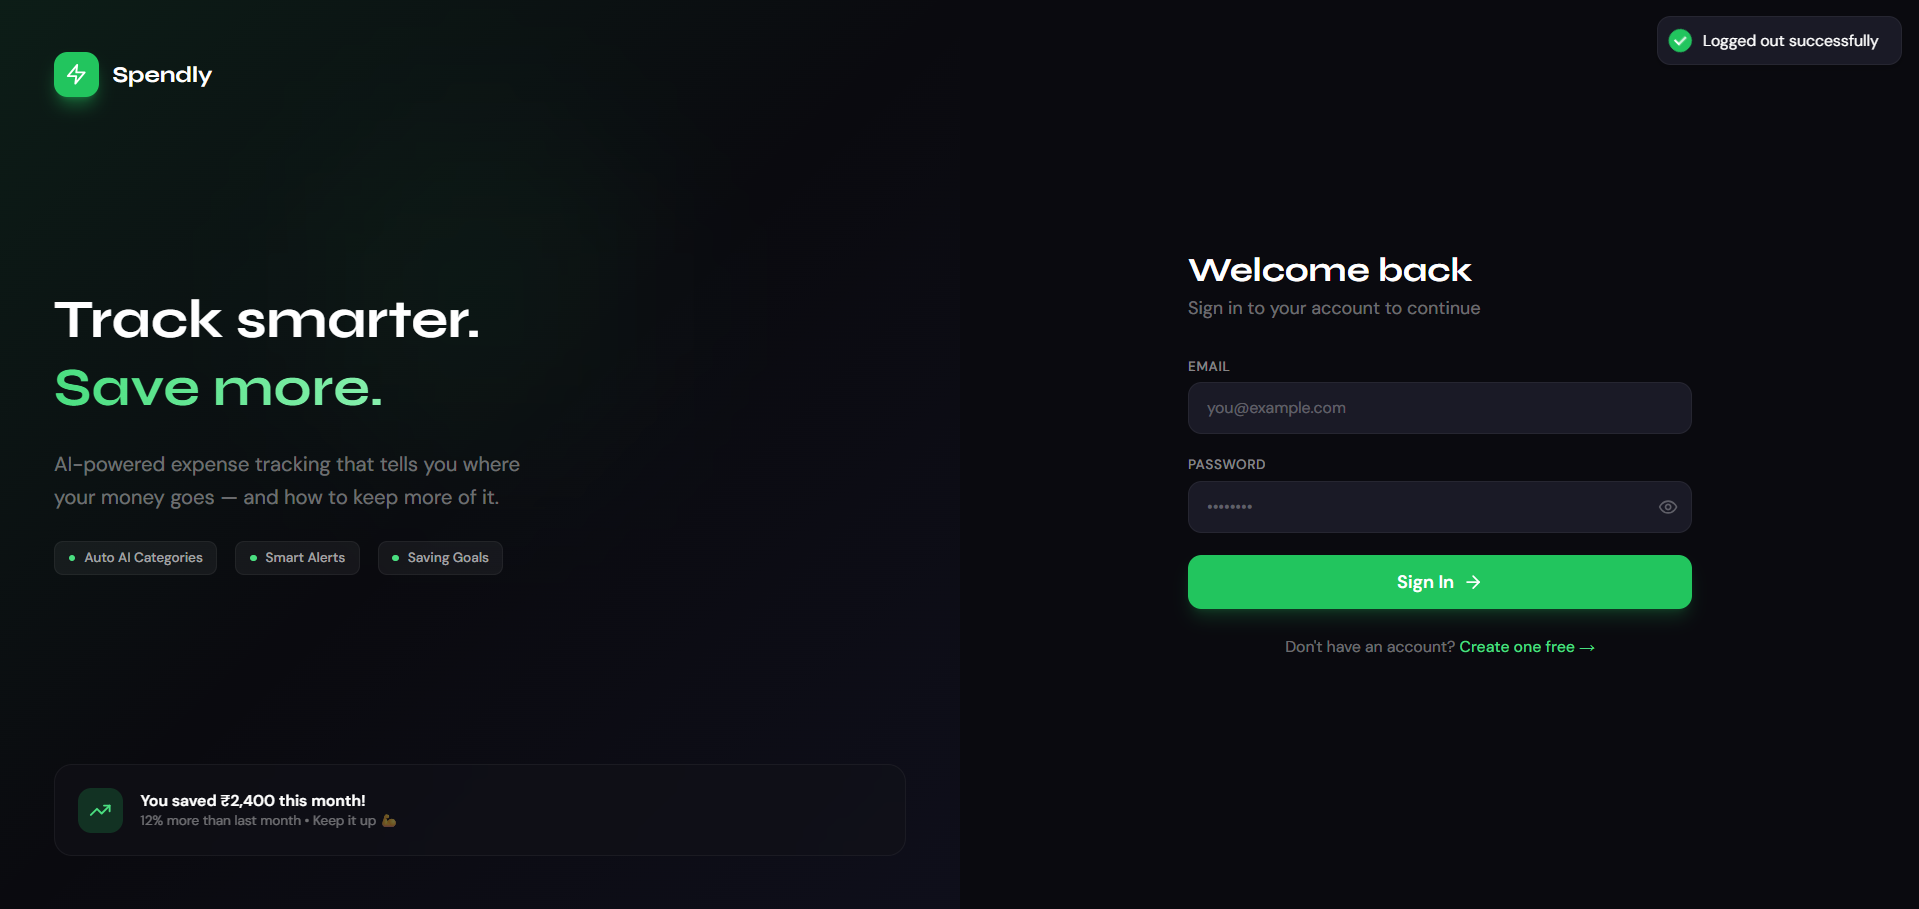
Screenshots
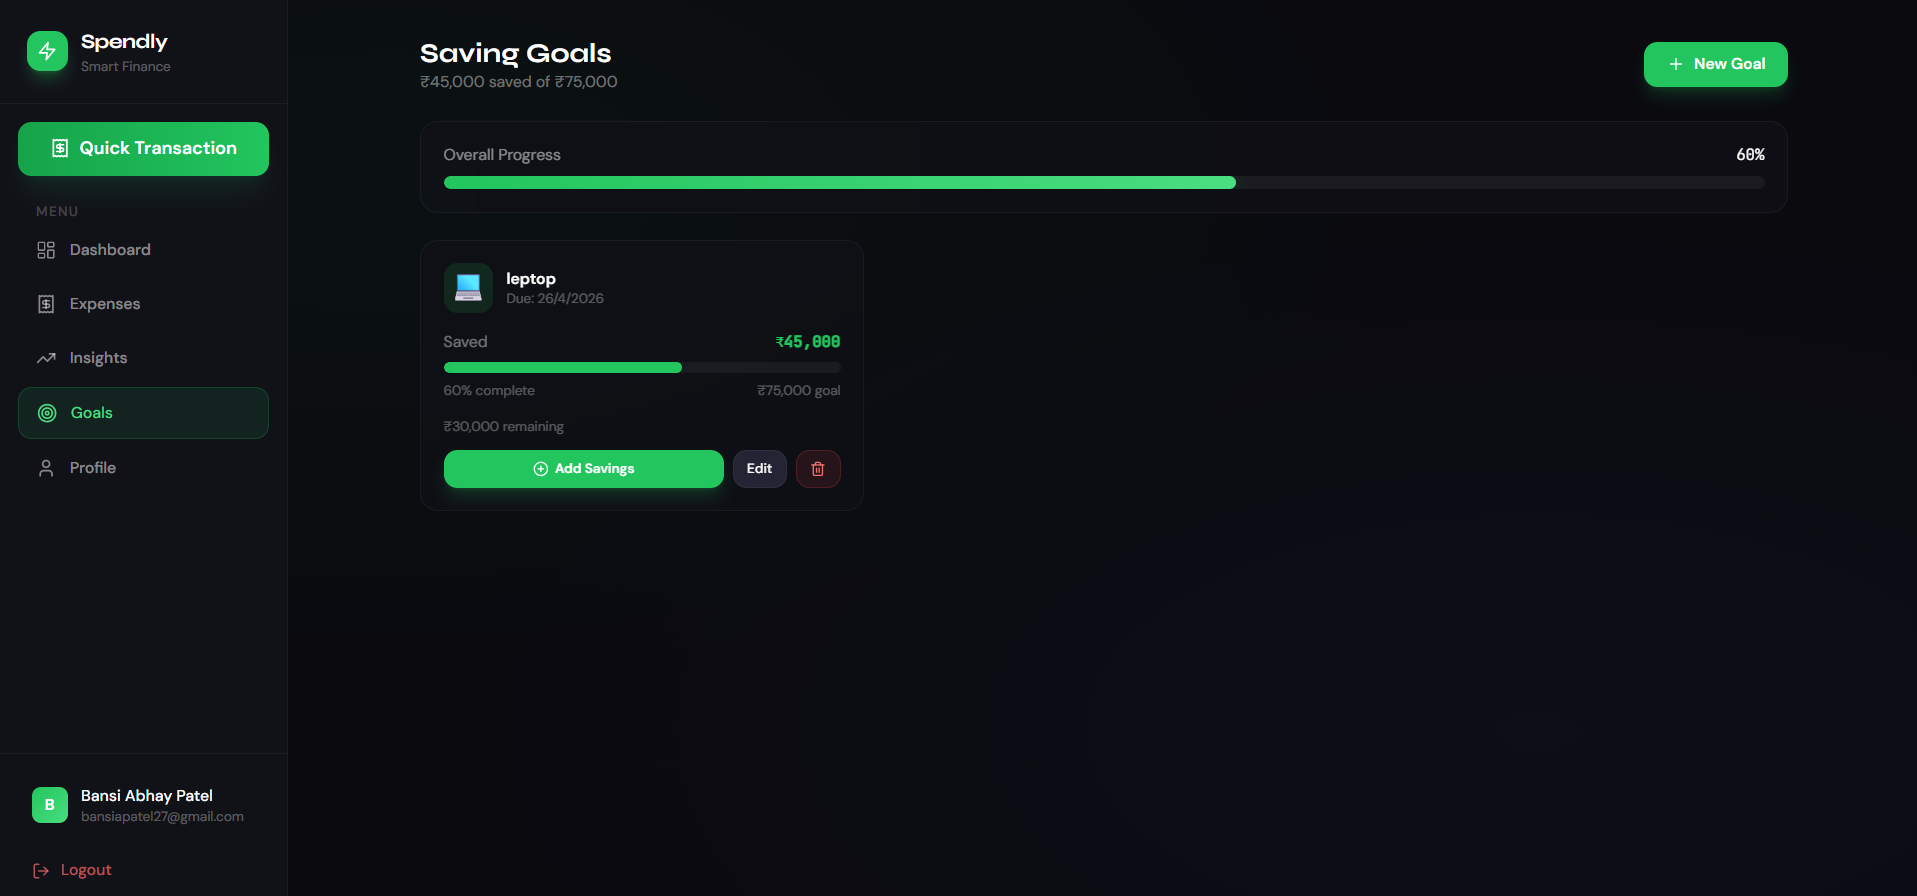
Key Features
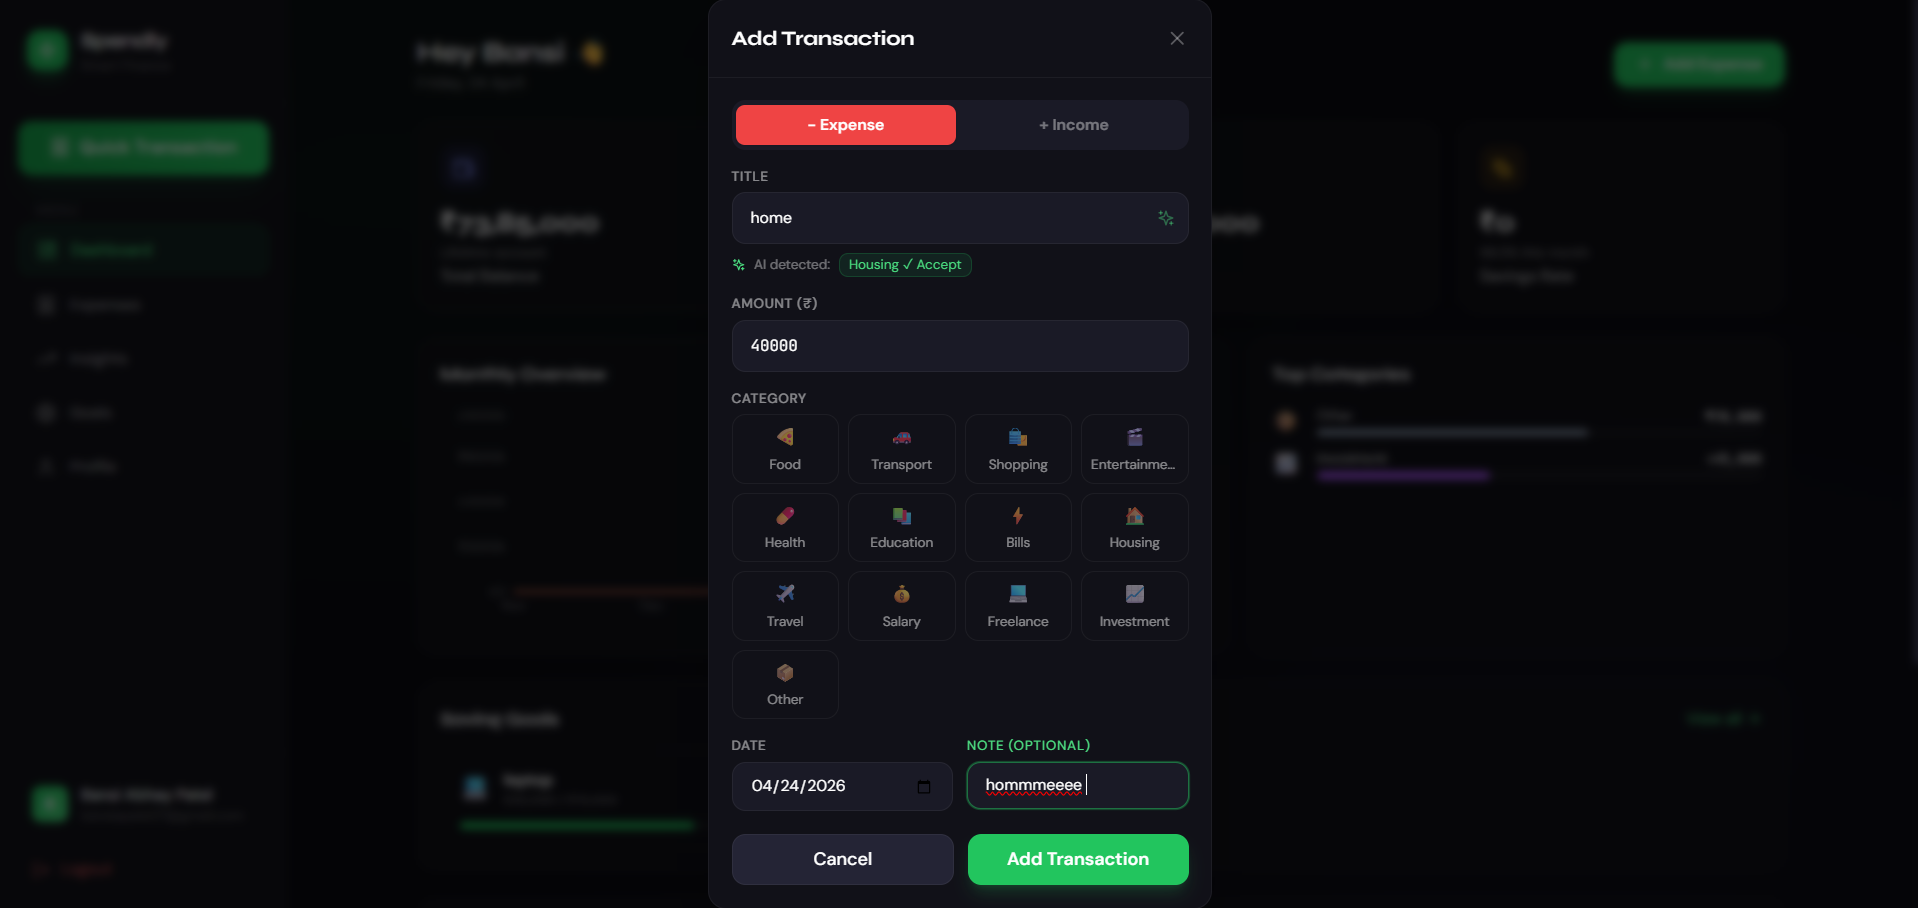
- Add income and expense records
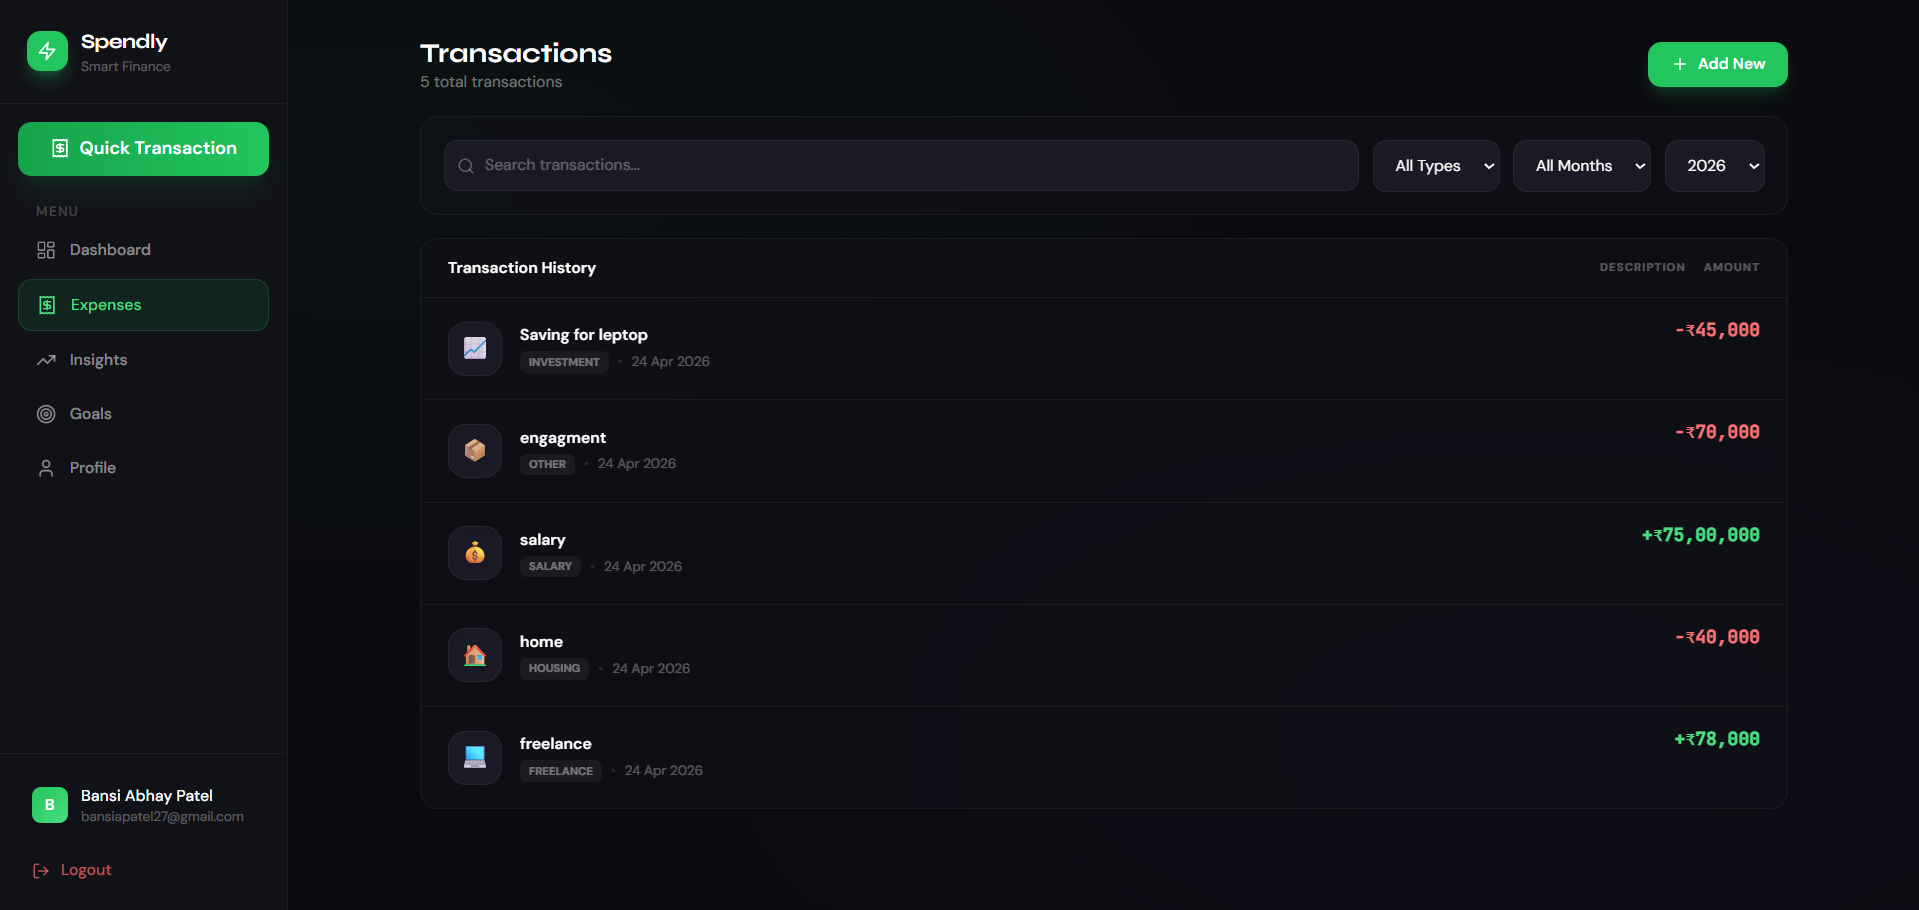
- View transaction history
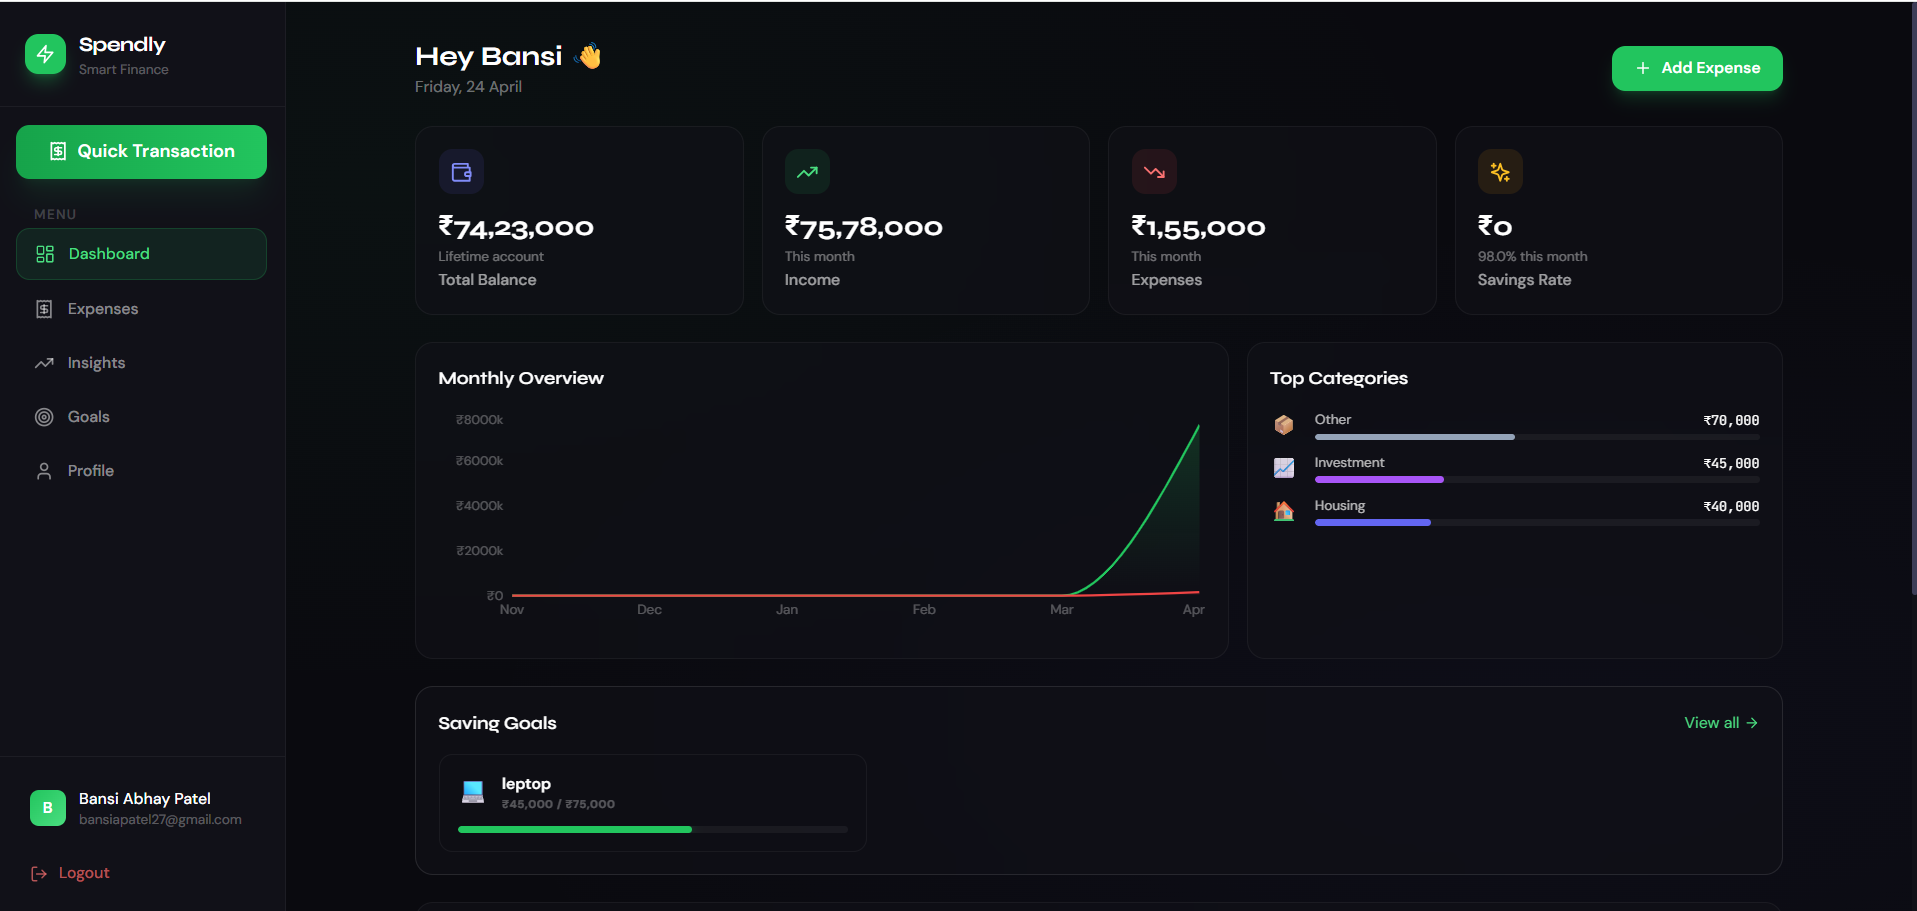
- Categorize expenses (food, travel, etc.)
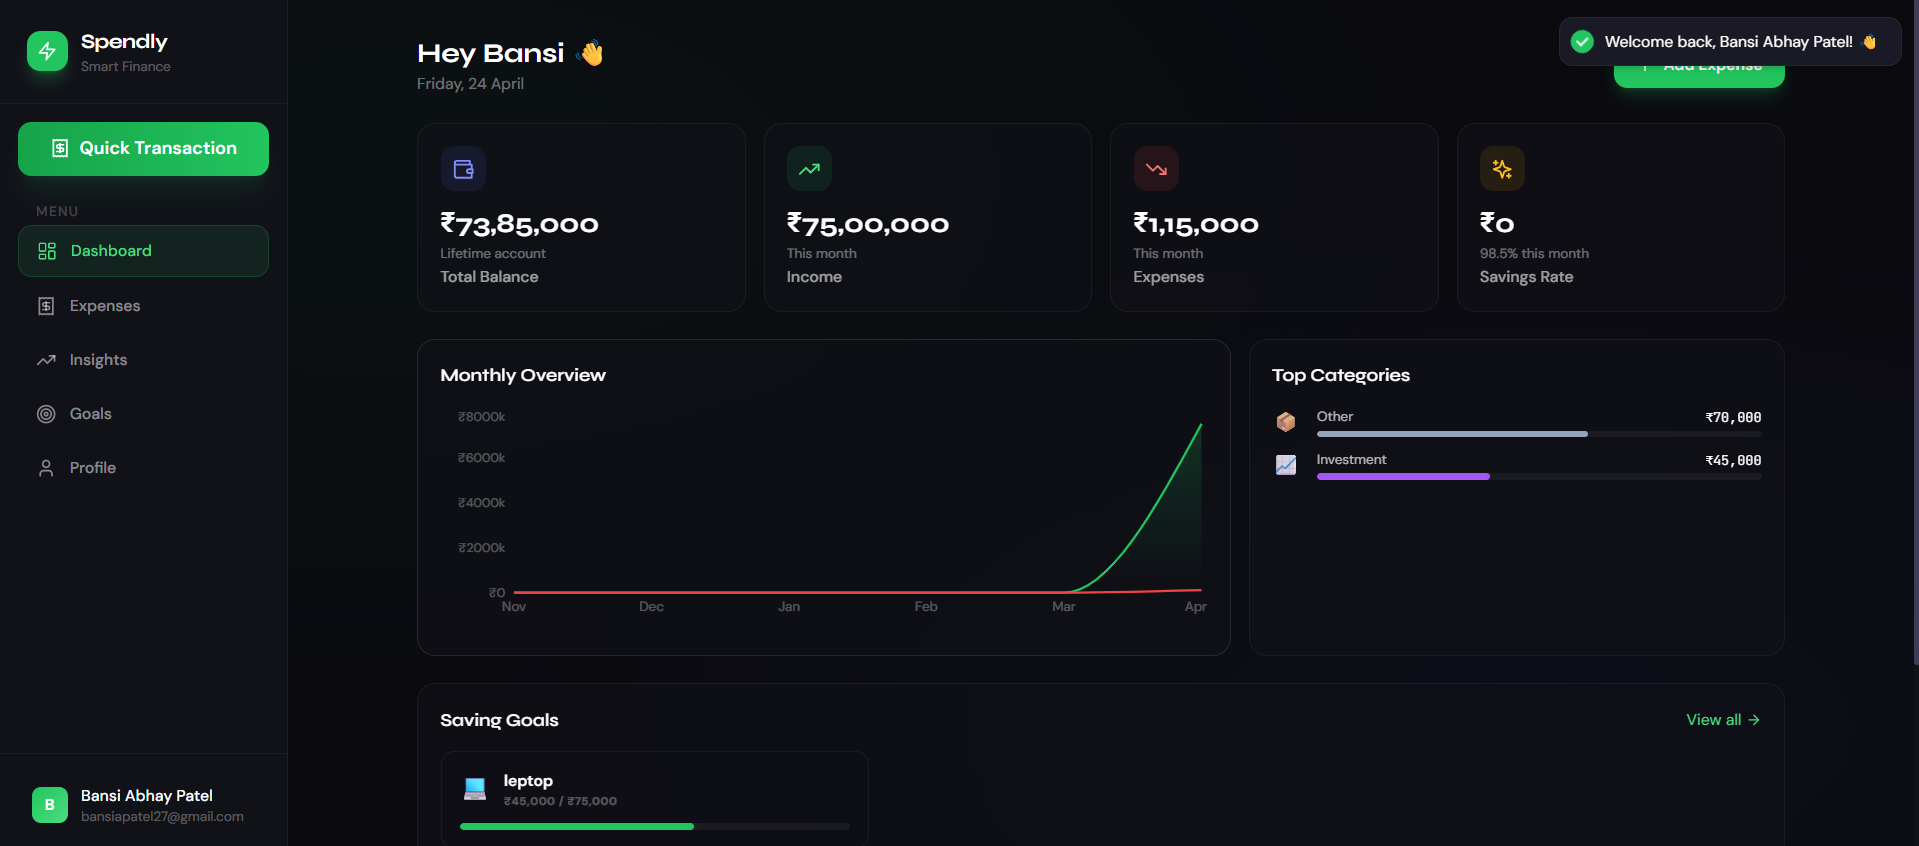
- Real-time balance calculation
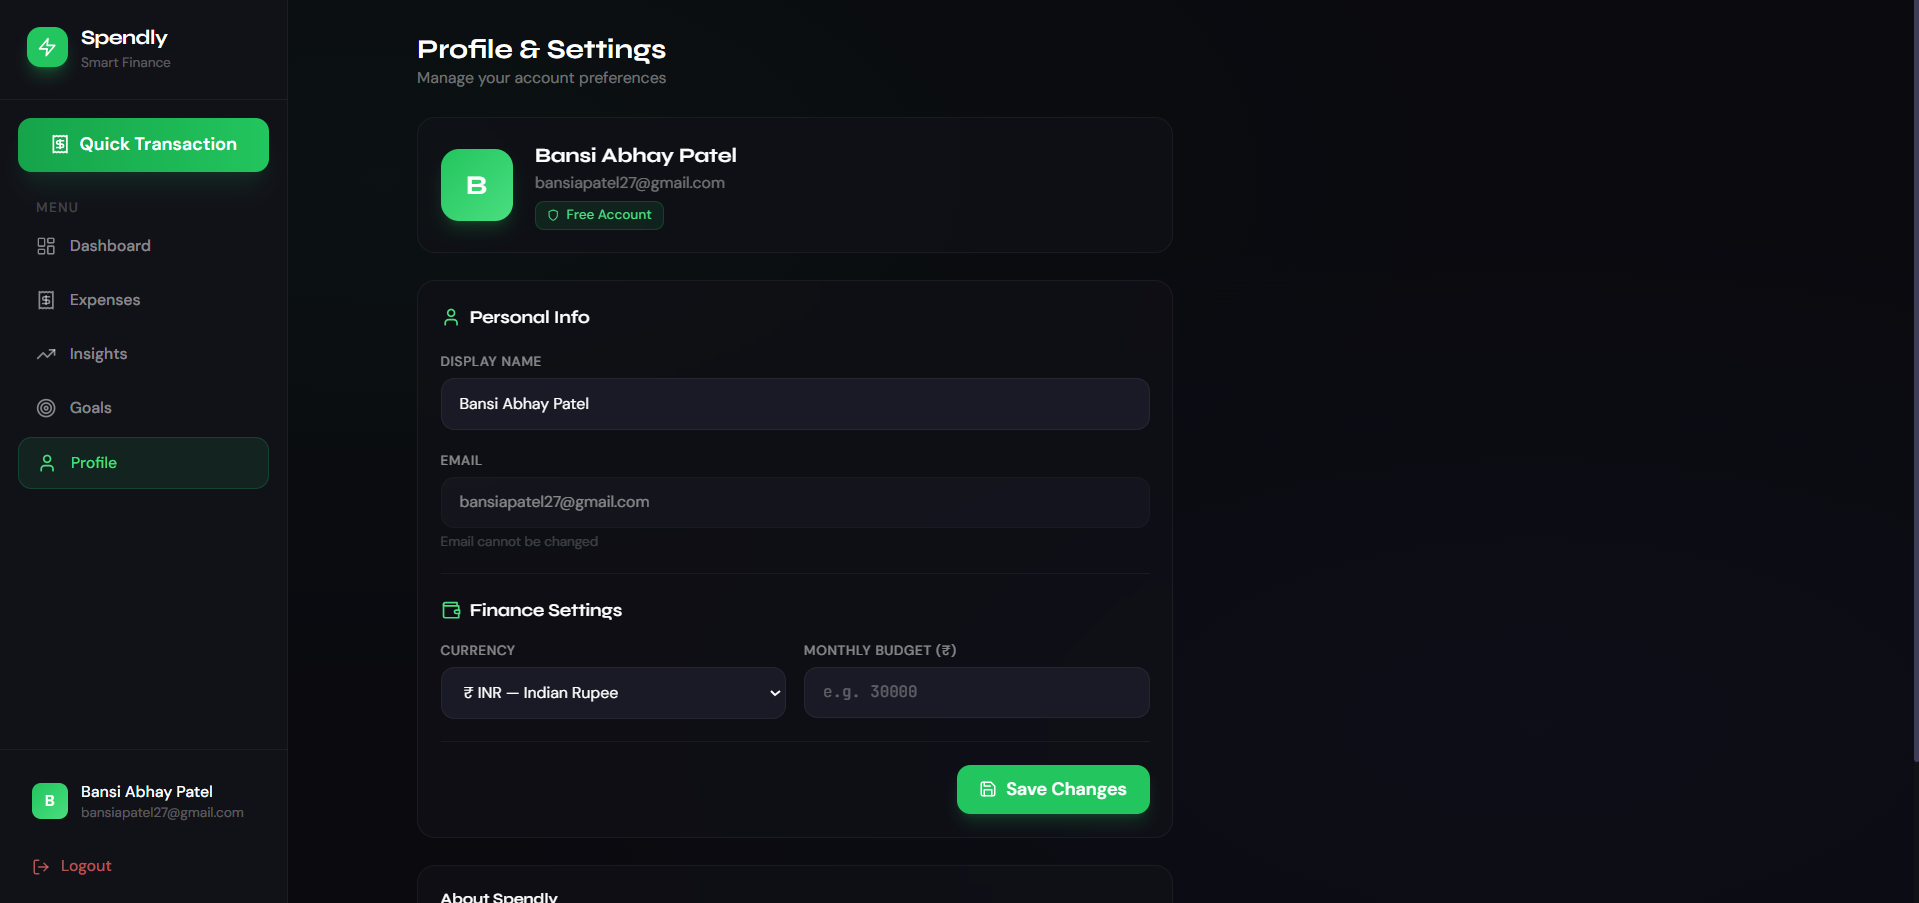
- Simple and clean user interface
- Responsive design (mobile + desktop)
- Data storage (local or database-based)
Functionality
- User opens the application
- Adds income or expense details
- Data is stored (local storage or database)
- Application calculates total balance automatically
- User can view all transactions in a list
- Categories help organize spending
- Data updates instantly on UI
- Backend (if present) handles data storage and retrieval
Technology Used
- React (UI development)
- Node.js (backend support, if included)
- Express.js (API handling)
- MongoDB or Local Storage (data storage)
- CSS / Tailwind CSS (styling)
Why This Project Is Useful
- Helps users track and manage finances
- Improves budgeting and spending habits
- Good project for learning:
- CRUD operations
- State management
- Data handling
- Useful for portfolio and real-life application
- Demonstrates practical problem-solving
Deployment and Environment Setup
- Environment Variables Setup:
- backend/.env
- PORT: 5000
- MONGO_URI: mongodb_url_string
- JWT_SECRET: your_jwt_secret_key_here (if needed)
- frontend/.env
- VITE_API_URL: backend_url
- backend/.env
- Deployment Overview:
- Render or Railway for backend hosting
- Vercel or Netlify for frontend hosting
- MongoDB Atlas for the database
- Backend Deployment:
- Push your code to GitHub.
- Go to Render.com or Railway.app.
- Create a new Web Service and connect your GitHub repository.
- Choose “backend/” as the root directory.
- Add the following environment variables on Render:
- PORT=10000
- MONGO_URI=your MongoDB Atlas URI
- JWT_SECRET=your JWT secret
- Start command: npm start (Ensure your backend/package.json includes “start”: “node server.js”)
- After deployment, note your backend URL, e.g. https://your-backend-name.onrender.com
- Frontend Deployment:
- Go to Vercel.com or Netlify.com.
- Create a new project and connect the GitHub repo.
- Select the “frontend/” folder as root.
- In environment variables, set:
- VITE_API_URL=https://your-backend-domain.com/api (or REACT_APP_API_URL if using CRA)
- Deploy.
- MongoDB Atlas Setup:
- Go to https://cloud.mongodb.com
- Create a free cluster.
- Add your current IP address in Network Access.
- Create a database user and password.
- Copy the connection string and replace username, password, and database name in MONGO_URI in backend/.env
Download Source Code
Project Setup Instructions
Note: This project is for educational purposes only. Not for commercial sale.


