Project Overview
QRify is a state-of-the-art, secure full-stack utility application designed to
enable standard users and platform administrators to create, customize, download,
and manage dynamic QR codes. By combining a glowing, responsive glassmorphic
frontend with a secure REST API backend, the platform serves as an enterprise-grade
solution for marketing campaigns, network sharing, contact exchanges, and internal
content management.
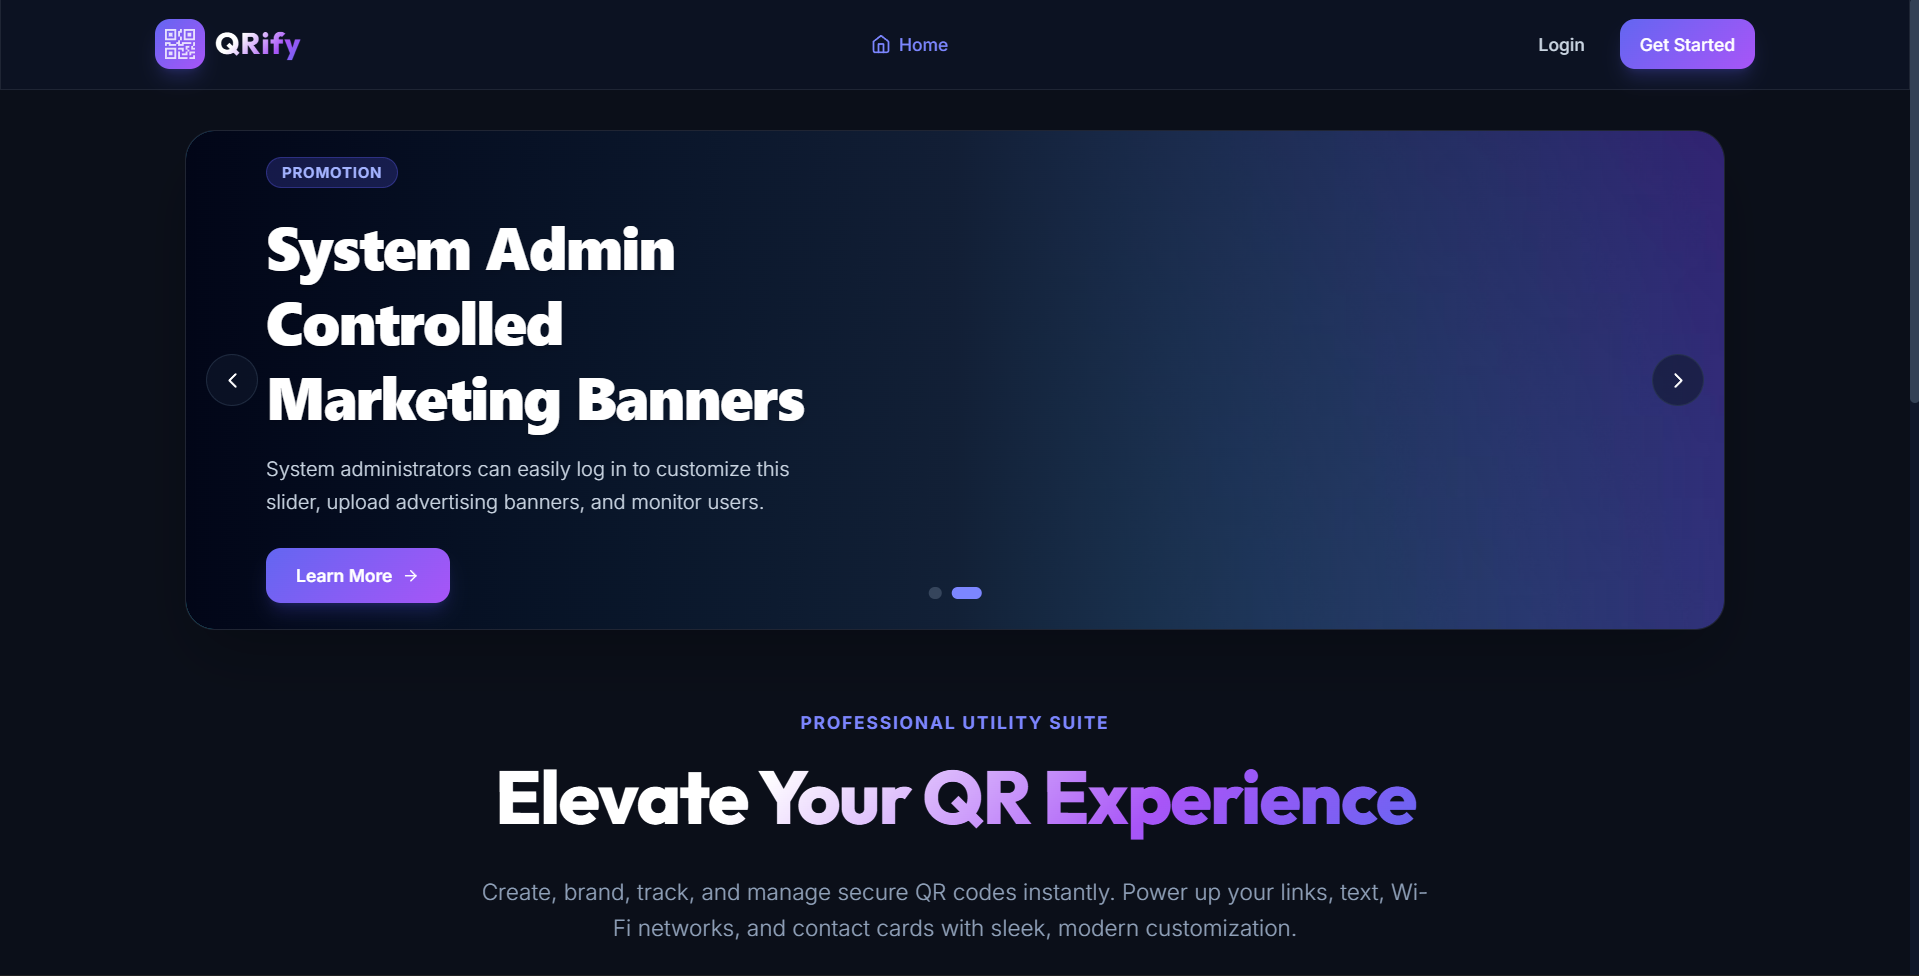
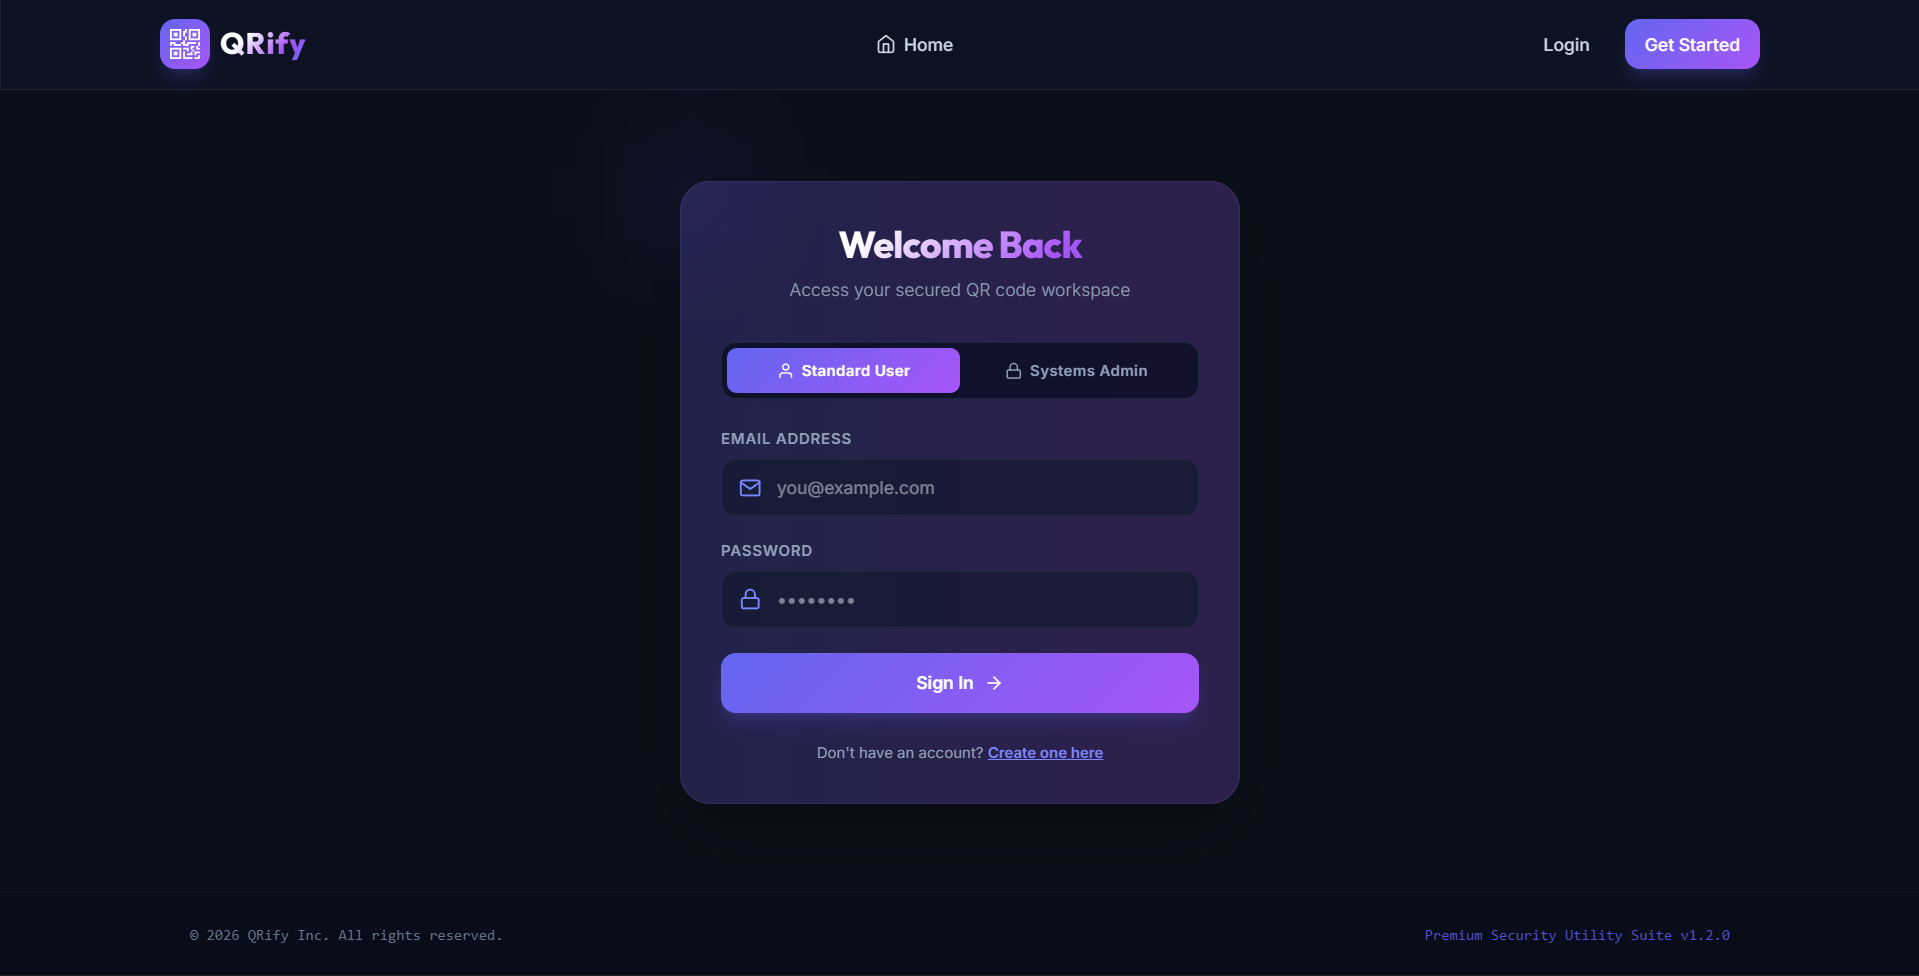
The application incorporates a strict security layer where public users can view
promotional banners and play with a live visualizer sandbox, but are required to
authenticate to save, download, or edit dynamic branding assets. Administrators
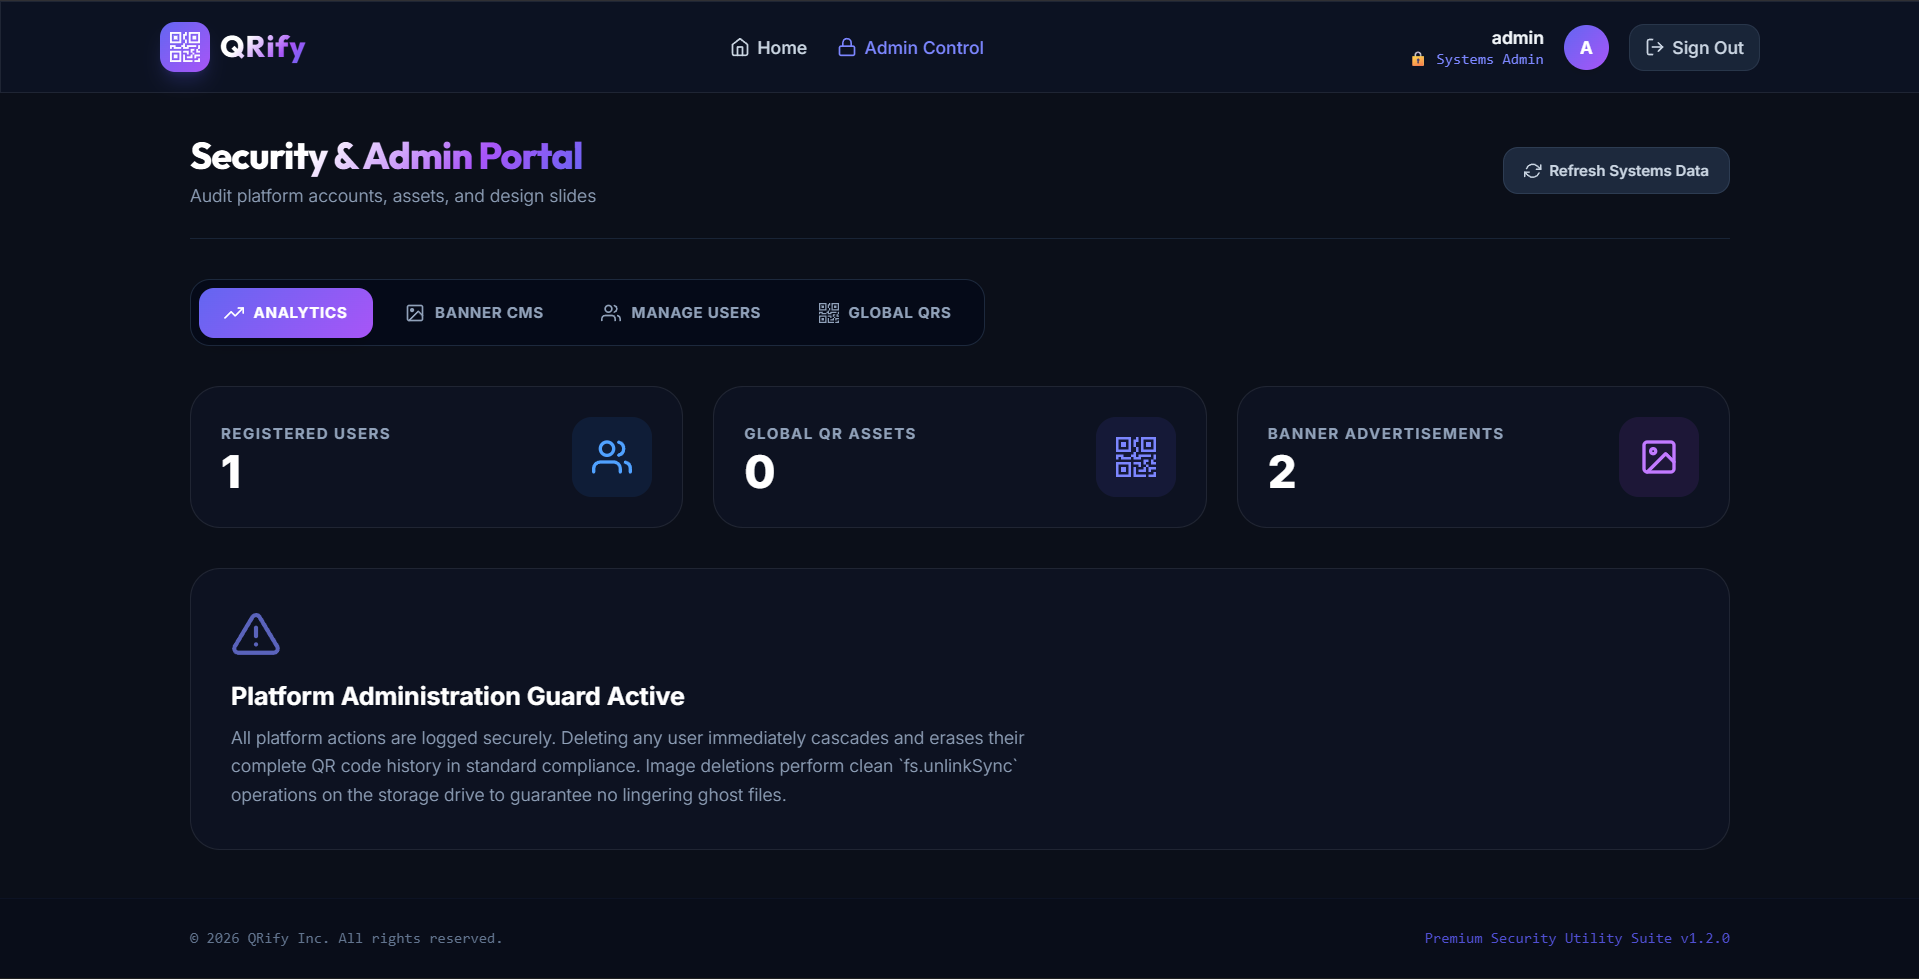
are equipped with a multi-panel telemetry dashboard, a Multer-powered marketing
banner CMS, and global platform audit logs.
Screenshots
Key Features
- Interactive QR Creator Sandbox: Real-time playground on the homepage that lets
unauthenticated users preview designs before registering. - Secure Auth Workspace: Locked dashboard allowing registered users to generate
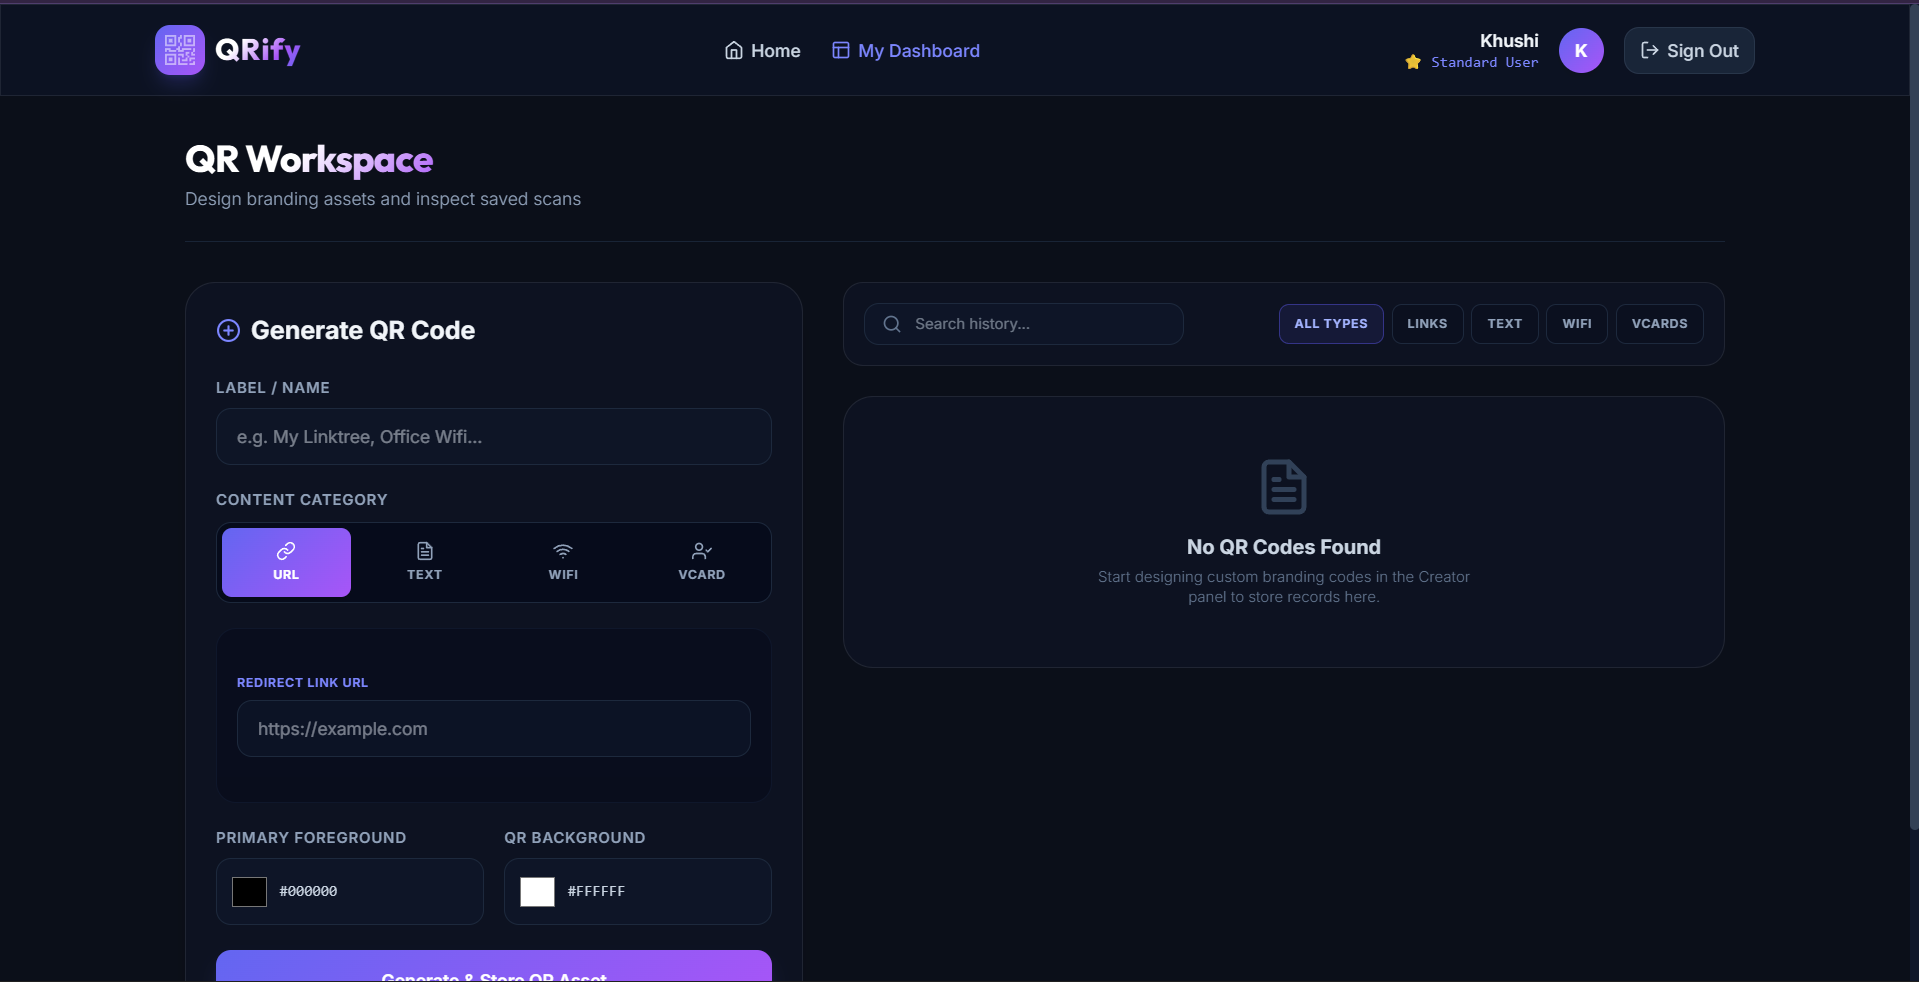
unique codes. - Flexible Content Generators: Supports URL redirections, complex plain-text payloads,
Wi-Fi network access configs (SSID/encryption/password), and structured vCards
(Business Contact Cards). - Color Customization: Full control over QR foreground and background palettes
with contrast validation. - High-Resolution Exports: Automated base64 compiler delivering instant PNG
downloads to user folders. - Single-Admin Enforcer Check: Database safeguard restricting the system to
exactly one admin account. Any duplicate admin registrations trigger warning
alarms. - Admin Banner CMS: Slider management allowing administrators to upload promo
slides (Multer) with dynamic badges. Unused images are unlinked from disk
automatically upon deletion. - Admin Audit Overrides: Allows administrators to monitor all registered user accounts,
inspect generated QR codes globally, and delete contents instantly.
Functionality
- PUBLIC GUEST JOURNEY
- Arrives on the homepage to find an auto-sliding carousel of promotional banners
fetched dynamically from the cloud database. - Interacts with the quick playground to preview designs.
- Attempting to download or save redirects the user to the register/login screen.
- Arrives on the homepage to find an auto-sliding carousel of promotional banners
- STANDARD USER JOURNEY
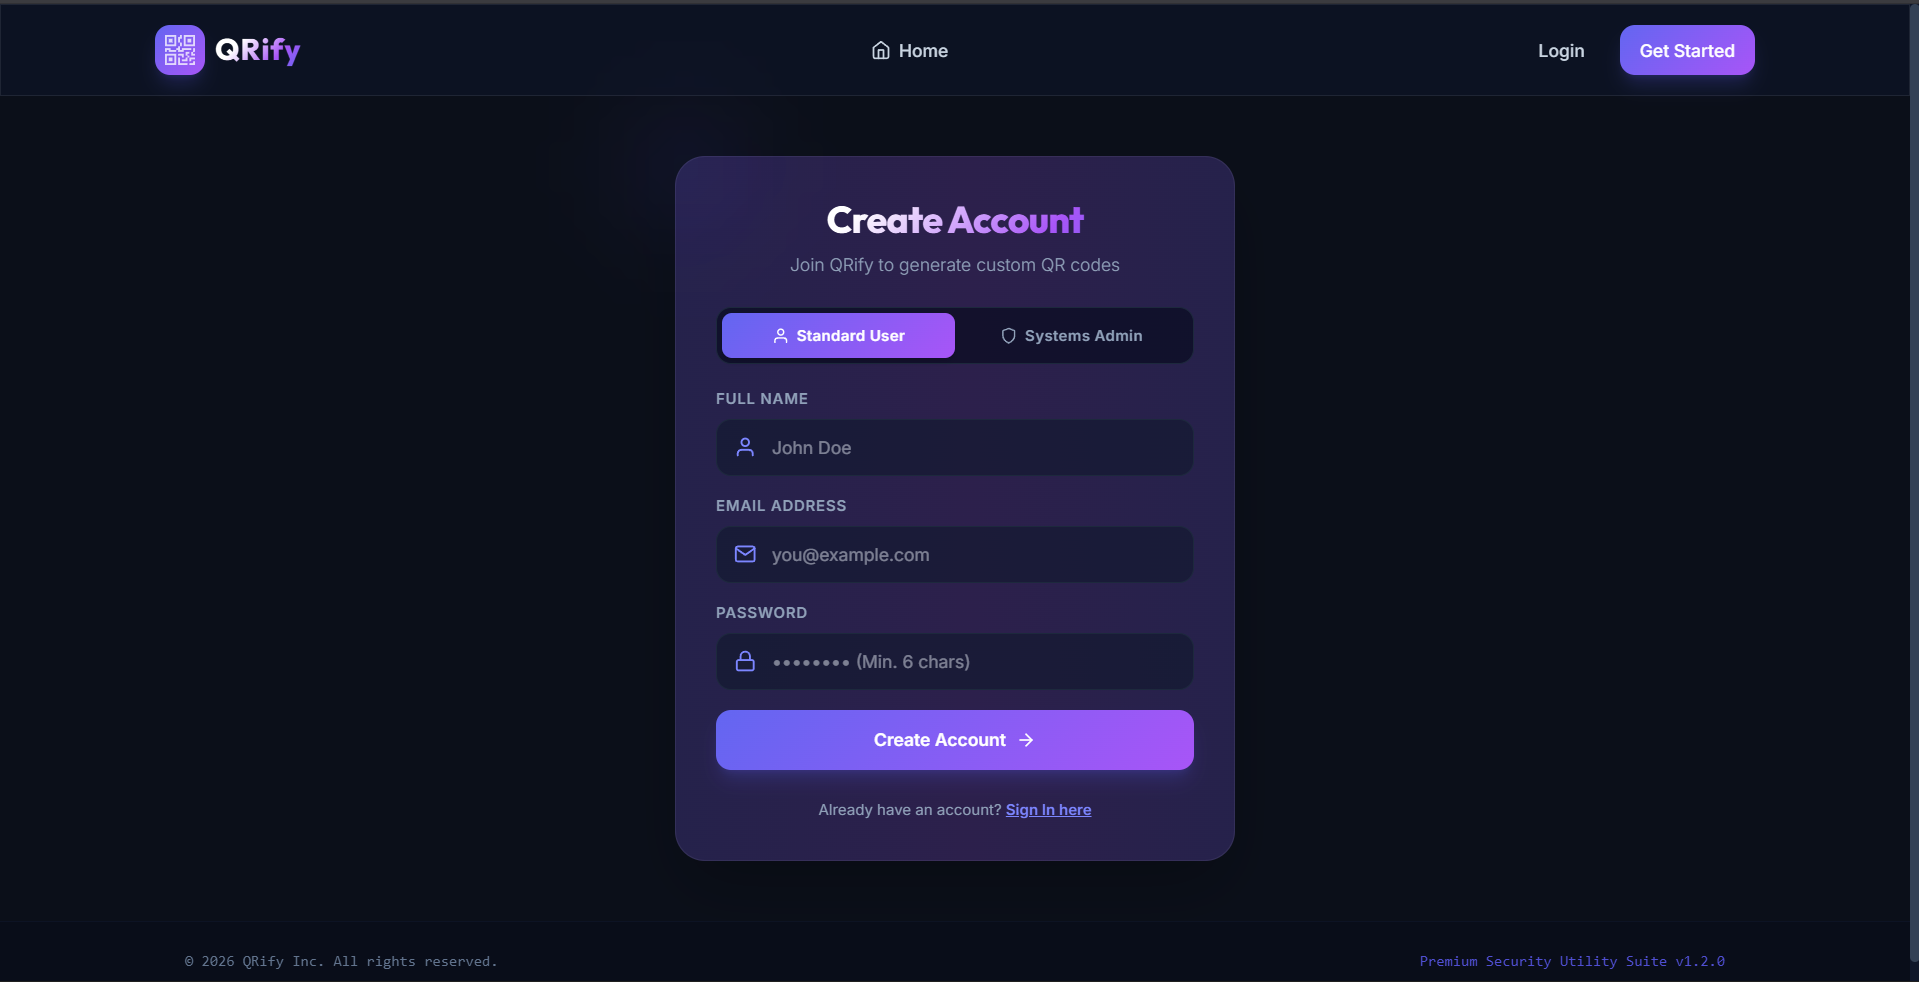
- Registers/logs in and enters the “My Dashboard” workspace.
- Selects a QR category, fills in inputs, selects branding colors, and clicks
“Generate”. - Downloads the high-resolution PNG or saves the configuration.
- Explores history cards, modifies design parameters inline via the editor, or
deletes stale records.
- SYSTEM ADMINISTRATOR JOURNEY
- Registers the initial admin account (restricting subsequent admin creations).
- Accesses the “Admin Control” panel to inspect global metrics (users, QR count).
- Opens “Banner CMS” to upload ads, toggle slide visibility, or delete banners.
- Audits user lists or deletes abusive QR codes.
Technology Used
- Frontend:
- React 19: Component-based user interface management.
- Vite 8: Next-generation bundler delivering near-instantaneous builds.
- Tailwind CSS v4: Modern utility-first CSS framework for glassmorphic styles.
- React Router DOM v6: Declarative, nested routing with protected access guards.
- React Hot Toast: High-fidelity, animated toast notifications.
- React Icons: A comprehensive, lightweight vector iconography suite.
- Backend:
- Node.js & Express.js: Scalable asynchronous REST API server.
- MongoDB Atlas (Cloud): Scalable document database hosting users and assets.
- Mongoose: Schematized Object Document Mapping (ODM) layer for database security.
- JSON Web Token (JWT): Stateless, cryptographically signed user sessions.
- Multer: Multipart parser handling secure file uploads on the administrative panel.
- Bcrypt.js: Dynamic salt hashing to ensure password security.
- QRCode Engine: Local Node.js server-side QR Code compiler.
Why This Project Is Useful
- Enhances Corporate Branding: Standard QR codes are plain black-and-white grids.
QRify allows businesses to brand their QR codes to match their color scheme,
improving marketing visuals. - Seamless Wi-Fi Access: Eliminates manual password typing. Users scan a custom
WiFi QR code to connect instantly—ideal for hotels, offices, and cafes. - Virtual Business Cards (vCards): Enables paperless networking. Scanning a
vCard QR code automatically populates a smartphone’s contact book. - Platform Marketing: The dynamic banner CMS lets administrators easily push
promotions, announcements, or sponsorships without writing code. - Operational Compliance: Global audit logs let platforms moderate user activities
and maintain security standards.
Deployment and Environment Setup
- Environment Variables Setup:
- backend/.env
- PORT: 3000
- MONGO_URI: mongodb_url_string
- JWT_SECRET: your_jwt_secret_key_here (if needed)
- frontend/.env
- VITE_API_URL: backend_url
- backend/.env
- Deployment Overview:
- Render or Railway for backend hosting
- Vercel or Netlify for frontend hosting
- MongoDB Atlas for the database
- Backend Deployment:
- Push your code to GitHub.
- Go to Render.com or Railway.app.
- Create a new Web Service and connect your GitHub repository.
- Choose “backend/” as the root directory.
- Add the following environment variables on Render:
- PORT=10000
- MONGO_URI=your MongoDB Atlas URI
- JWT_SECRET=your JWT secret
- Start command: npm start (Ensure your backend/package.json includes “start”: “node server.js”)
- After deployment, note your backend URL, e.g. https://your-backend-name.onrender.com
- Frontend Deployment:
- Go to Vercel.com or Netlify.com.
- Create a new project and connect the GitHub repo.
- Select the “frontend/” folder as root.
- In environment variables, set:
- VITE_API_URL=https://your-backend-domain.com/api (or REACT_APP_API_URL if using CRA)
- Deploy.
- MongoDB Atlas Setup:
- Go to https://cloud.mongodb.com
- Create a free cluster.
- Add your current IP address in Network Access.
- Create a database user and password.
- Copy the connection string and replace username, password, and database name in MONGO_URI in backend/.env
Download Source Code
Project Setup Instructions
Note: This project is for educational purposes only. Not for commercial sale.