Project Overview
The Role-Based Project Management System is a full-stack web application built using the MERN stack (MongoDB, Express.js, React.js, Node.js). It is designed to streamline team collaboration, project tracking, and task management with strict Role-Based Access Control (RBAC). The system mimics the core functionality of tools like Jira or Trello, allowing organizations to manage projects from inception to completion efficiently.
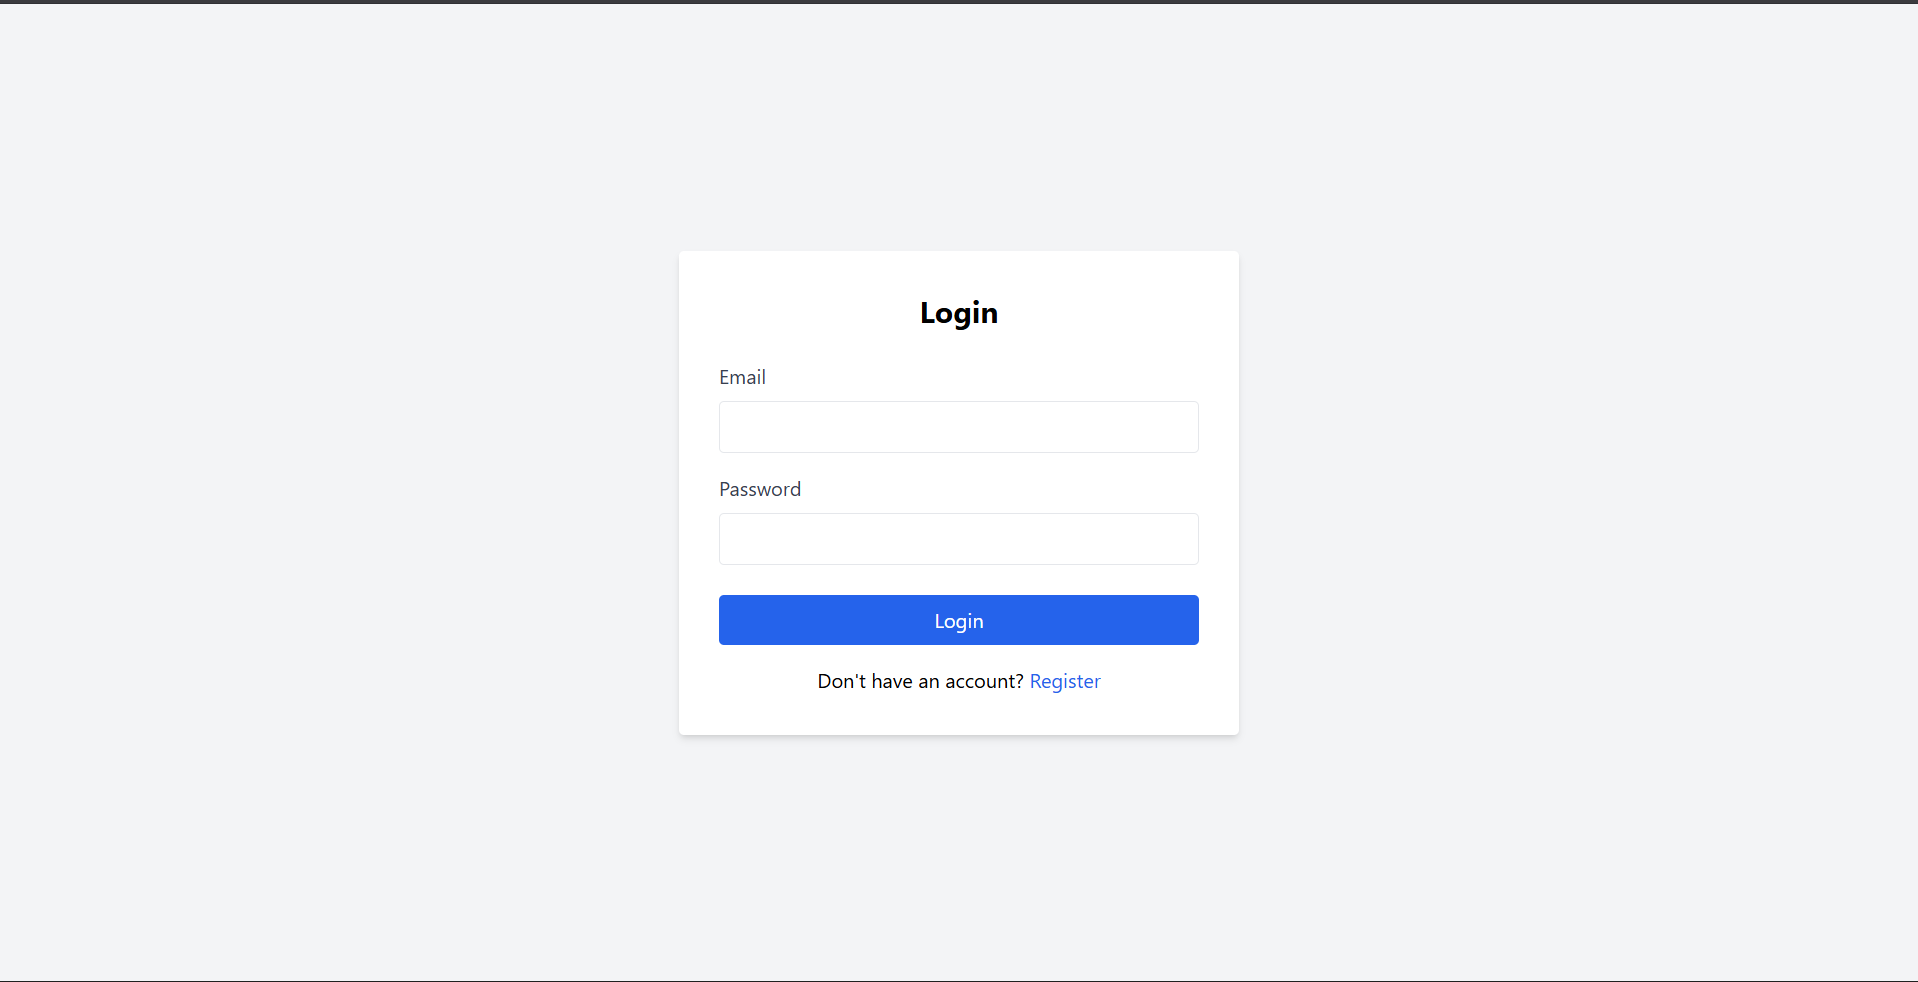
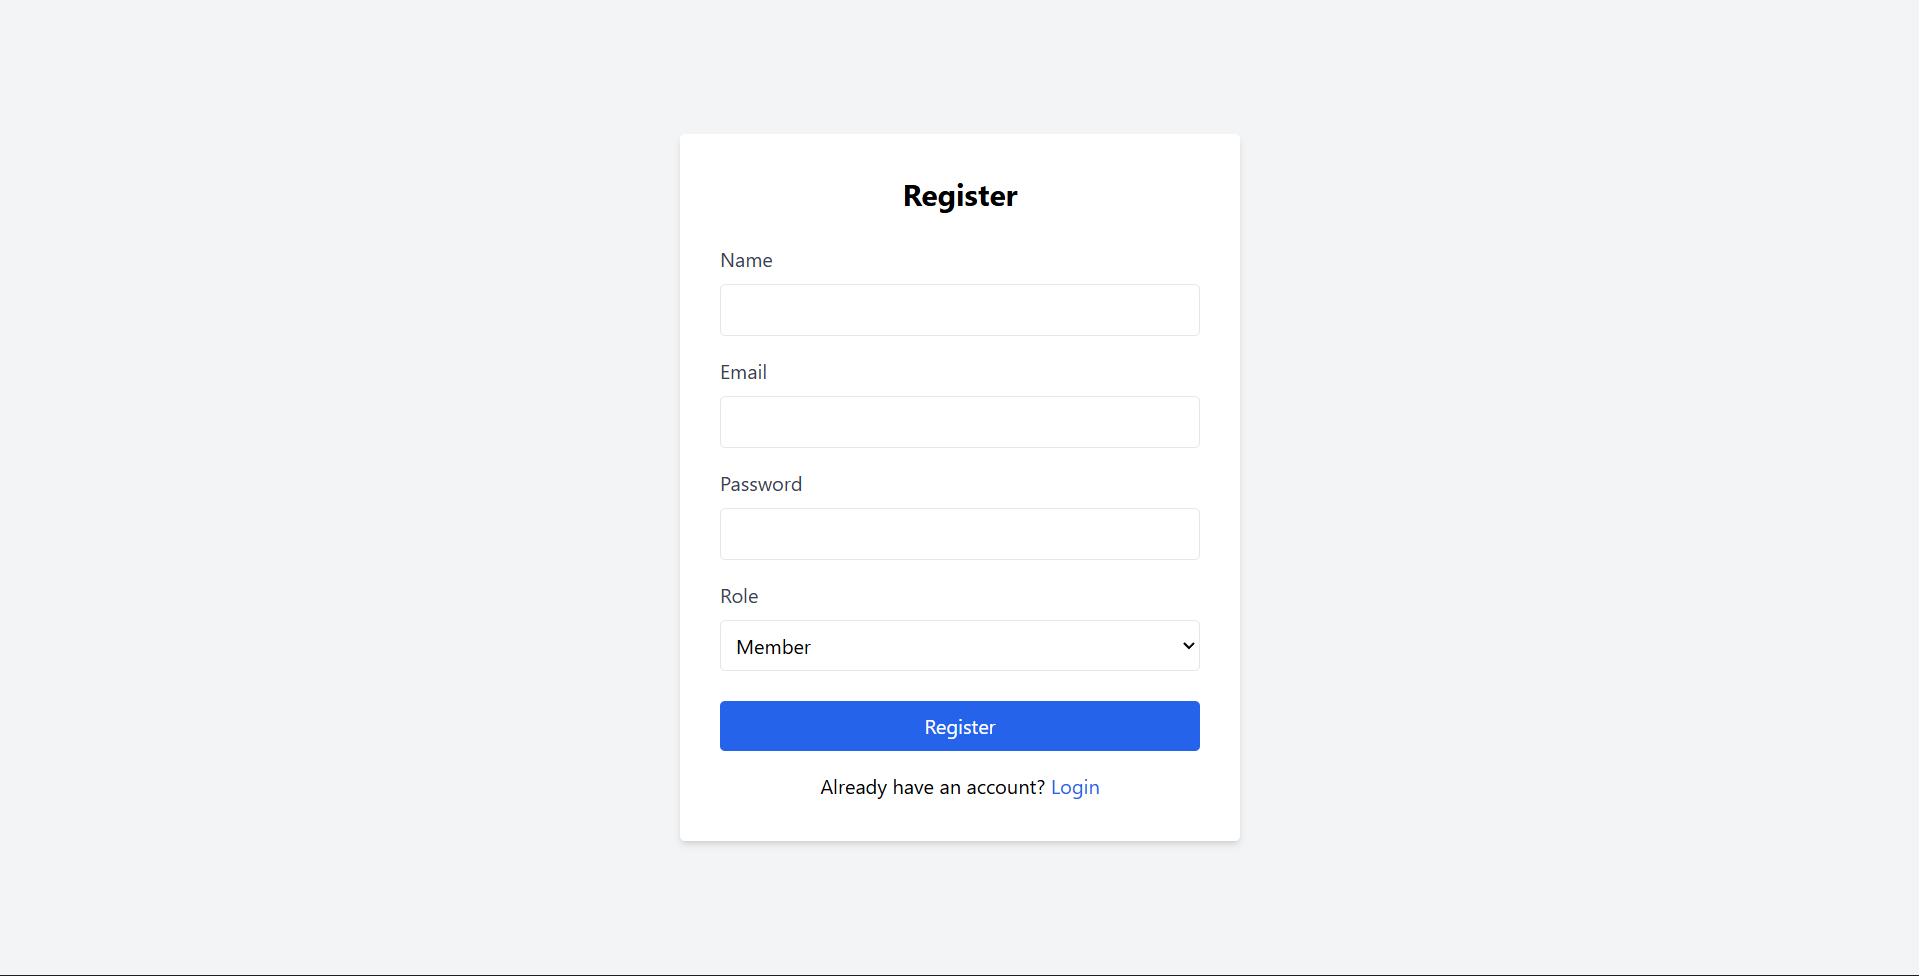
Screenshots
Key Features
- Role-Based Access Control (RBAC): Distinct permissions for Admins, Project Managers, and Members.
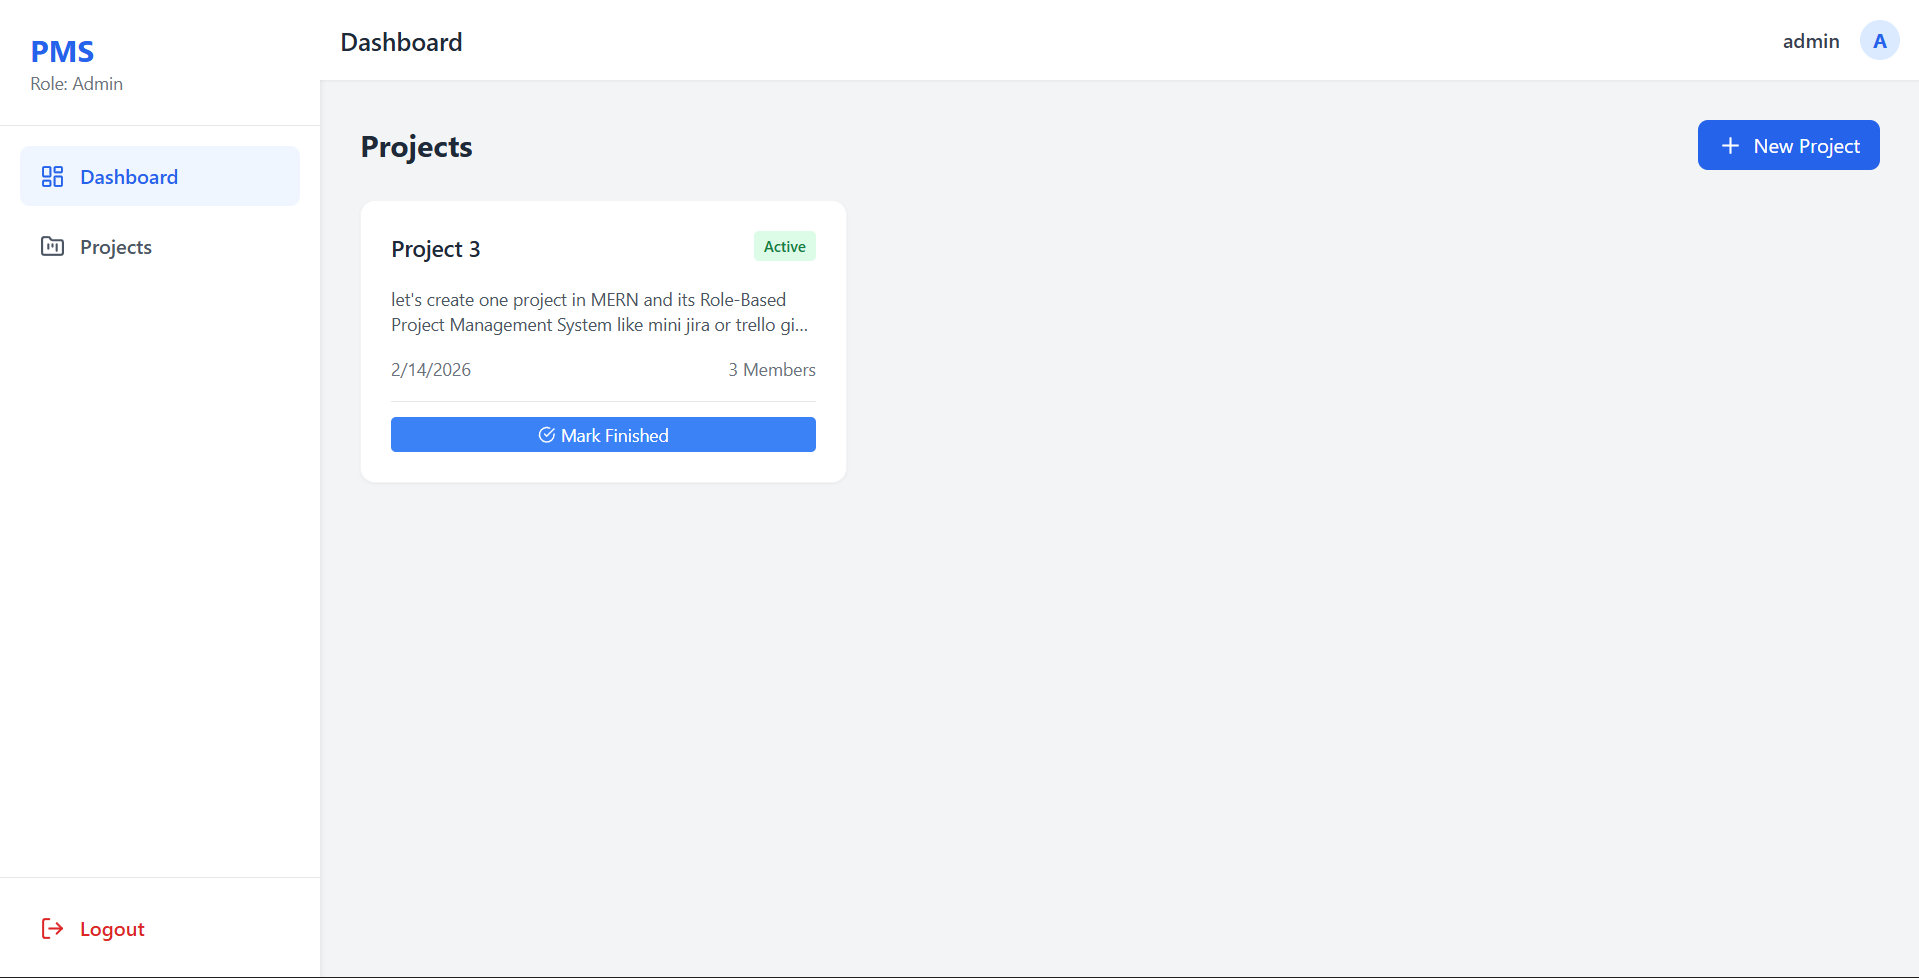
- Project Approval Workflow: Projects created by Managers start as “Pending” and require Admin approval to become “Active”.
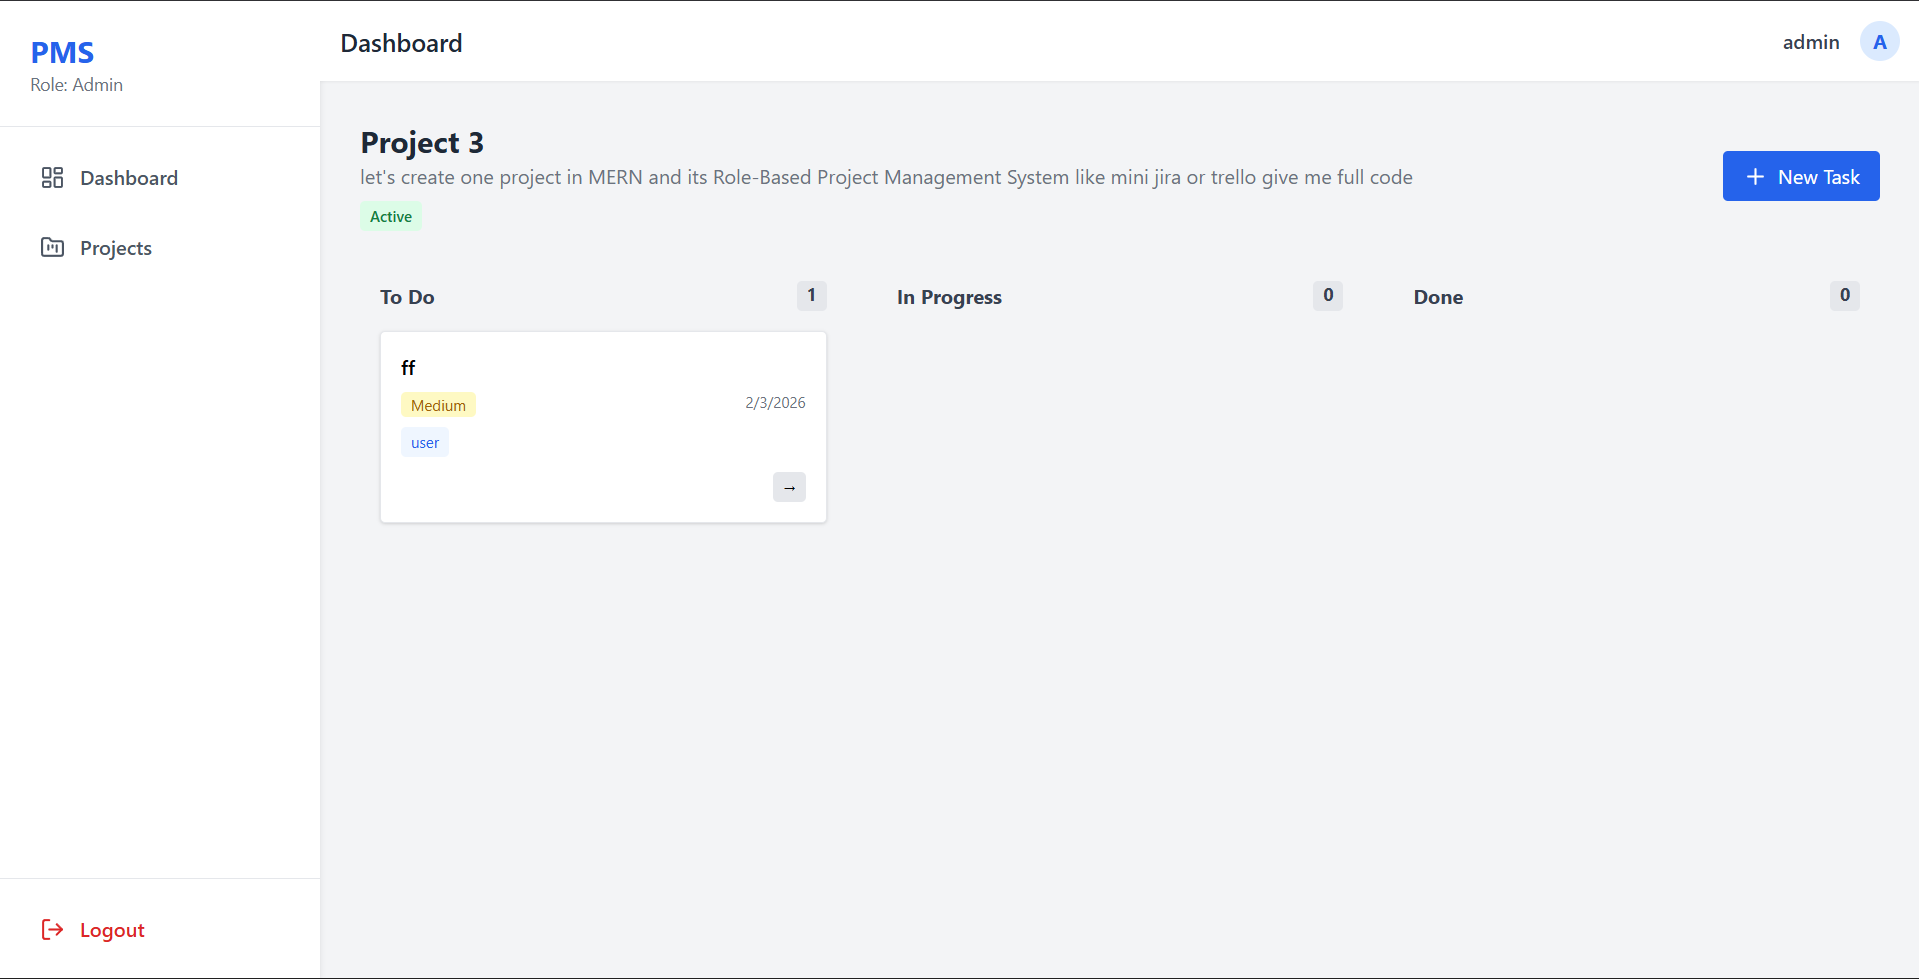
- Kanban-Style Task Board: Interactive board to view tasks categorized by status (To Do, In Progress, Done).
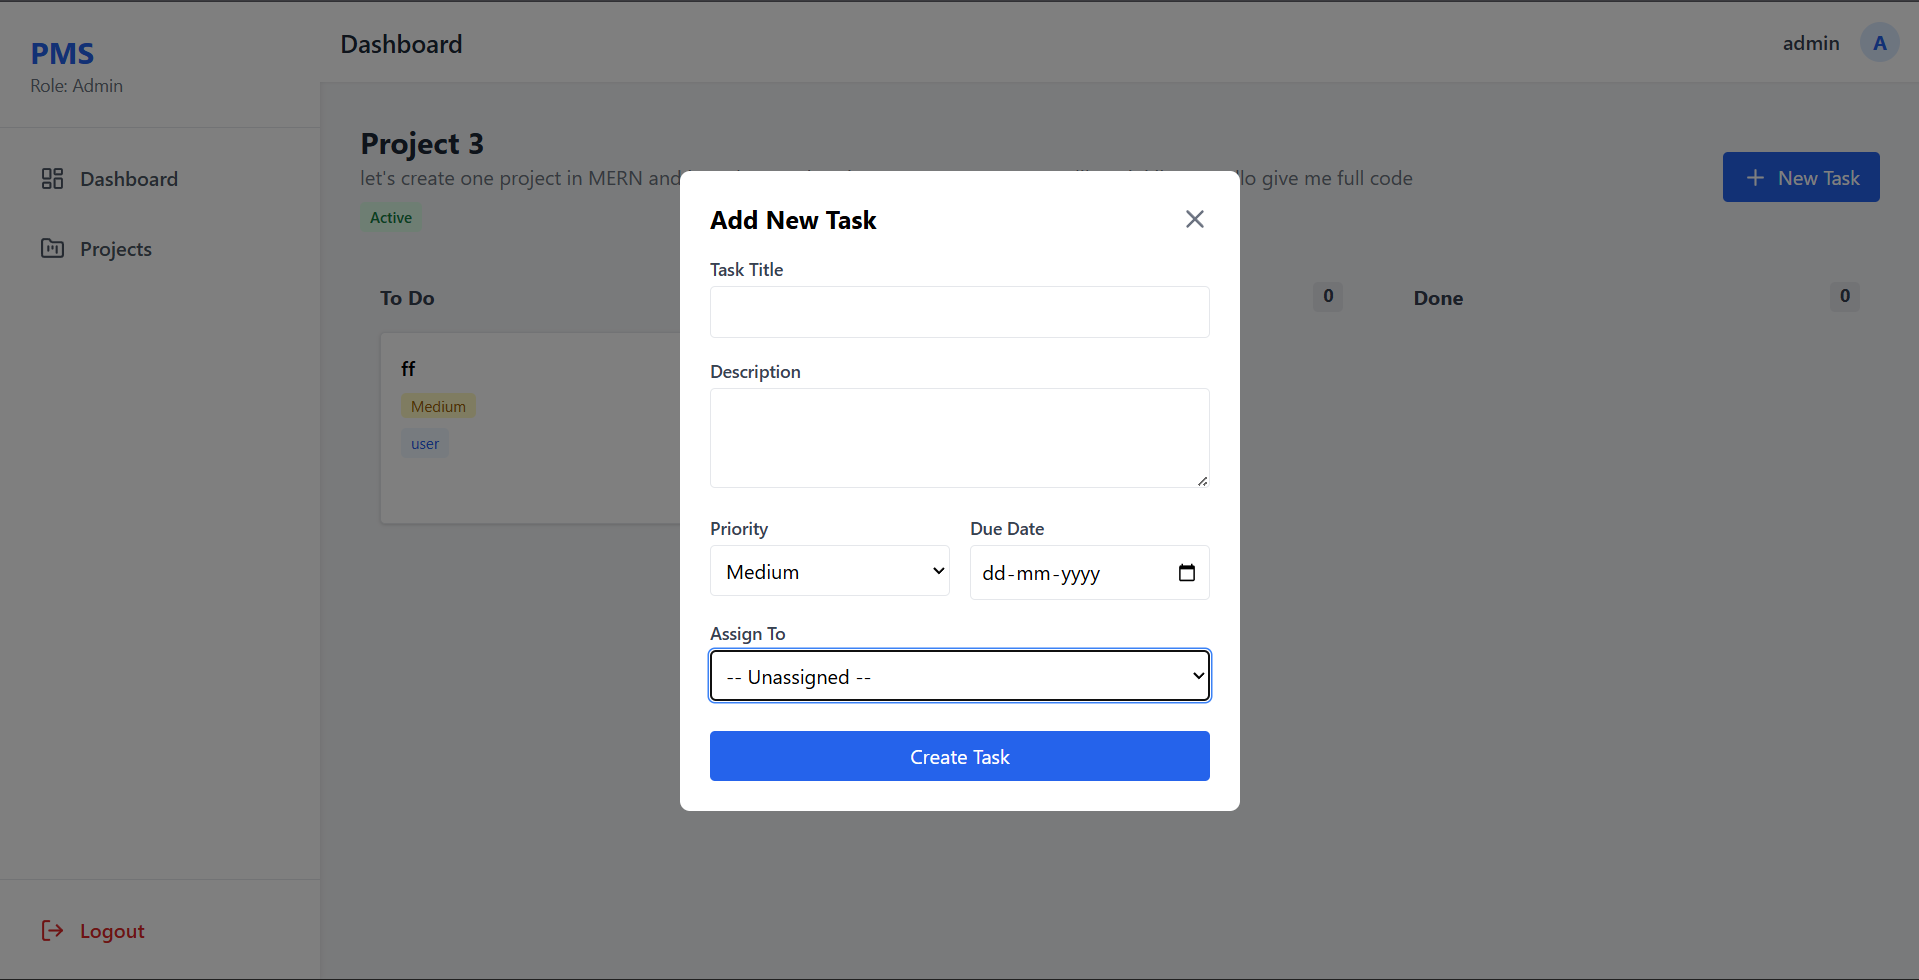
- Task Management: Create tasks, set priorities (Low/Medium/High), assign due dates, and assign specific members.
- Project Visibility: Smart filtering ensures users only see projects relevant to them (or all projects for Admins).
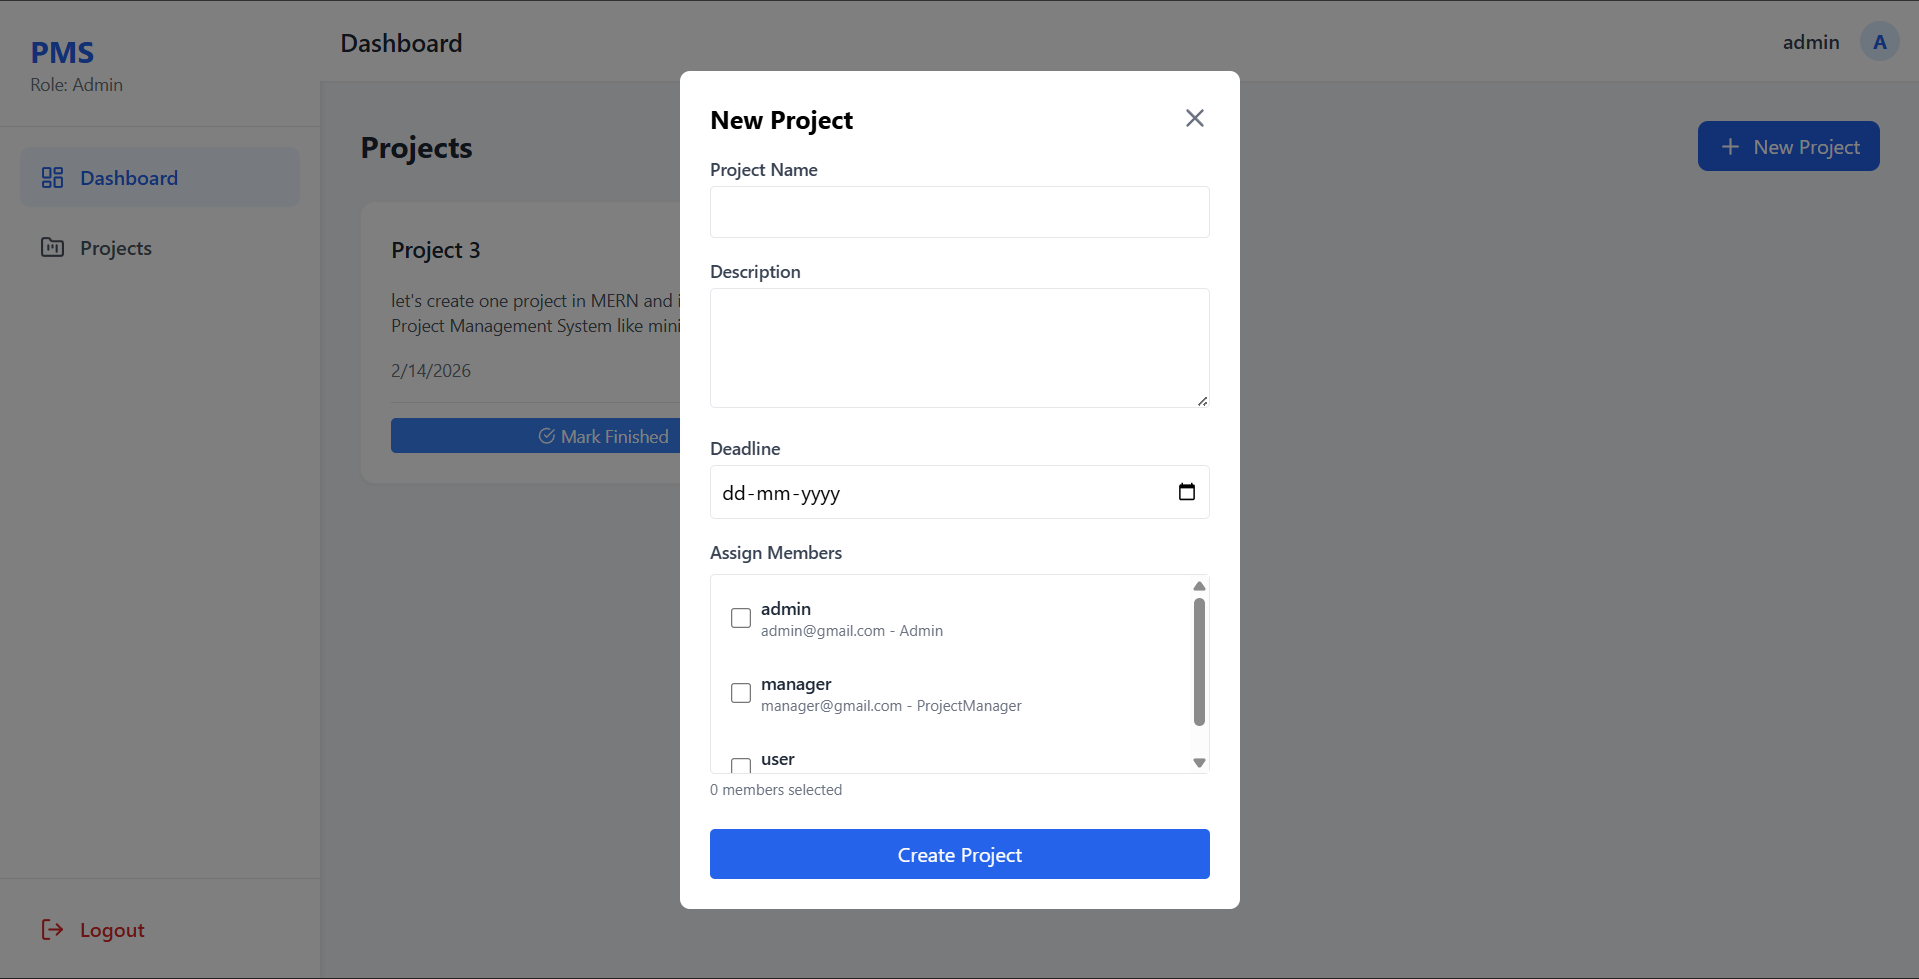
- Member Assignment: Ability to assign specific team members to projects during creation.
Functionality
- Admin
- Full Control: View all projects and users in the system.
- Project Approval: Approve “Pending” projects proposed by Managers.
- Status Management: specific privileges to mark projects as “Completed” or “Archived”.
- User Management: (Future scope) Add or remove users.
- Project Manager
- Project Creation: Propose new projects (Default status: Pending).
- Team Management: Select and assign team members to projects.
- Task Delegation: specific privileges to create and assign tasks within their projects.
- Tracking: Monitor progress of their specific projects.
- Member
- Work Execution: View assigned projects and tasks.
- Status Updates: Move assigned tasks across the board (e.g., from “To Do” to “In Progress”).
- Dashboard: Focused view of only the work relevant to them.
Technology Used
- Frontend:
- React.js (Vite): Fast, modern UI library.
- Tailwind CSS: Utility-first styling for a responsive, premium design.
- React Router: For seamless single-page application navigation.
- Axios: For handling HTTP requests.
- Lucide React: For modern SVG icons.
- Backend:
- Node.js & Express.js: Robust server-side framework.
- MongoDB & Mongoose: NoSQL database for flexible data modeling.
- JWT (JSON Web Tokens): Secure, stateless authentication.
- Bcryptjs: Password hashing for security.
Why This Project Is Useful
- Organized Workflow: Eliminates chaos by providing a structured way to propose, approve, and execute projects.
- Clear Accountability: assignments ensure everyone knows their responsibilities.
- Security & Privacy: RBAC ensures sensitive project data is only accessible to authorized personnel.
- Efficiency: The Kanban board provides an instant visual snapshot of project health and bottlenecks.
- Real-World Simulation: Perfect for learning how enterprise-level applications handle hierarchy, approvals, and complex data relationships.
Deployment and Environment Setup
- Environment Variables Setup:
- backend/.env
- PORT: 5000
- MONGO_URI: mongodb_url_string
- JWT_SECRET: your_jwt_secret_key_here (if needed)
- frontend/.env
- VITE_API_URL: backend_url
- backend/.env
- Deployment Overview:
- Render or Railway for backend hosting
- Vercel or Netlify for frontend hosting
- MongoDB Atlas for the database
- Backend Deployment:
- Push your code to GitHub.
- Go to Render.com or Railway.app.
- Create a new Web Service and connect your GitHub repository.
- Choose “backend/” as the root directory.
- Add the following environment variables on Render:
- PORT=10000
- MONGO_URI=your MongoDB Atlas URI
- JWT_SECRET=your JWT secret
- Start command: npm start (Ensure your backend/package.json includes “start”: “node server.js”)
- After deployment, note your backend URL, e.g. https://your-backend-name.onrender.com
- Frontend Deployment:
- Go to Vercel.com or Netlify.com.
- Create a new project and connect the GitHub repo.
- Select the “frontend/” folder as root.
- In environment variables, set:
- VITE_API_URL=https://your-backend-domain.com/api (or REACT_APP_API_URL if using CRA)
- Deploy.
- MongoDB Atlas Setup:
- Go to https://cloud.mongodb.com
- Create a free cluster.
- Add your current IP address in Network Access.
- Create a database user and password.
- Copy the connection string and replace username, password, and database name in MONGO_URI in backend/.env
Download Source Code
Project Setup Instructions
Note: This project is for educational purposes only. Not for commercial sale.