Project Overview
The Multi-Vendor Marketplace is a robust, end-to-end e-commerce platform designed to bridge the gap between independent sellers and global buyers. Unlike a traditional single-vendor store, this platform allows multiple businesses to create their own “boutiques,” manage their unique inventories, and fulfill orders directly. It features a premium, light-themed user interface focused on visual excellence and a seamless user experience.
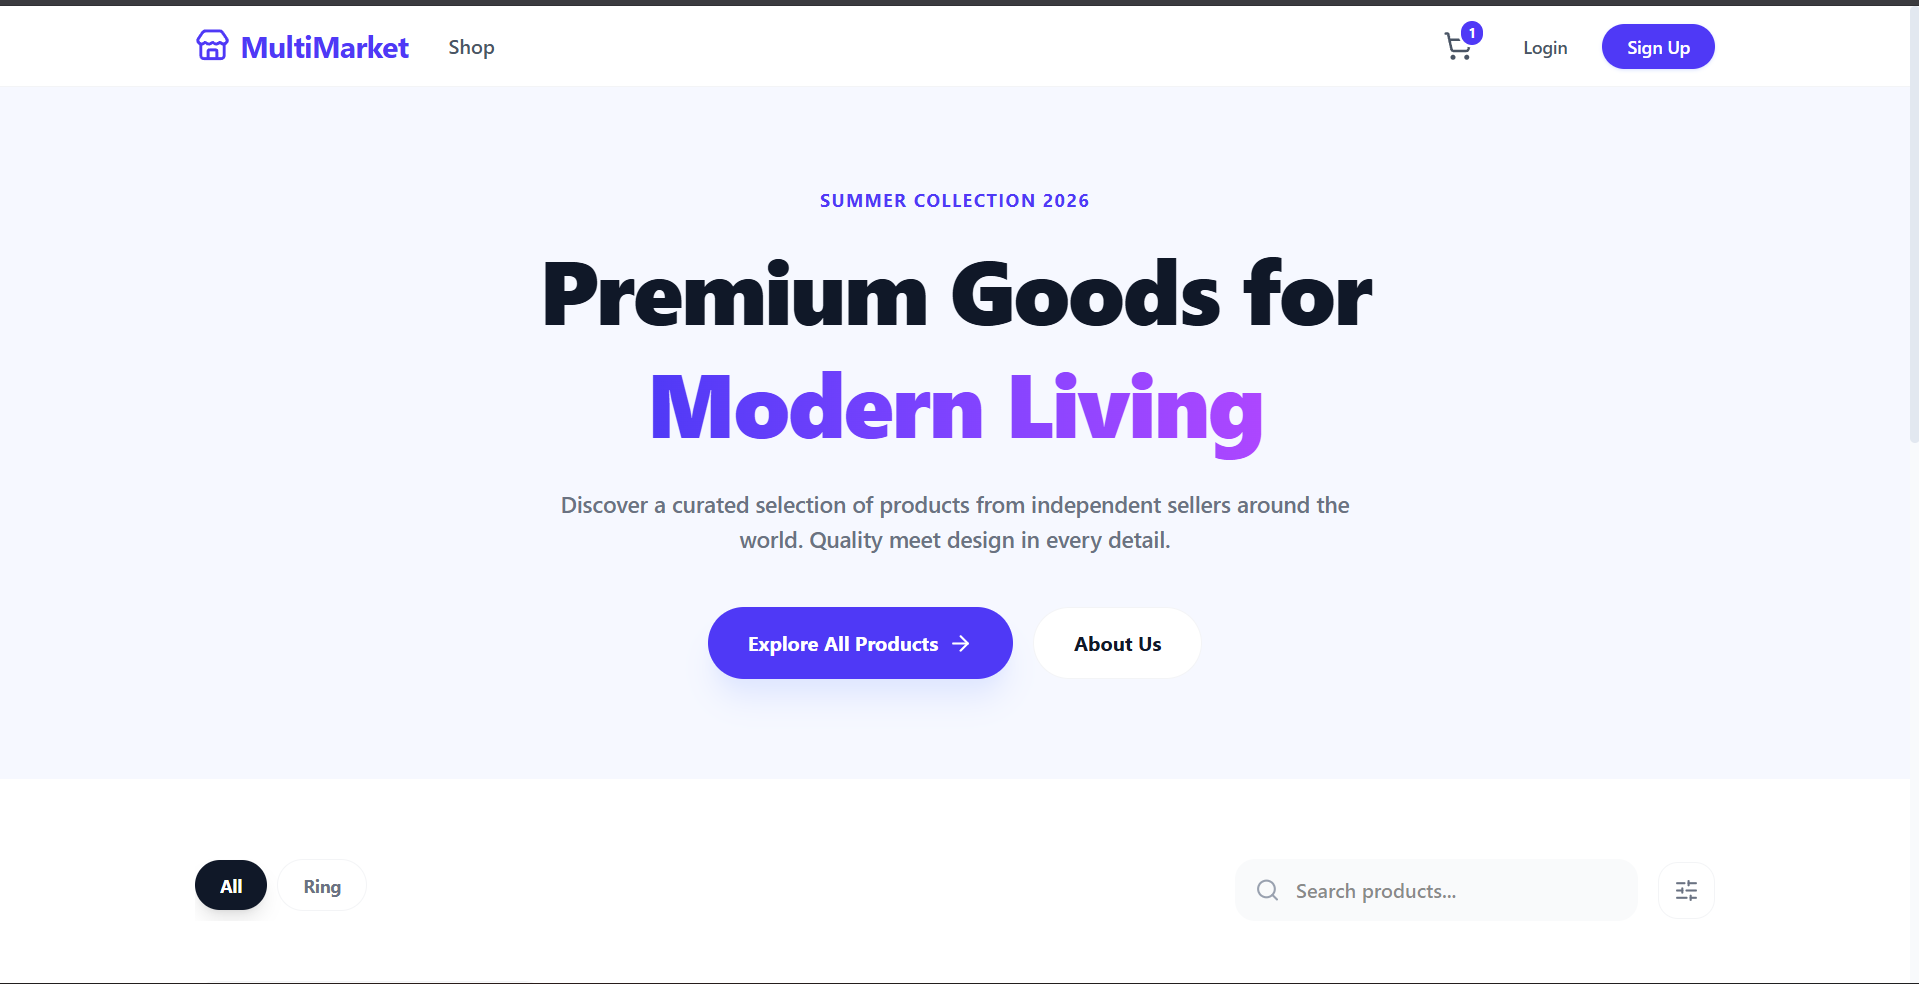
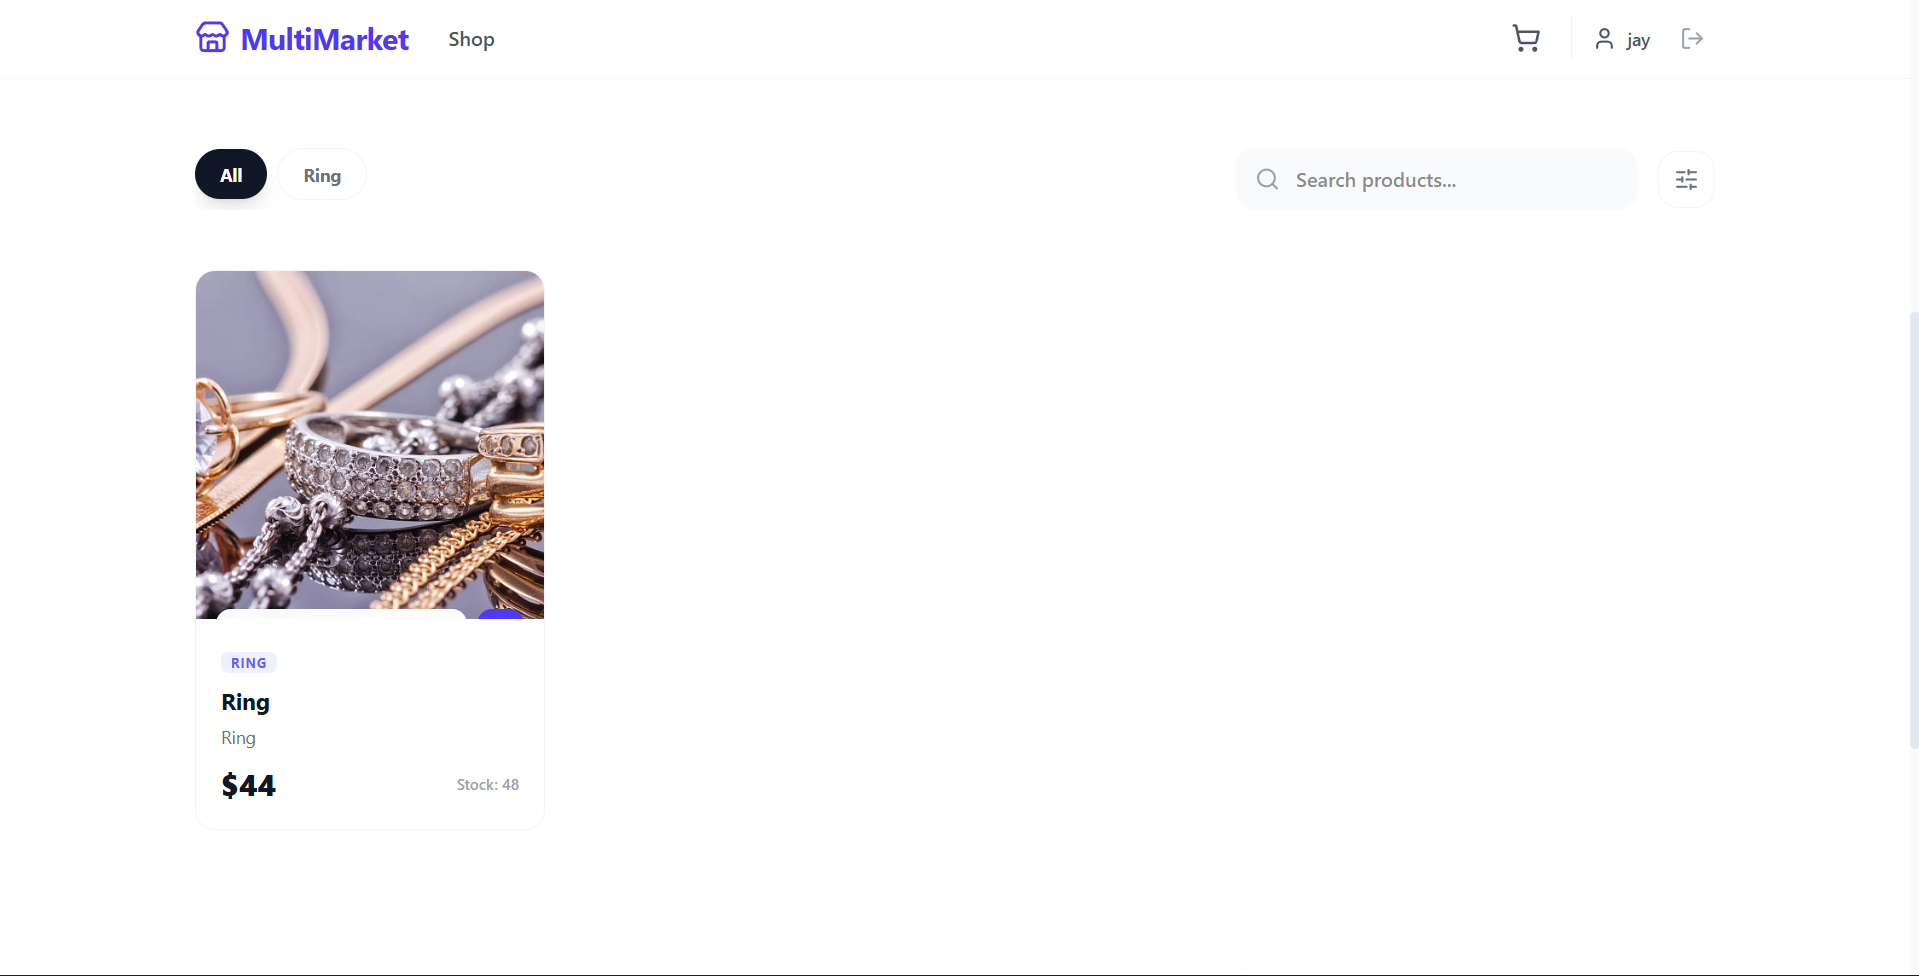
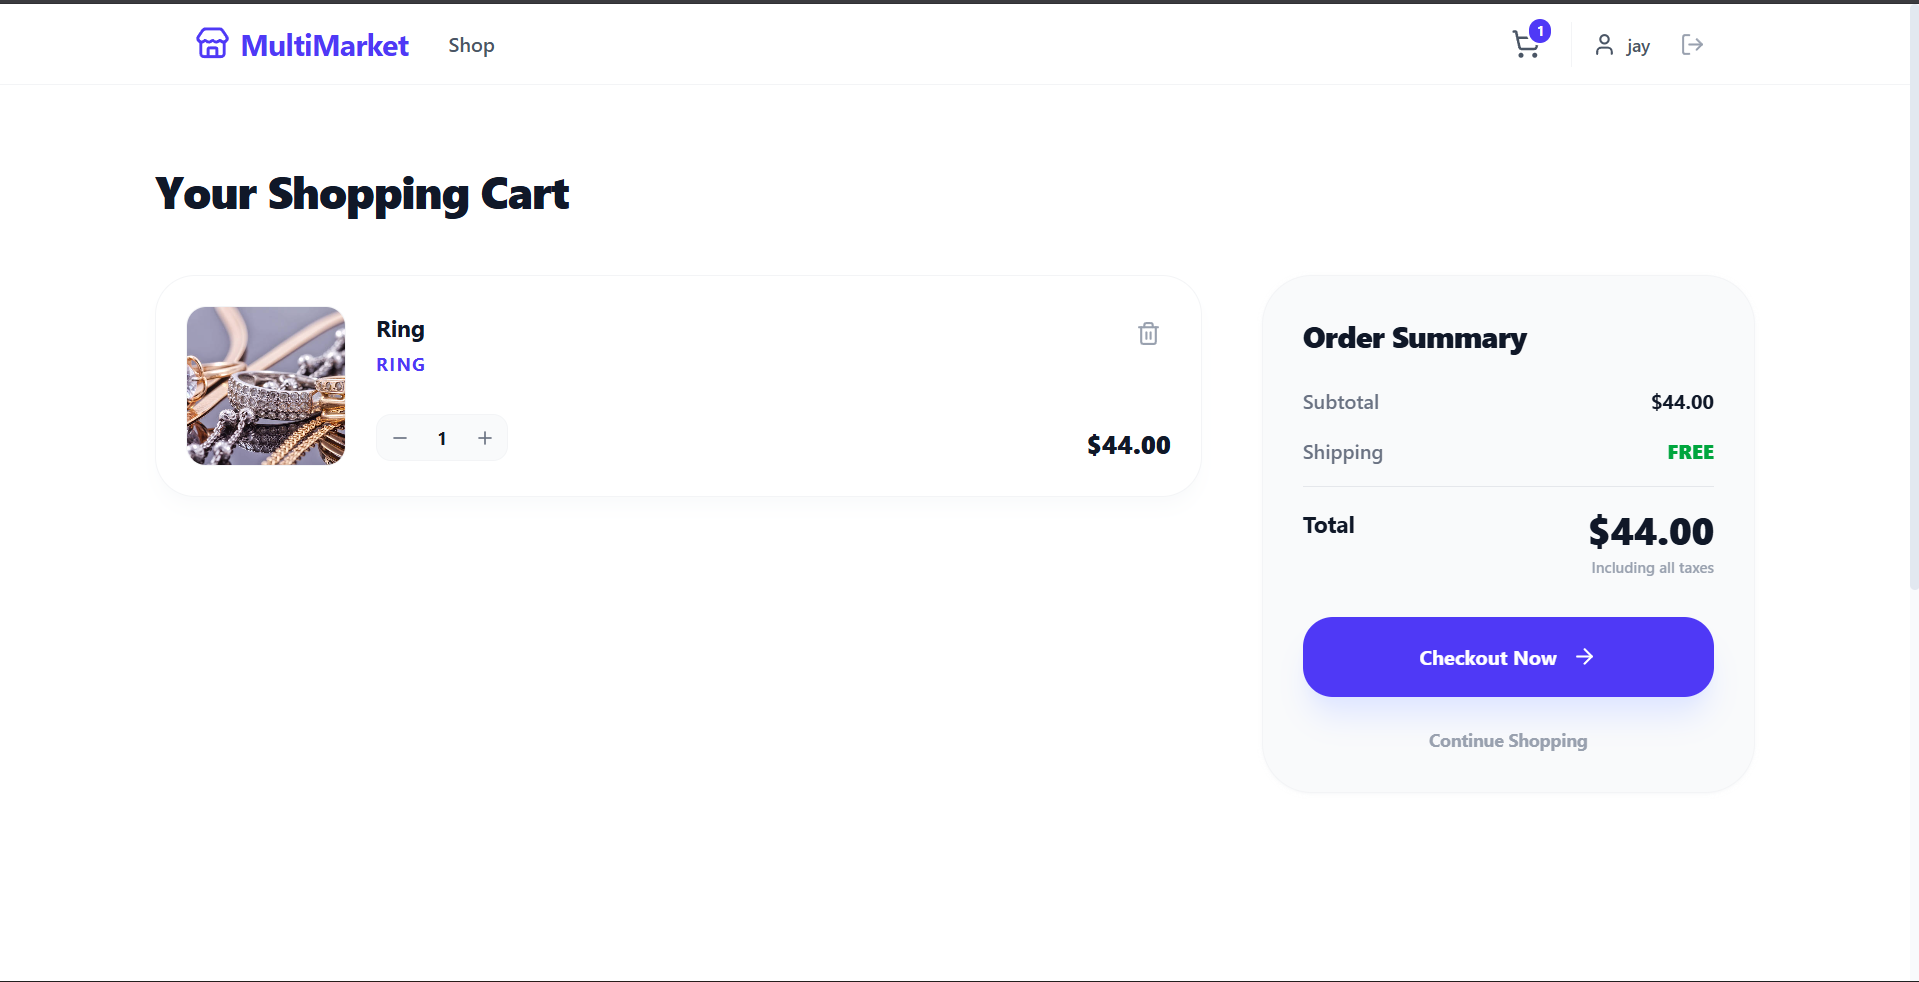
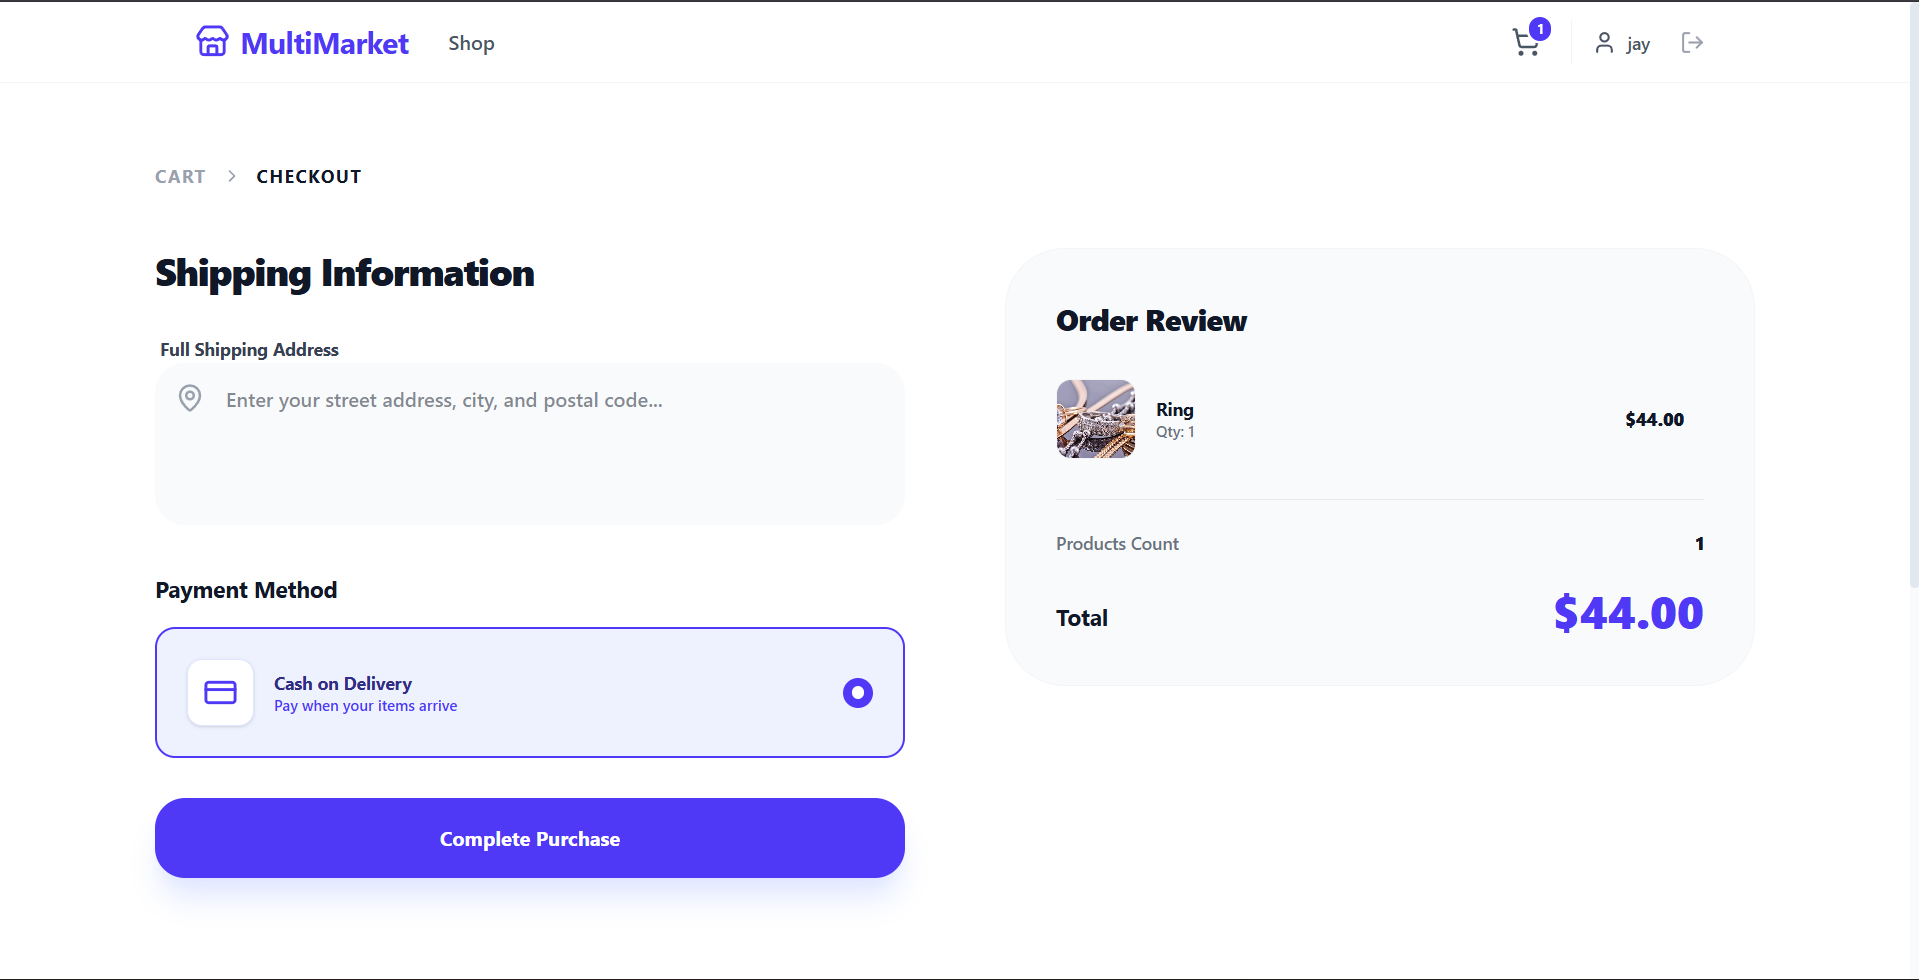
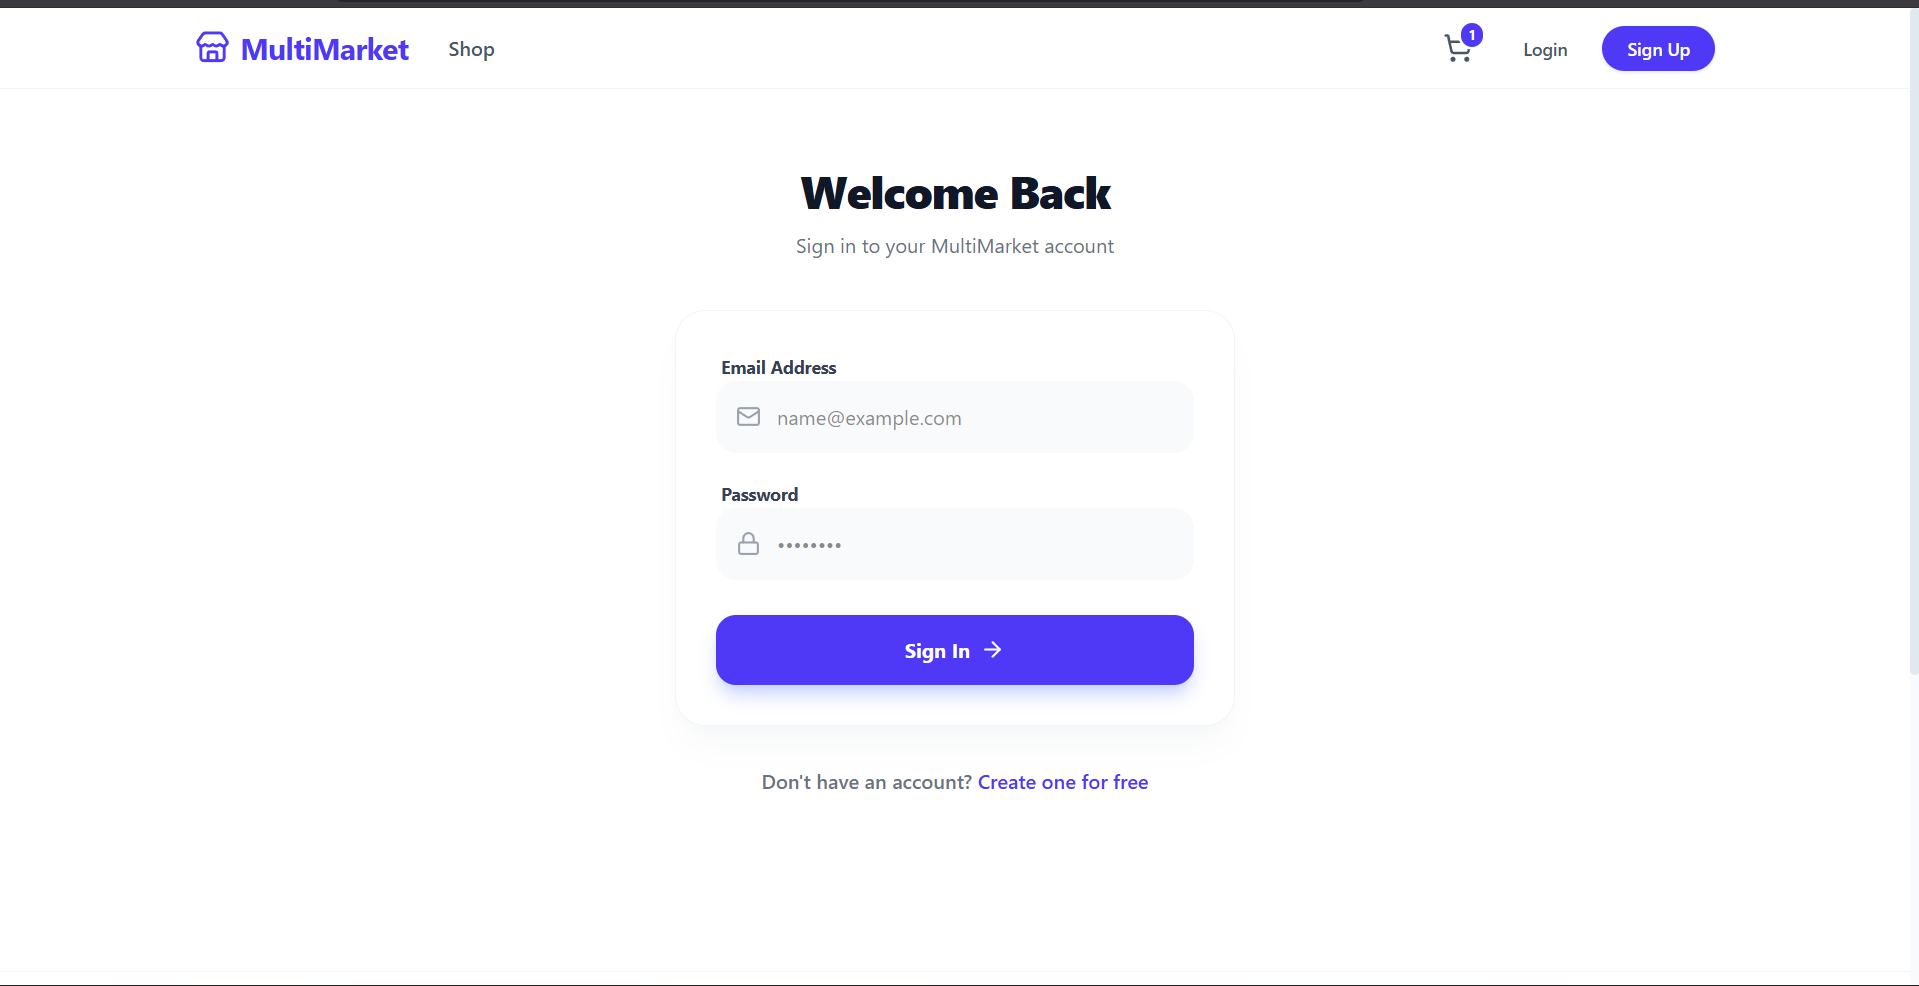
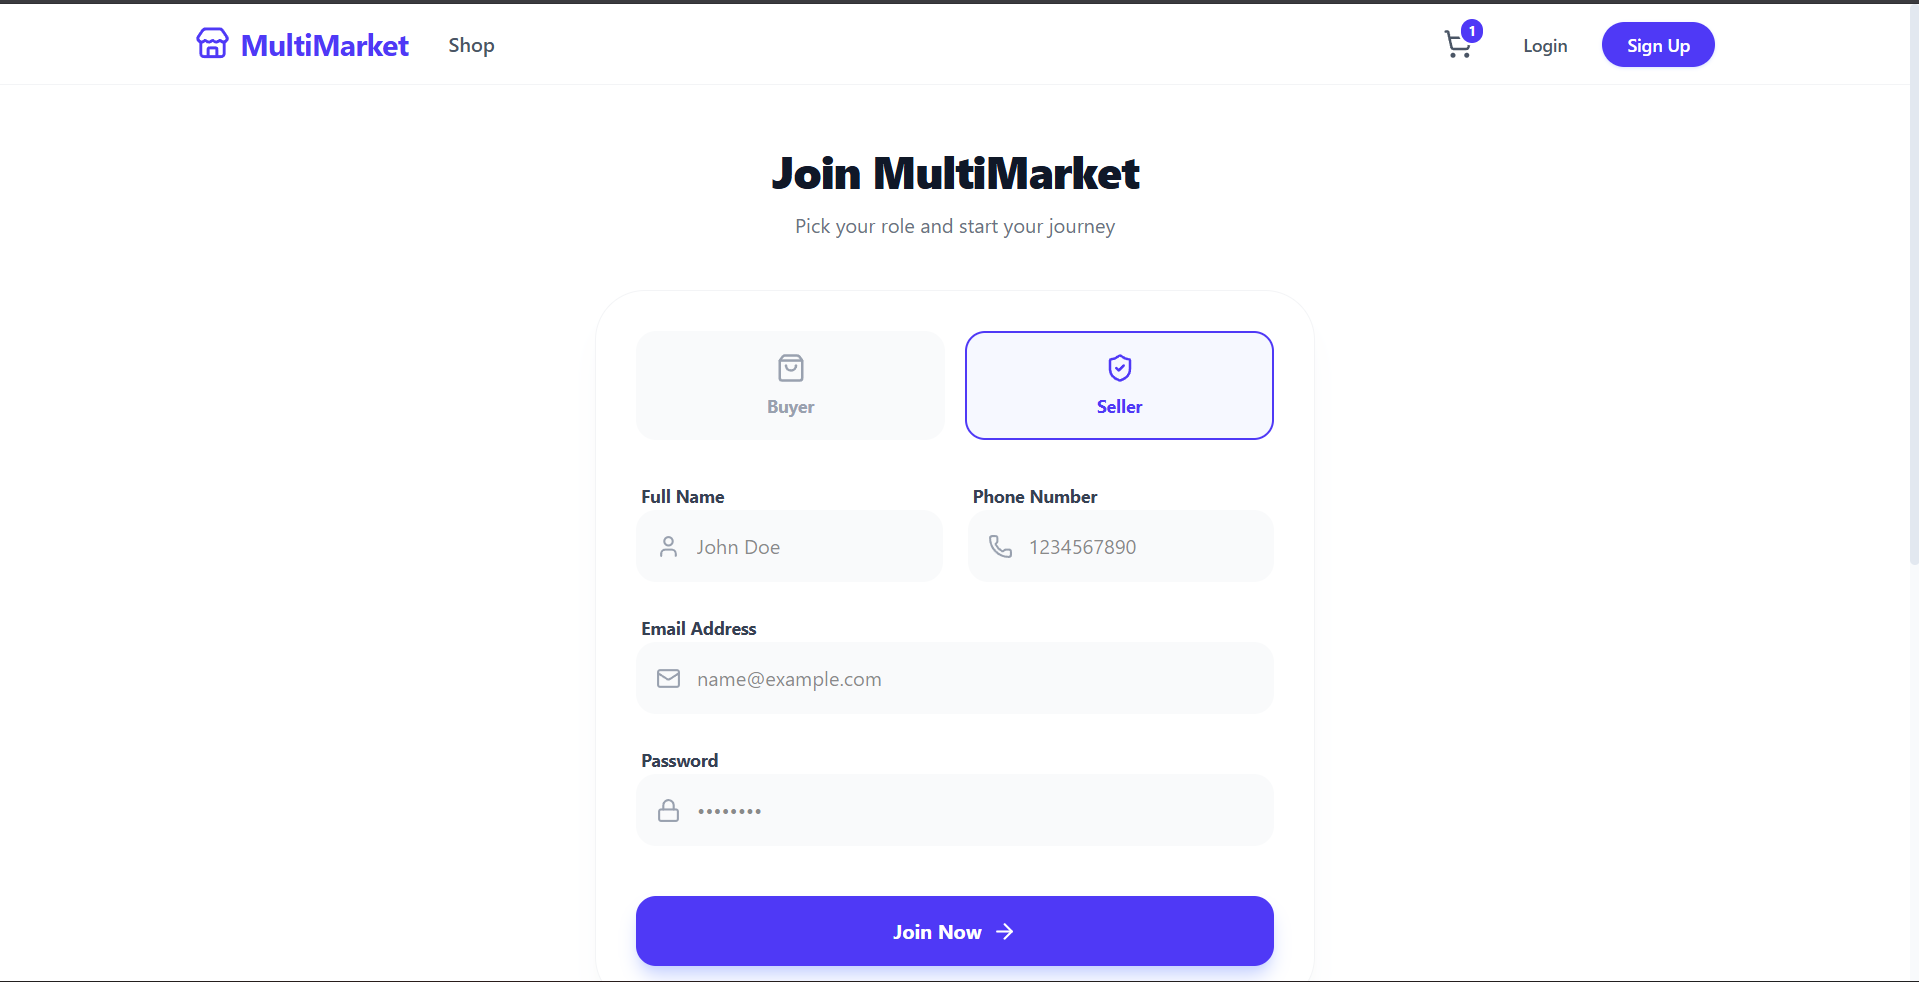
Screenshots


Key Features
- Role-Based Access Control: Distinct interfaces and permissions for Buyers, Sellers, and Admins.
- Smart Product Management: Sellers can upload up to 8 high-quality images per product with automatic background handling and inventory tracking.
- Dynamic Order Management: Real-time status updates (Processing → Shipped → Delivered) that sync between the seller’s dashboard and the buyer’s order history.
- Premium Design System: A “wow-factor” UI using glassmorphism, smooth micro-animations, custom scrollbars, and a clean, luxury light aesthetic.
- Secure Authentication: Secure login and registration using JWT (JSON Web Tokens) and bcrypt password hashing.
Functionality
- For Buyers:
- Browse varied categories of products.
- Add items to a persistent shopping cart.
- Seamless Checkout flow with “Cash on Delivery” integration.
- Personalized “My Orders” page to track purchase lifecycles.
- For Sellers:
- Comprehensive Seller Hub dashboard with sales analytics (Total Sales, Order Count).
- Inventory management system (Add, Edit, and Delete listings).
- Order fulfillment center to manage customer requests and update shipping statuses.
- General:
- Global state management for the shopping cart.
- API-driven architecture for fast, decoupled performance.
Technology Used
- Frontend:
- React: For building a reactive and component-based user interface.
- Tailwind CSS: For premium, responsive styling and utility-first design.
- Lucide-React: For a consistent, modern iconography set.
- Axios: For handling asynchronous API communications.
- Backend:
- Node.js & Express: A scalable server environment.
- MongoDB & Mongoose: NoSQL database for flexible data modeling (Users, Products, Orders).
- Multer: For handling multi-image uploads and storage.
- JWT & Bcrypt: For industry-standard security and authentication.
Why This Project Is Useful
- Economic Empowerment: It provides a low-barrier entry for small business owners to establish a professional online presence without building their own website from scratch.
- Scalability: The architecture is designed to handle hundreds of vendors and thousands of products, making it suitable for niche markets or broad retail.
- Trust & Transparency: By allowing buyers to track order statuses directly and providing sellers with clear sales data, the platform builds a transparent ecosystem for digital commerce.
- Modern Standards: It utilizes the latest web technologies (React 19, Tailwind 4), ensuring the platform is standardized.
Deployment and Environment Setup
- Environment Variables Setup:
- backend/.env
- PORT: 3000
- MONGO_URI: mongodb_url_string
- JWT_SECRET: your_jwt_secret_key_here (if needed)
- frontend/.env
- VITE_API_URL: backend_url
- backend/.env
- Deployment Overview:
- Render or Railway for backend hosting
- Vercel or Netlify for frontend hosting
- MongoDB Atlas for the database
- Backend Deployment:
- Push your code to GitHub.
- Go to Render.com or Railway.app.
- Create a new Web Service and connect your GitHub repository.
- Choose “backend/” as the root directory.
- Add the following environment variables on Render:
- PORT=10000
- MONGO_URI=your MongoDB Atlas URI
- JWT_SECRET=your JWT secret
- Start command: npm start (Ensure your backend/package.json includes “start”: “node server.js”)
- After deployment, note your backend URL, e.g. https://your-backend-name.onrender.com
- Frontend Deployment:
- Go to Vercel.com or Netlify.com.
- Create a new project and connect the GitHub repo.
- Select the “frontend/” folder as root.
- In environment variables, set:
- VITE_API_URL=https://your-backend-domain.com/api (or REACT_APP_API_URL if using CRA)
- Deploy.
- MongoDB Atlas Setup:
- Go to https://cloud.mongodb.com
- Create a free cluster.
- Add your current IP address in Network Access.
- Create a database user and password.
- Copy the connection string and replace username, password, and database name in MONGO_URI in backend/.env
Download Source Code
Project Setup Instructions
Note: This project is for educational purposes only. Not for commercial sale.


