Project Overview
The Leave Management System is a web-based application designed to streamline the process of managing employee leave requests. It provides a centralized platform for employees to apply for leave and for administrators to review, approve, or reject these requests efficiently. The system ensures transparency and easy tracking of leave records.
Screenshots
Key Features
- Role-Based Access Control (RBAC)
- Admin: Has full control over leave management. Can view all requests and take action (Approve/Reject).
- Employee: Can apply for new leave and view their own leave history.
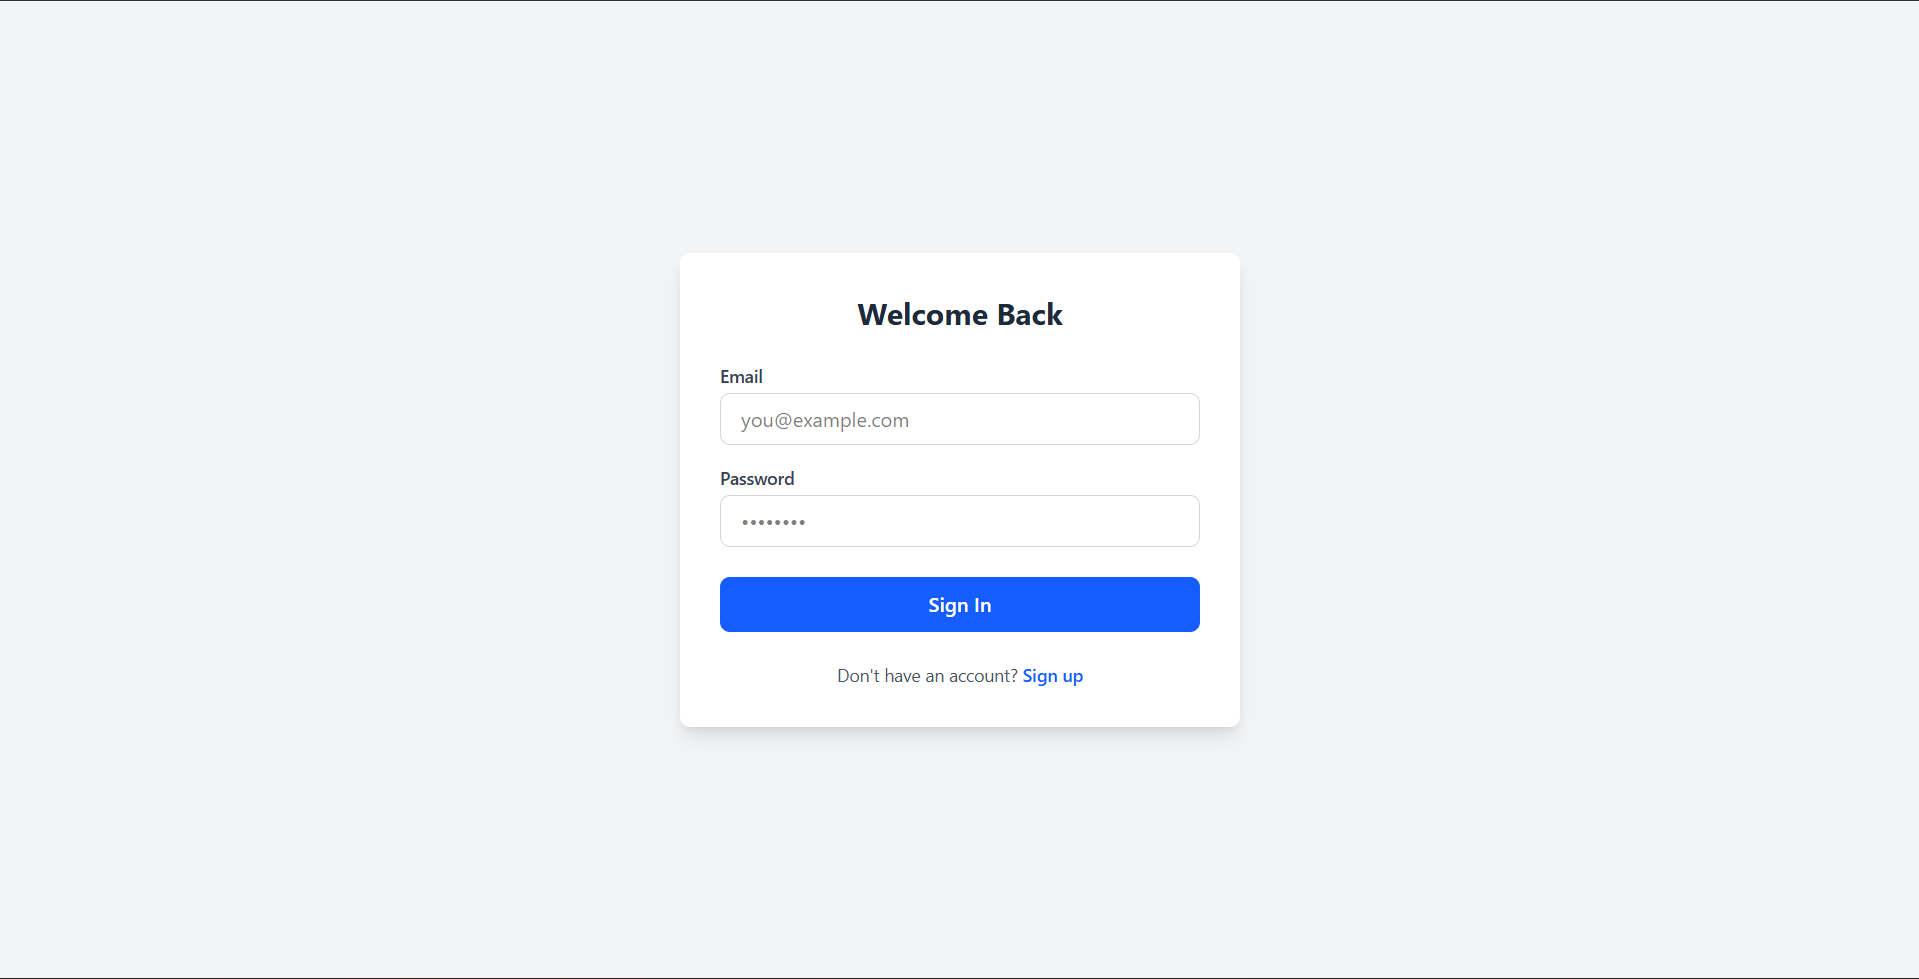
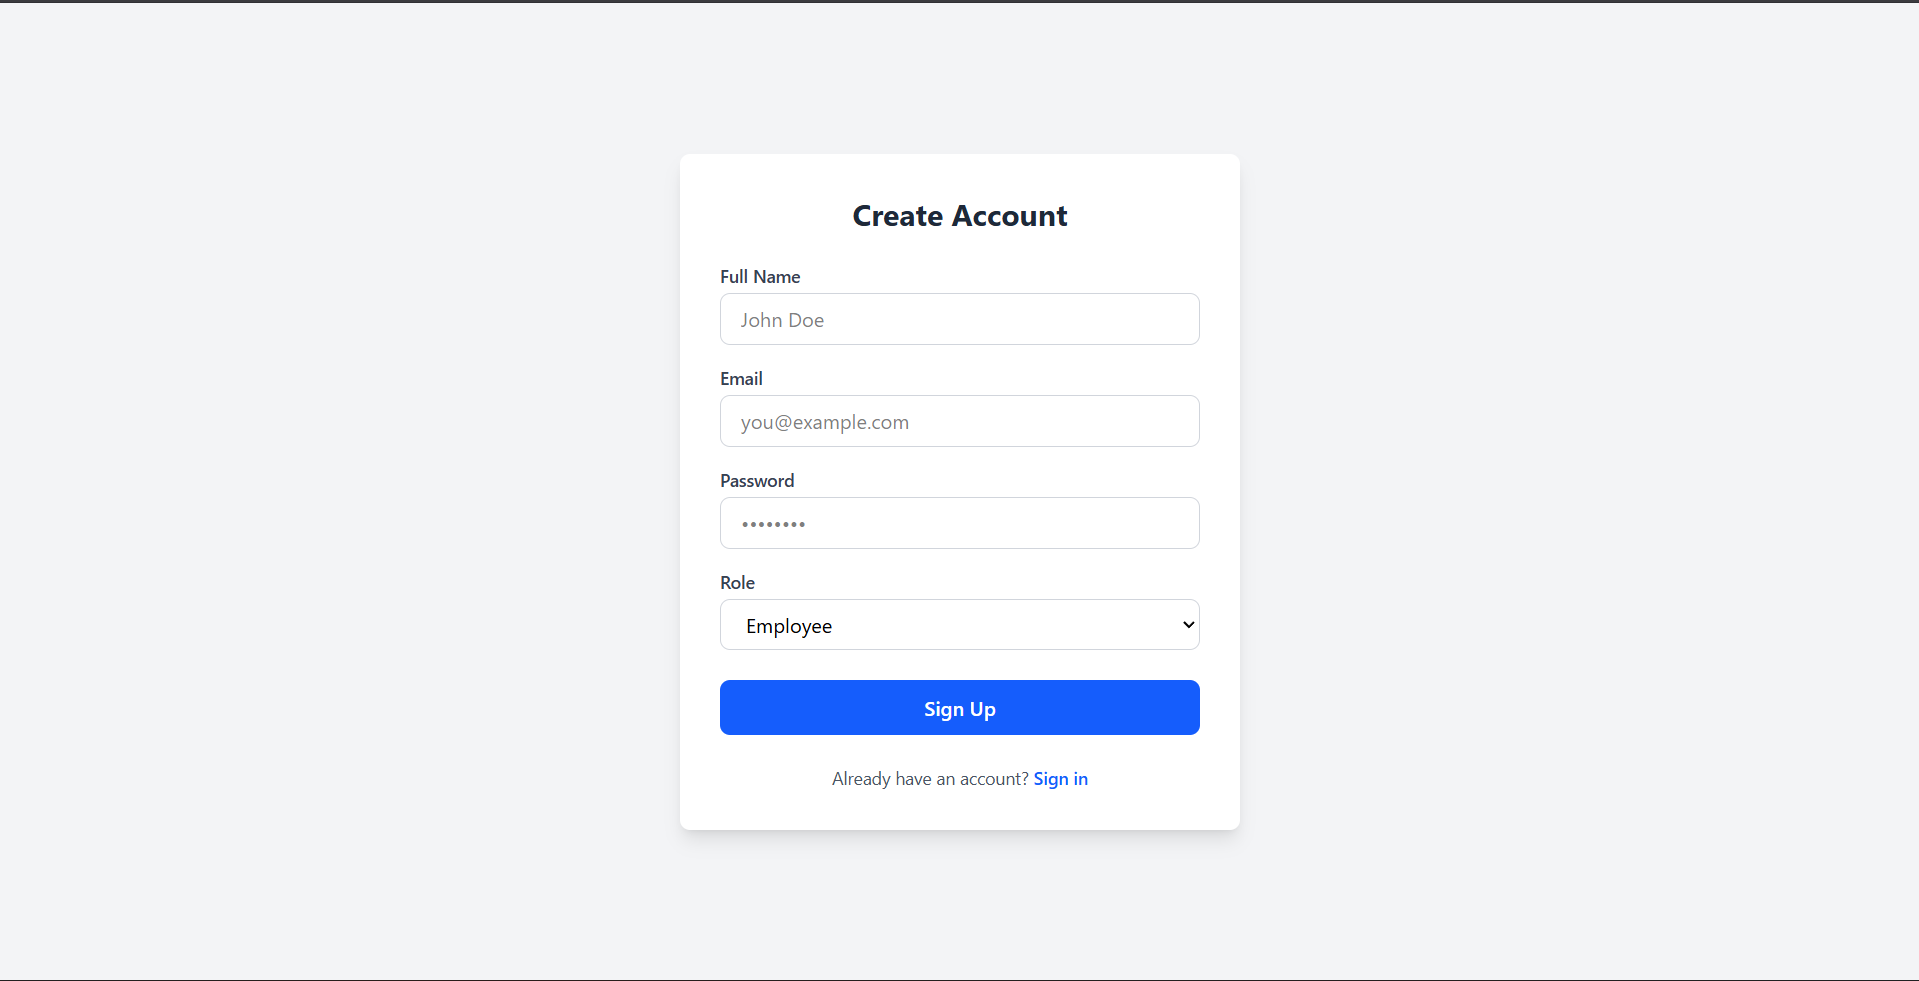
- Secure Authentication: Users must log in to access the system. Registration is open for Employees, while Admin registration is restricted to a single account for security.
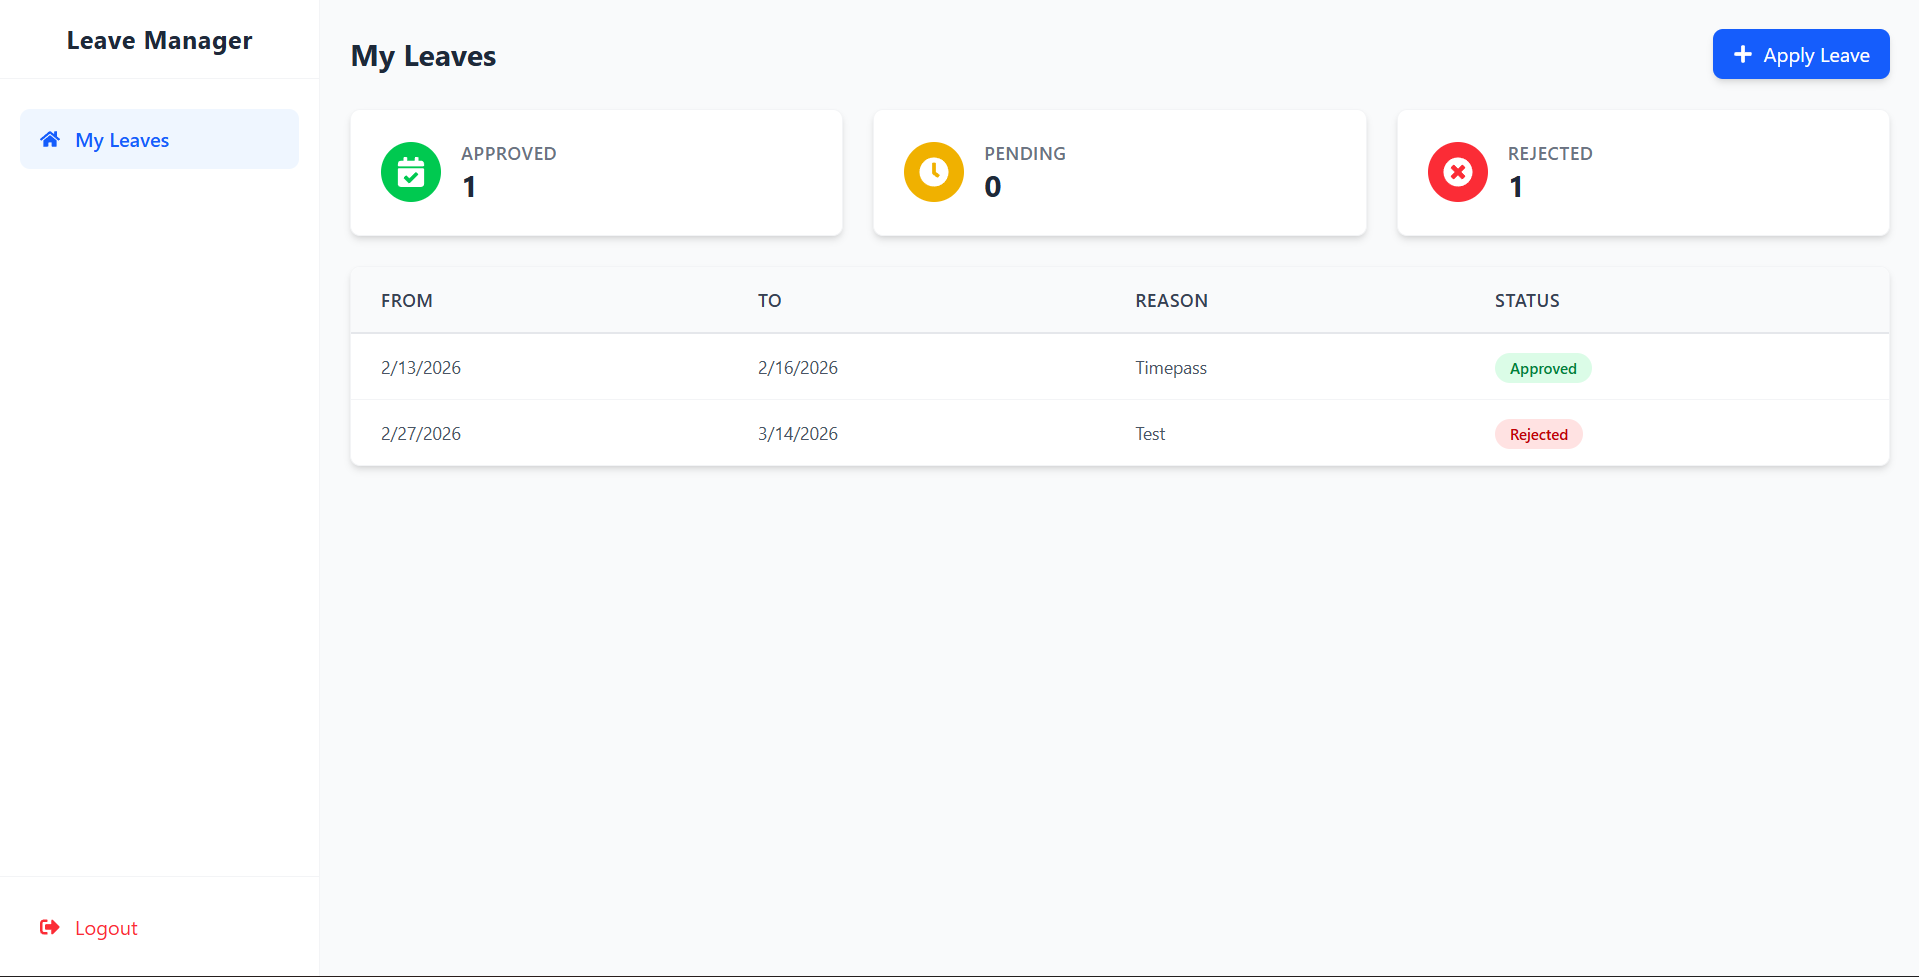
- Employee Features
- Dashboard: A personalized view showing leave statistics (Approved, Pending, Rejected).
- Apply for Leave: A simple, user-friendly form to request leave with dates and reasons.
- Leave History: A list of all past and current leave requests with their statuses.
- Admin Features
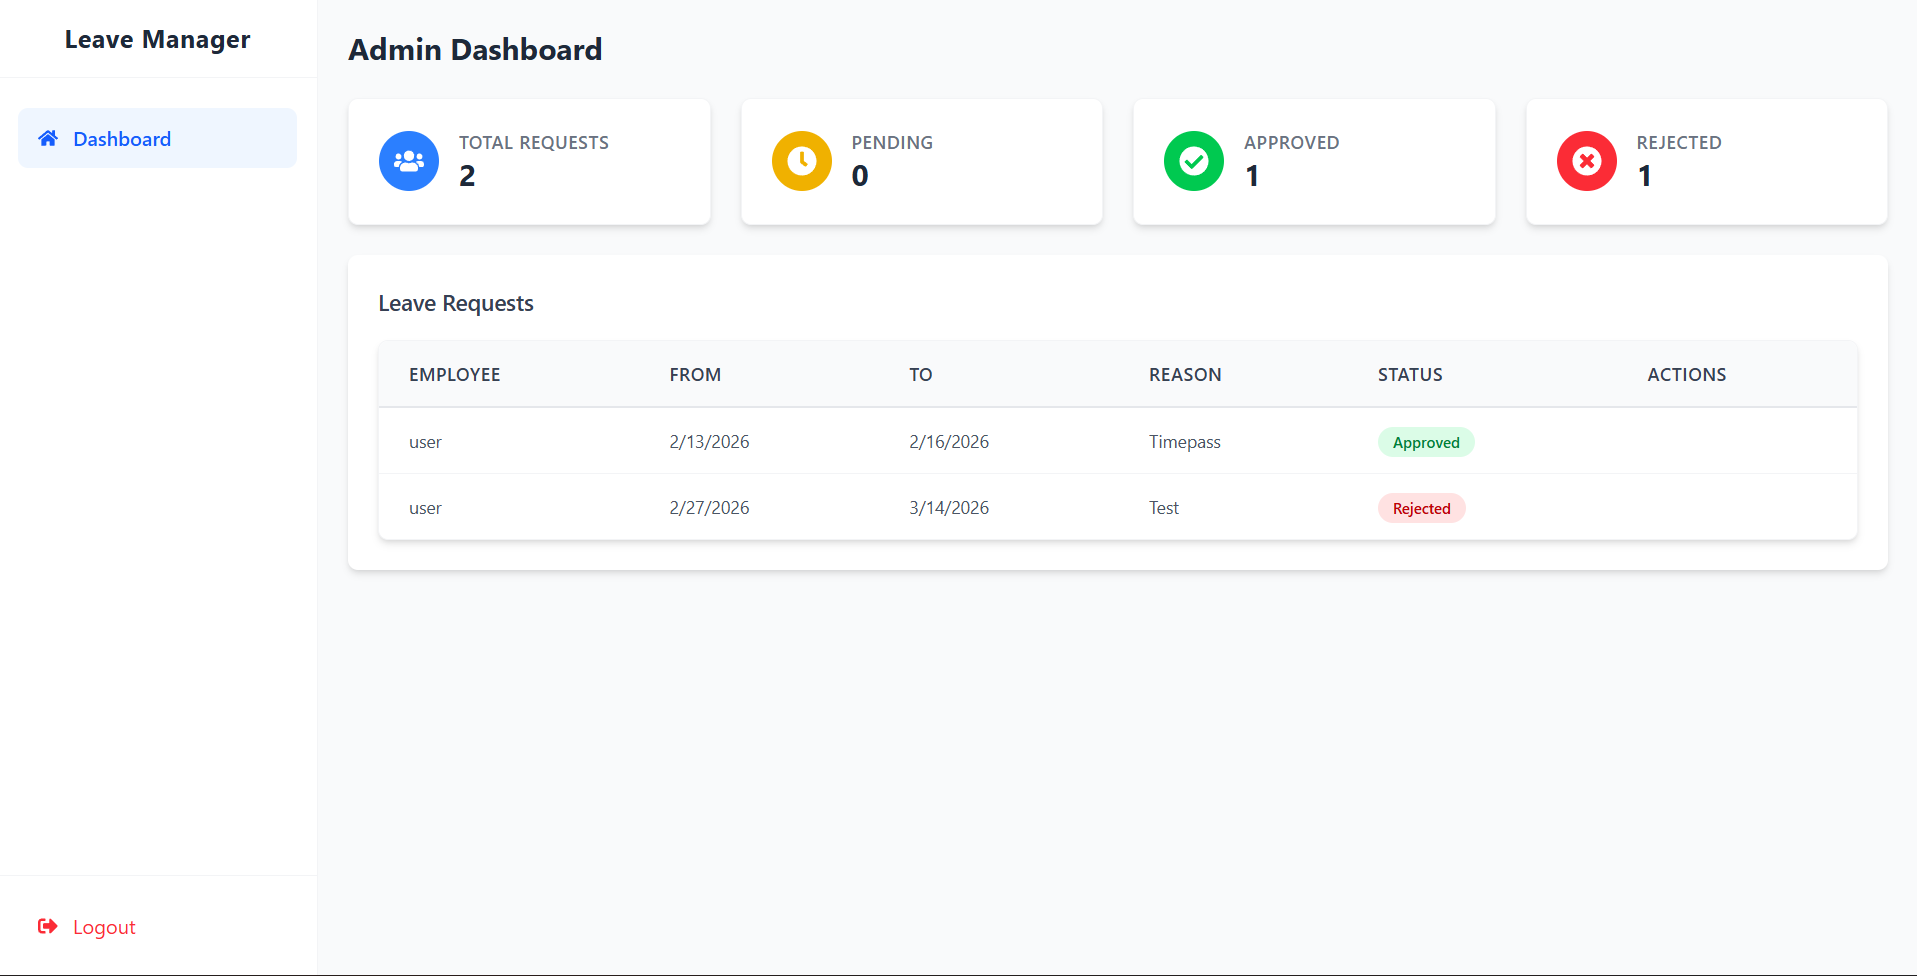
- Admin Dashboard: An overview of all leave requests across the organization.
- Leave Action: Ability to approve or reject pending leave requests with a single click.
- Statistics: Quick insight into total, approved, pending, and rejected requests.
- Modern User Interface
- Responsive Design: Works seamlessly on desktop and mobile devices.
- Interactive Components: Real-time feedback, modal forms, and dynamic data tables.
Functionality
- Authentication & User Management
- User Registration: Employees can create their own accounts.
- Secure Login: JWT-based authentication ensures secure access.
- Single Admin Policy: The system enforces a rule where only one admin account can exist to prevent unauthorized administrative access.
- Logout: Securely terminates the user session.
Technology Used
- Frontend:
- React.js: For building the dynamic user interface.
- Vite: For fast development and build tooling.
- Tailwind CSS: For modern, utility-first styling and responsiveness.
- React Router: For client-side navigation.
- Axios: For making HTTP requests to the backend API.
- Backend:
- Node.js: The runtime environment for the server.
- Express.js: A robust web framework for handling API routes.
- JSON Web Token (JWT): For secure user authentication and session management.
- Bcrypt.js: For hashing passwords securely.
- Database:
- MongoDB: A NoSQL database for flexible data storage.
- Mongoose: An ODM library to interact with MongoDB.
Why This Project Is Useful
- Efficiency: Automates manual leave tracking, reducing paperwork and errors.
- Transparency: Employees can track the status of their requests in real-time.
- Organization: Centralizes all leave records in one secure database.
- Accessibility: Accessible from anywhere via a web browser.
Deployment and Environment Setup
- Environment Variables Setup:
- backend/.env
- PORT: 5000
- MONGO_URI: mongodb_url_string
- JWT_SECRET: your_jwt_secret_key_here (if needed)
- frontend/.env
- VITE_API_URL: backend_url
- backend/.env
- Deployment Overview:
- Render or Railway for backend hosting
- Vercel or Netlify for frontend hosting
- MongoDB Atlas for the database
- Backend Deployment:
- Push your code to GitHub.
- Go to Render.com or Railway.app.
- Create a new Web Service and connect your GitHub repository.
- Choose “backend/” as the root directory.
- Add the following environment variables on Render:
- PORT=10000
- MONGO_URI=your MongoDB Atlas URI
- JWT_SECRET=your JWT secret
- Start command: npm start (Ensure your backend/package.json includes “start”: “node server.js”)
- After deployment, note your backend URL, e.g. https://your-backend-name.onrender.com
- Frontend Deployment:
- Go to Vercel.com or Netlify.com.
- Create a new project and connect the GitHub repo.
- Select the “frontend/” folder as root.
- In environment variables, set:
- VITE_API_URL=https://your-backend-domain.com/api (or REACT_APP_API_URL if using CRA)
- Deploy.
- MongoDB Atlas Setup:
- Go to https://cloud.mongodb.com
- Create a free cluster.
- Add your current IP address in Network Access.
- Create a database user and password.
- Copy the connection string and replace username, password, and database name in MONGO_URI in backend/.env
Download Source Code
Project Setup Instructions
Note: This project is for educational purposes only. Not for commercial sale.