Project Overview
The Habit Tracker is a full-stack web application (MERN stack) designed to help users build and maintain healthy routines. It provides a structured environment where users can define specific habits, set long-term goals, and log their daily completion to visualize progress over time. The app focuses on simplicity and accountability, offering a clean dashboard to keep users motivated.
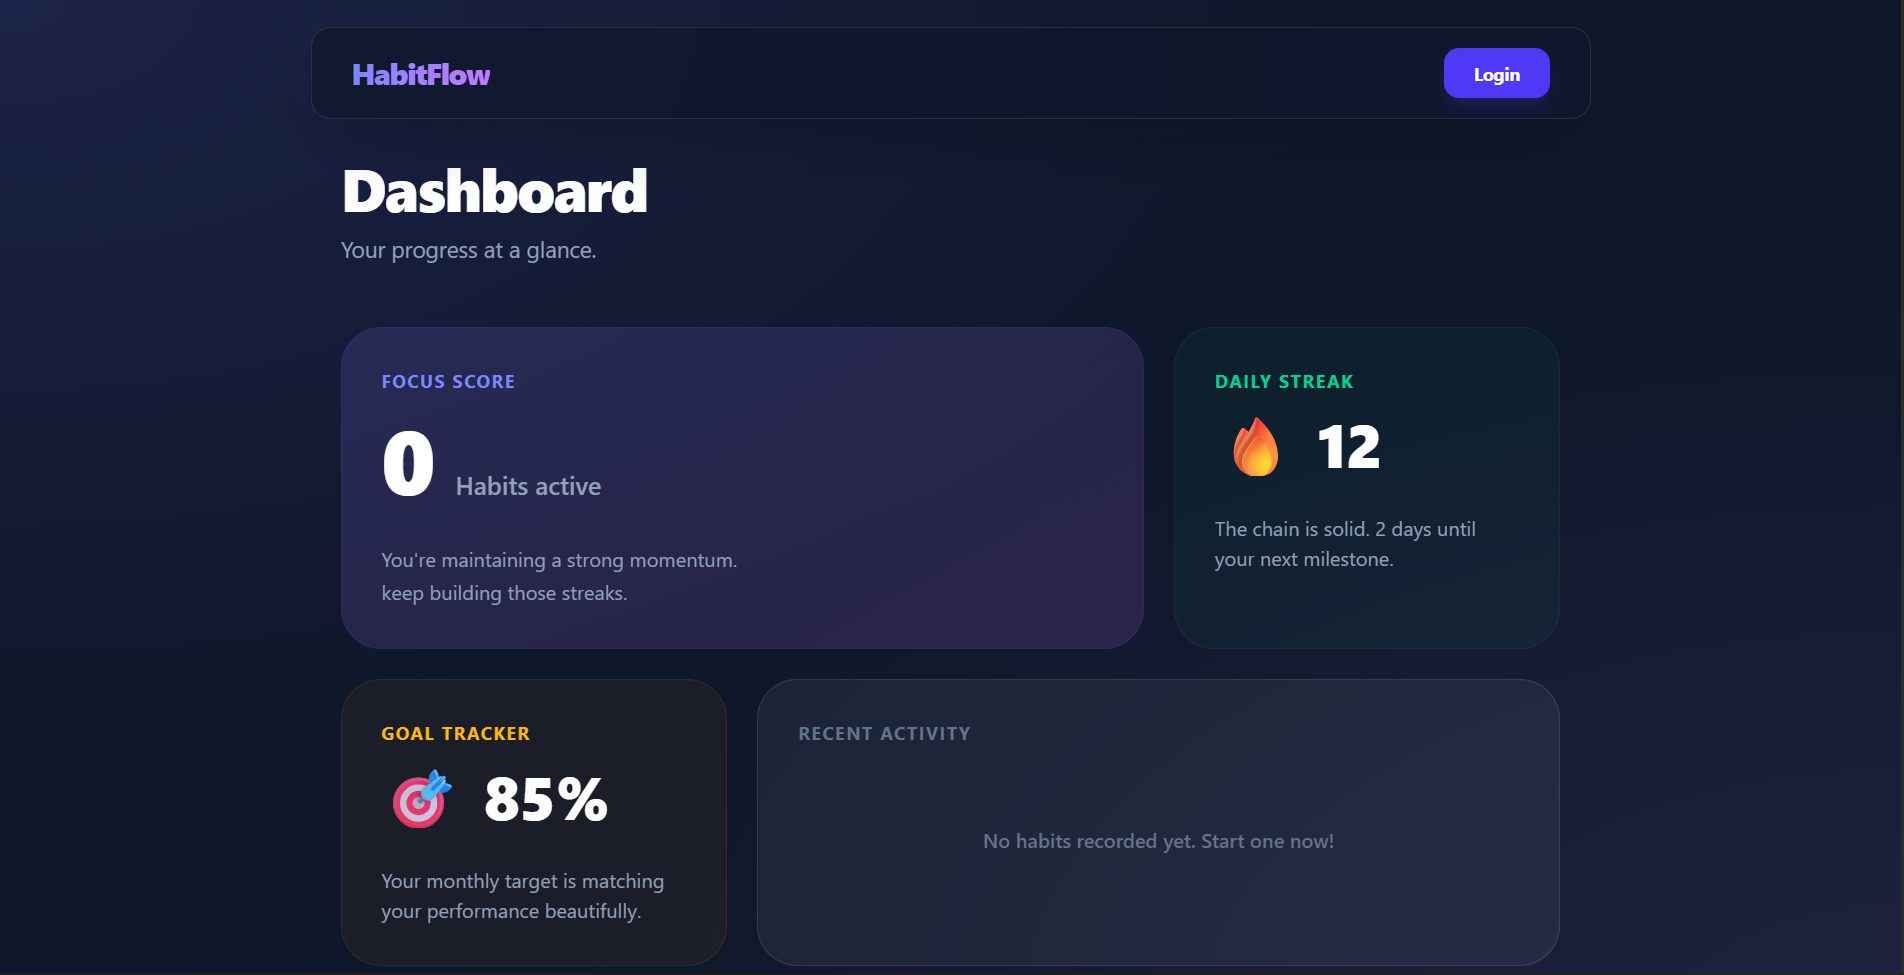
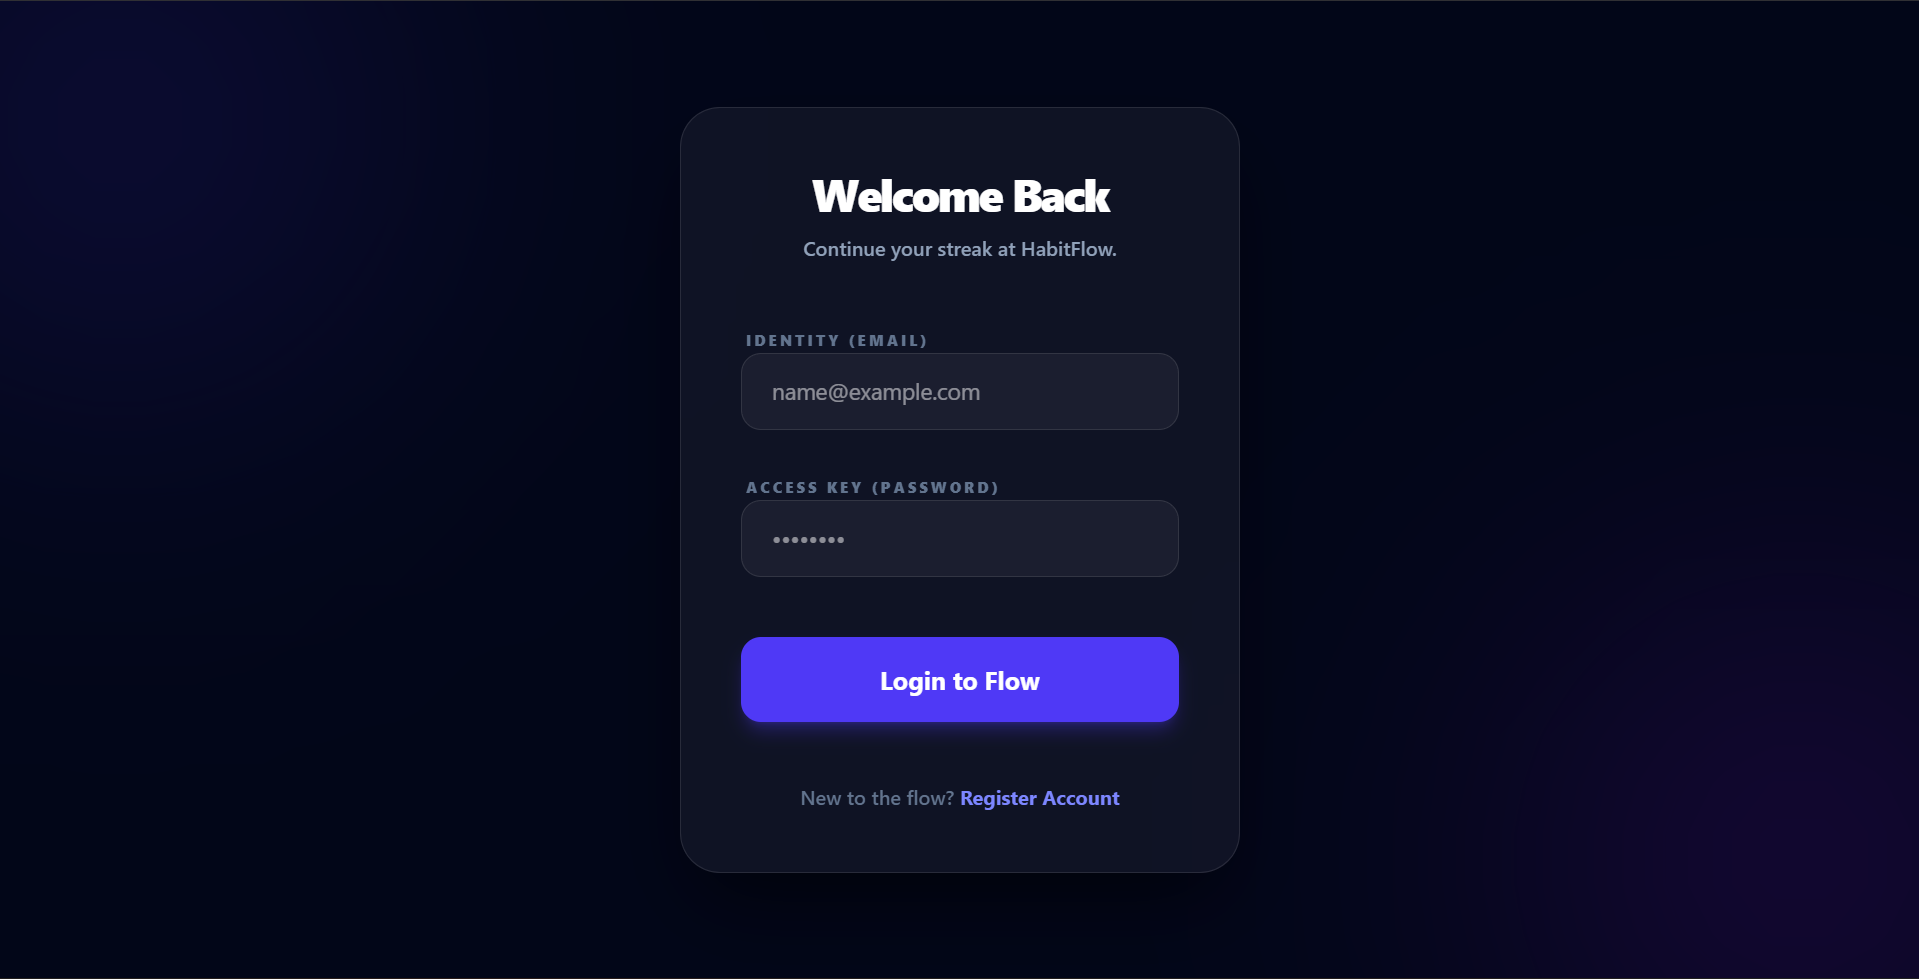
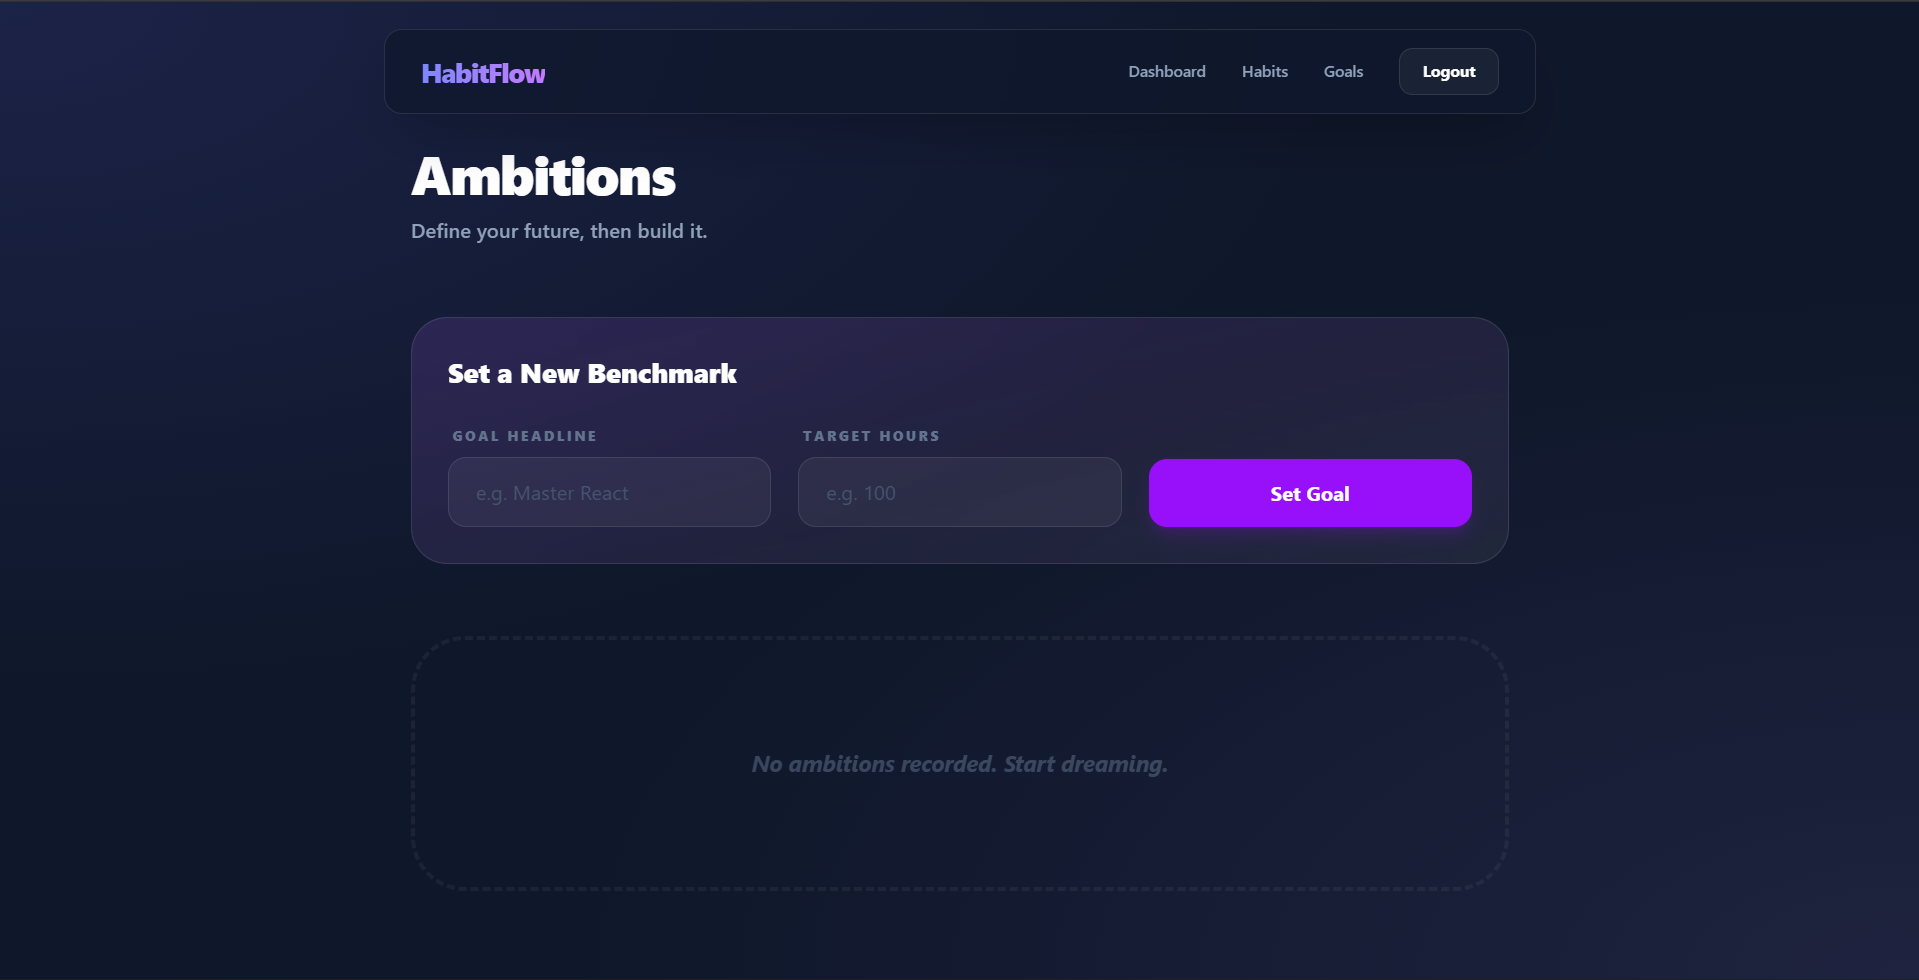
Screenshots


Key Features
- User Authentication: Secure registration and login system with password hashing and JWT-based session management.
- Interactive Dashboard: A central hub that gives users an immediate overview of their daily habits and progress.
- Habit Management: Ability to create, update, and delete personalized habits.
- Goal Setting: A dedicated module for defining long-term objectives that go beyond daily repetitions.
- Daily Logging: Functionality to mark habits as completed and track consistency across different dates.
- Responsive Design: Modern UI built with Tailwind CSS that adapts to different screen sizes.
Functionality
- Authentication Flow: Users can sign up and sign in. Their identity is protected using BcryptJS for hashing and JSON Web Tokens (JWT) for secure API access.
- Habit Tracking: Once logged in, users can add habits. The backend tracks these in a MongoDB database, allowing for persistent daily logs.
- Goal Visualization: Users can manage specific goals, helping them stay focused on larger milestones.
- Data Persistence: All user data, habits, and progress logs are stored securely in MongoDB via Mongoose models.
Technology Used
- Frontend:
- React 19: For building a dynamic and responsive user interface.
- Vite: A fast build tool for a smooth development experience.
- Tailwind CSS 4: Used for modern, utility-first styling.
- Axios: For making API requests to the backend.
- React Router Dom: For handling client-side navigation.
- Backend:
- Node.js & Express 5: Powering the RESTful API.
- MongoDB & Mongoose: For flexible, document-based data storage.
- BcryptJS: For secure password encryption.
- JSON Web Token (JWT): For stateless user authentication.
- CORS: To handle cross-origin requests between the client and server.
Why This Project Is Useful
- Consistency: It transforms abstract intentions into concrete daily tasks, making it easier to stay consistent.
- Accountability: By logging progress, users can see their “streaks,” which creates a psychological incentive not to break the habit.
- Clarity: The dashboard removes the guesswork by showing exactly what needs to be done today and how close the user is to their long-term goals.
- Organization: It centralizes all personal growth efforts (habits and goals) into one digital space.
Deployment and Environment Setup
- Environment Variables Setup:
- backend/.env
- PORT: 5000
- MONGO_URI: mongodb_url_string
- JWT_SECRET: your_jwt_secret_key_here (if needed)
- frontend/.env
- VITE_API_URL: backend_url
- backend/.env
- Deployment Overview:
- Render or Railway for backend hosting
- Vercel or Netlify for frontend hosting
- MongoDB Atlas for the database
- Backend Deployment:
- Push your code to GitHub.
- Go to Render.com or Railway.app.
- Create a new Web Service and connect your GitHub repository.
- Choose “backend/” as the root directory.
- Add the following environment variables on Render:
- PORT=10000
- MONGO_URI=your MongoDB Atlas URI
- JWT_SECRET=your JWT secret
- Start command: npm start (Ensure your backend/package.json includes “start”: “node server.js”)
- After deployment, note your backend URL, e.g. https://your-backend-name.onrender.com
- Frontend Deployment:
- Go to Vercel.com or Netlify.com.
- Create a new project and connect the GitHub repo.
- Select the “frontend/” folder as root.
- In environment variables, set:
- VITE_API_URL=https://your-backend-domain.com/api (or REACT_APP_API_URL if using CRA)
- Deploy.
- MongoDB Atlas Setup:
- Go to https://cloud.mongodb.com
- Create a free cluster.
- Add your current IP address in Network Access.
- Create a database user and password.
- Copy the connection string and replace username, password, and database name in MONGO_URI in backend/.env
Download Source Code
Project Setup Instructions
Note: This project is for educational purposes only. Not for commercial sale.