Project Overview
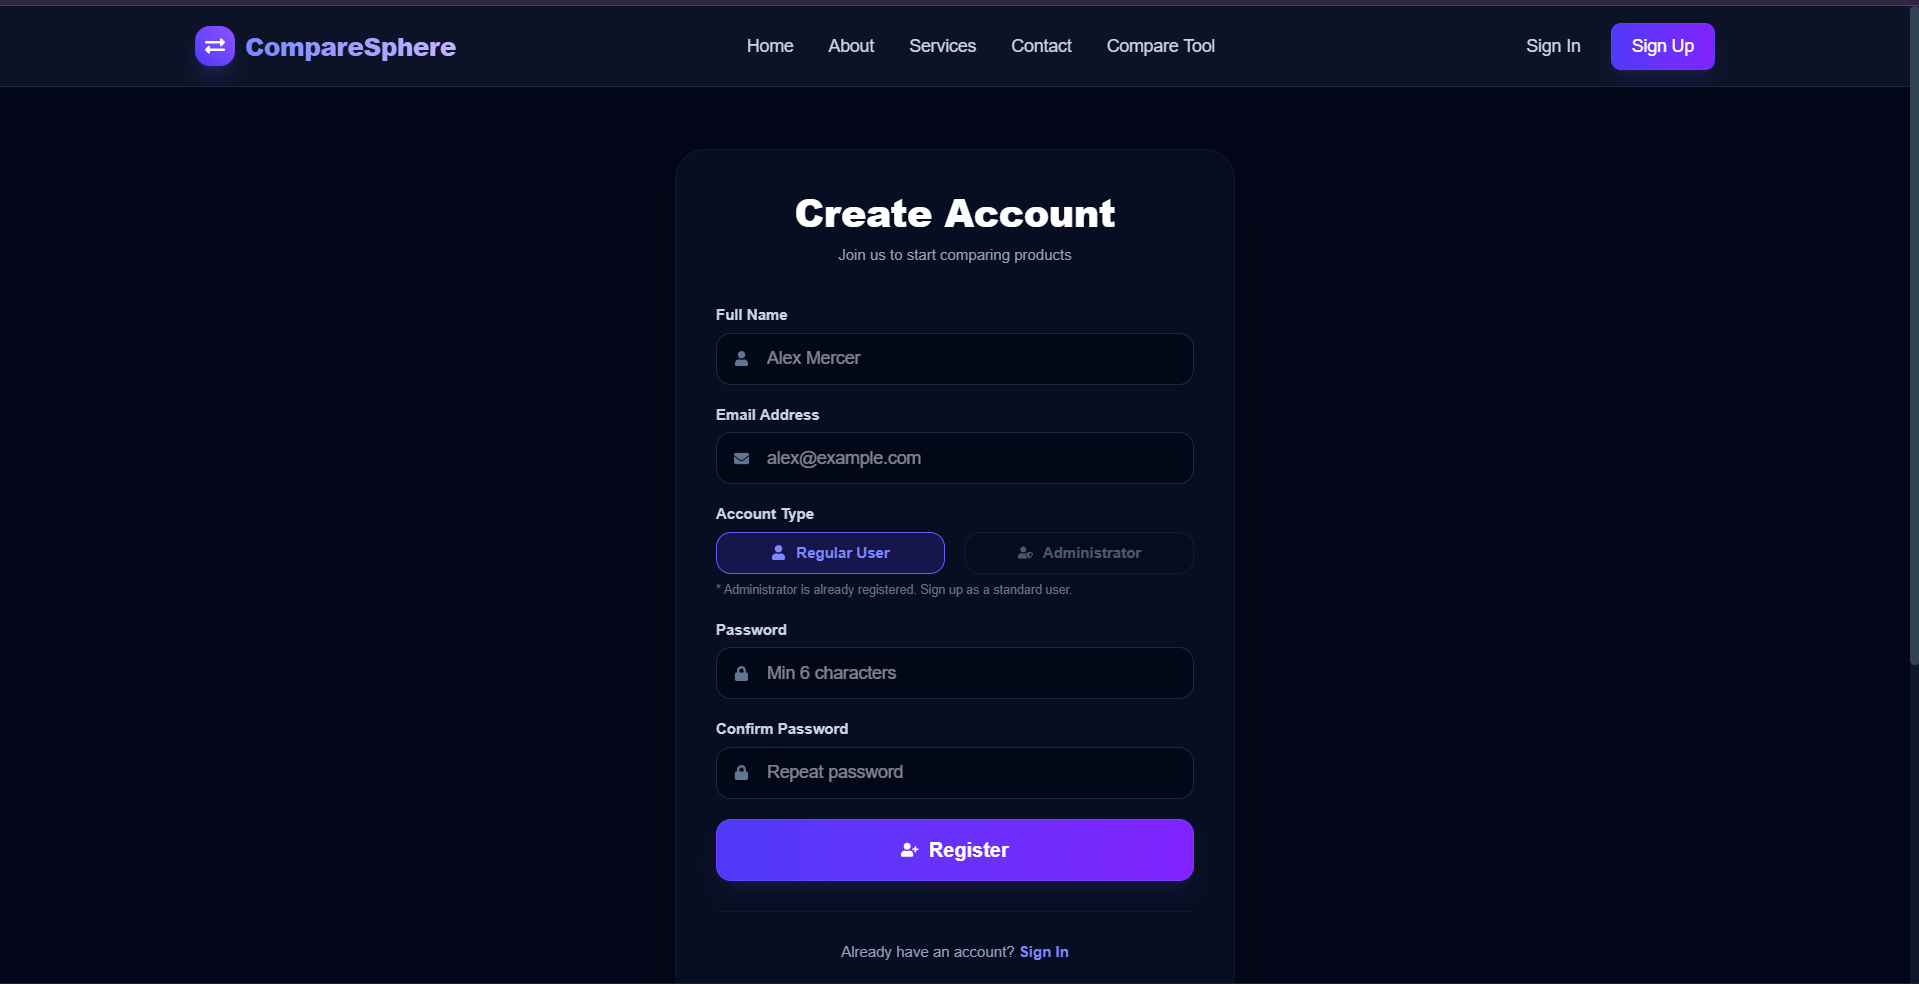
CompareSphere is a modern MERN-stack web utility designed to simplify consumer shopping by gathering unstructured product details and organizing them into a unified, side-by-side comparison matrix. It separates access levels between standard users and system administrators, allowing visitors to inspect public layouts and forcing authentication when invoking comparison matrices.
Screenshots


Key Features
- Dual User and Admin authorization access levels
- Strict database check allowing only one Admin account registration
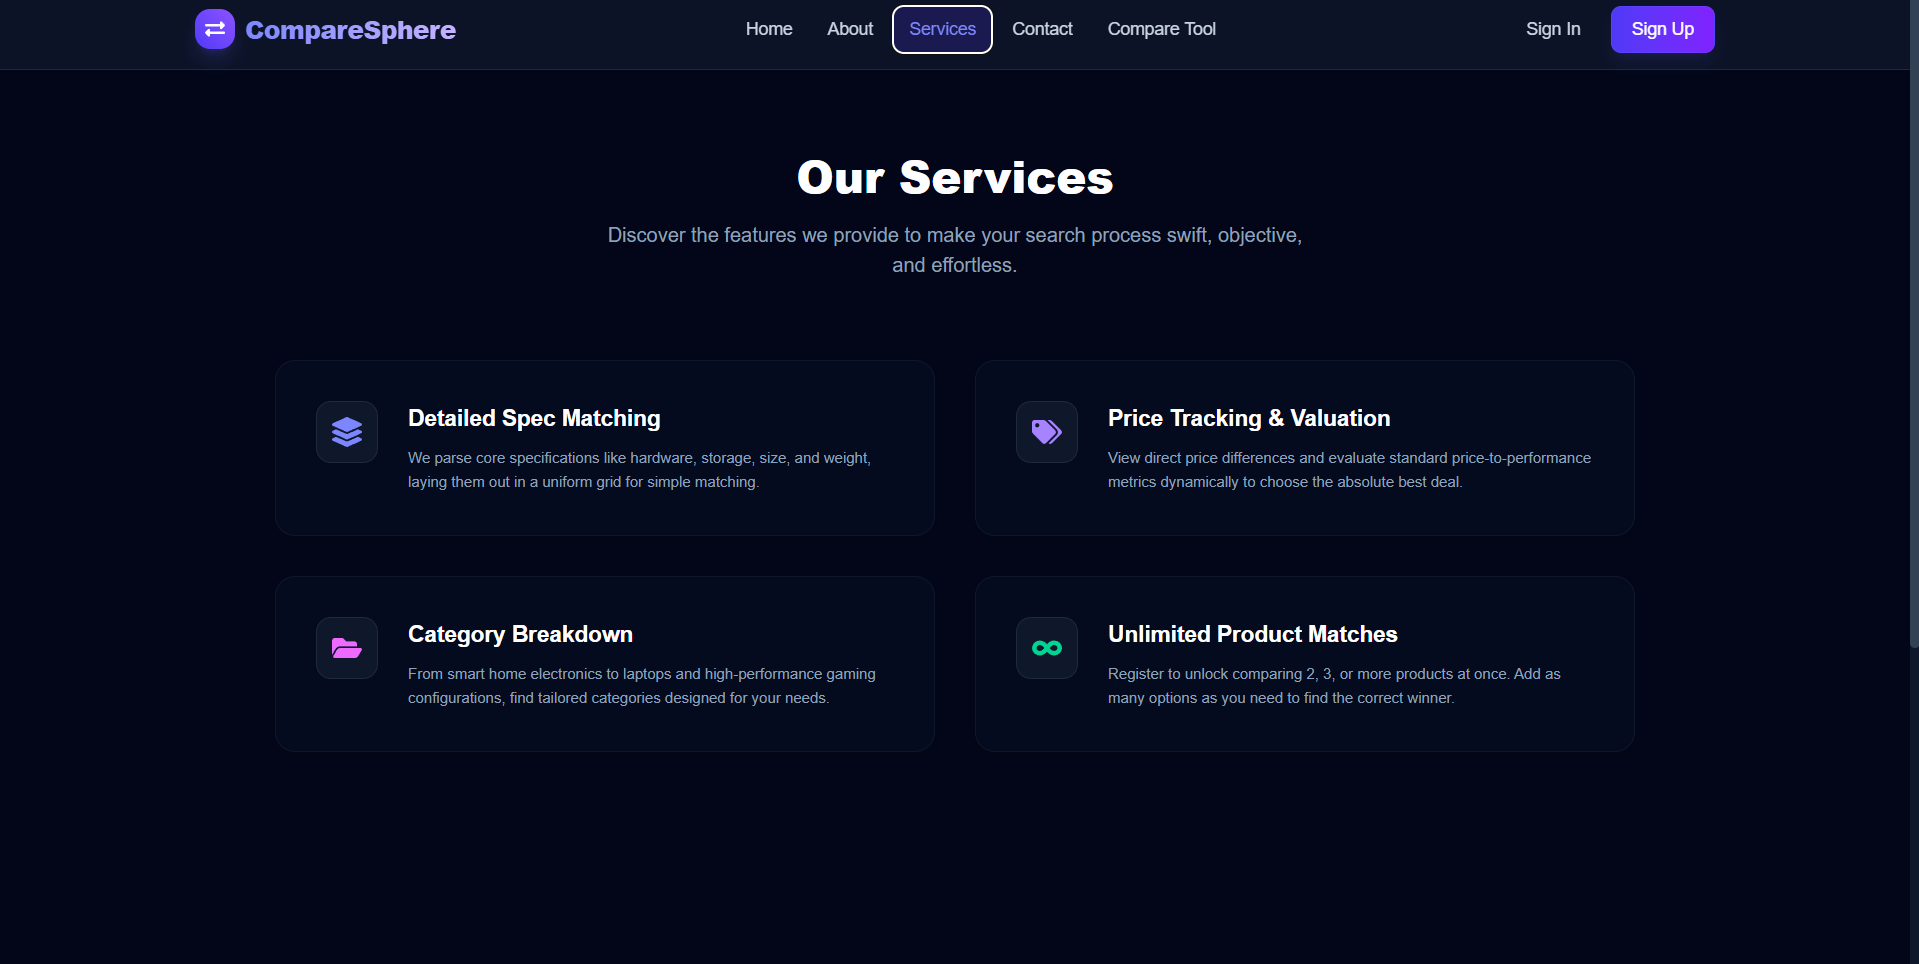
- Unified side-by-side product specifications grid
- Automatic green highlight for lowest-priced items in comparison
- Unrestricted guest browsing for static informational pages.
Functionaliy
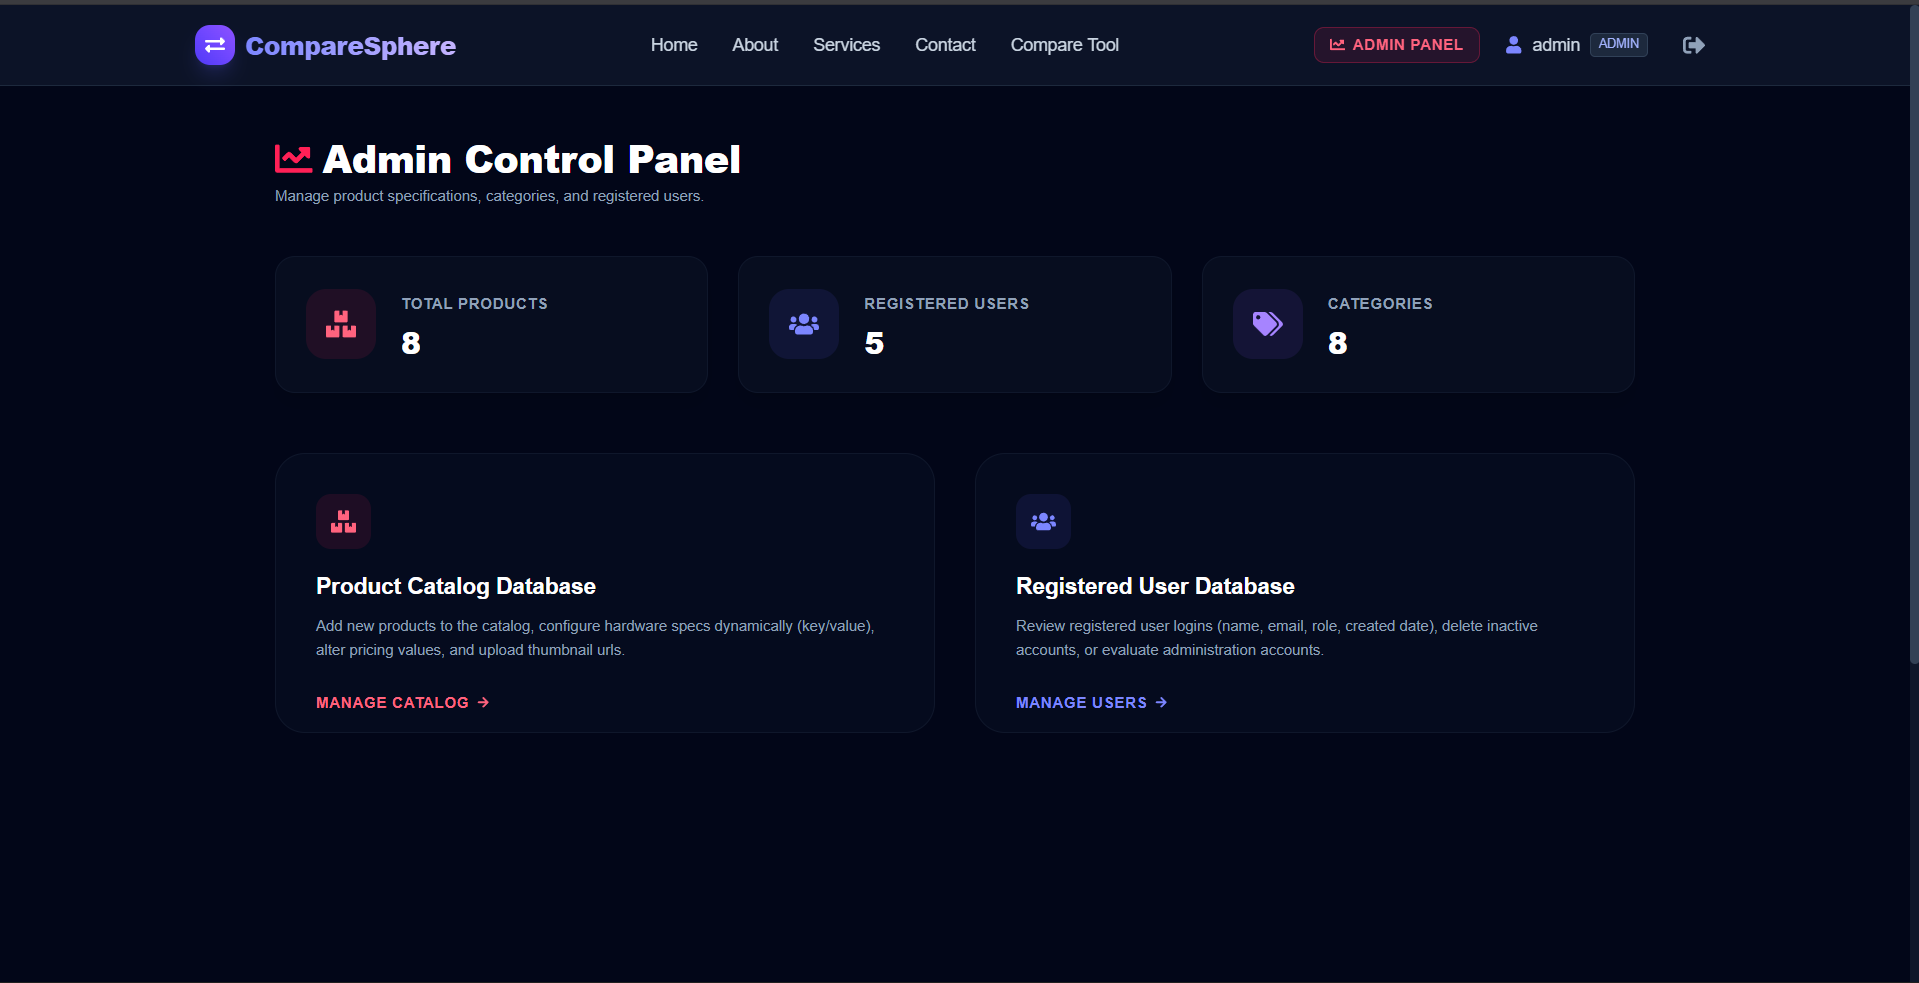
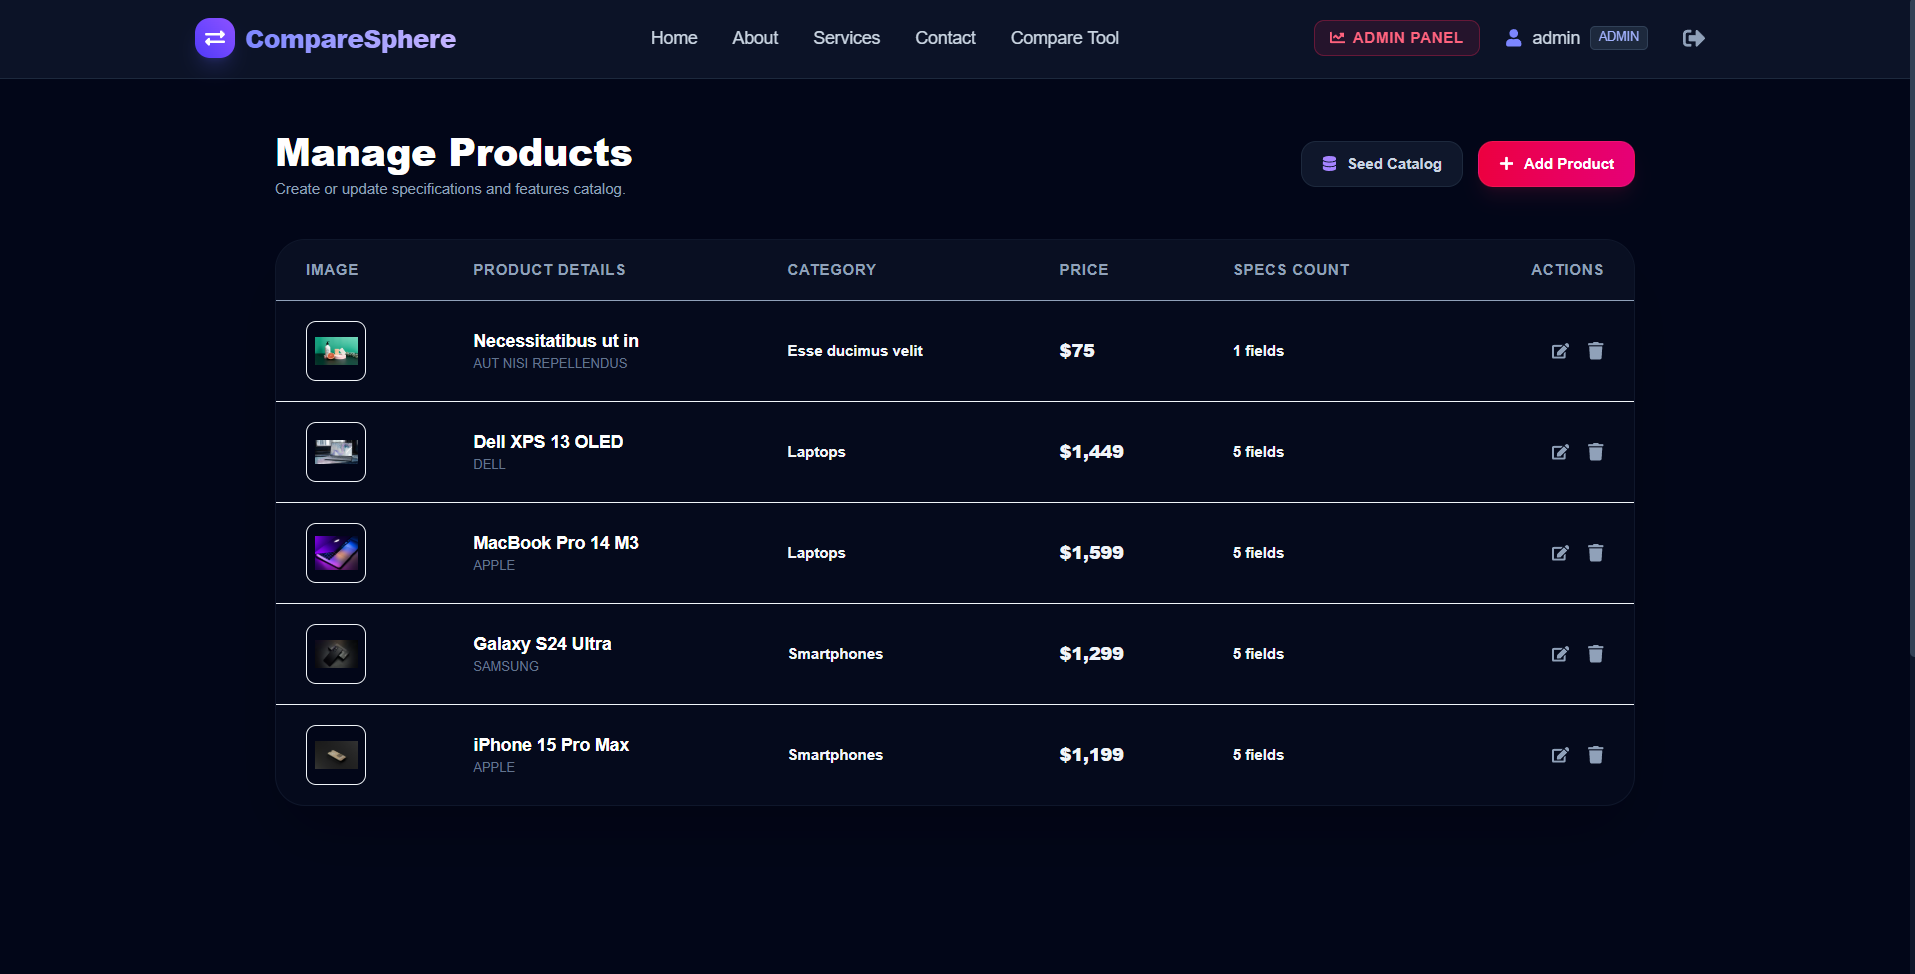
- Admin panel console with dynamic subfield spec row additions
- Fast catalog query filtering by text search and category
- Route guarding for secure matrices and dashboard profiles
- Admin controls to list and remove regular user databases
- Instant sample catalog seeding button for rapid testing.
Technology Used
- Frontend: React.js, Tailwind CSS v4, React Icons, React Hot Toast
- Backend: Node.js, Express.js
- Database: MongoDB (Mongoose Object Modeling)
- Authentication: JSON Web Tokens (JWT) & bcryptjs (password hashing)
Why This Project Is Useful
- Eliminates tab-switching analysis paralysis during online shopping
- Streamlines unstructured product specs into a matching grid
- Secures administration catalog data from unauthorized changes
- Identifies the lowest price and best bargains in real-time
- Reduces system configuration setup overhead with seed engines.
Deployment and Environment Setup
- Environment Variables Setup:
- backend/.env
- PORT: 3000
- MONGO_URI: mongodb_url_string
- JWT_SECRET: your_jwt_secret_key_here (if needed)
- frontend/.env
- VITE_API_URL: backend_url
- backend/.env
- Deployment Overview:
- Render or Railway for backend hosting
- Vercel or Netlify for frontend hosting
- MongoDB Atlas for the database
- Backend Deployment:
- Push your code to GitHub.
- Go to Render.com or Railway.app.
- Create a new Web Service and connect your GitHub repository.
- Choose “backend/” as the root directory.
- Add the following environment variables on Render:
- PORT=10000
- MONGO_URI=your MongoDB Atlas URI
- JWT_SECRET=your JWT secret
- Start command: npm start (Ensure your backend/package.json includes “start”: “node server.js”)
- After deployment, note your backend URL, e.g. https://your-backend-name.onrender.com
- Frontend Deployment:
- Go to Vercel.com or Netlify.com.
- Create a new project and connect the GitHub repo.
- Select the “frontend/” folder as root.
- In environment variables, set:
- VITE_API_URL=https://your-backend-domain.com/api (or REACT_APP_API_URL if using CRA)
- Deploy.
- MongoDB Atlas Setup:
- Go to https://cloud.mongodb.com
- Create a free cluster.
- Add your current IP address in Network Access.
- Create a database user and password.
- Copy the connection string and replace username, password, and database name in MONGO_URI in backend/.env
Download Source Code
Project Setup Instructions
Note: This project is for educational purposes only. Not for commercial sale.


