Project Overview
The Real-Time Group Chat Dashboard is a simple yet powerful web-based chat application built using the MERN stack (MongoDB, Express.js, React.js, Node.js)
It enables multiple users to join a shared group chat room, communicate in real-time, and view other online participants. The application uses WebSocket for instant message delivery and live user updates without reloading the page.
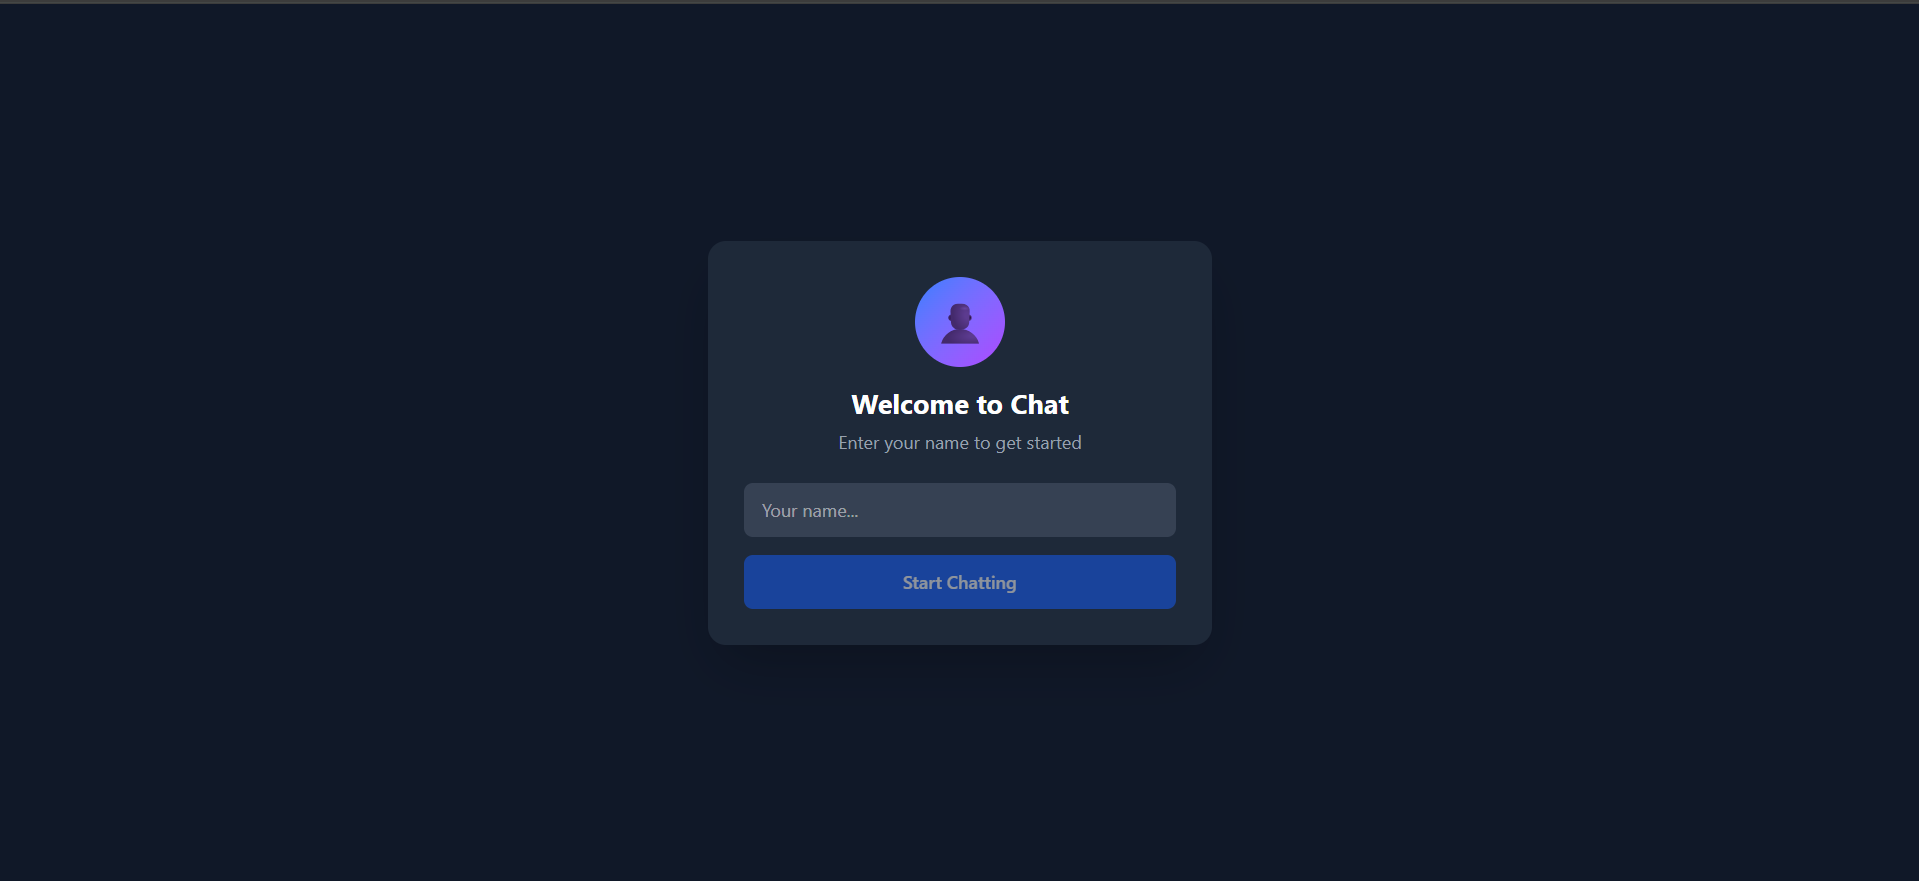
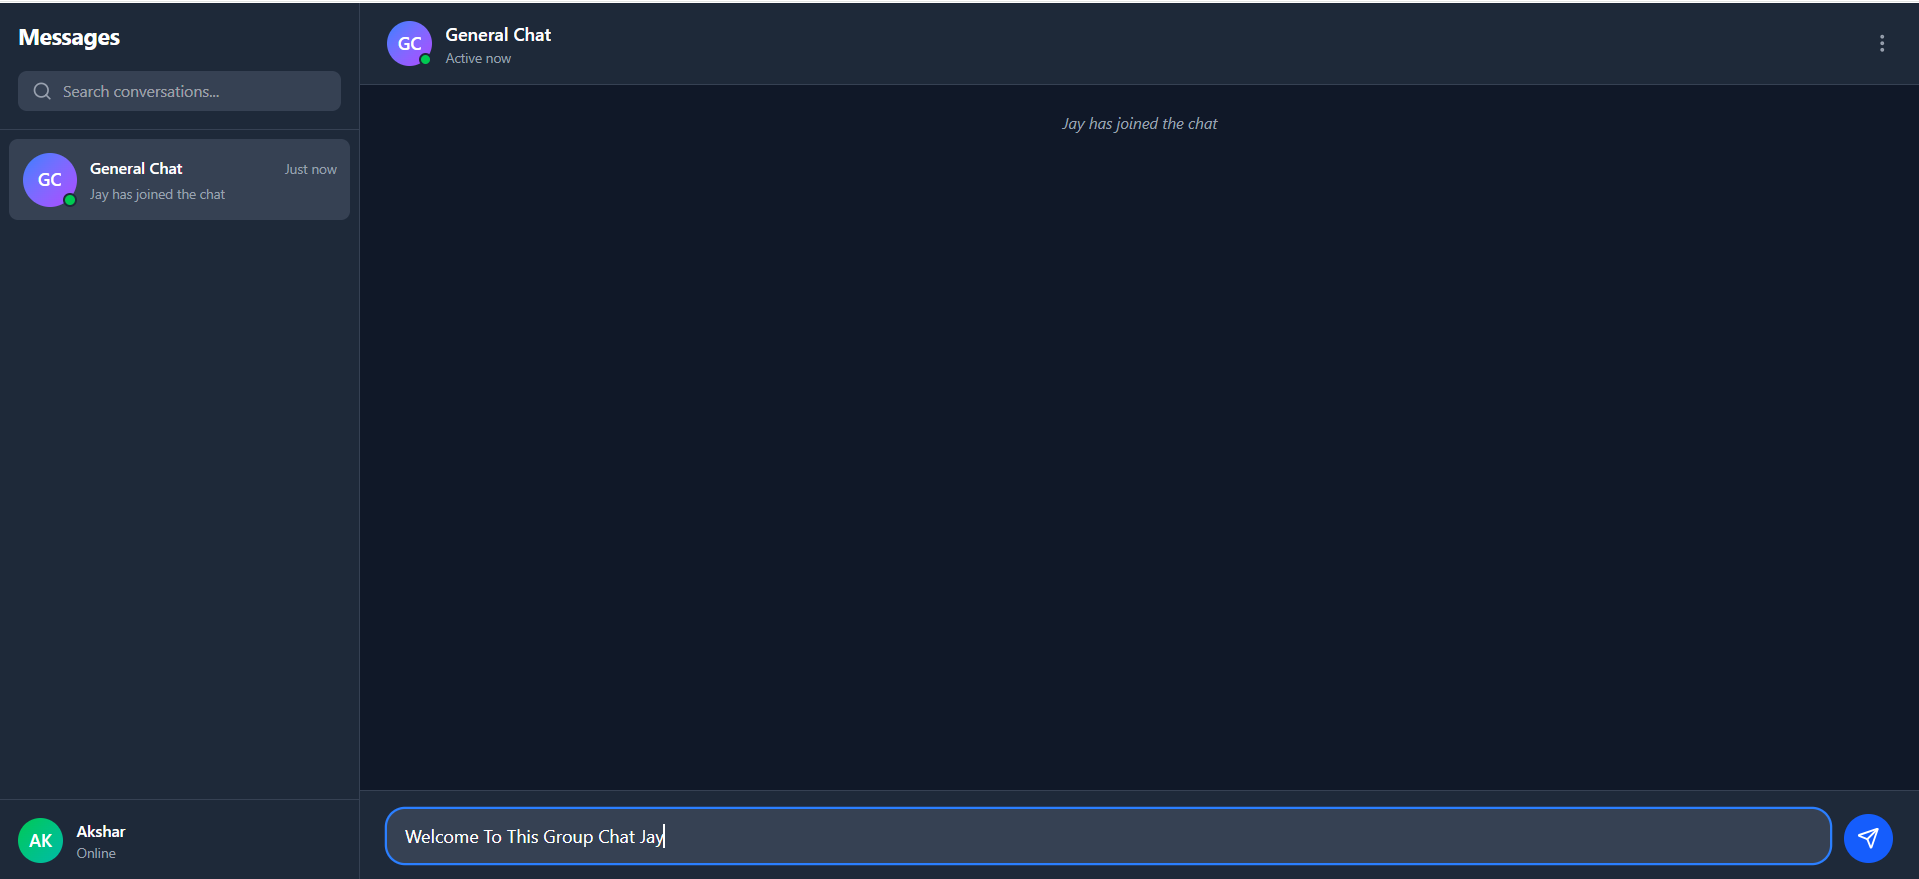
When a user opens the app, they are prompted to enter their name in a modal window. Once entered, the dashboard displays the active user list, message area, and chat interface. Users can send and receive messages in real time, and when new participants join, their presence is broadcast to existing users.
Screenshots
Key Features
- Real-Time Messaging: Instant message delivery using WebSocket connections.
- Multiple Users / Group Chat: Supports communication between multiple connected users in one shared chat room.
- User Join Notification: When a new user joins, existing users see the join notification in real time.
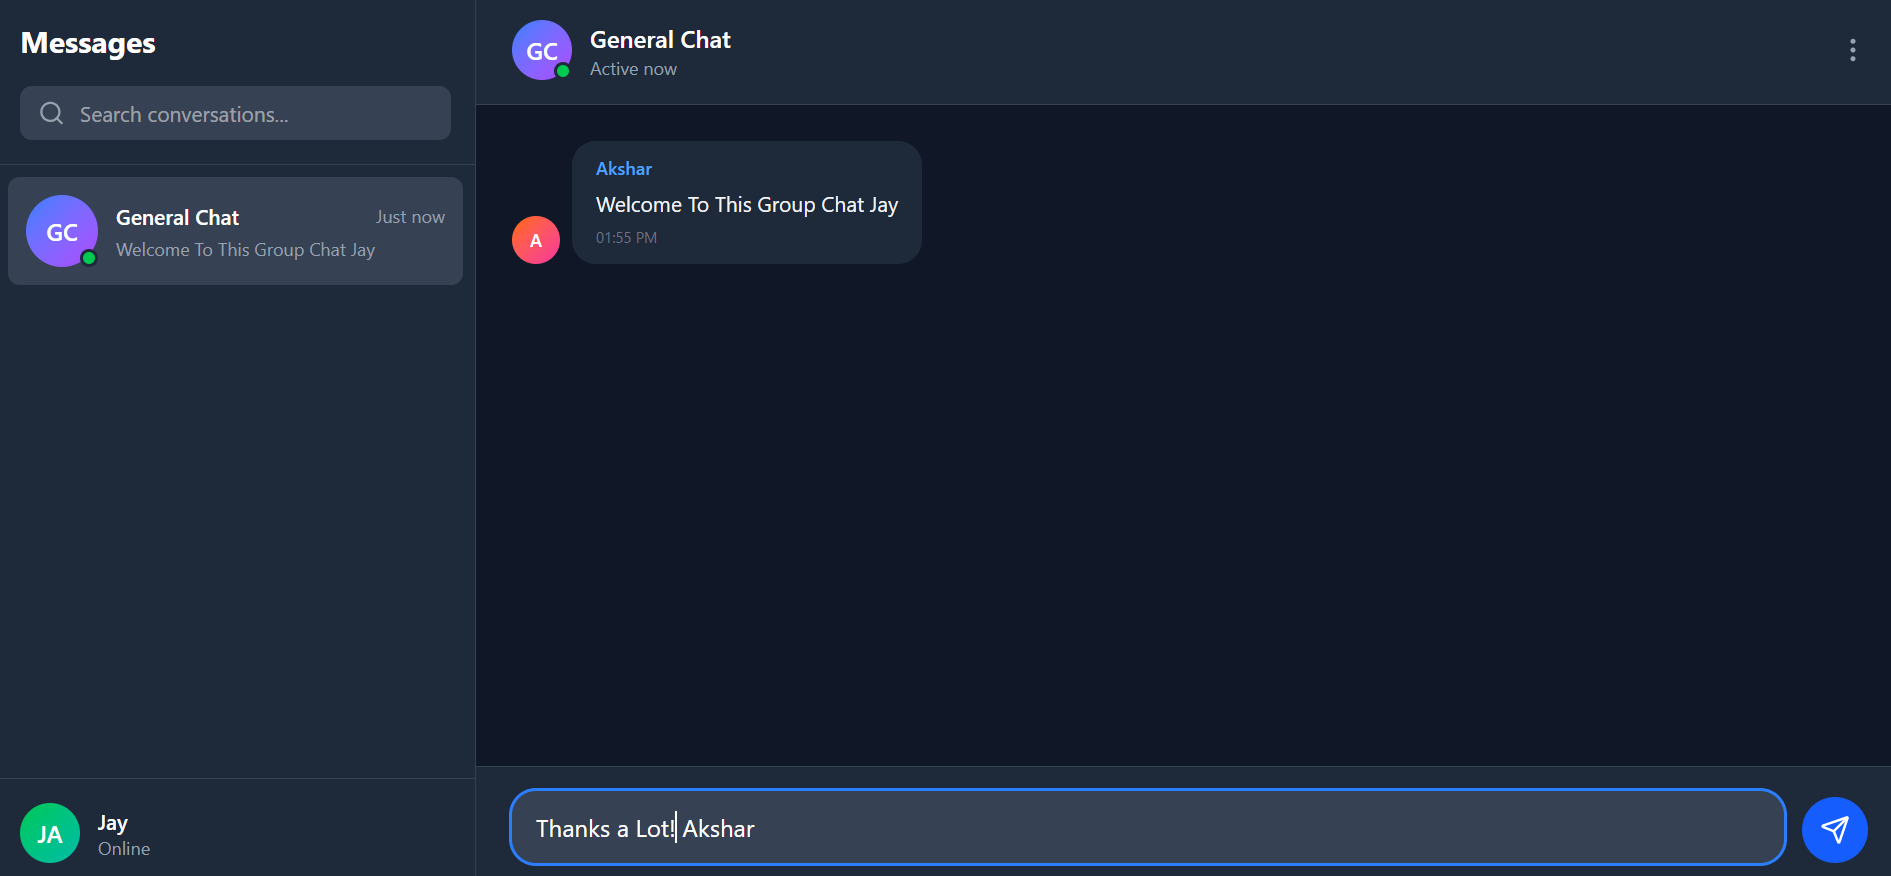
- Message History for Existing Users: Old users can see past messages, while new users start fresh on joining.
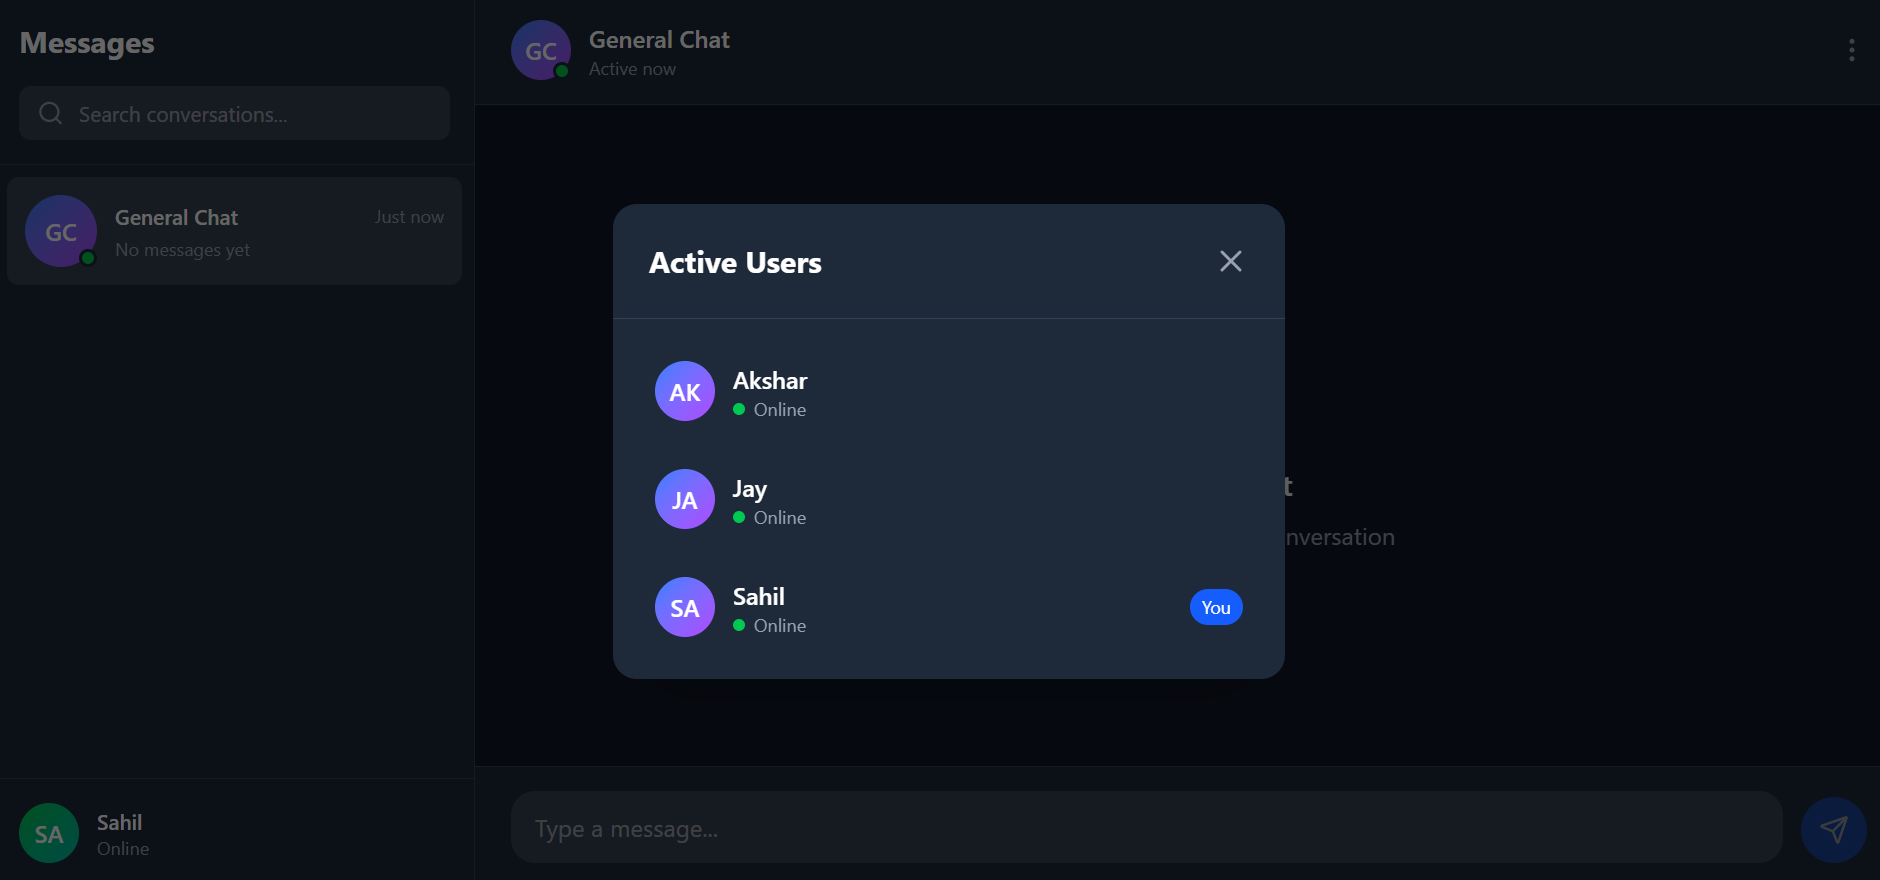
- Active User List: Displays currently connected users dynamically as they join or leave.
- Logout Functionality: Users can leave the chat room, updating the active users list immediately.
- Clean and Modern UI: Built using React.js with a dark dashboard-style interface for a professional look.
- No Page Reload Needed: All updates (messages, user joins, user leaves) happen dynamically through WebSocket events.
Functionaliy
- User Entry Modal:
- Prompts for username on entry.
- Establishes WebSocket connection after submitting the name.
- Dashboard Display:
- Shows chat area, active users, and message input.
- Updates UI dynamically for user join/leave events.
- Real-Time Communication:
- Uses event-based messaging (
socket.on,socket.emit) for message broadcasting.
- Uses event-based messaging (
- User Management:
- Maintains a live list of connected users using socket connections.
- Message Handling:
- Broadcasts messages to all connected clients in real-time.
- Displays different views for old and new users based on connection timing.
Technology Used
- Frontend:
- React.js (Functional Components + Hooks)
- CSS (Custom / Styled Components for dashboard)
- WebSocket / Socket.io Client
- Backend:
- Node.js
- Express.js
- WebSocket / Socket.io Server
Why This Project Is Useful
- Real-Time Learning: Demonstrates practical implementation of WebSockets for real-time communication.
- Scalable Foundation: Can be expanded into a full-fledged chat platform.
- Great for Portfolios: Ideal for showcasing React.js and Node.js integration with event-driven communication.
- Team Collaboration Example: Simulates group communication environments like Slack or Discord.
- Educational Value: Helps beginners understand client-server synchronization and event-based systems.
Deployment and Environment Setup
- Environment Variables Setup:
- backend/.env
- PORT: 3000
- MONGO_URI: mongodb_url_string
- JWT_SECRET: your_jwt_secret_key_here (if needed)
- frontend/.env
- VITE_API_URL: backend_url
- backend/.env
- Deployment Overview:
- Render or Railway for backend hosting
- Vercel or Netlify for frontend hosting
- MongoDB Atlas for the database
- Backend Deployment:
- Push your code to GitHub.
- Go to Render.com or Railway.app.
- Create a new Web Service and connect your GitHub repository.
- Choose “backend/” as the root directory.
- Add the following environment variables on Render:
- PORT=10000
- MONGO_URI=your MongoDB Atlas URI
- JWT_SECRET=your JWT secret
- Start command: npm start (Ensure your backend/package.json includes “start”: “node server.js”)
- After deployment, note your backend URL, e.g. https://your-backend-name.onrender.com
- Frontend Deployment:
- Go to Vercel.com or Netlify.com.
- Create a new project and connect the GitHub repo.
- Select the “frontend/” folder as root.
- In environment variables, set:
- VITE_API_URL=https://your-backend-domain.com/api (or REACT_APP_API_URL if using CRA)
- Deploy.
- MongoDB Atlas Setup:
- Go to https://cloud.mongodb.com
- Create a free cluster.
- Add your current IP address in Network Access.
- Create a database user and password.
- Copy the connection string and replace username, password, and database name in MONGO_URI in backend/.env
Download Source Code
Project Setup Instructions
Note: This project is for educational purposes only. Not for commercial sale.


