Project Overview
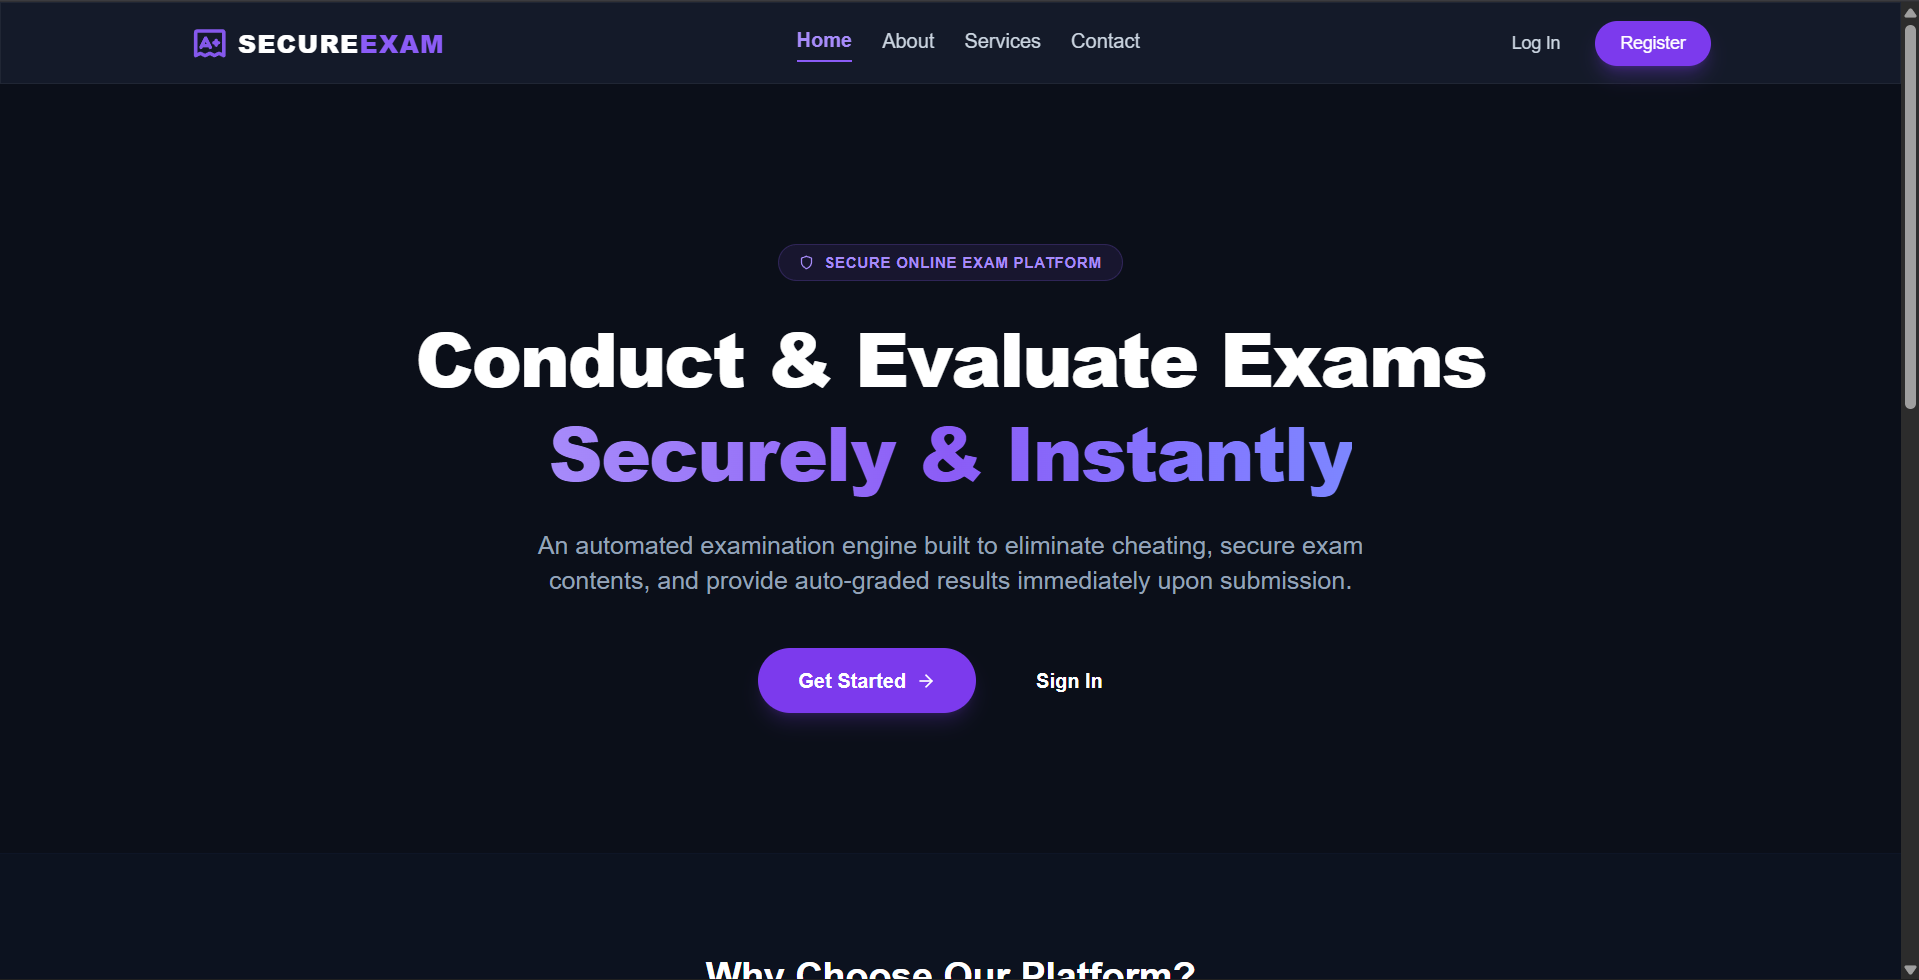
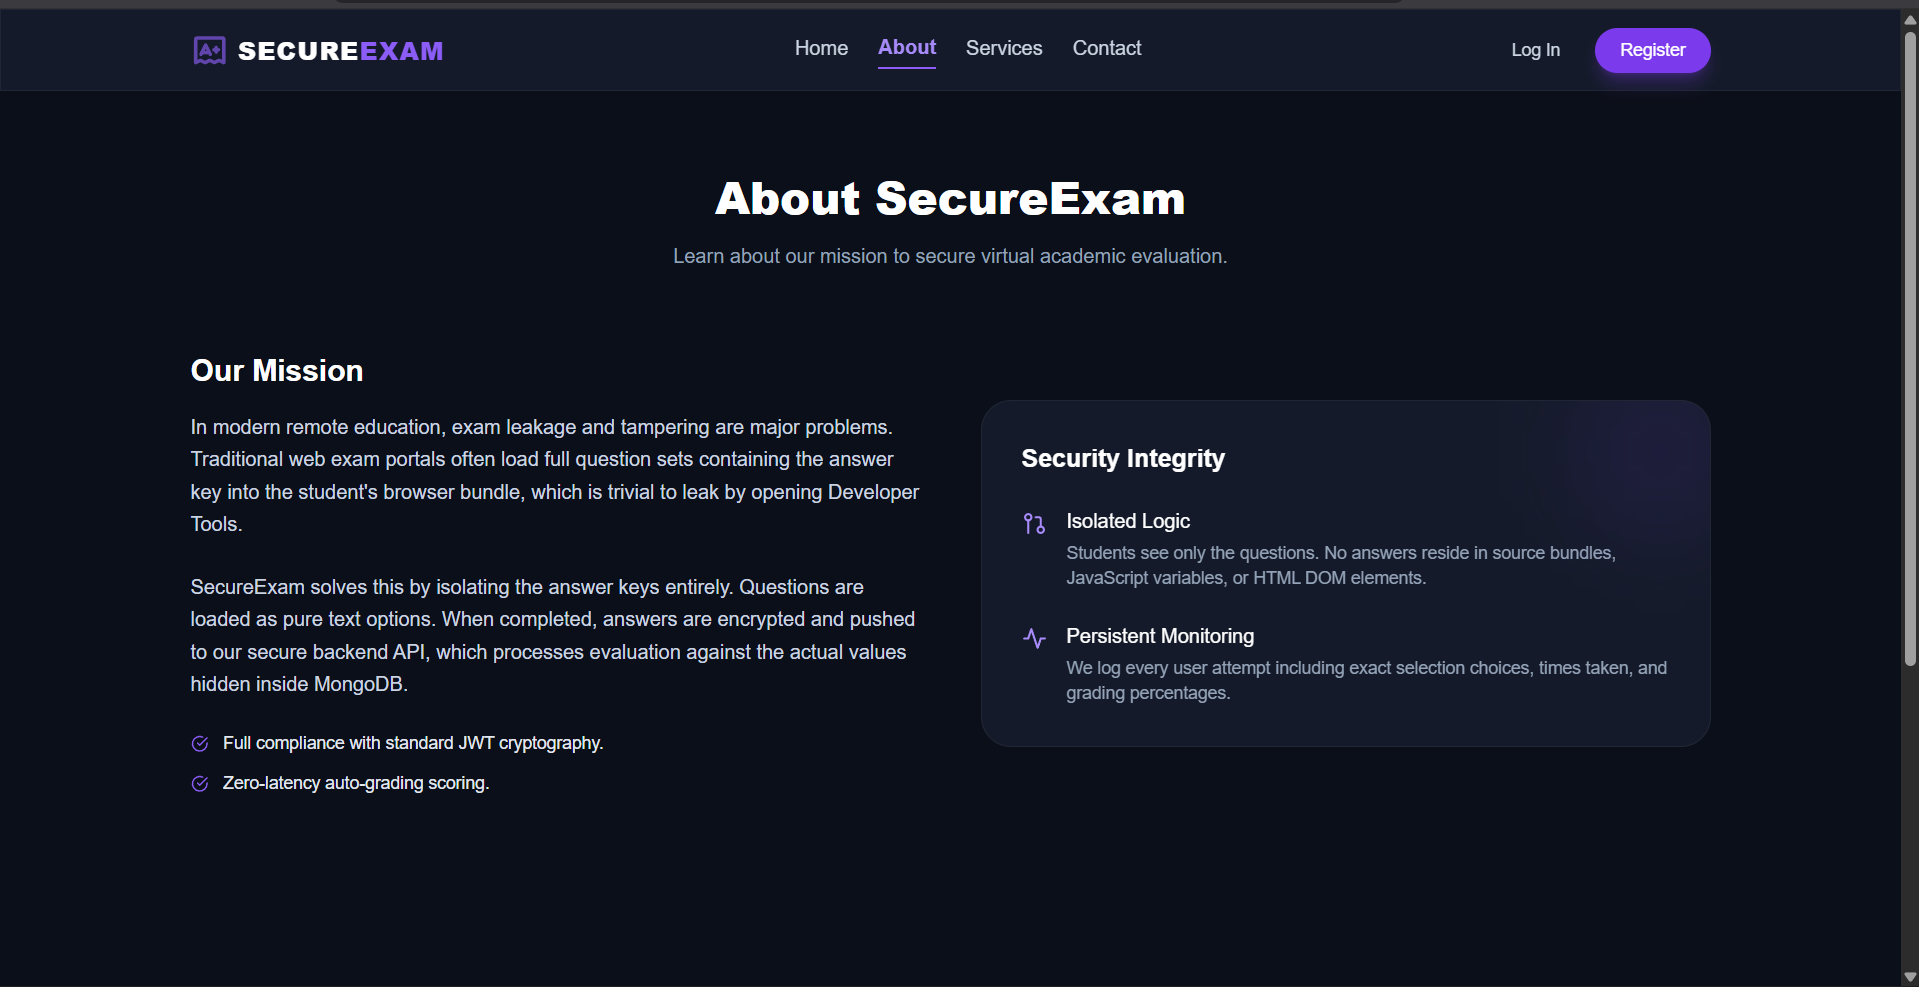
The Secure Online Exam Platform is a MERN stack web application designed to host, take, and grade tests securely. It separates roles into User (student) and Admin modules. Landing pages (Home, About, Services, and Contact) are accessible to anyone, while dashboard and exam modules are restricted to authenticated users. The platform implements high-security grading and prevents cheating: correct exam answers are never transmitted to the student’s browser. Instead, all grading is performed server-side on Node.js/Express, matching submissions against records in MongoDB. Additionally, the admin registration is restricted to a single signup, blocking subsequent attempts to prevent administrative breaches.
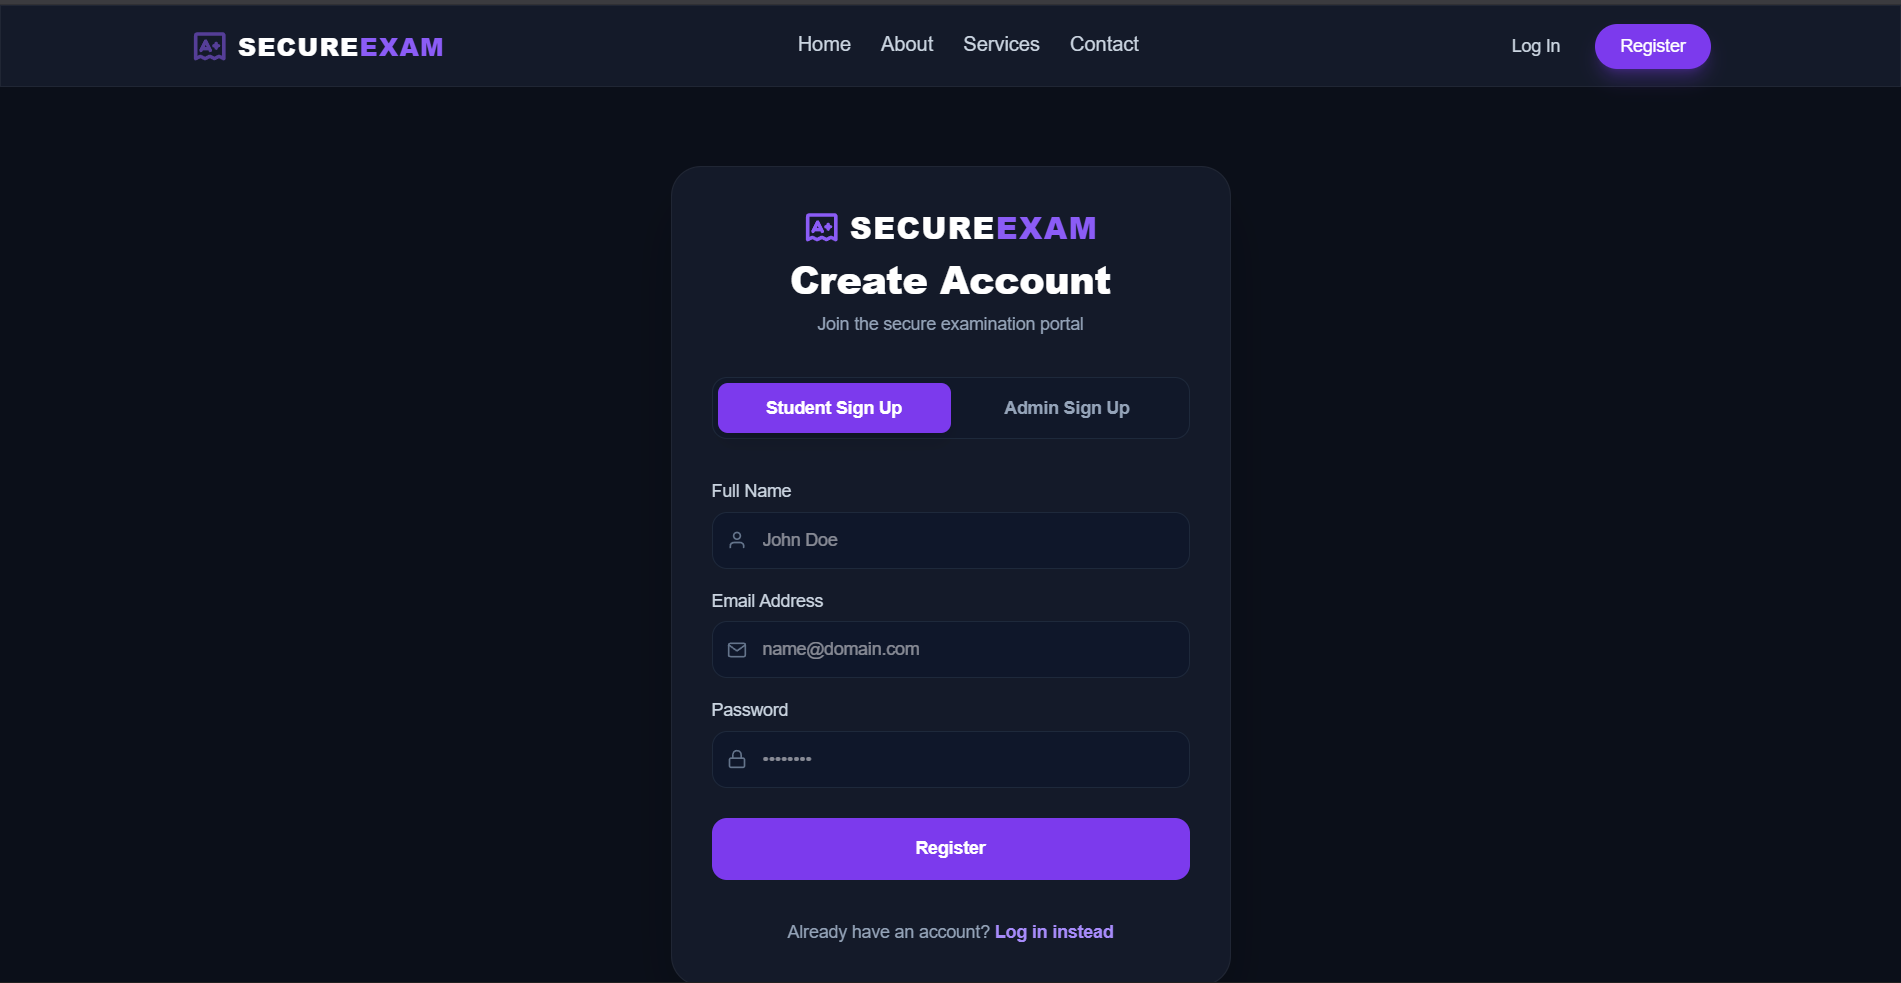
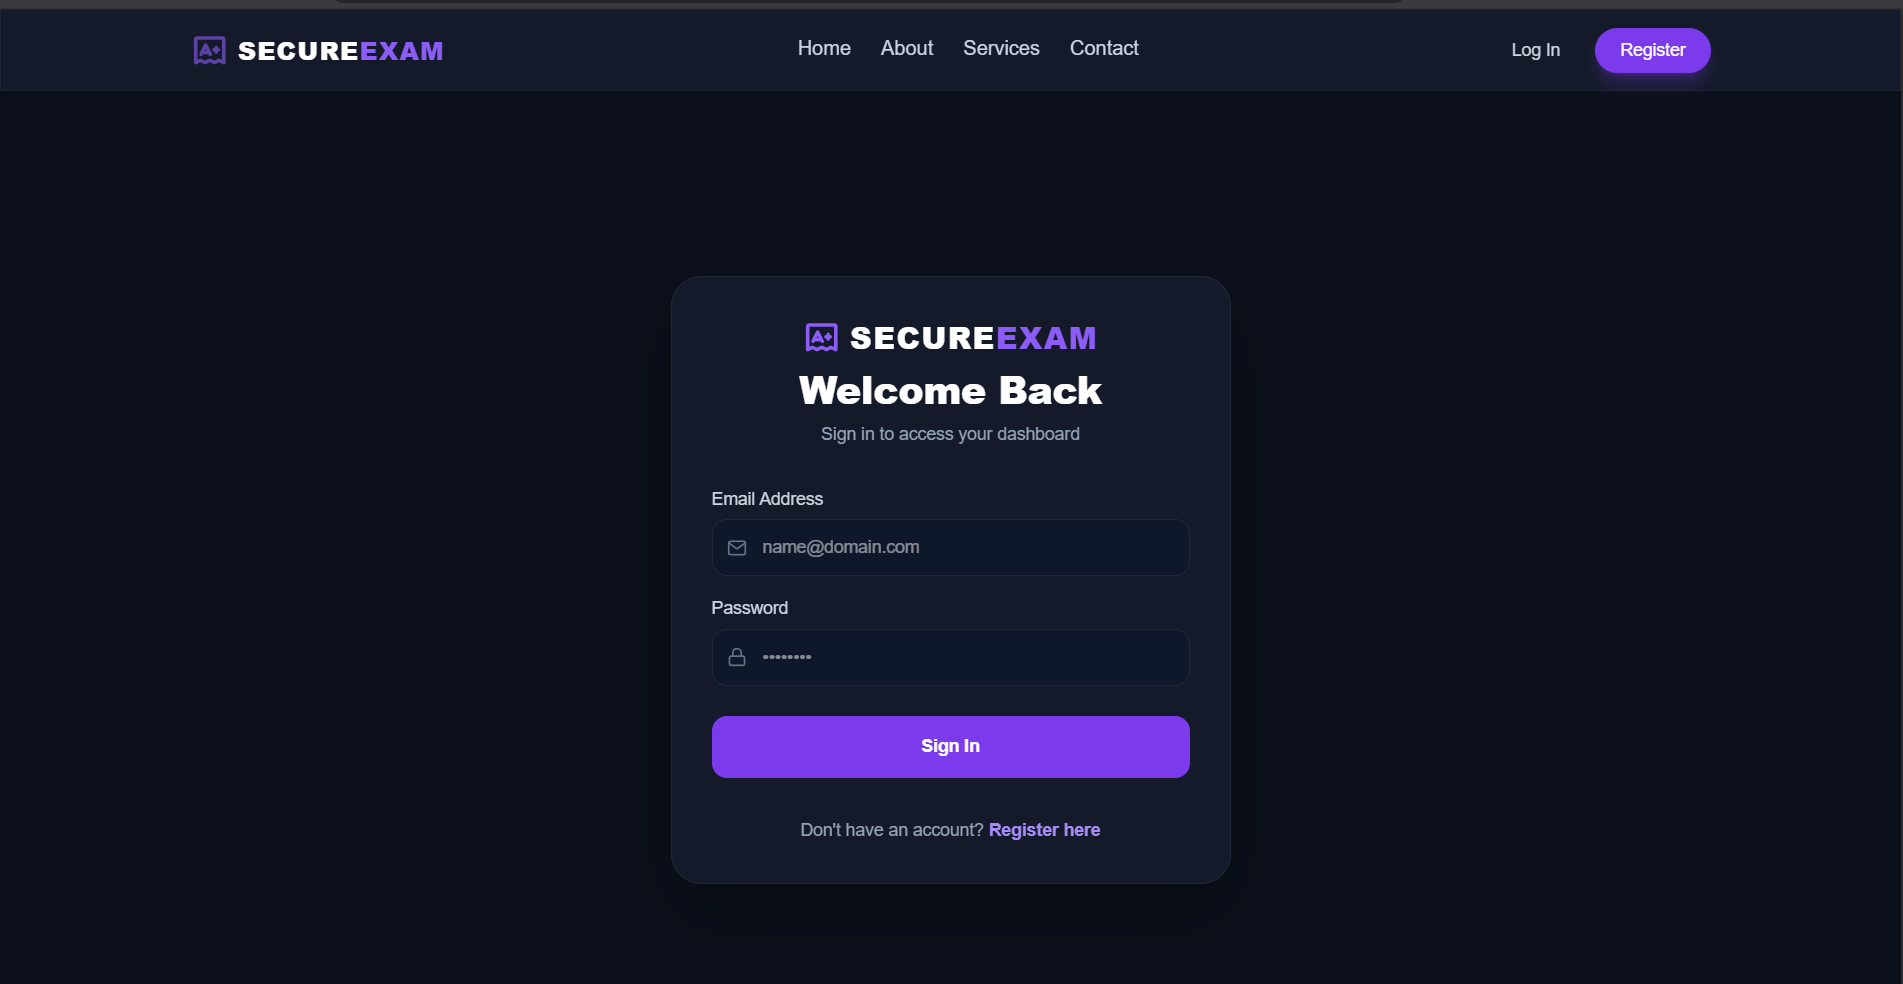
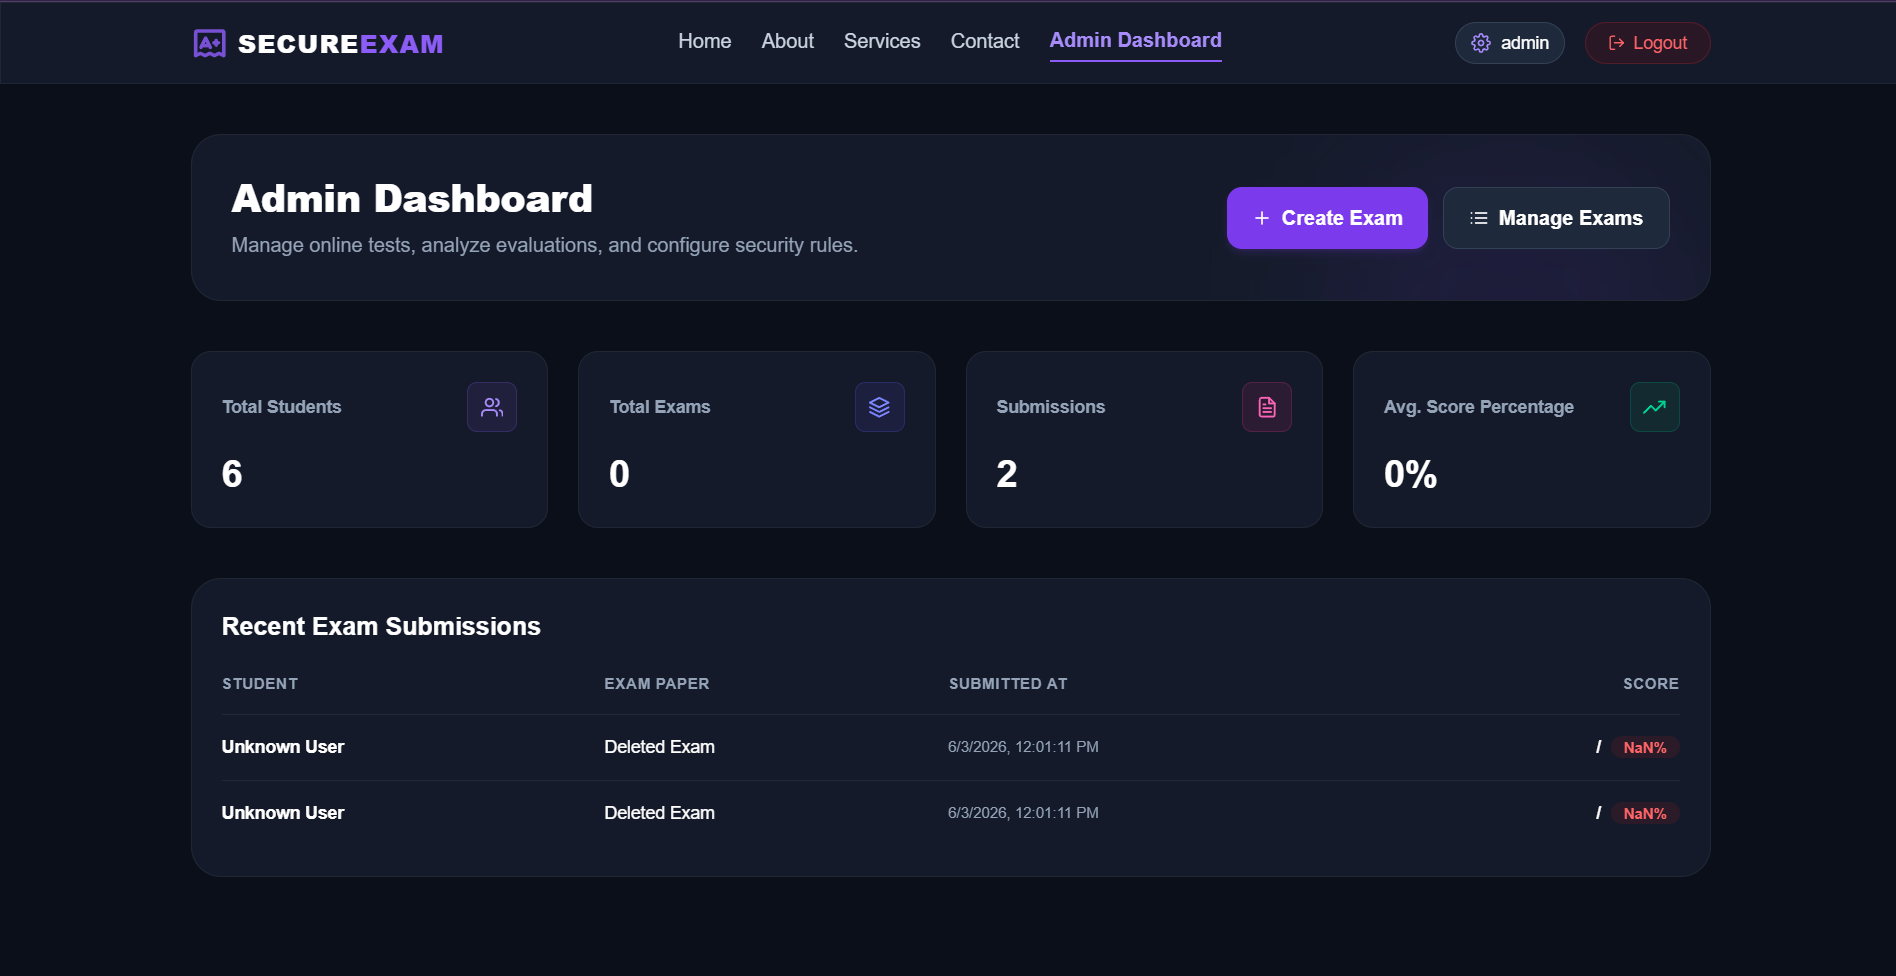
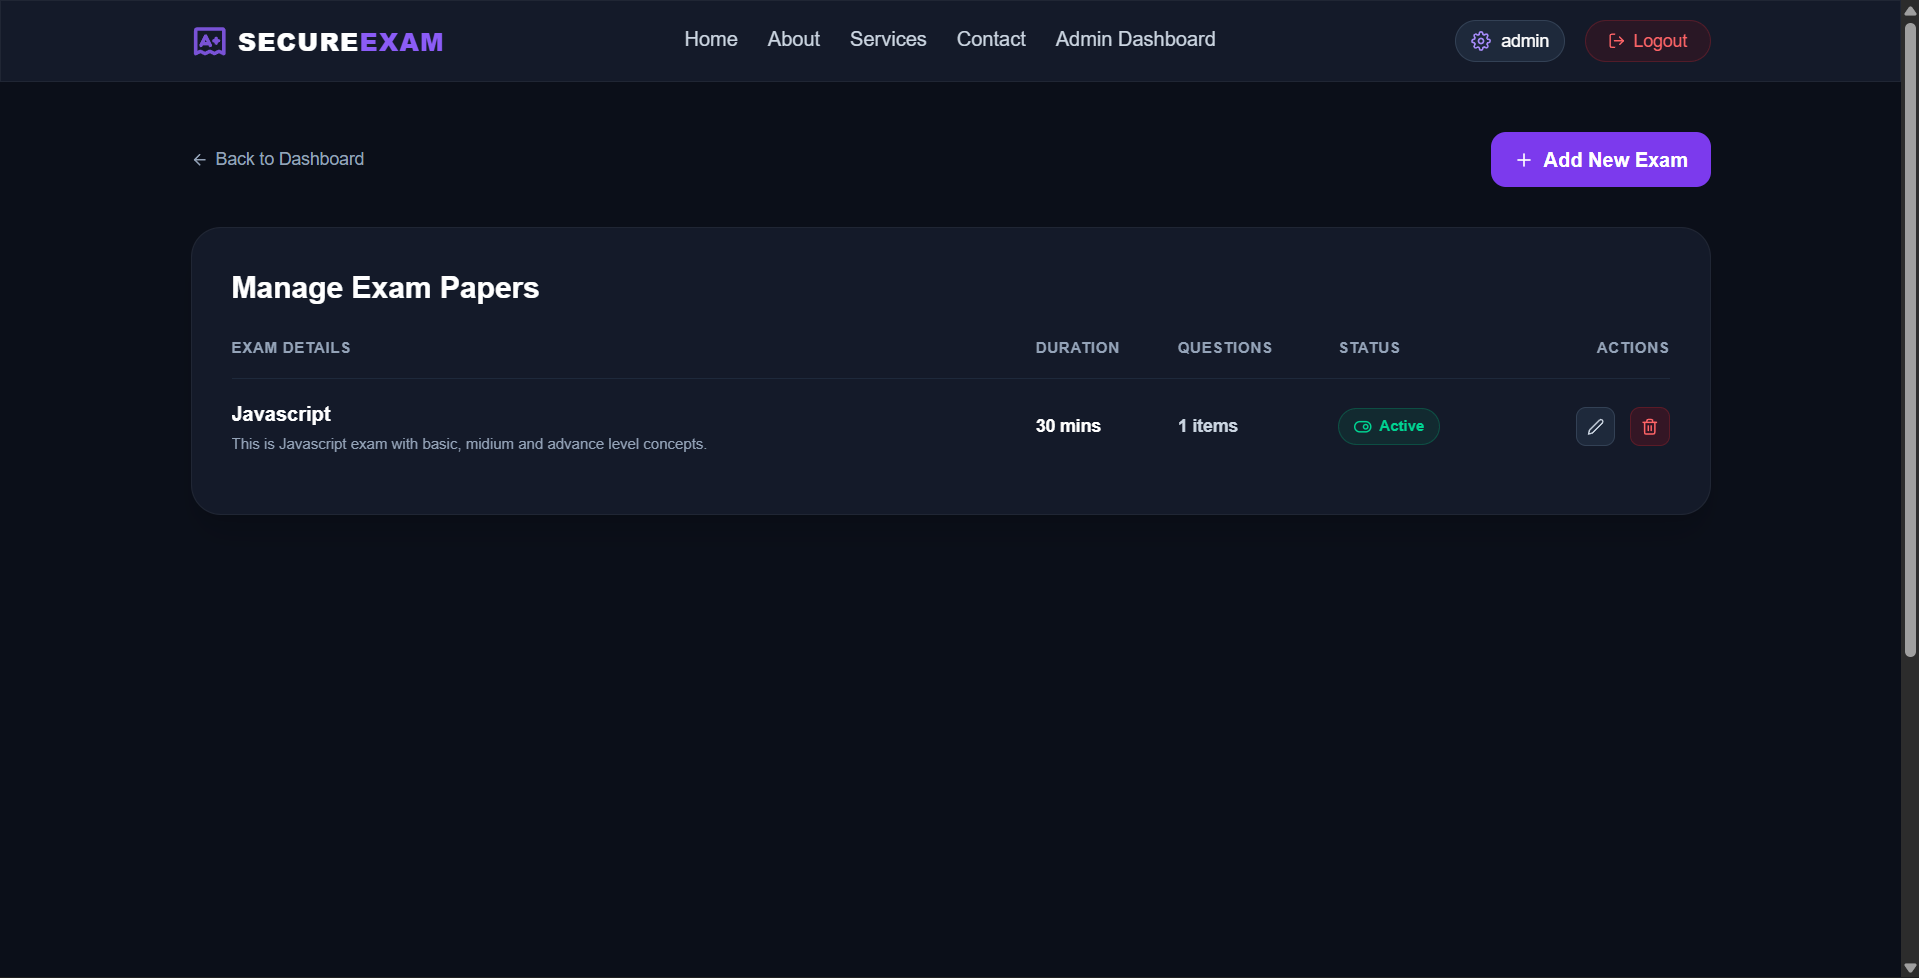
Screenshots


Key Features
- Single Admin Registration: The platform allows only one admin account to register, disabling the signup page and blocking subsequent attempts.
- Secure Question Delivery: Correct answer keys are completely stripped from HTTP API payloads so students cannot inspect network traffic.
- Live Countdown Timer: An active countdown timer enforces strict exam duration, automatically submitting questions when time runs out.
- Server-Side Auto-Grading: Submissions are graded securely on the backend, preventing client-side score manipulation and tampering.
- Role-Based Route Protection: Protected routes dynamically guard student and admin functions, preventing unauthorized page access.
Functionality
- User Management & Authentication: Standard registration and login for students using password hashing and signed JSON Web Tokens.
- Public Landing Pages: Unauthenticated users can freely visit Home, About, Services, and Contact pages before choosing to log in.
- Exam Creation & Editing: Admins can dynamically add, update, delete, and toggle activation status on exams and questions.
- Structured Test Interface: Students can navigate questions sequentially, choose options, and receive alerts to prevent accidental exits.
- Administrative Statistics Panel: Admins can review total enrollments, global score averages, and view all student submission logs.
Technology Used
- Frontend:
- React
- TailwindCSS
- React Hot Toast
- React Icons
- React Router
- Backend:
- Node.js
- Express
- MongoDB (Mongoose)
- JWT, bcryptjs
Why This Project Is Useful
- Prevents Front-End Cheating: Eliminates cheating methods that rely on inspecting HTML source or API network packets to find correct answers.
- Eliminates Manual Grading: Auto-grading saves significant teaching hours by instantly calculating student scores and percentages.
- Dynamic Dashboard Analytics: Helps students track completed exams and see pending tests, boosting evaluation efficiency.
- Strong Data & Session Security: Protects passwords with bcryptjs and guarantees secure access using signed JWT authorization.
- Maintains Single-Admin Control: Prevents malicious actors from creating unauthorized admin profiles and changing exam databases.
Deployment and Environment Setup
- Environment Variables Setup:
- backend/.env
- PORT: 5000
- MONGO_URI: mongodb_url_string
- JWT_SECRET: your_jwt_secret_key_here (if needed)
- frontend/.env
- VITE_API_URL: backend_url
- backend/.env
- Deployment Overview:
- Render or Railway for backend hosting
- Vercel or Netlify for frontend hosting
- MongoDB Atlas for the database
- Backend Deployment:
- Push your code to GitHub.
- Go to Render.com or Railway.app.
- Create a new Web Service and connect your GitHub repository.
- Choose “backend/” as the root directory.
- Add the following environment variables on Render:
- PORT=10000
- MONGO_URI=your MongoDB Atlas URI
- JWT_SECRET=your JWT secret
- Start command: npm start (Ensure your backend/package.json includes “start”: “node server.js”)
- After deployment, note your backend URL, e.g. https://your-backend-name.onrender.com
- Frontend Deployment:
- Go to Vercel.com or Netlify.com.
- Create a new project and connect the GitHub repo.
- Select the “frontend/” folder as root.
- In environment variables, set:
- VITE_API_URL=https://your-backend-domain.com/api (or REACT_APP_API_URL if using CRA)
- Deploy.
- MongoDB Atlas Setup:
- Go to https://cloud.mongodb.com
- Create a free cluster.
- Add your current IP address in Network Access.
- Create a database user and password.
- Copy the connection string and replace username, password, and database name in MONGO_URI in backend/.env
Download Source Code
Project Setup Instructions
Note: This project is for educational purposes only. Not for commercial sale.


