Project Overview
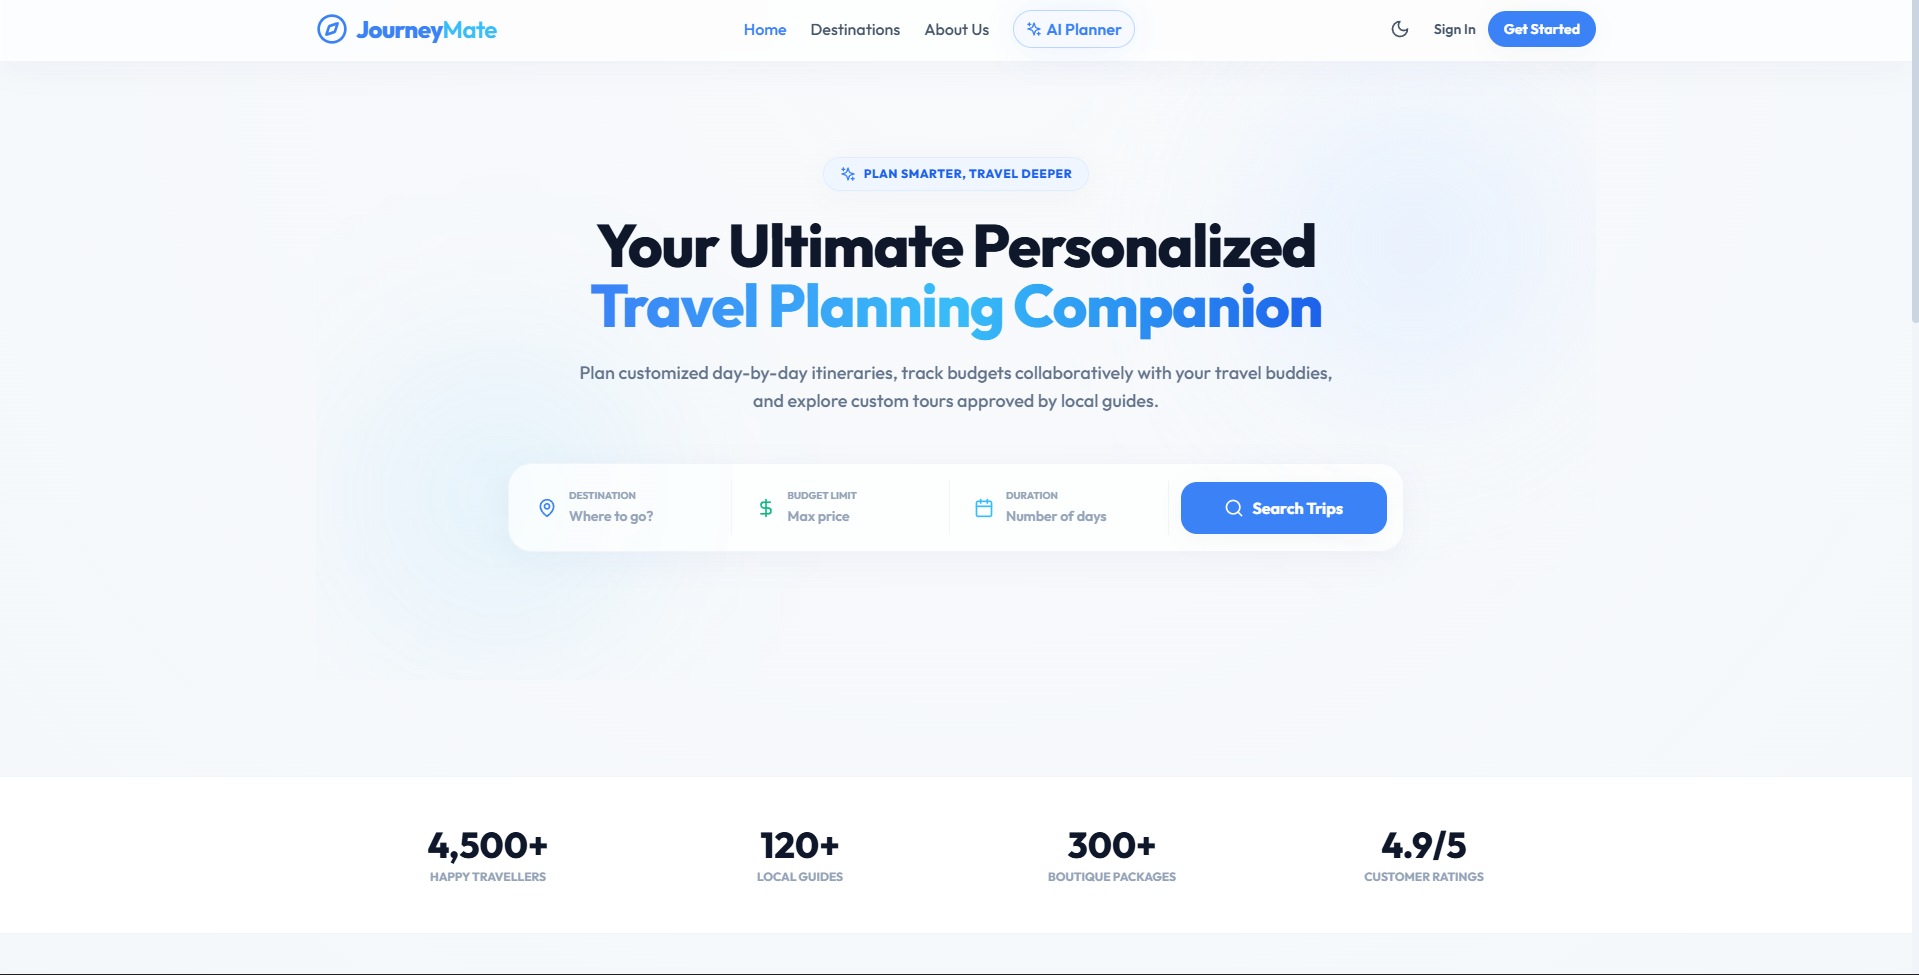
JourneyMate is a premium, full-stack MERN web application designed to redefine how modern travelers discover destinations, plan custom trips, track vacation budgets, and collaborate with local guides or travel agencies. It features a stunning, glassmorphic Light Theme UI with professional transitions, secure role-based routes, and responsive mobile-first views.
Screenshots
Key Features
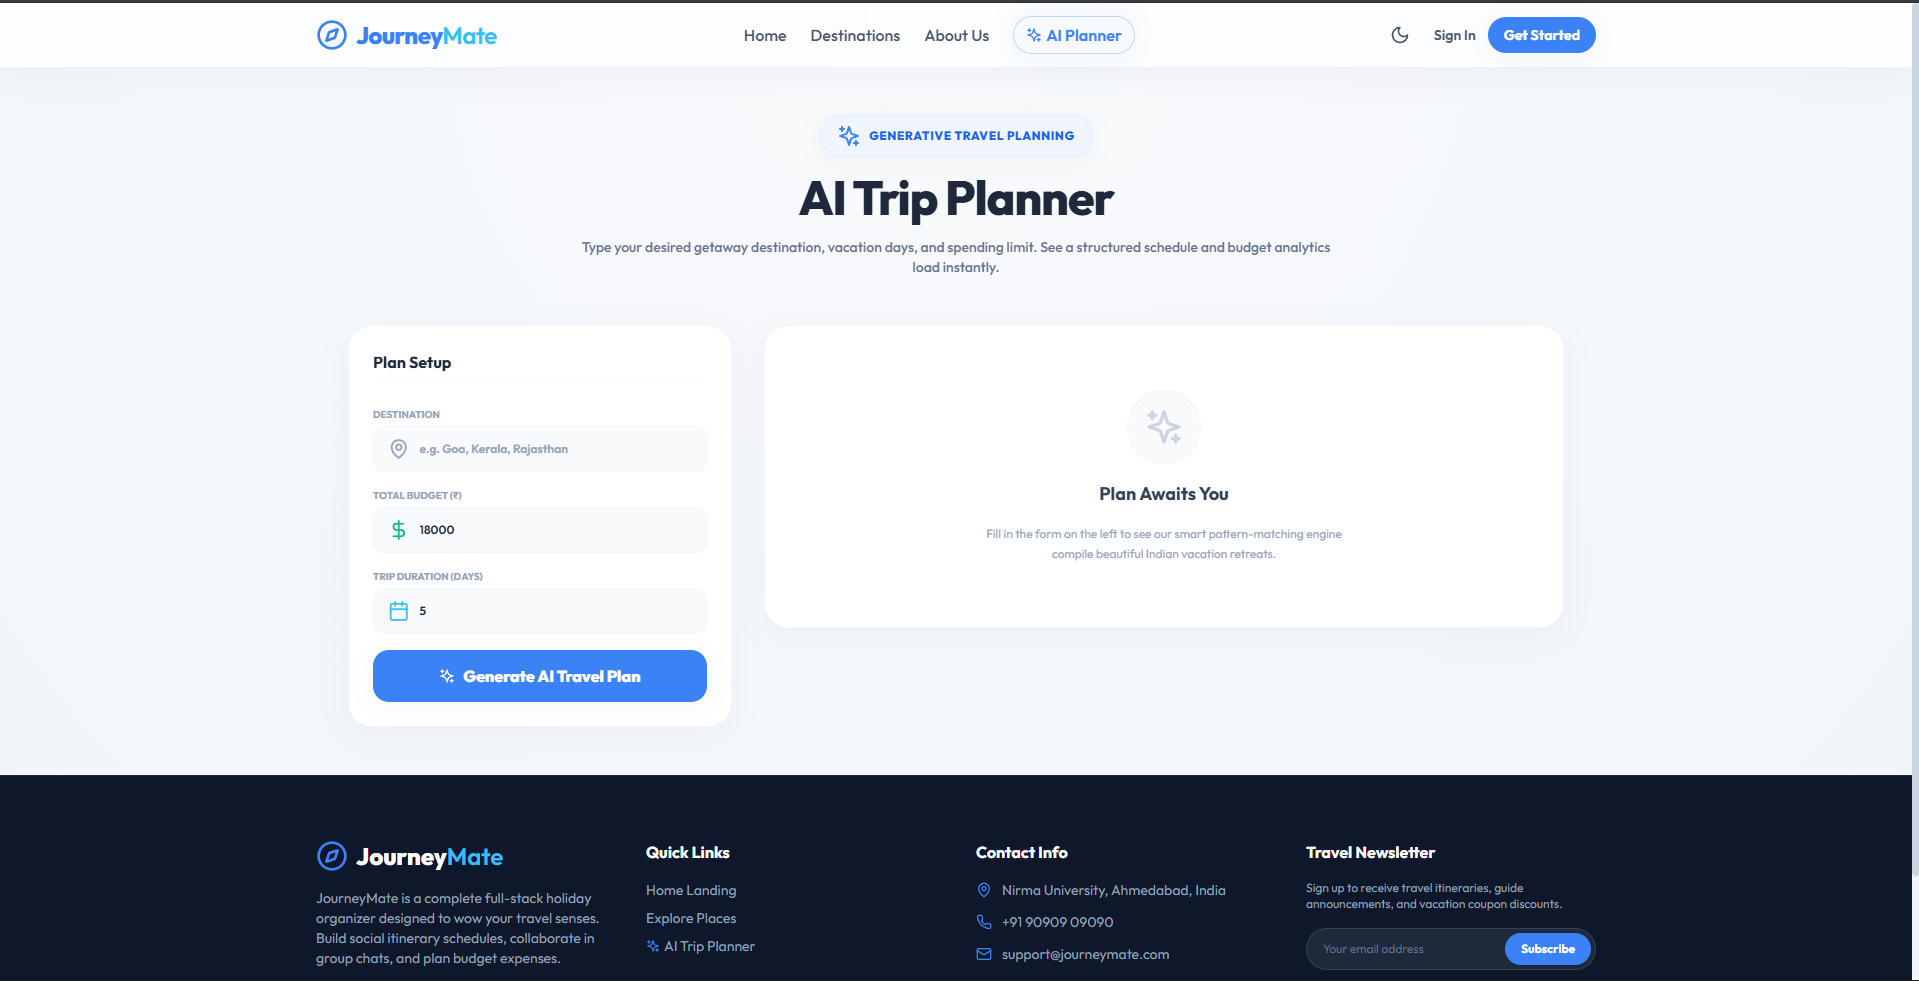
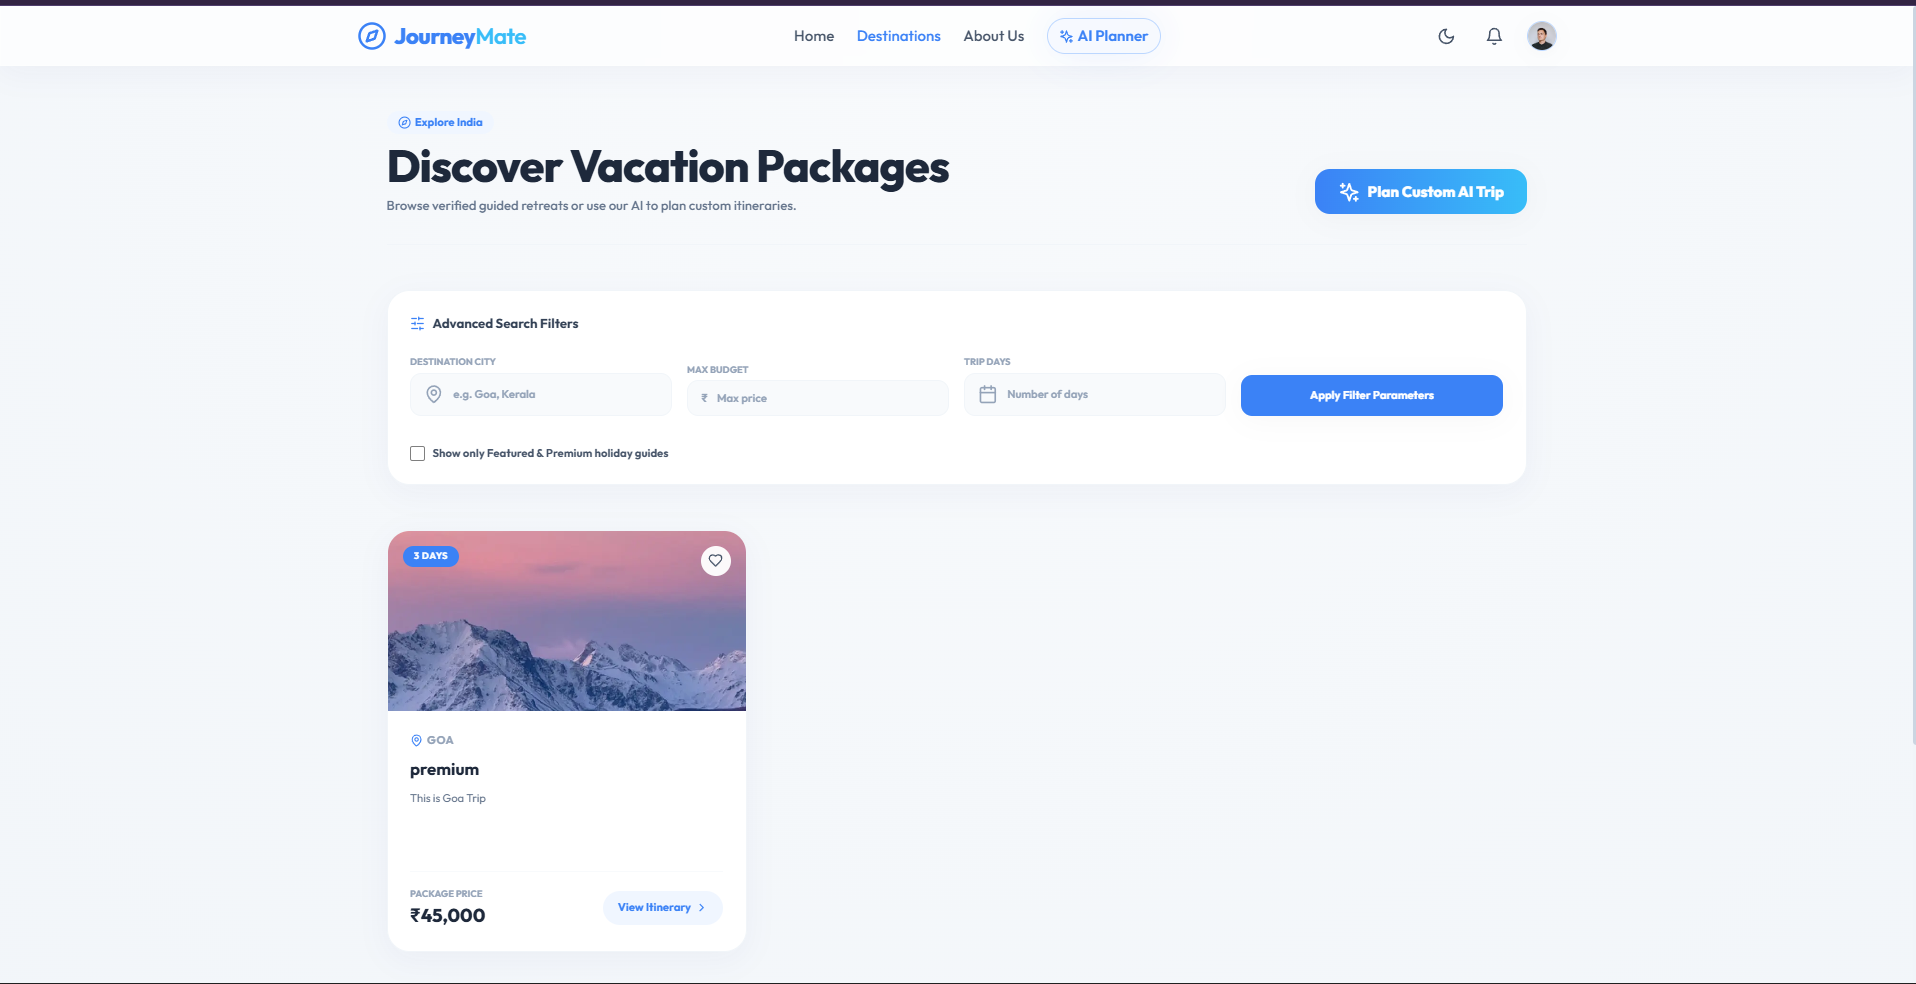
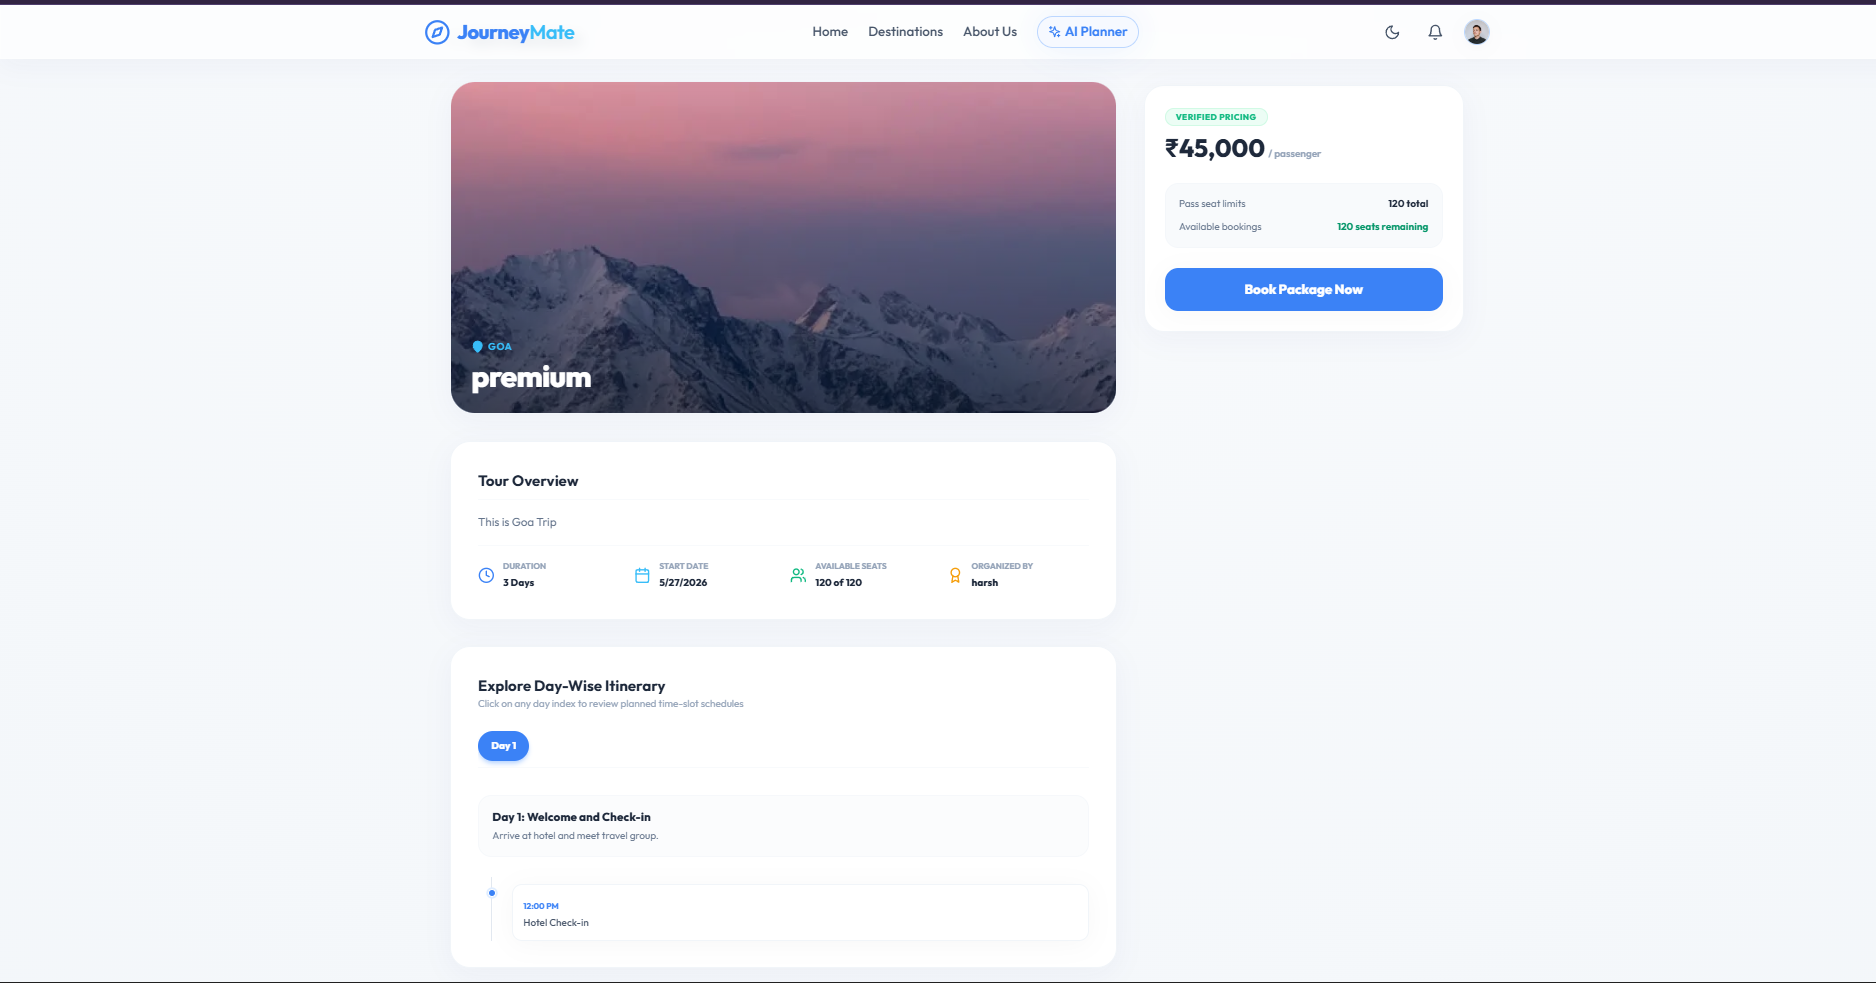
- AI Smart Itinerary Planner: Instantly designs customized, day-wise itineraries based on user destinations, budget, and durations.
- Interactive Expense Tracker: Provides visual Recharts expense breakdowns to monitor lodging, food, and transport costs.
- Agency Package Drawer: Offers a visual listing dashboard for travel guides to publish and configure custom vacation packages.
- Real-Time Group Chat: Connects guides and travelers instantly via Socket.IO bi-directional communication channels.
- Manifest & Booking Checkout: A seamless checkout interface to register passenger details and download automated invoices.
- Executive Admin Directory: A command center for platform administrators to approve guide invites and moderate accounts
Functionaliy
- Dynamic Inventory Seat Controls: Automatically decrements available seats upon checkout and restores them if a booking is rejected.
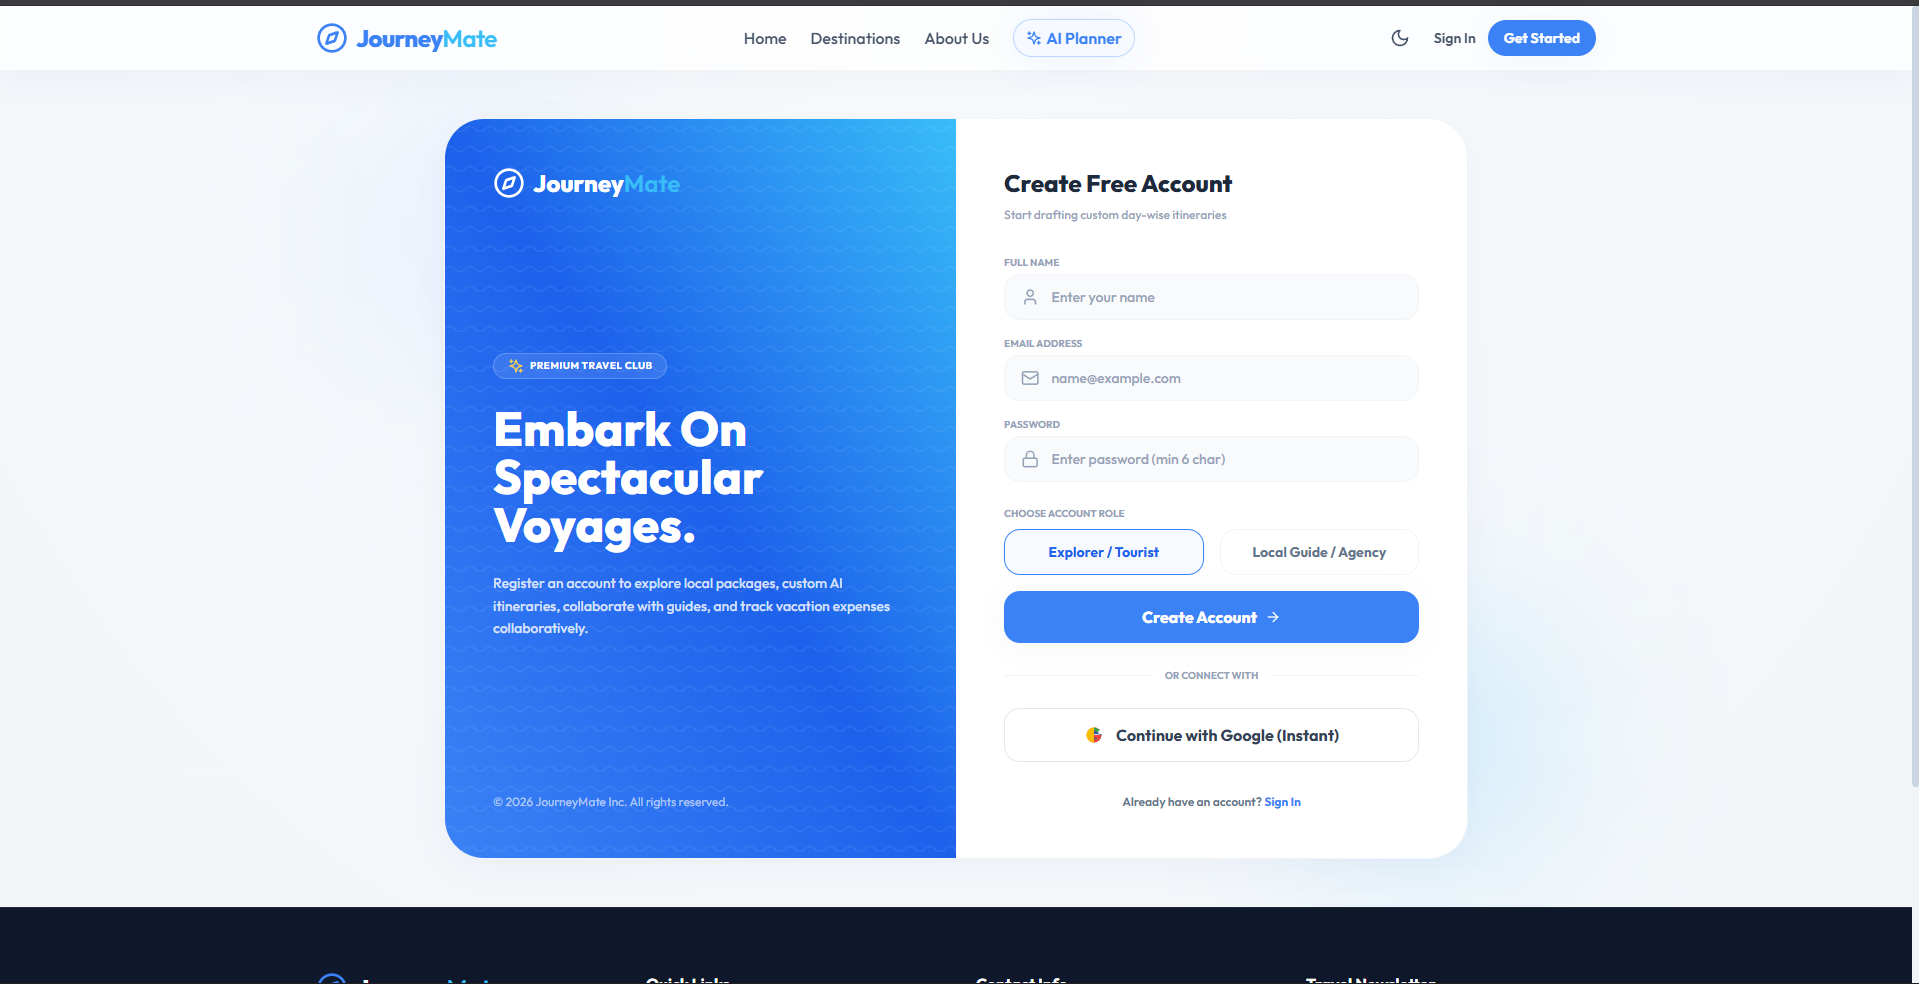
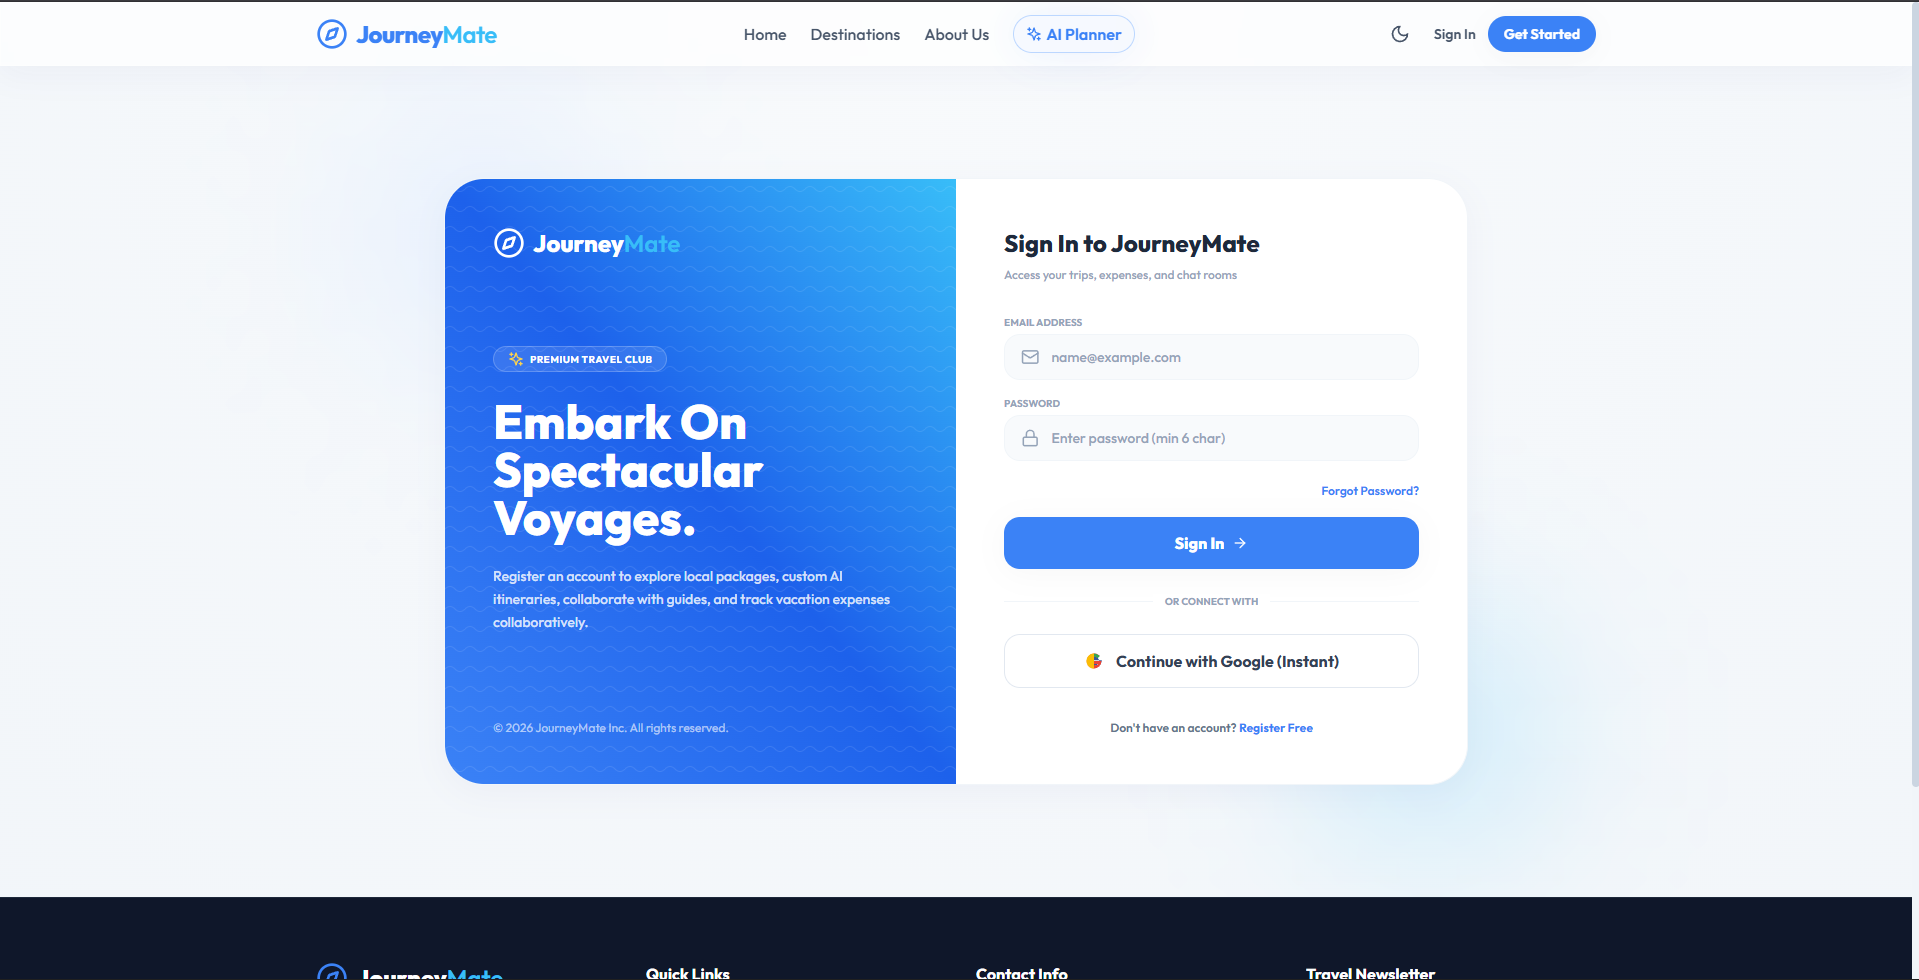
- Case-Insensitive Auth Interceptors: Standardizes lowercase emails on signup/login to prevent unique database conflict errors.
- Role-Based Authorization Filters: Restricts and secures API router endpoints based on admin, traveler, or standard explorer credentials.
- State-Driven Tab Synchronization: Re-renders dashboard components and fetches fresh API payloads dynamically upon URL parameter updates.
- Resilient Fault-Tolerant Loaders: Executes backend database queries in parallel using independent error-handling pipelines.
- Automatic Notification Broadcasts: Generates real-time Mongo documents to notify travelers about booking status updates.
Technology Used
- Frontend
- React
- React Router
- Recharts
- Tailwind CSS
- Backend
- Node.js
- Express.js
- Database
- MongoDB
- Mongoose
- Authentication & Security
- JWT Authentication
- bcrypt.js
- Real-time Engine
- Socket.IO
Why This Project Is Useful
- Eliminates App Fragmentation: Historically, travelers must use separate apps to discover packages, plan itineraries using ChatGPT, track budgets in Excel, and chat with guides on WhatsApp. JourneyMate unites these features into a single, cohesive dashboard.
- Empowers Small Businesses & Local Guides: JourneyMate provides boutique local travel agencies and individual guides with enterprise-grade business tools—allowing them to easily list tour packages, handle passenger manifests, and monitor real-time revenue without high commission fees.
- Stress-Free Travel Planning: The custom AI planner removes the friction of travel research, producing a comprehensive day-by-day itinerary with budget breakdowns in seconds.
- Automatic Inventory and Safeguards: Built-in mechanisms prevent overbooking by dynamically locking seats when checkout starts and returning seats to inventory upon booking cancellation or rejection.
- You can view the full details and copy the markdown content directly from project_overview.md to use in your project presentations, reports, or portfolio! Let me know if you would like me to help write any specific sections of your project report.
Deployment and Environment Setup
- Environment Variables Setup:
- backend/.env
- PORT: 3000
- MONGO_URI: mongodb_url_string
- JWT_SECRET: your_jwt_secret_key_here (if needed)
- frontend/.env
- VITE_API_URL: backend_url
- backend/.env
- Deployment Overview:
- Render or Railway for backend hosting
- Vercel or Netlify for frontend hosting
- MongoDB Atlas for the database
- Backend Deployment:
- Push your code to GitHub.
- Go to Render.com or Railway.app.
- Create a new Web Service and connect your GitHub repository.
- Choose “backend/” as the root directory.
- Add the following environment variables on Render:
- PORT=10000
- MONGO_URI=your MongoDB Atlas URI
- JWT_SECRET=your JWT secret
- Start command: npm start (Ensure your backend/package.json includes “start”: “node server.js”)
- After deployment, note your backend URL, e.g. https://your-backend-name.onrender.com
- Frontend Deployment:
- Go to Vercel.com or Netlify.com.
- Create a new project and connect the GitHub repo.
- Select the “frontend/” folder as root.
- In environment variables, set:
- VITE_API_URL=https://your-backend-domain.com/api (or REACT_APP_API_URL if using CRA)
- Deploy.
- MongoDB Atlas Setup:
- Go to https://cloud.mongodb.com
- Create a free cluster.
- Add your current IP address in Network Access.
- Create a database user and password.
- Copy the connection string and replace username, password, and database name in MONGO_URI in backend/.env
Download Source Code
Project Setup Instructions
Note: This project is for educational purposes only. Not for commercial sale.


