Project Overview
FoodApp is a full-stack food delivery application built using the MERN Stack — MongoDB, Express.js, React, and Node.js.
The platform is inspired by modern food delivery applications such as Swiggy and Zomato. It supports multiple user roles including customers, restaurant owners, delivery partners, and administrators.
The application provides features such as real-time order tracking, secure authentication, restaurant management, online payments, and live order updates, making it a complete marketplace ecosystem.
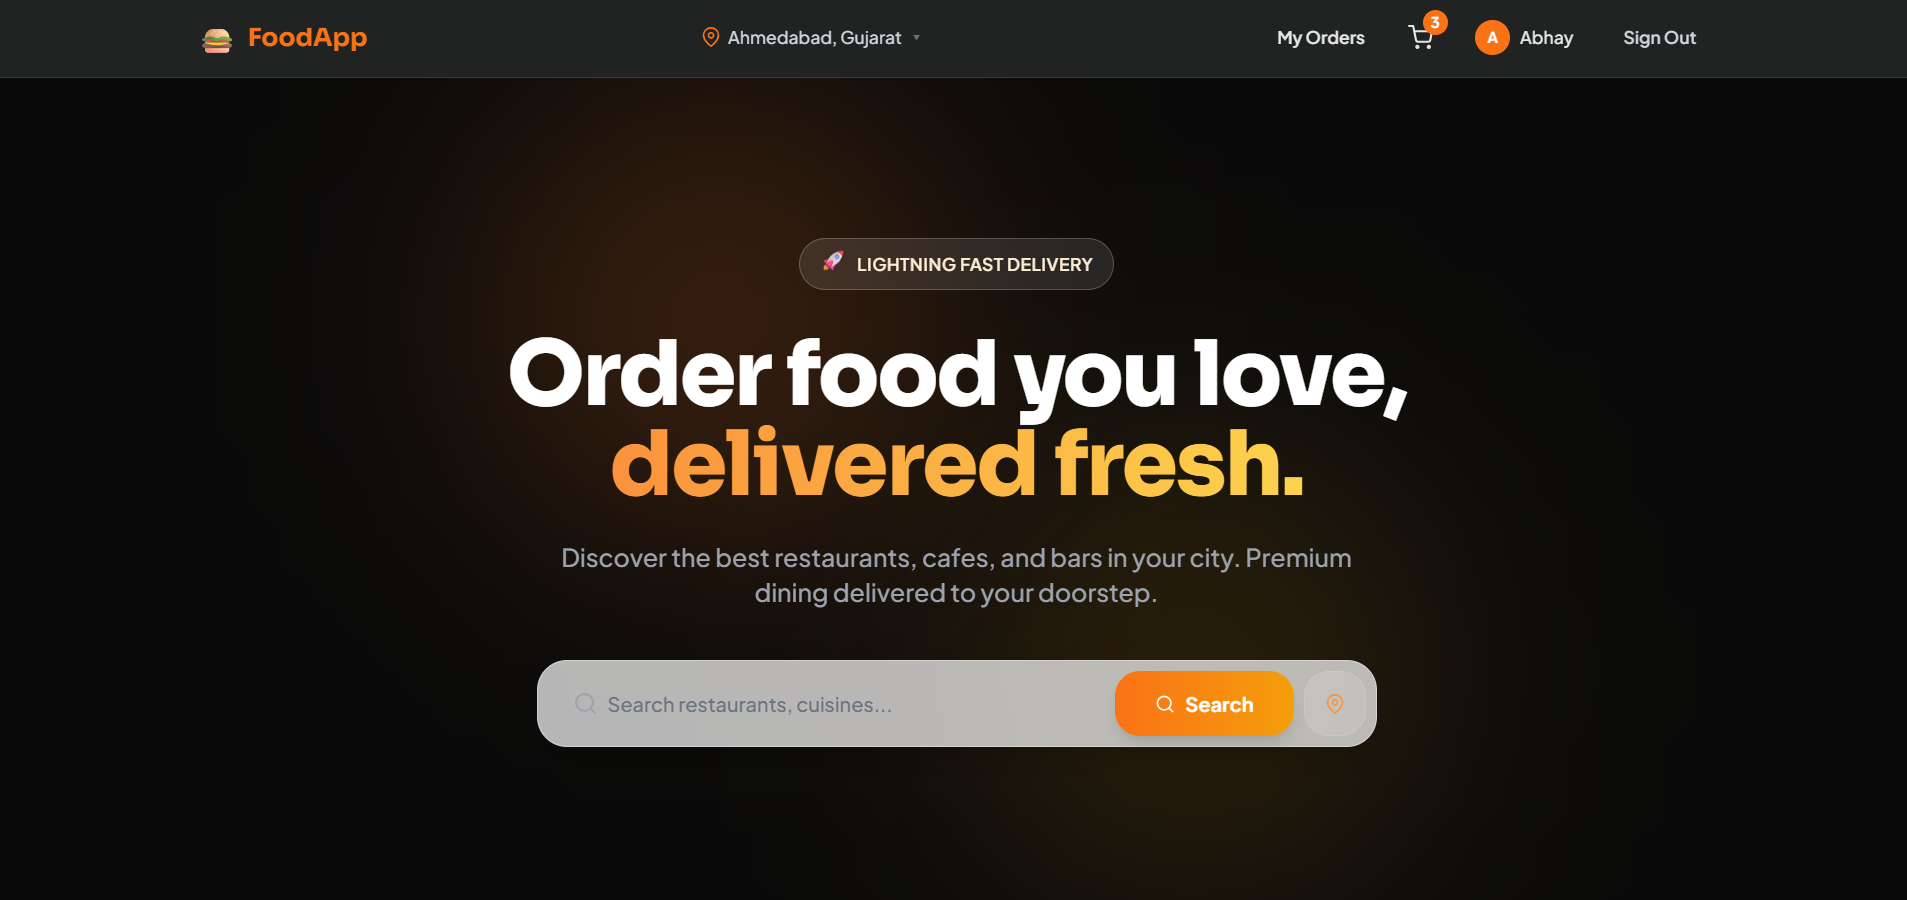
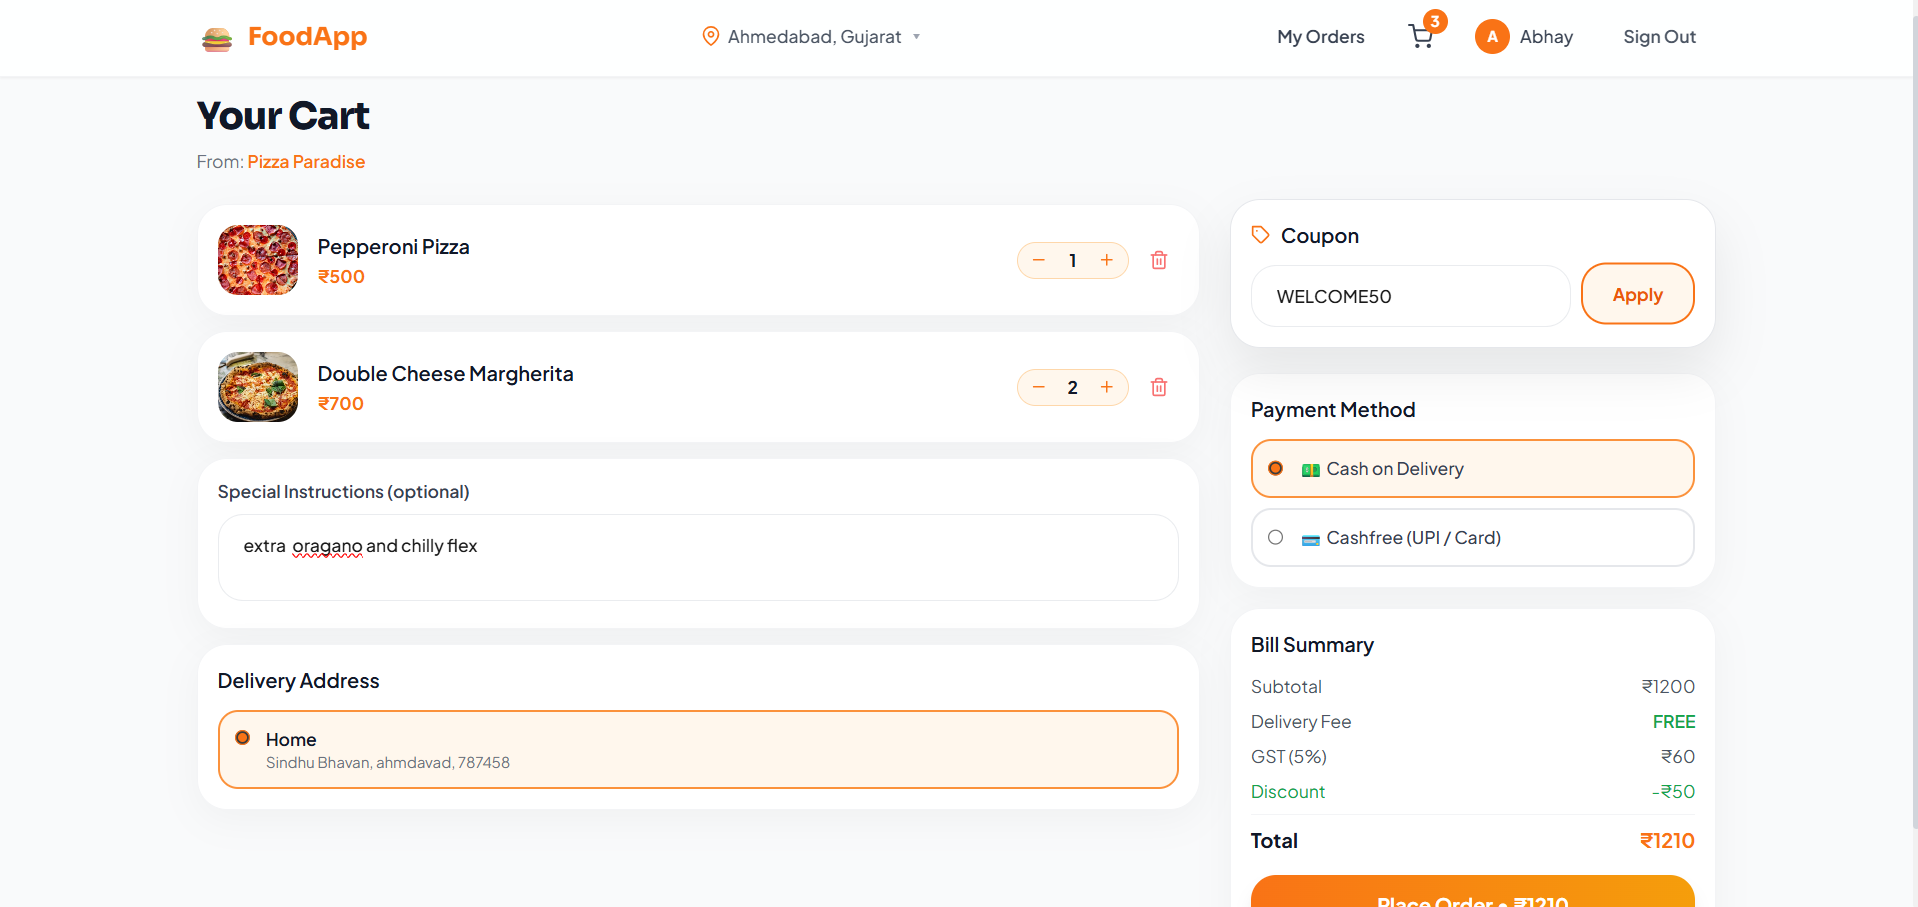
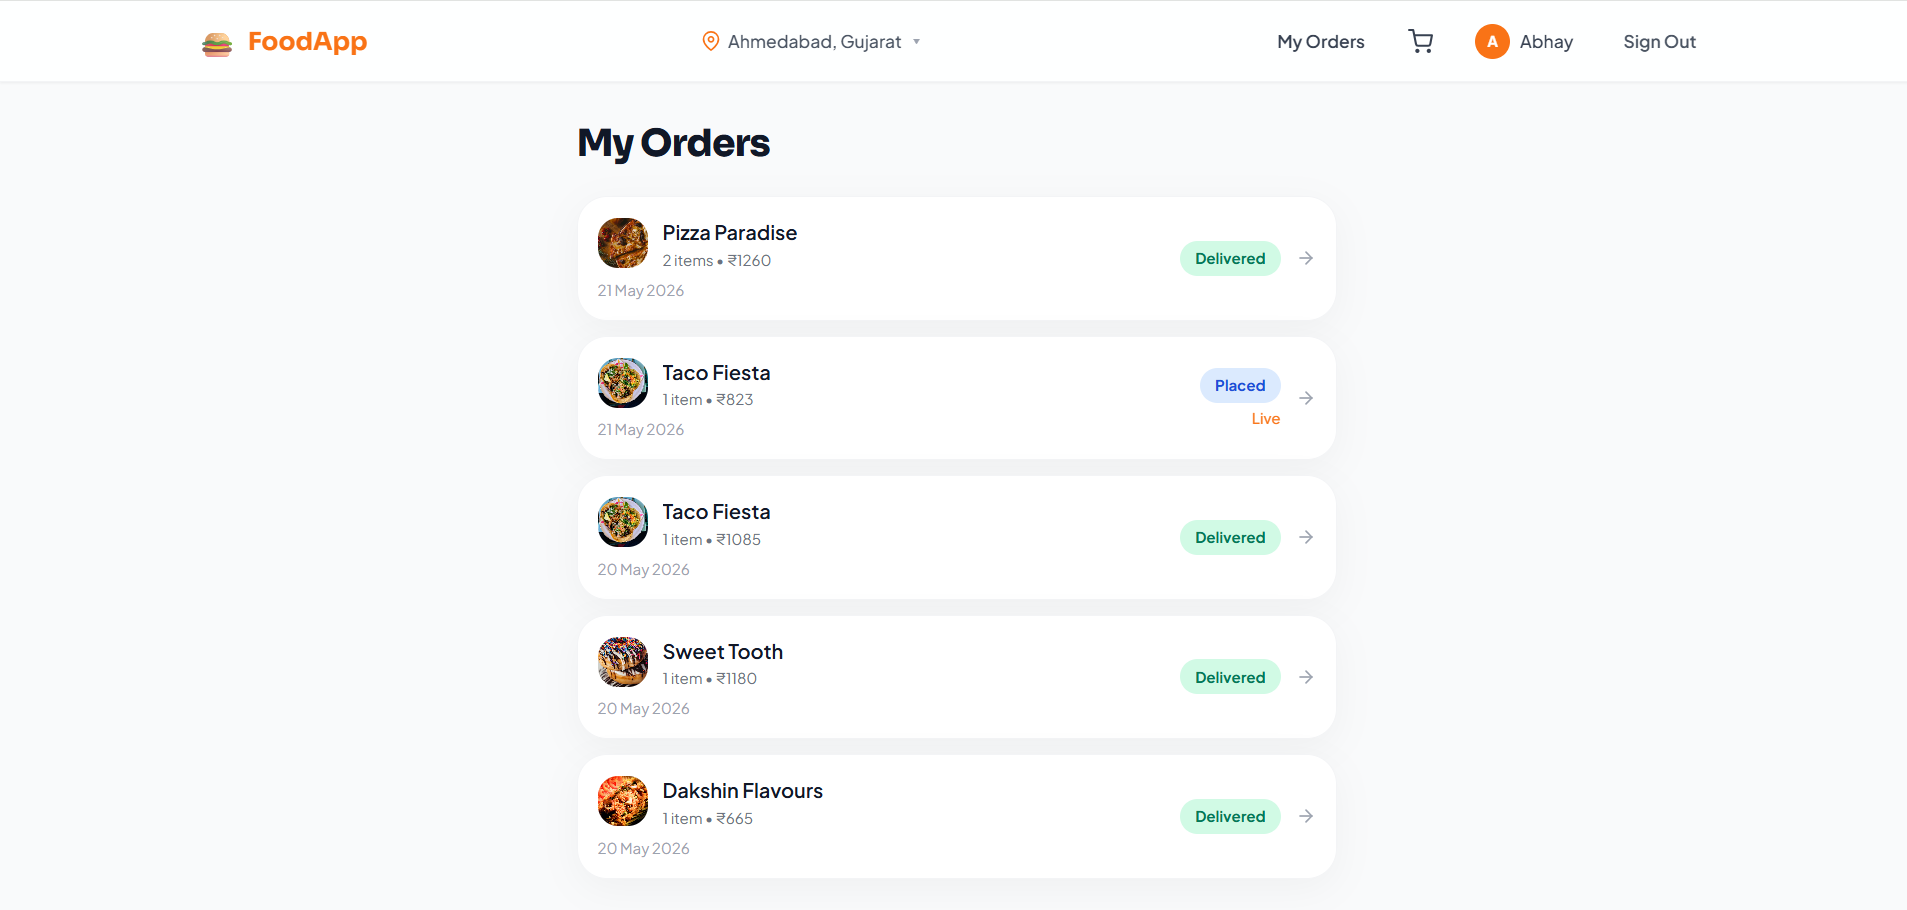
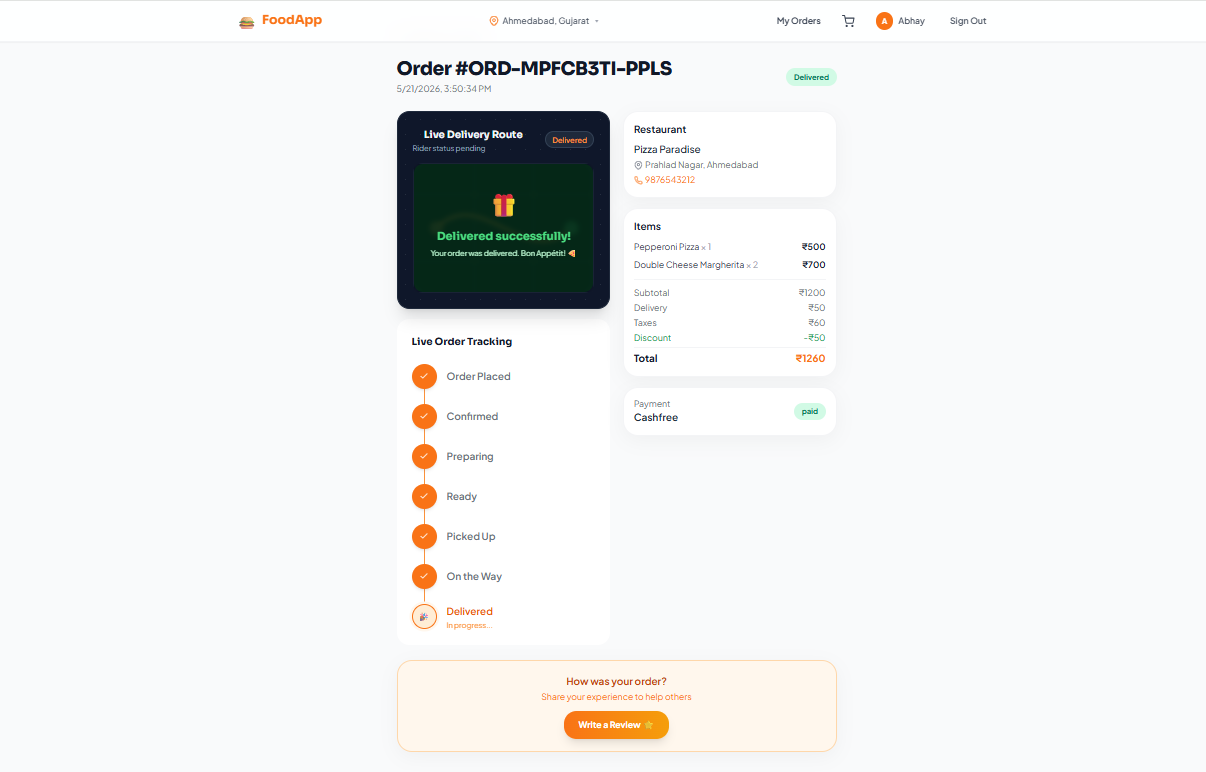
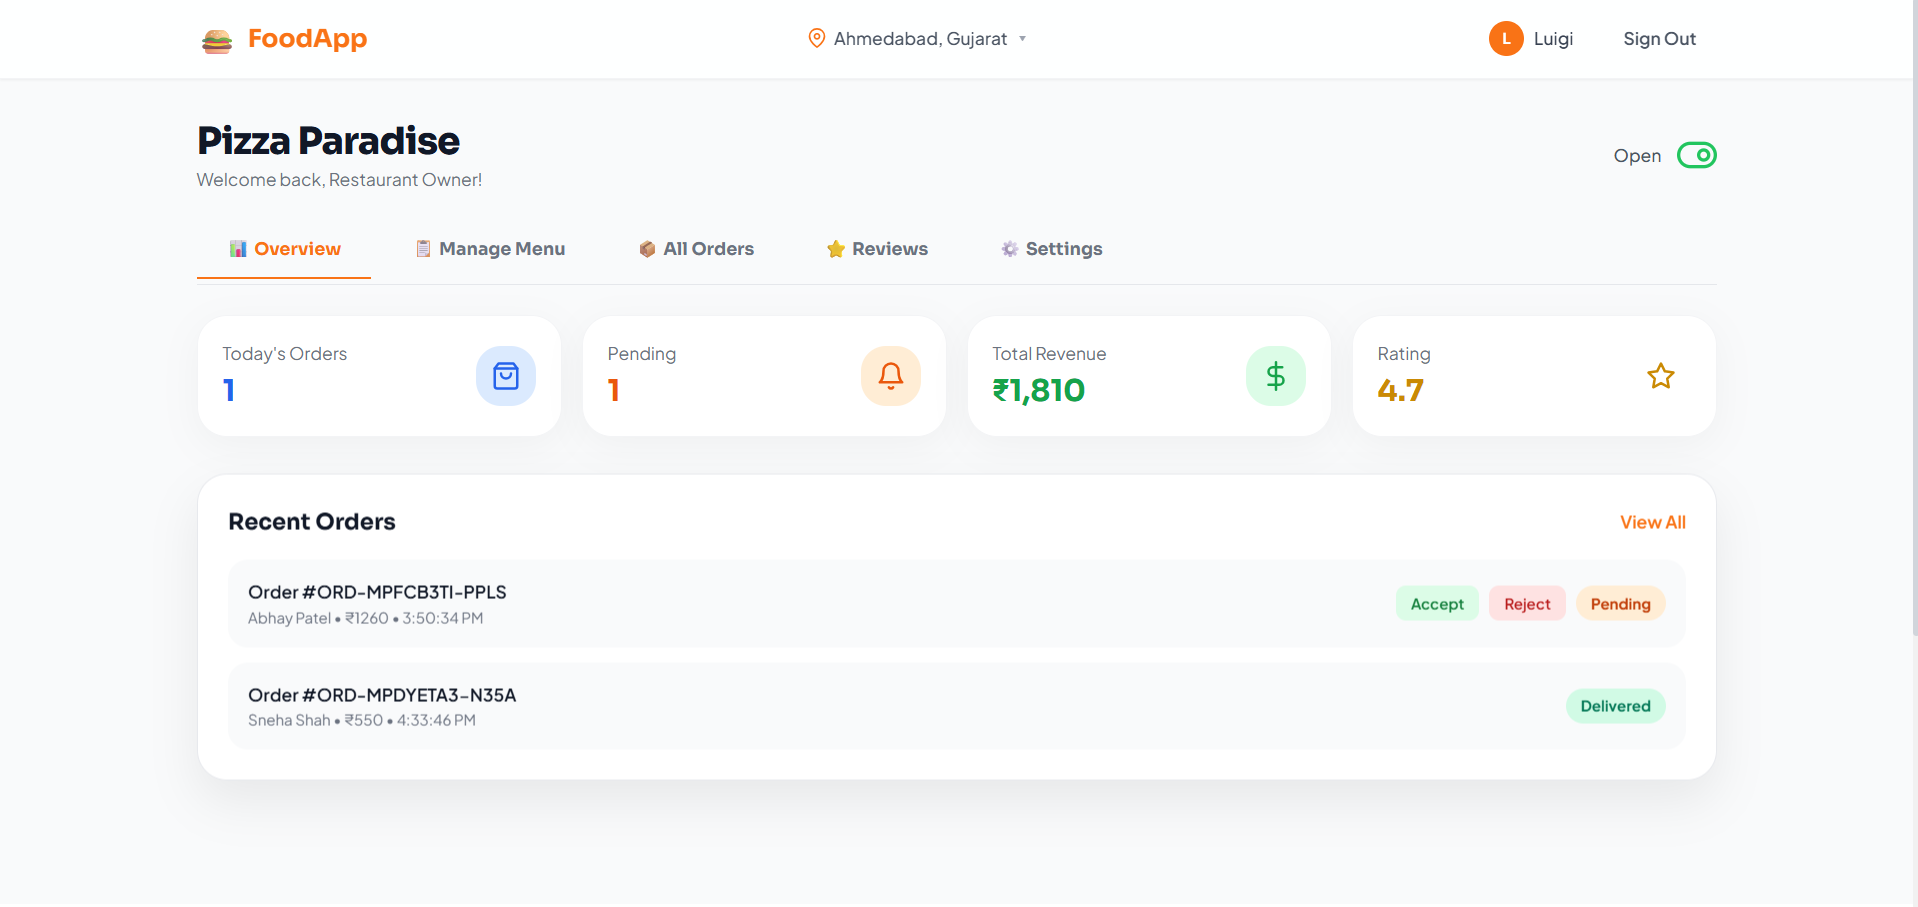
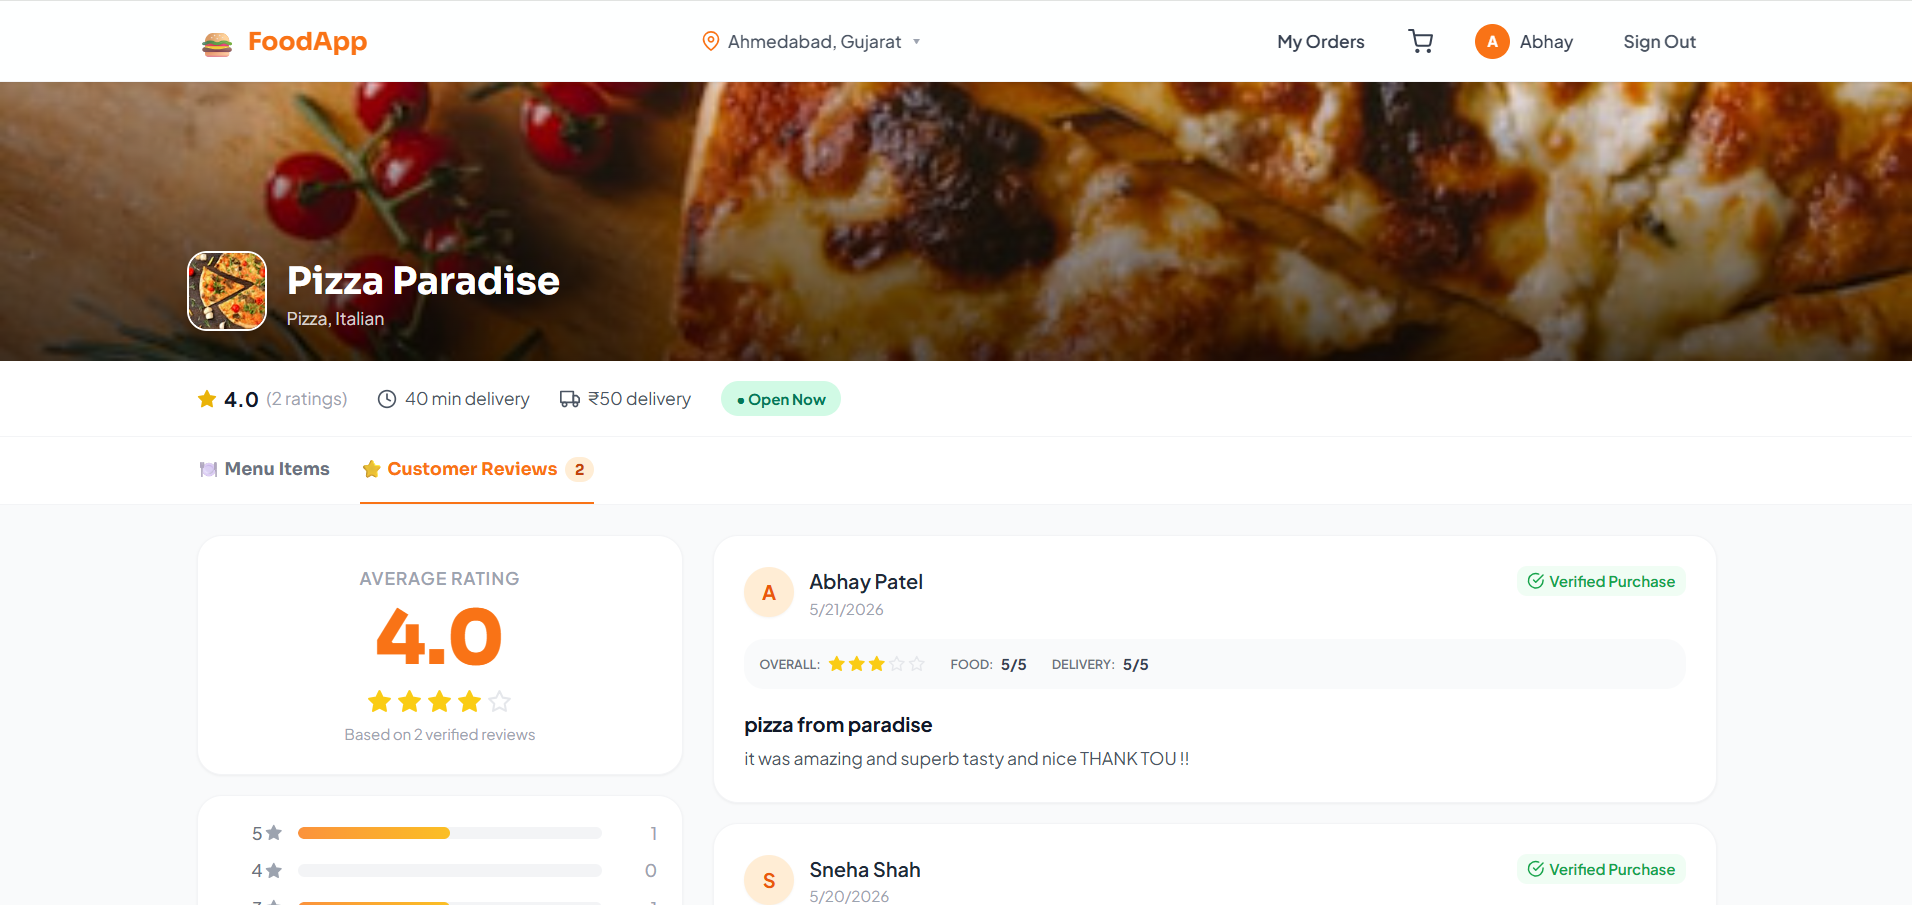
Screenshots


Key Features
- Role-based dashboards for:
- Users
- Restaurant Owners
- Delivery Partners
- Admins
- Real-time order tracking using Socket.IO
- Live delivery partner location tracking
- Restaurant browsing by:
- Cuisine
- Rating
- Search filters
- Multi-restaurant cart conflict handling
- Coupon code system
- Restaurant menu and category management
- Accept/reject order functionality for restaurant owners
- Online payment integration using Razorpay/Stripe
- Secure JWT authentication and password encryption
- Responsive user interface for mobile and desktop
Functionality
- User Side
- Users can:
- Register and log in
- Browse restaurants and dishes
- Search food items
- Add items to cart
- Apply coupons
- Place food orders
- Track delivery status in real time
- Restaurant Owner Side
- Restaurant owners can:
- Manage restaurant profile
- Add/update/delete menu items
- Manage food categories
- Accept or reject incoming orders
- Toggle restaurant availability status
- Delivery Partner Side
- Delivery partners can:
- View assigned delivery orders
- Accept delivery requests
- Update delivery progress
- Share live location for tracking
- Admin Side
- Admins can:
- Manage users and restaurants
- Monitor platform activity
- Manage coupons and categories
- Track overall orders and revenue
- Real-Time System
- Socket.IO enables:
- Instant order updates
- Live tracking
- Real-time notifications
- Payment System
- Users can pay through:
- Cash on Delivery (COD)
- Online payments using Razorpay or Stripe
- Payment status is updated securely in the system
Technology Used
- Frontend
- React
- Vite
- Tailwind CSS
- Zustand
- React Router v6
- Axios
- Backend
- Node.js
- Express.js
- Database
- MongoDB
- Mongoose
- Authentication & Security
- JWT Authentication
- bcryptjs
- Real-Time Communication
- Socket.IO
- Media & Payments
- Cloudinary
- Multer
- Razorpay / Stripe
Why This Project Is Useful
- This project demonstrates a real-world multi-vendor marketplace architecture and helps in understanding advanced full-stack development concepts such as:
- Role-based authorization
- Real-time communication
- Secure payment gateway integration
- API development and database management
- Complex state management
- Live tracking systems
- It is a strong portfolio-level project and useful for learning production-ready application development.
Deployment and Environment Setup
- Environment Variables Setup:
- backend/.env
- PORT: 3000
- MONGO_URI: mongodb_url_string
- JWT_SECRET: your_jwt_secret_key_here (if needed)
- frontend/.env
- VITE_API_URL: backend_url
- backend/.env
- Deployment Overview:
- Render or Railway for backend hosting
- Vercel or Netlify for frontend hosting
- MongoDB Atlas for the database
- Backend Deployment:
- Push your code to GitHub.
- Go to Render.com or Railway.app.
- Create a new Web Service and connect your GitHub repository.
- Choose “backend/” as the root directory.
- Add the following environment variables on Render:
- PORT=10000
- MONGO_URI=your MongoDB Atlas URI
- JWT_SECRET=your JWT secret
- Start command: npm start (Ensure your backend/package.json includes “start”: “node server.js”)
- After deployment, note your backend URL, e.g. https://your-backend-name.onrender.com
- Frontend Deployment:
- Go to Vercel.com or Netlify.com.
- Create a new project and connect the GitHub repo.
- Select the “frontend/” folder as root.
- In environment variables, set:
- VITE_API_URL=https://your-backend-domain.com/api (or REACT_APP_API_URL if using CRA)
- Deploy.
- MongoDB Atlas Setup:
- Go to https://cloud.mongodb.com
- Create a free cluster.
- Add your current IP address in Network Access.
- Create a database user and password.
- Copy the connection string and replace username, password, and database name in MONGO_URI in backend/.env
Download Source Code
Project Setup Instructions
Note: This project is for educational purposes only. Not for commercial sale.


