Project Overview
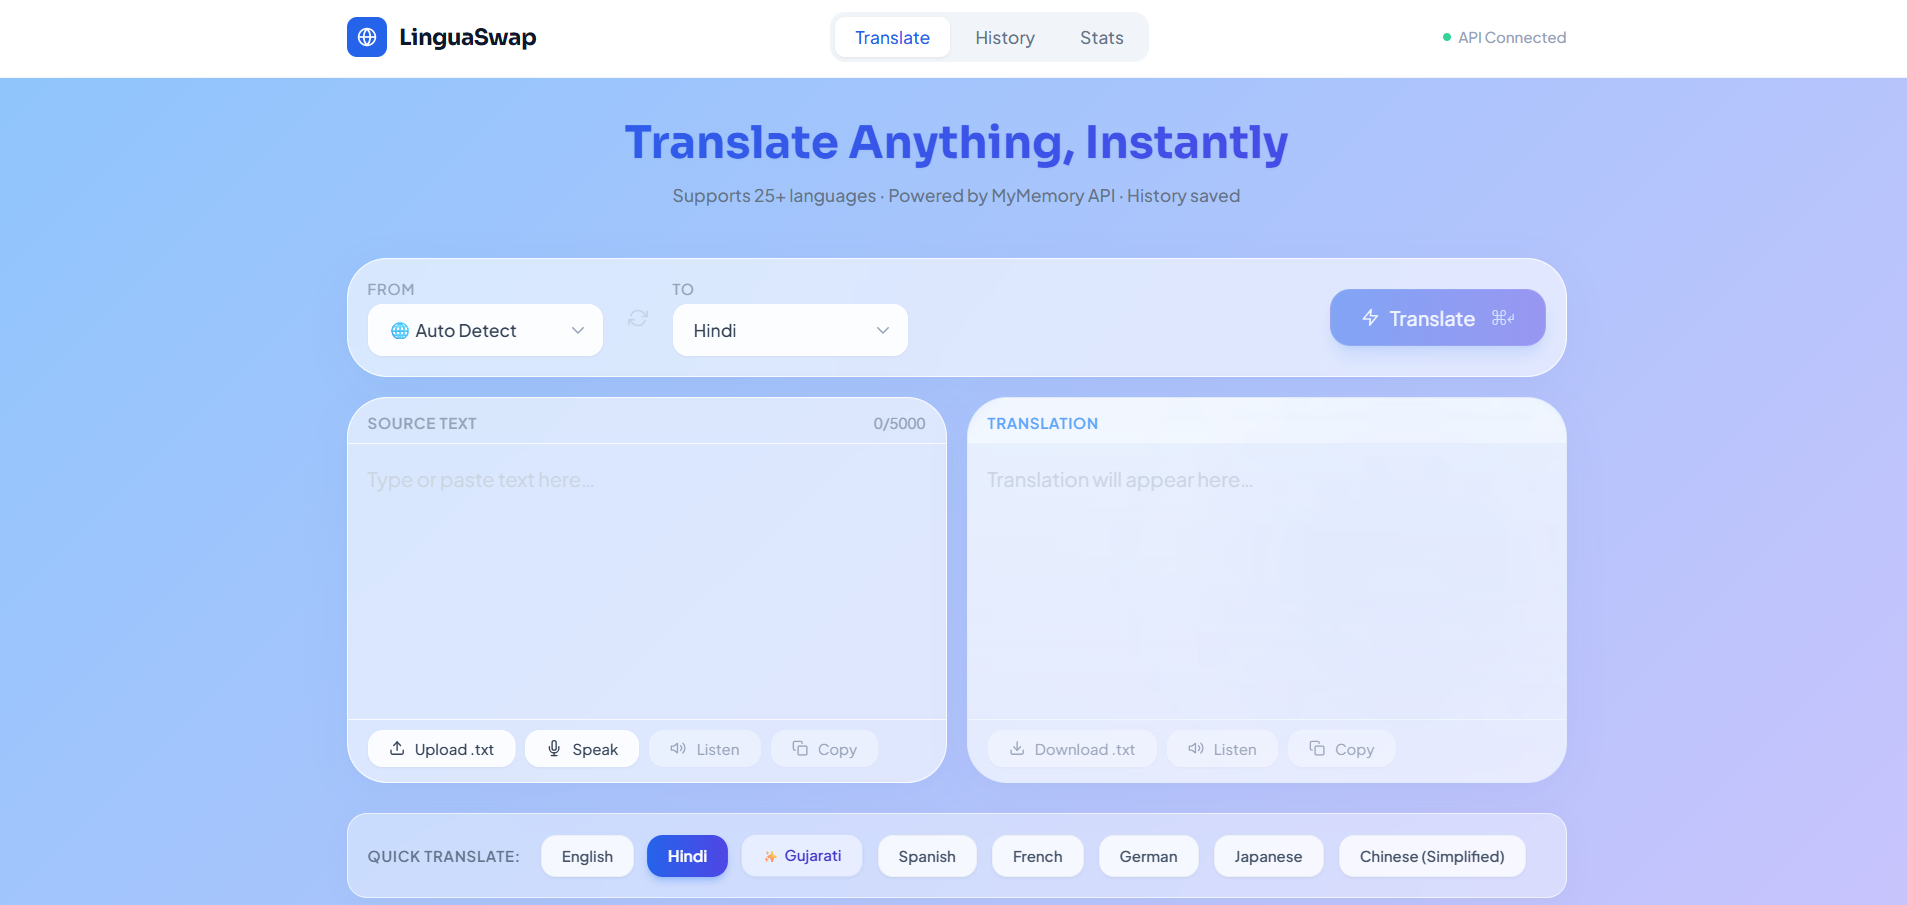
LinguaSwap is a modern full-stack language translation platform built using the MERN Stack – MongoDB, Express.js, React, and Node.js.
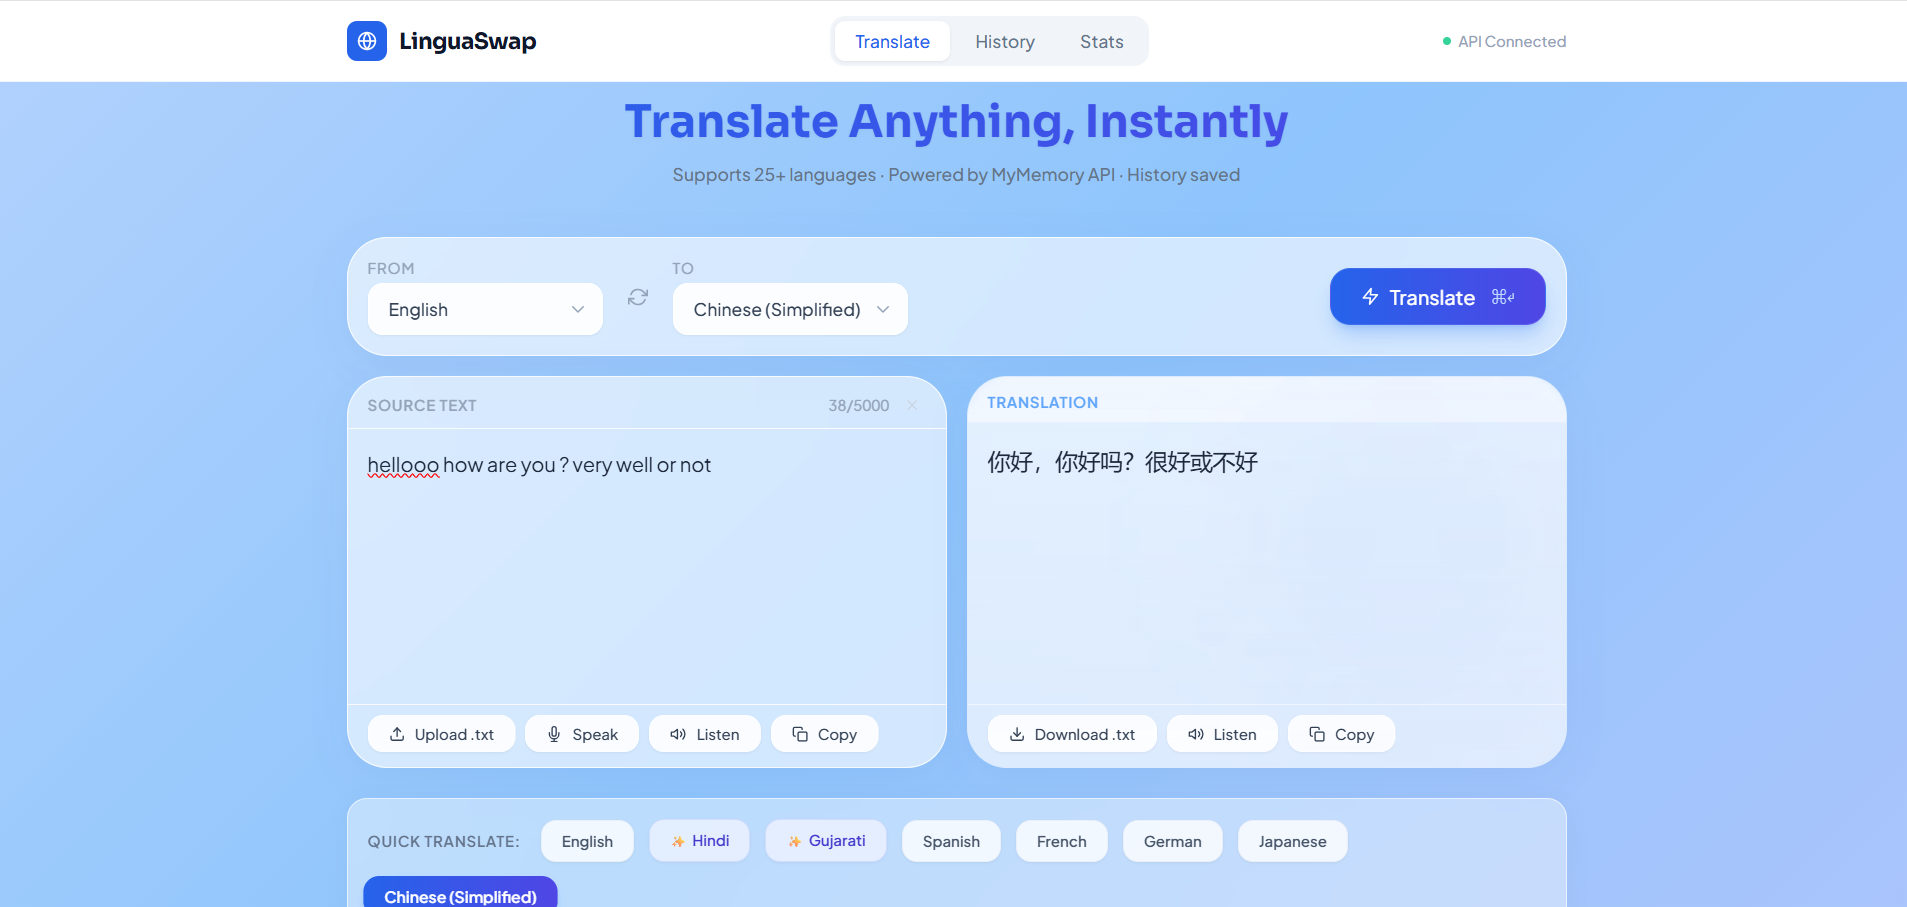
The application instantly translates text, voice, and documents across multiple languages with a smooth, user-friendly experience. It supports advanced features like speech-to-text, text-to-speech, translation history, file upload/download, and analytics tracking.
The platform uses a premium glassmorphism UI with animations and a responsive design to deliver a modern, interactive translation experience.
Screenshots

Key Features
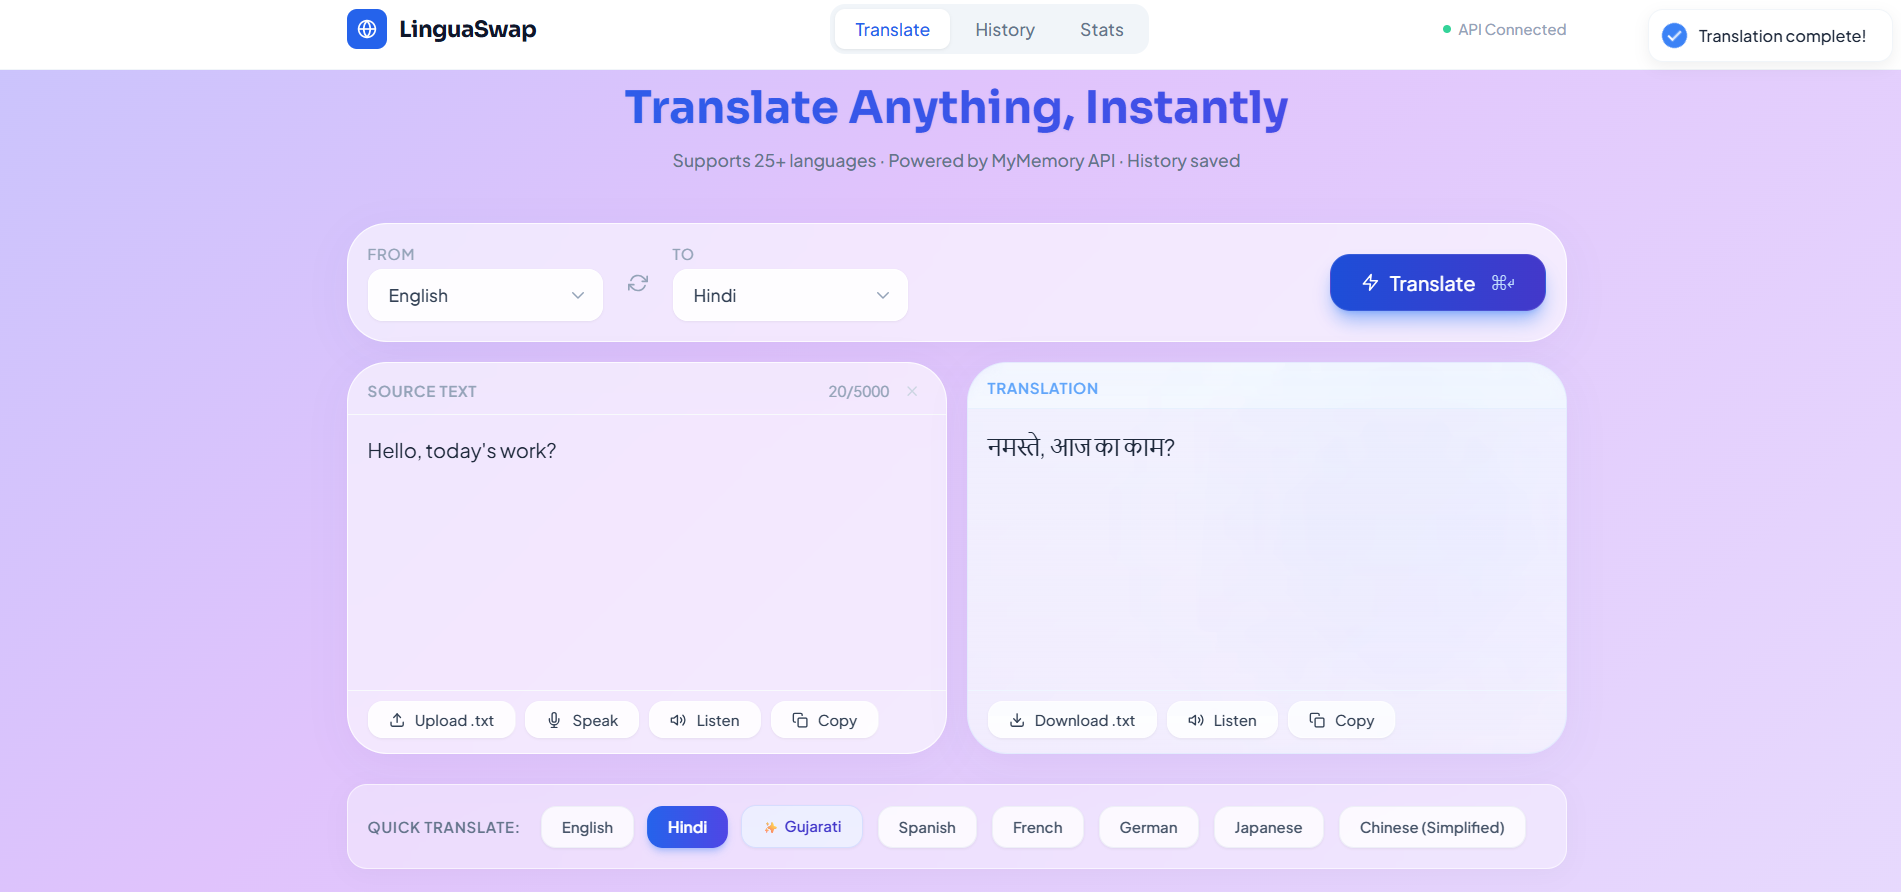
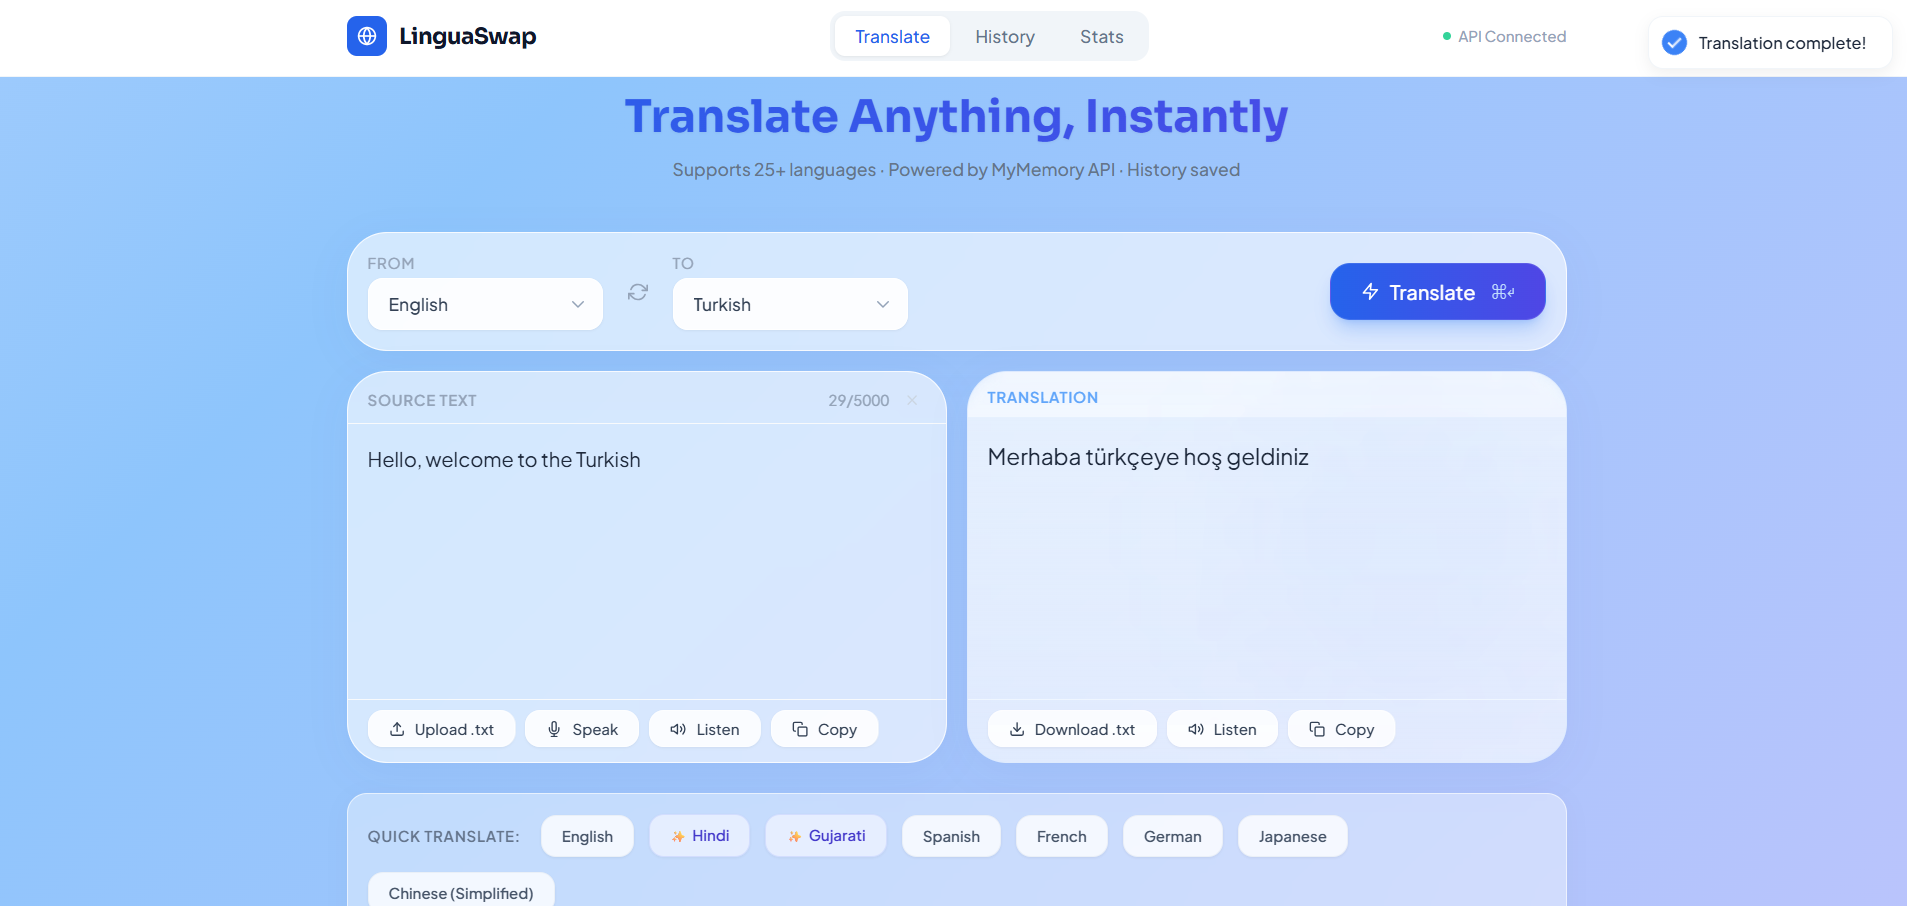
- Multi-language translation support (25+ languages)
- Voice input using Speech-to-Text
- Text-to-Speech audio playback
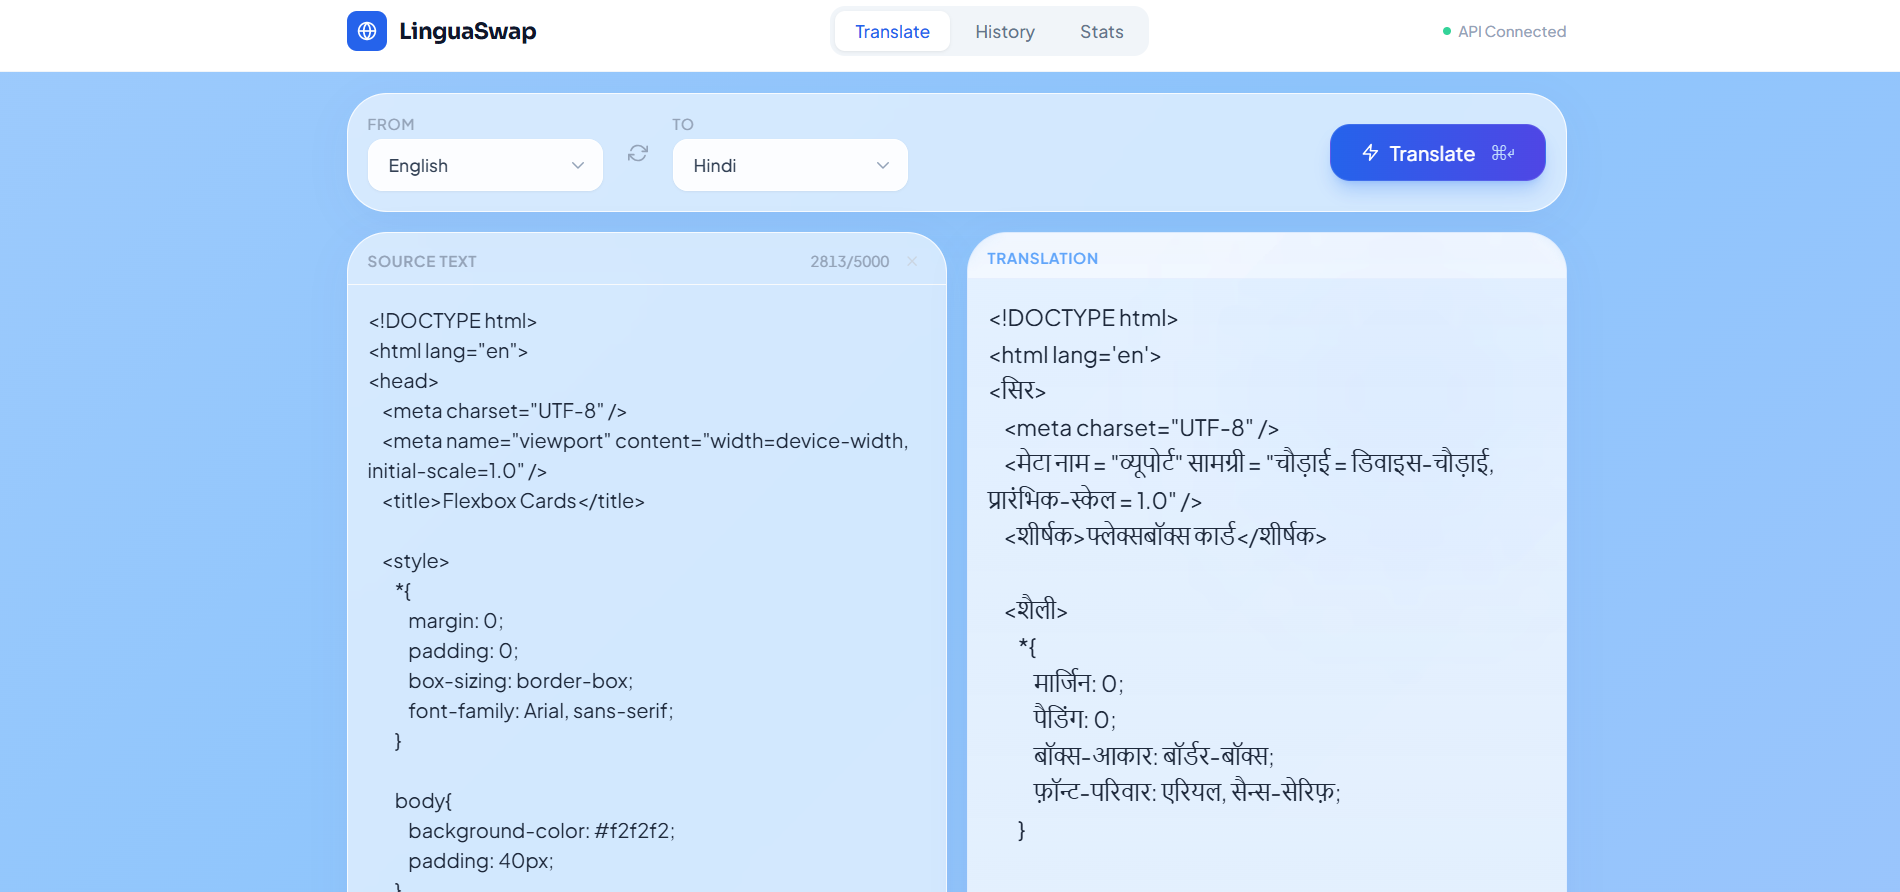
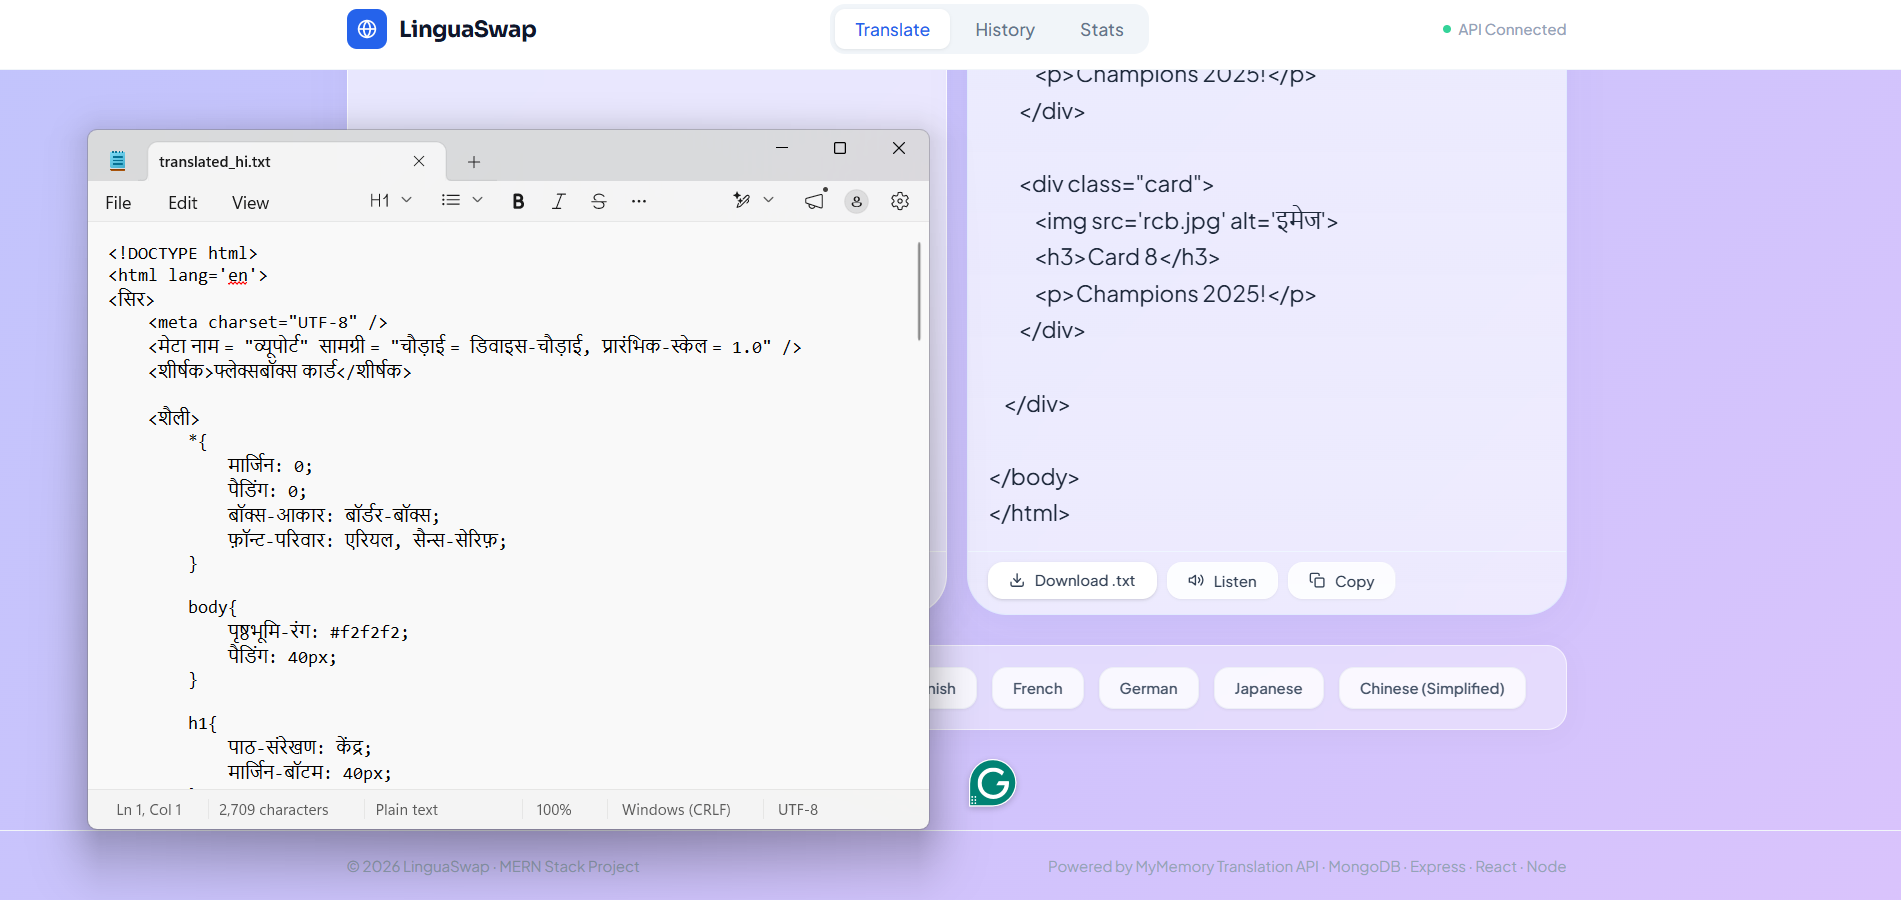
- Upload and translate
.txtdocuments - Download translated text files
- Save favorite translations
- Translation history tracking
- User statistics and analytics dashboard
- Premium glassmorphism animated UI
- Fully responsive design
Functionality
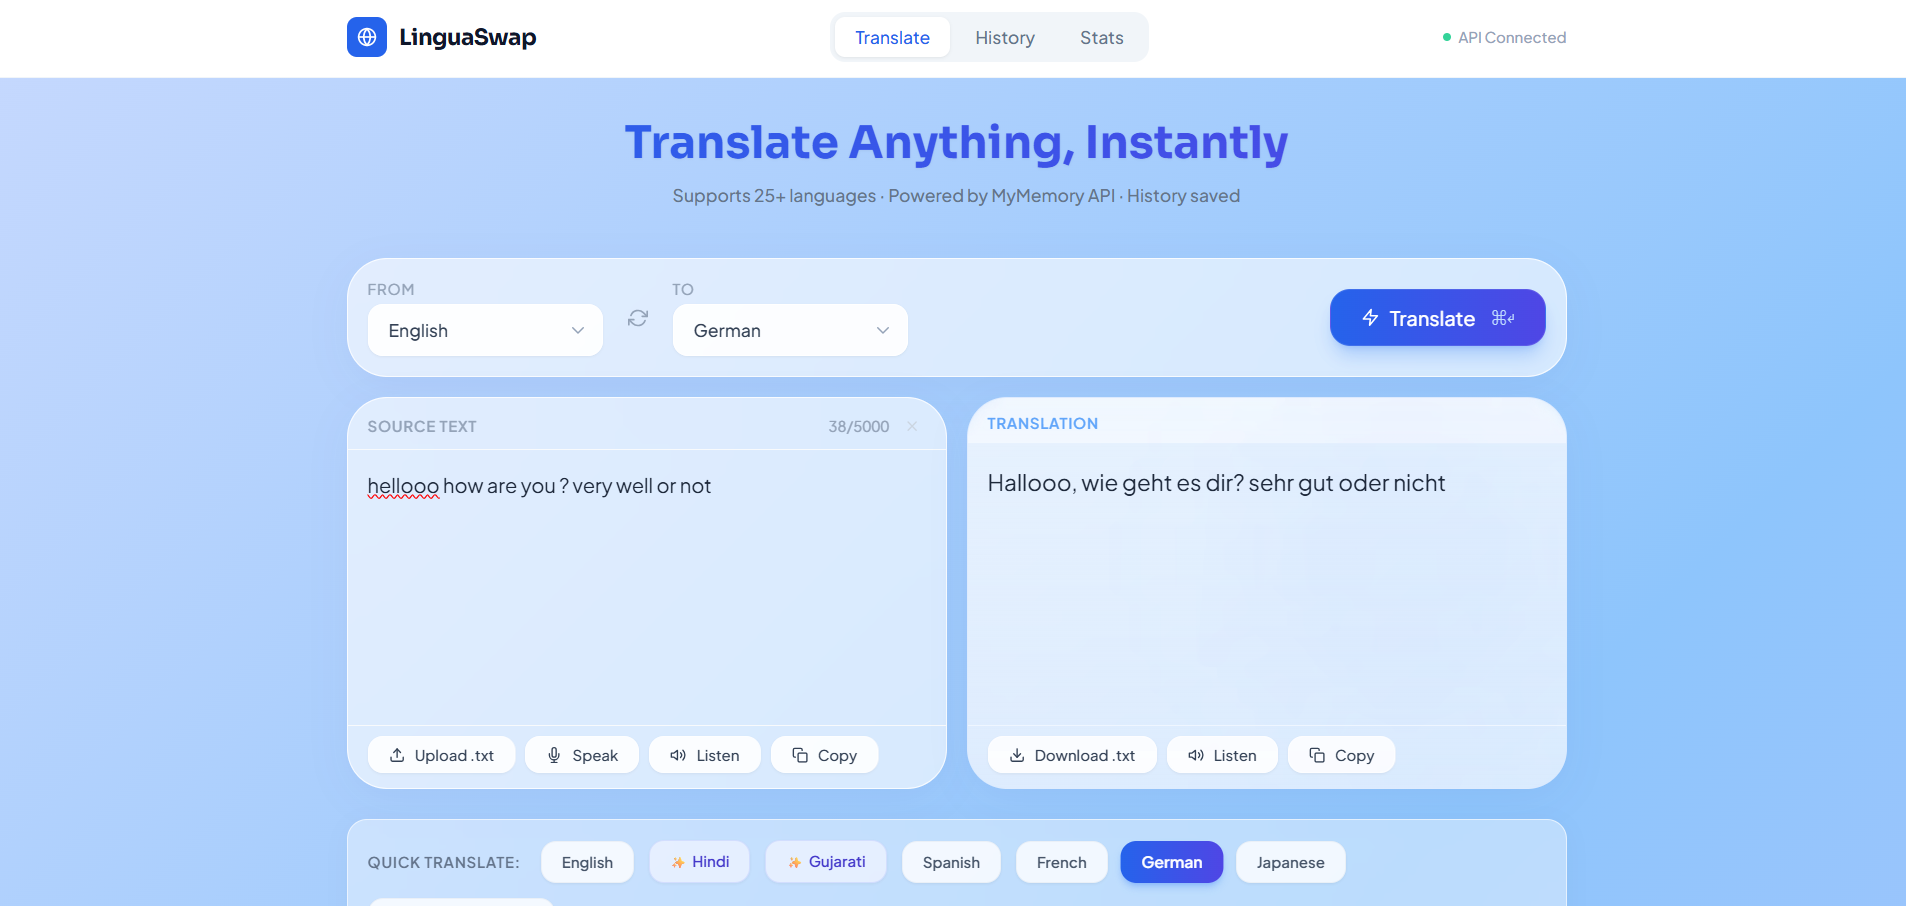
- Text Translation
- User enters text manually
- User selects source and target languages
- Backend sends request to translation API
- Translated text is displayed instantly
- Voice Input (Speech-to-Text)
- User clicks the microphone button
- Application captures voice input
- Spoken words are converted into text automatically
- Text is translated into the selected language
- Audio Playback (Text-to-Speech)
- Users can listen to:
- Original text
- Translated text
- Smart pause/resume system prevents audio interruptions
- Users can listen to:
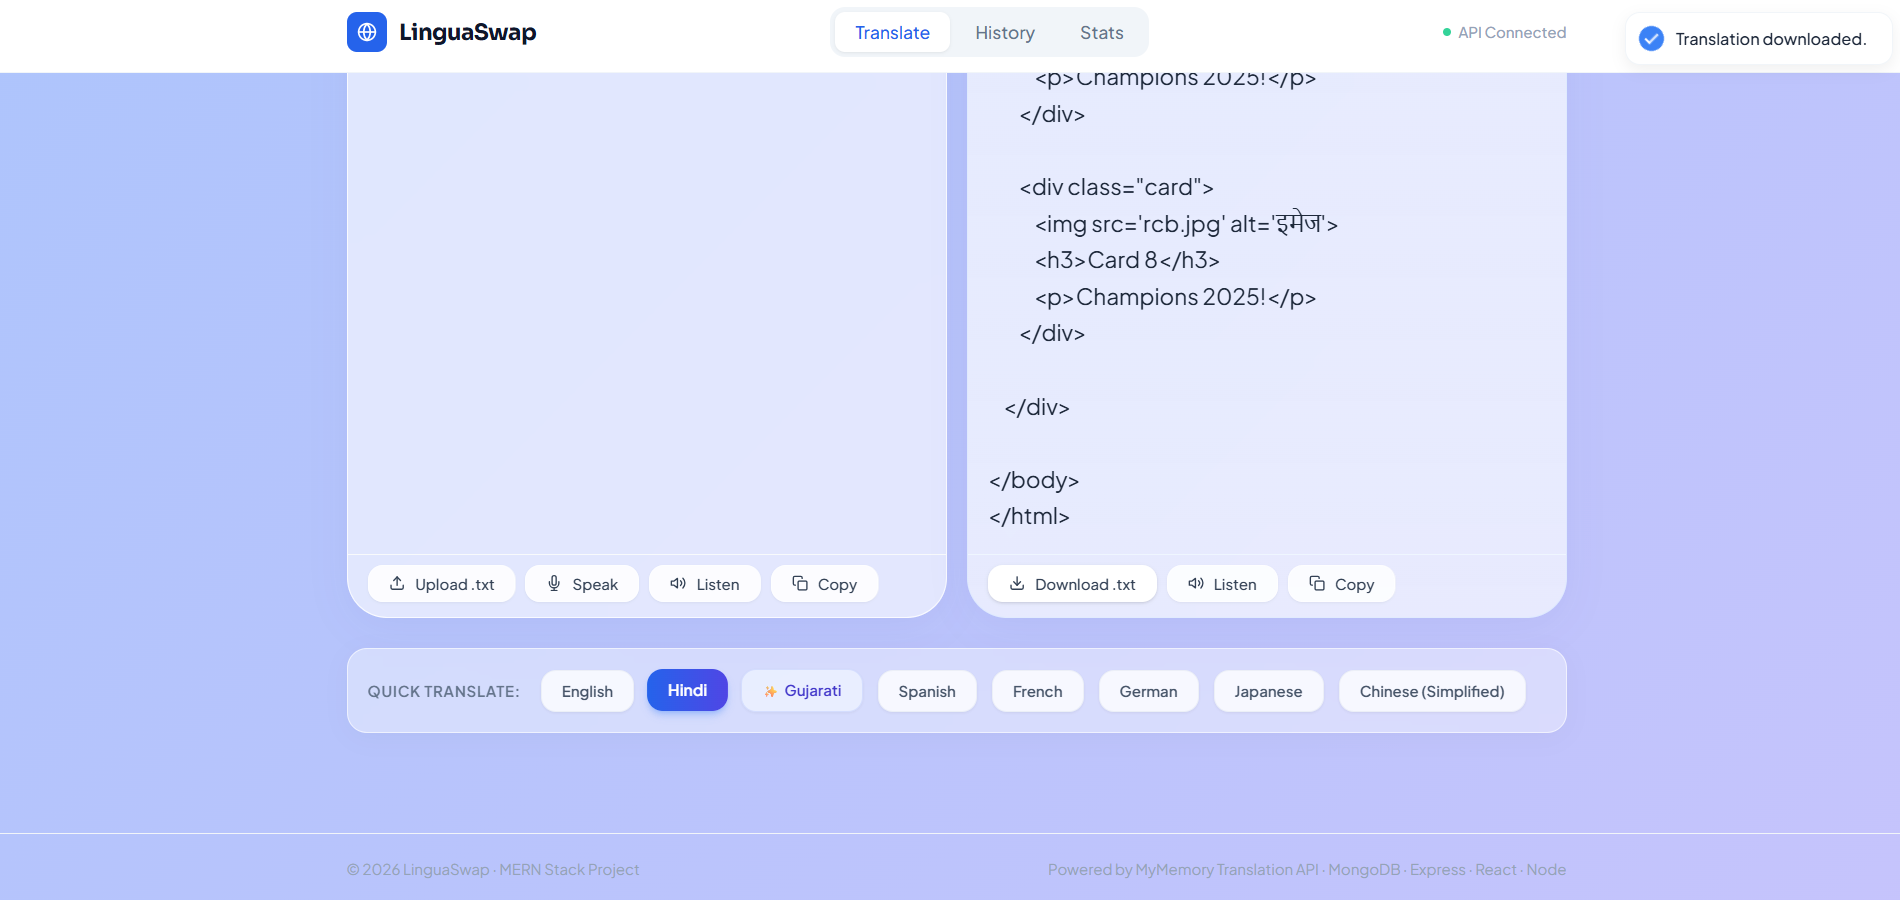
- File Upload & Download
- User uploads a
.txtfile - File content is extracted and translated
- Translated result can be downloaded as a new text file
- User uploads a
- Translation History & Favorites
- All translations are stored in MongoDB
- Users can:
- View translation history
- Mark favorite translations
- Access saved results anytime
- Analytics Dashboard
- Tracks:
- Total translations
- Total characters translated
- Frequently used languages
- Statistics are displayed visually on the dashboard
- Tracks:
- Security & Optimization
- API rate limiting prevents spam requests
- Backend securely handles translation requests
- Responsive design ensures smooth performance across all devices
Technology Used
- Frontend
- React
- Vite
- Tailwind CSS
- React Hot Toast
- React Icons
- Backend
- Node.js
- Express.js
- Database
- MongoDB
- Mongoose
- APIs & Web Technologies
- Google Translate API
- Web Speech API
- FileReader API
- Axios
- Express Rate Limit
Why This Project Is Useful
- Helps users overcome language barriers
- Useful for:
- Students
- Travelers
- Professionals
- Content creators
- Improves accessibility with:
- Voice input support
- Audio playback functionality
- Saves time through:
- Document translation
- Translation history management
- Good project for learning:
- MERN stack development
- API integration
- Speech recognition systems
- File handling
- Full-stack architecture
- Excellent portfolio-level real-world application
Deployment and Environment Setup
- Environment Variables Setup:
- backend/.env
- PORT: 5000
- MONGO_URI: mongodb_url_string
- JWT_SECRET: your_jwt_secret_key_here (if needed)
- frontend/.env
- VITE_API_URL: backend_url
- backend/.env
- Deployment Overview:
- Render or Railway for backend hosting
- Vercel or Netlify for frontend hosting
- MongoDB Atlas for the database
- Backend Deployment:
- Push your code to GitHub.
- Go to Render.com or Railway.app.
- Create a new Web Service and connect your GitHub repository.
- Choose “backend/” as the root directory.
- Add the following environment variables on Render:
- PORT=10000
- MONGO_URI=your MongoDB Atlas URI
- JWT_SECRET=your JWT secret
- Start command: npm start (Ensure your backend/package.json includes “start”: “node server.js”)
- After deployment, note your backend URL, e.g. https://your-backend-name.onrender.com
- Frontend Deployment:
- Go to Vercel.com or Netlify.com.
- Create a new project and connect the GitHub repo.
- Select the “frontend/” folder as root.
- In environment variables, set:
- VITE_API_URL=https://your-backend-domain.com/api (or REACT_APP_API_URL if using CRA)
- Deploy.
- MongoDB Atlas Setup:
- Go to https://cloud.mongodb.com
- Create a free cluster.
- Add your current IP address in Network Access.
- Create a database user and password.
- Copy the connection string and replace username, password, and database name in MONGO_URI in backend/.env
Download Source Code
Project Setup Instructions
Note: This project is for educational purposes only. Not for commercial sale.


