Project Overview
The Daily Journal is a secure, full-stack (MERN) web application that allows users to record their daily reflections and track their emotional well-being. It features a high-end “glassmorphism” design and interactive mood tracking.
Screenshots
Key Features
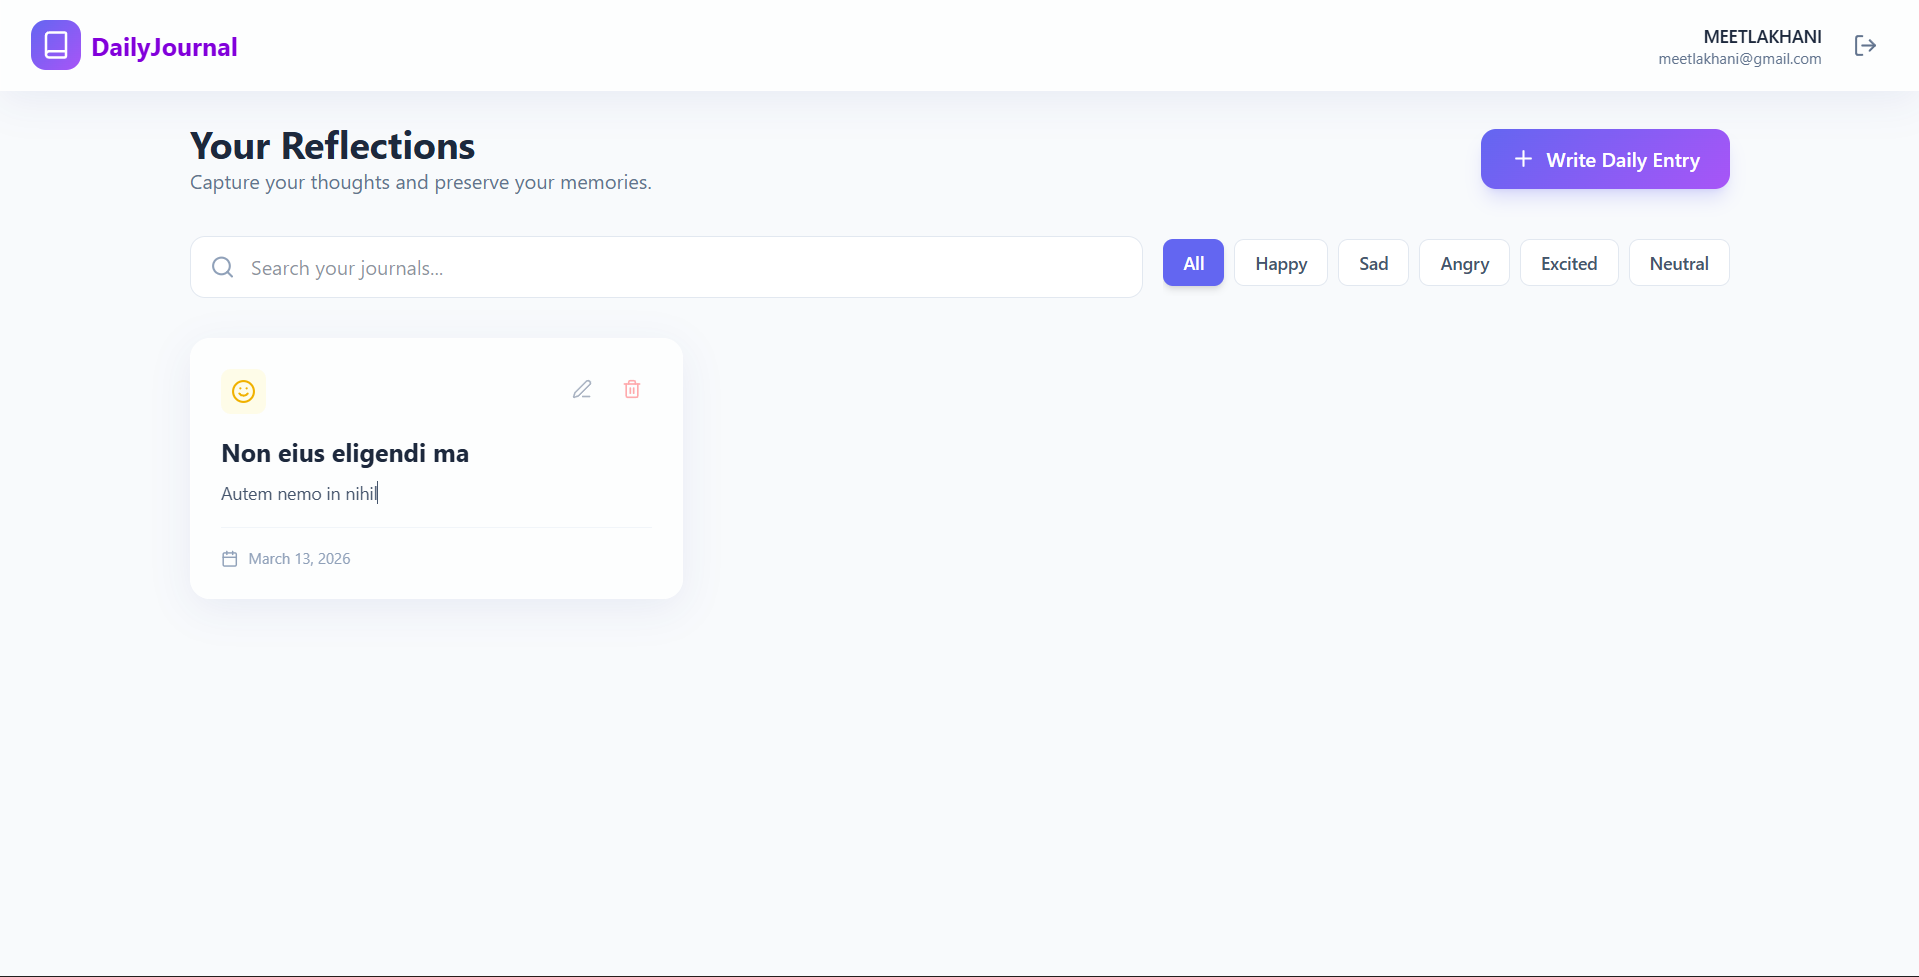
- Dual-Layer Reflection: Capture both text-based thoughts and visual emotional tags simultaneously.
- Smart Search & Filtering: Instant discovery of past entries using keyword search or mood category filters.
- Dynamic UI Mood Sync: The interface automatically changes color schemes and icons based on the emotion of the journal entry.
- Secure Privacy Shield: Built-in authentication ensures that all personal reflections remain private and encrypted.
Functionality
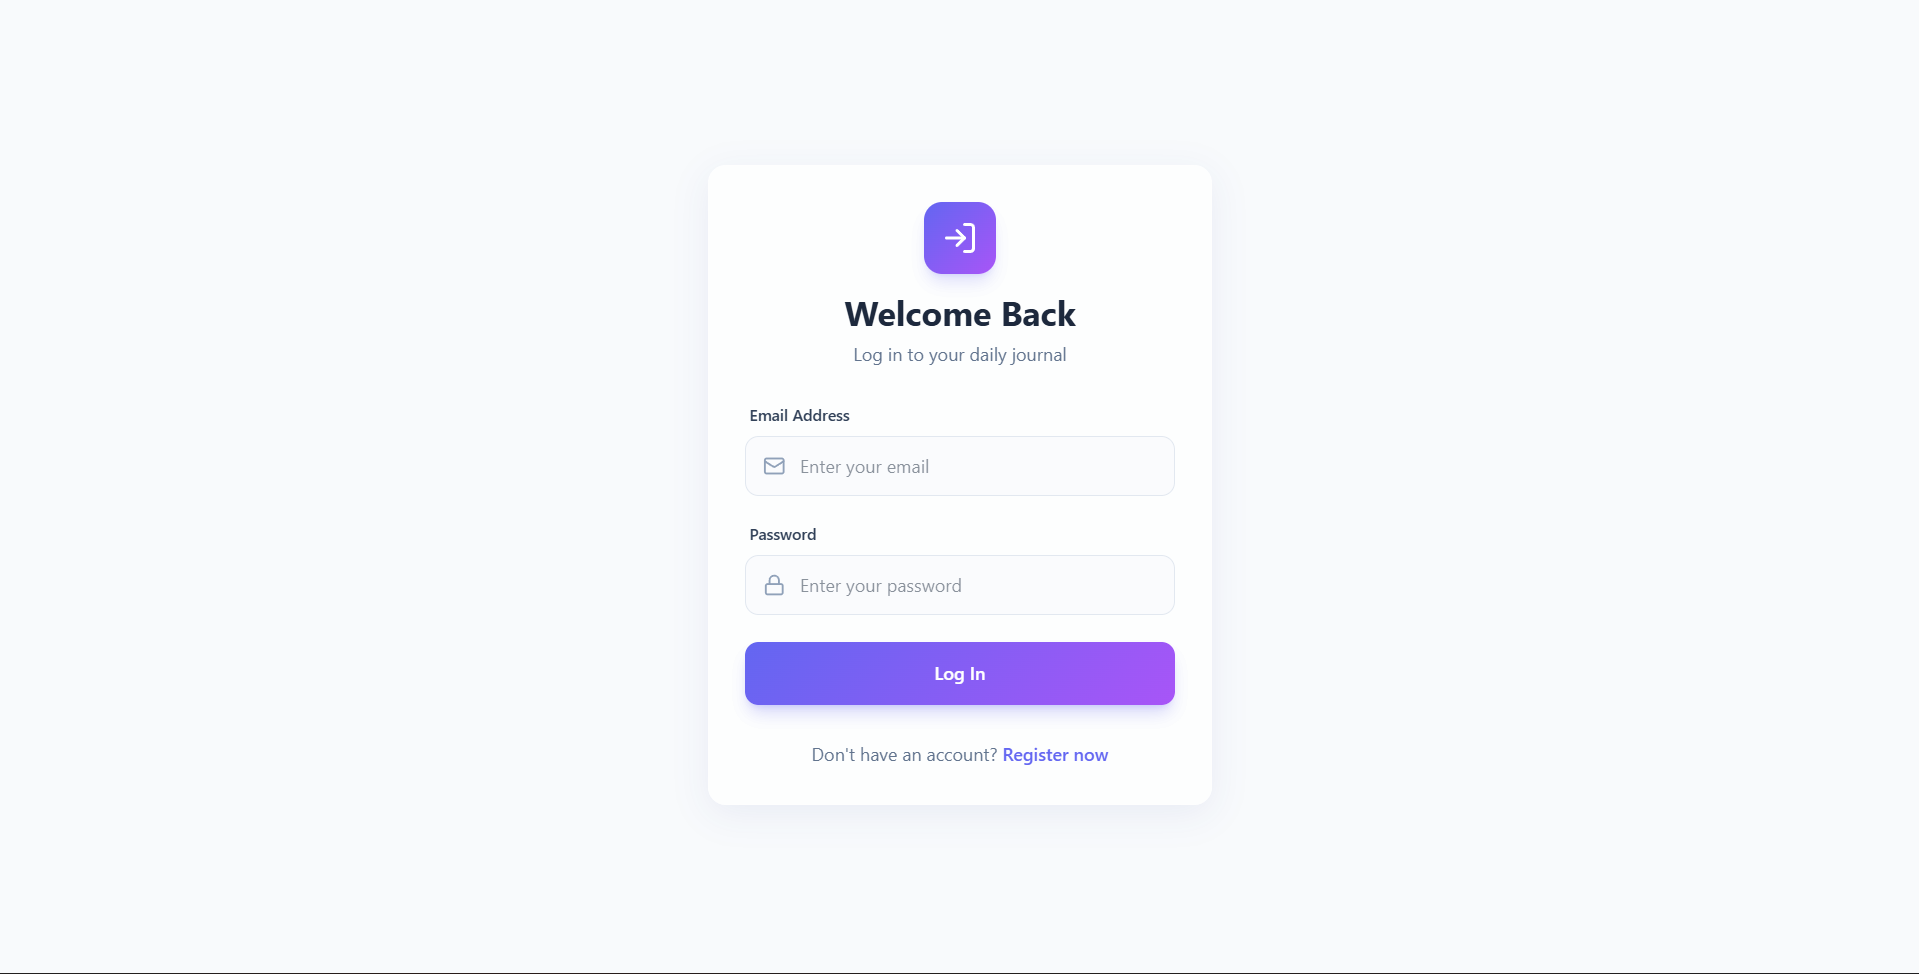
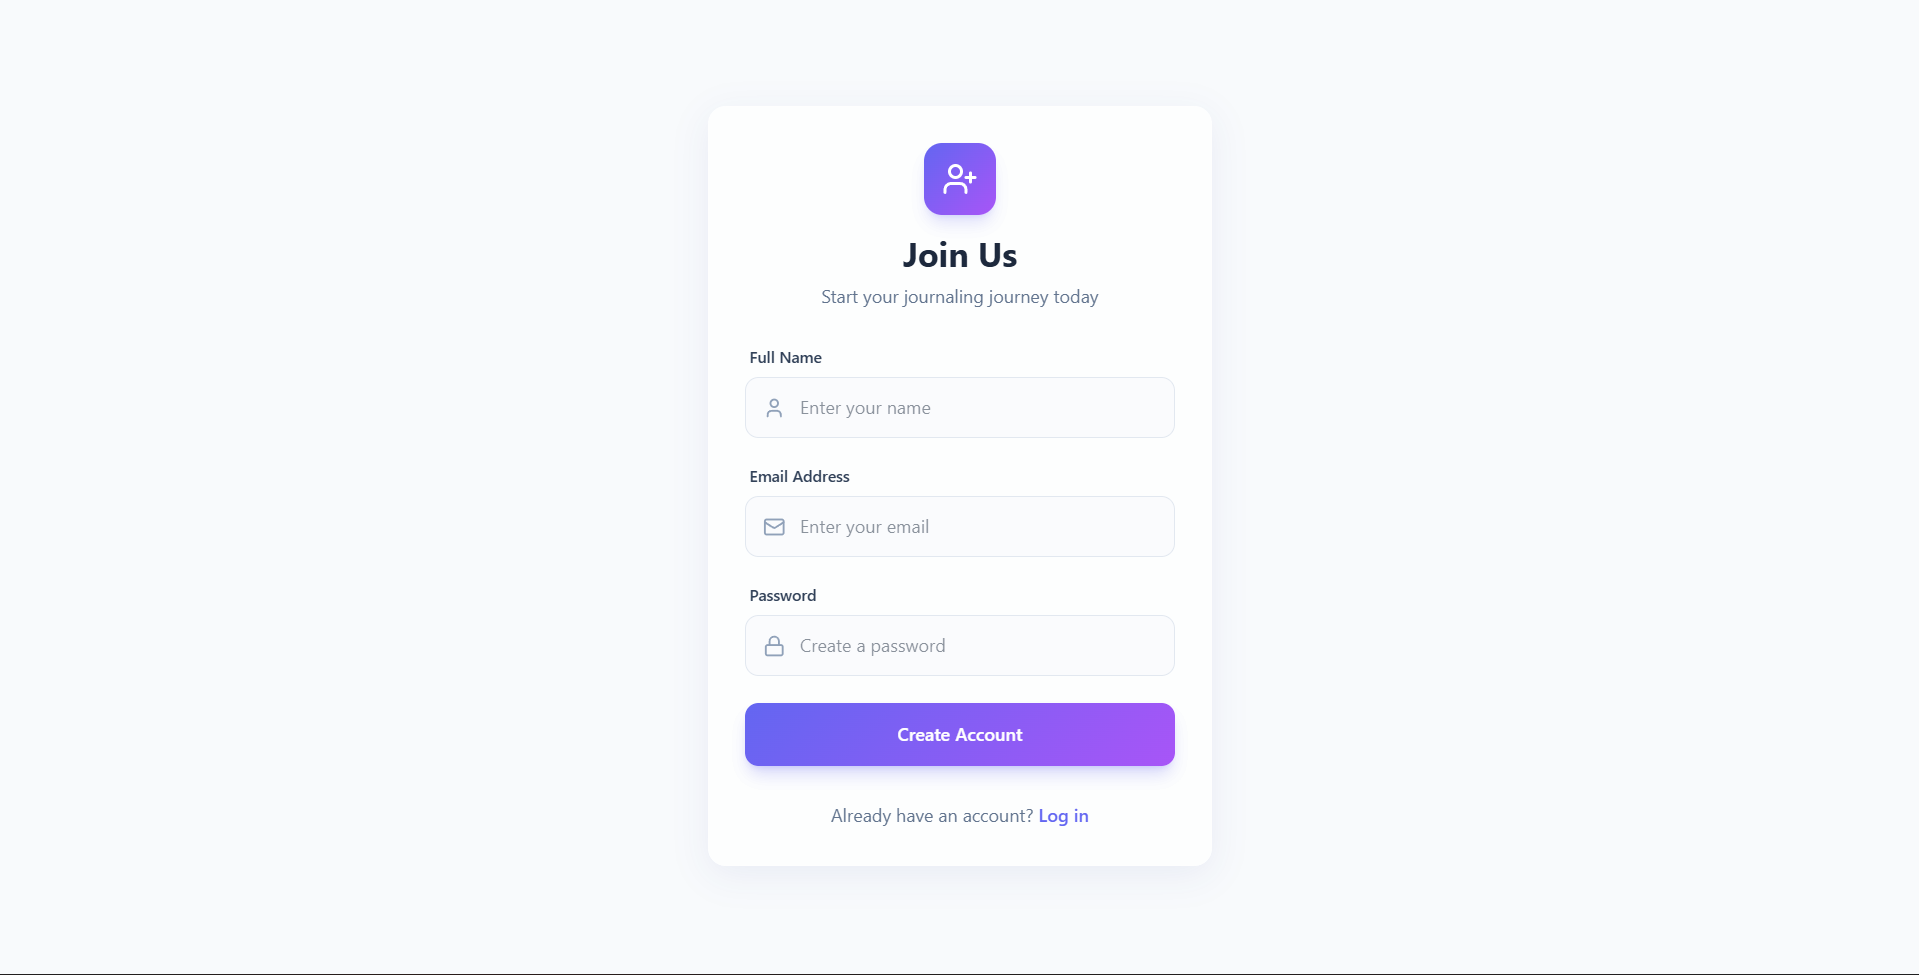
- User Management: Secure sign-up and log-in flows with session persistence.
- Journal Feed: A scrollable dashboard displaying all entries with snippets and date stamps.
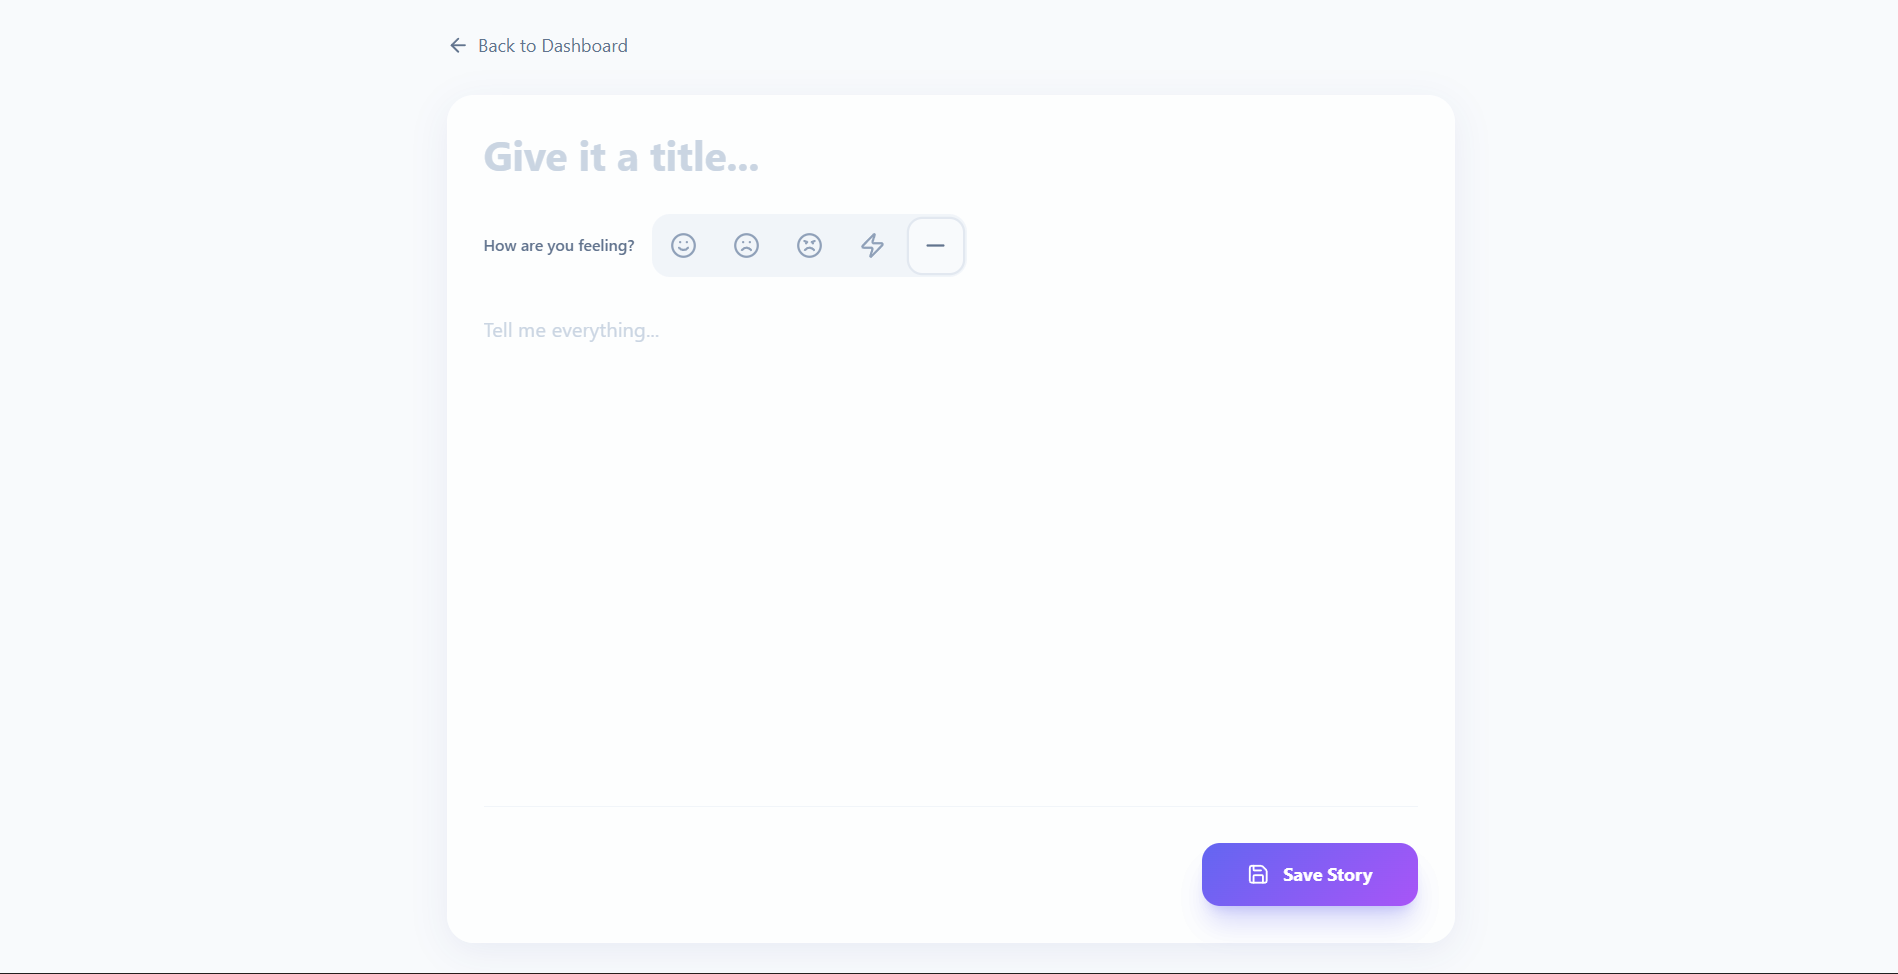
- Reflection Editor: A dedicated space to draft stories, select titles, and assign moods.
- Data Control (CRUD): Full capability to create, read, update, or permanently delete any entry.
Technology Used
- Frontend: React (Vite), Tailwind CSS v4 (for premium styling), Framer Motion (animations), and Lucide React (icons).
- Backend: Node.js & Express.js for the RESTful API.
- Database: MongoDB & Mongoose for secure data persistence.
- Security: JSON Web Tokens (JWT) for session management and Bcrypt for data protection.
Why This Project Is Useful
- Mental Health: Encourages self-reflection and helps identify emotional patterns.
- Productivity: Keeps a structured record of daily achievements and thoughts.
- Accessibility: Provides a private, portable, and searchable alternative to paper journals.
Deployment and Environment Setup
- Environment Variables Setup:
- backend/.env
- PORT: 5000
- MONGO_URI: mongodb_url_string
- JWT_SECRET: your_jwt_secret_key_here (if needed)
- frontend/.env
- VITE_API_URL: backend_url
- backend/.env
- Deployment Overview:
- Render or Railway for backend hosting
- Vercel or Netlify for frontend hosting
- MongoDB Atlas for the database
- Backend Deployment:
- Push your code to GitHub.
- Go to Render.com or Railway.app.
- Create a new Web Service and connect your GitHub repository.
- Choose “backend/” as the root directory.
- Add the following environment variables on Render:
- PORT=10000
- MONGO_URI=your MongoDB Atlas URI
- JWT_SECRET=your JWT secret
- Start command: npm start (Ensure your backend/package.json includes “start”: “node server.js”)
- After deployment, note your backend URL, e.g. https://your-backend-name.onrender.com
- Frontend Deployment:
- Go to Vercel.com or Netlify.com.
- Create a new project and connect the GitHub repo.
- Select the “frontend/” folder as root.
- In environment variables, set:
- VITE_API_URL=https://your-backend-domain.com/api (or REACT_APP_API_URL if using CRA)
- Deploy.
- MongoDB Atlas Setup:
- Go to https://cloud.mongodb.com
- Create a free cluster.
- Add your current IP address in Network Access.
- Create a database user and password.
- Copy the connection string and replace username, password, and database name in MONGO_URI in backend/.env
Download Source Code
Project Setup Instructions
Note: This project is for educational purposes only. Not for commercial sale.


