Project Overview
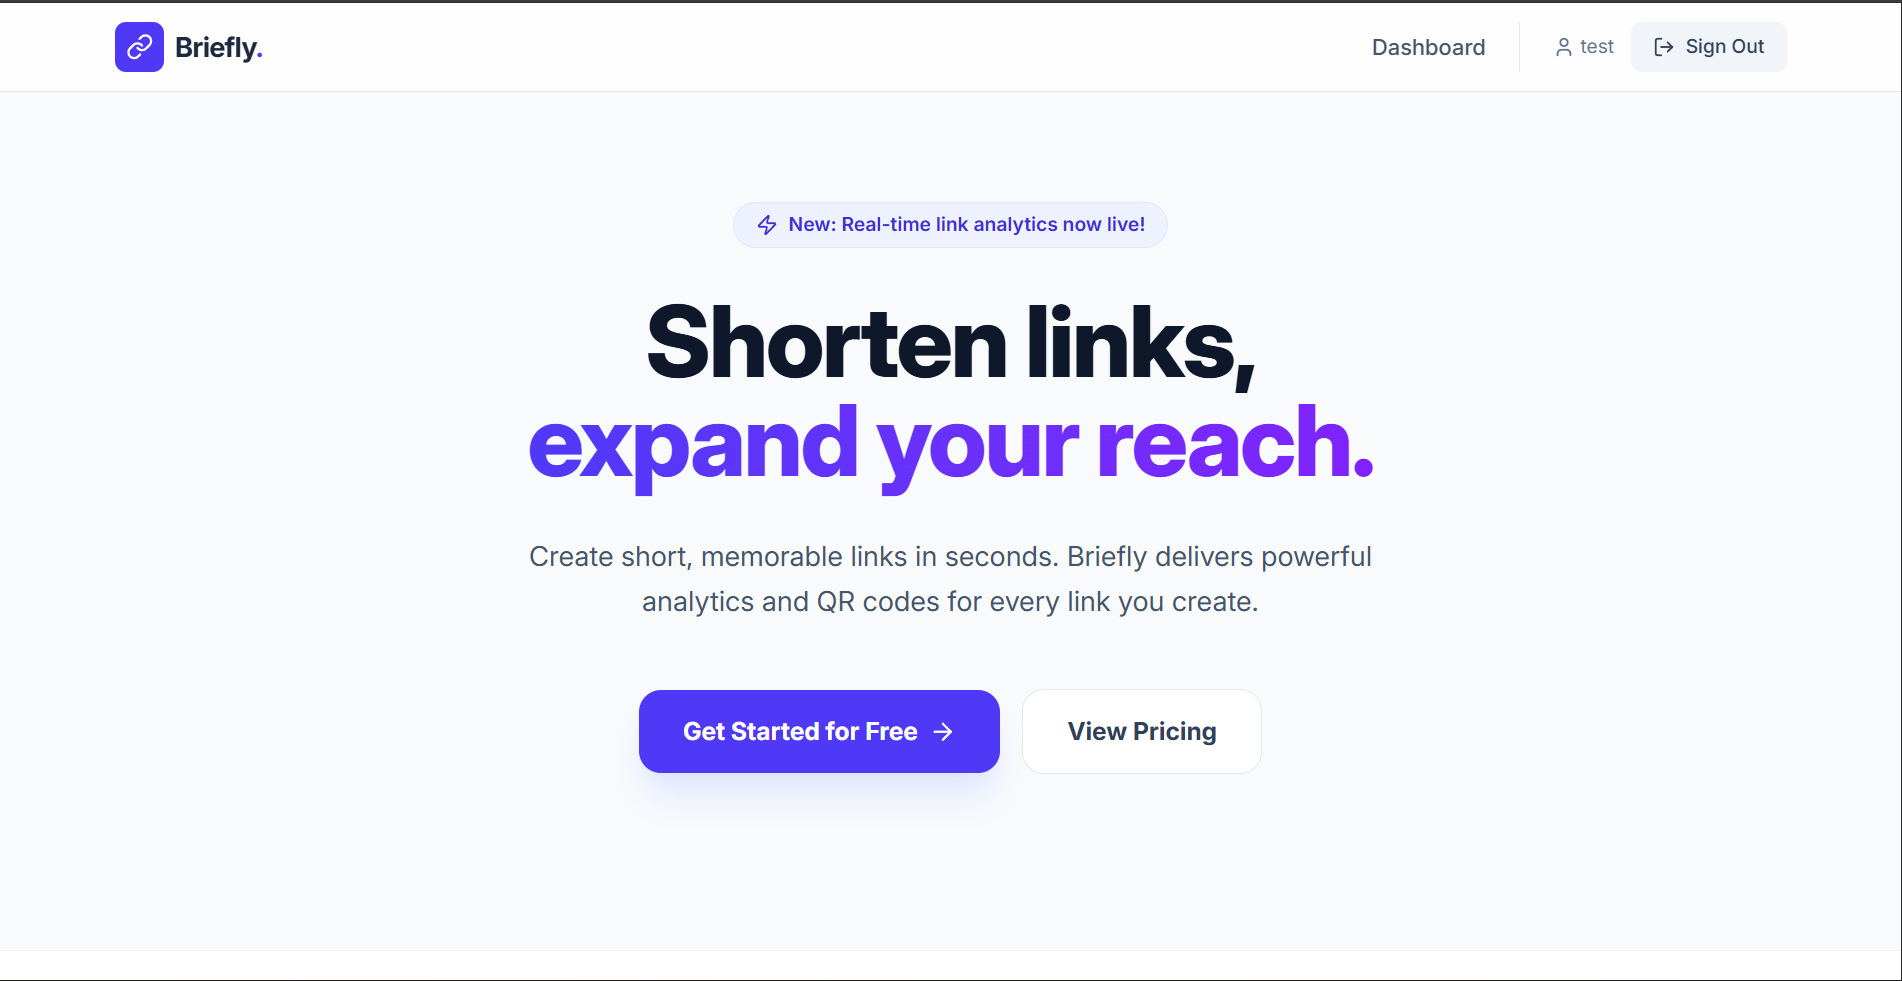
Briefly is a professional-grade, full-stack URL shortening platform designed for marketers, influencers, and businesses who need more than just a short link. It provides a secure environment to manage digital assets and gain deep insights into audience behavior.
Screenshots


Key Features
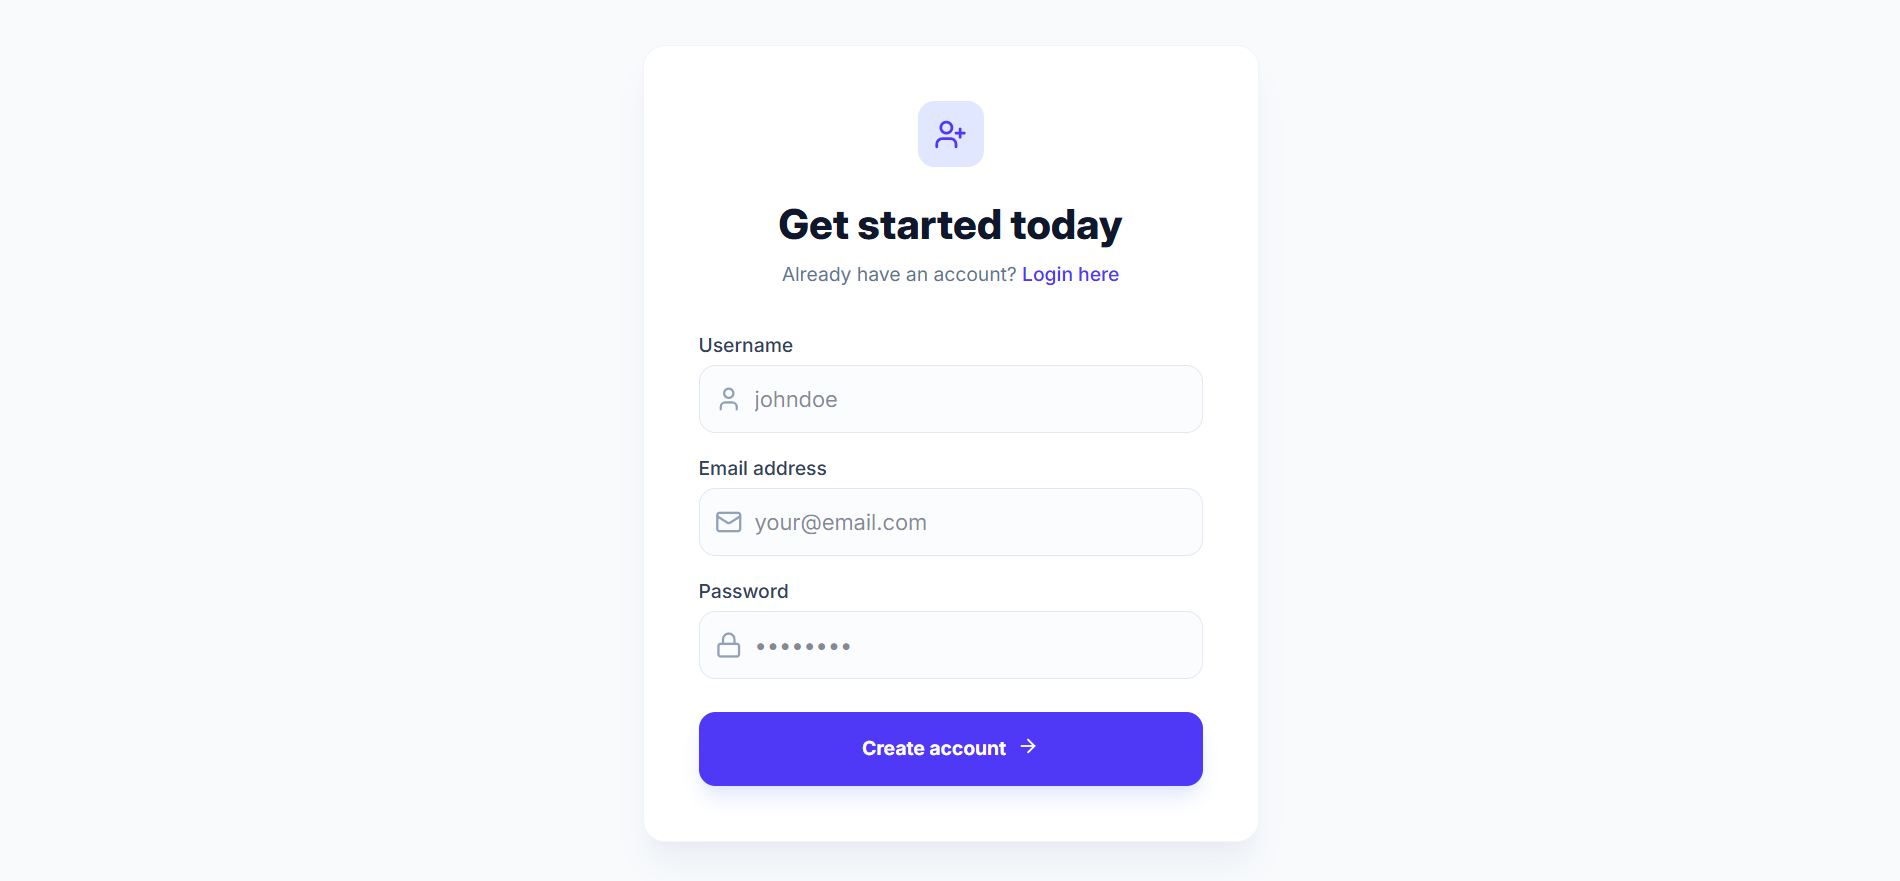
- Secure Authentication: Personal user accounts with JWT-based sessions and encrypted passwords.
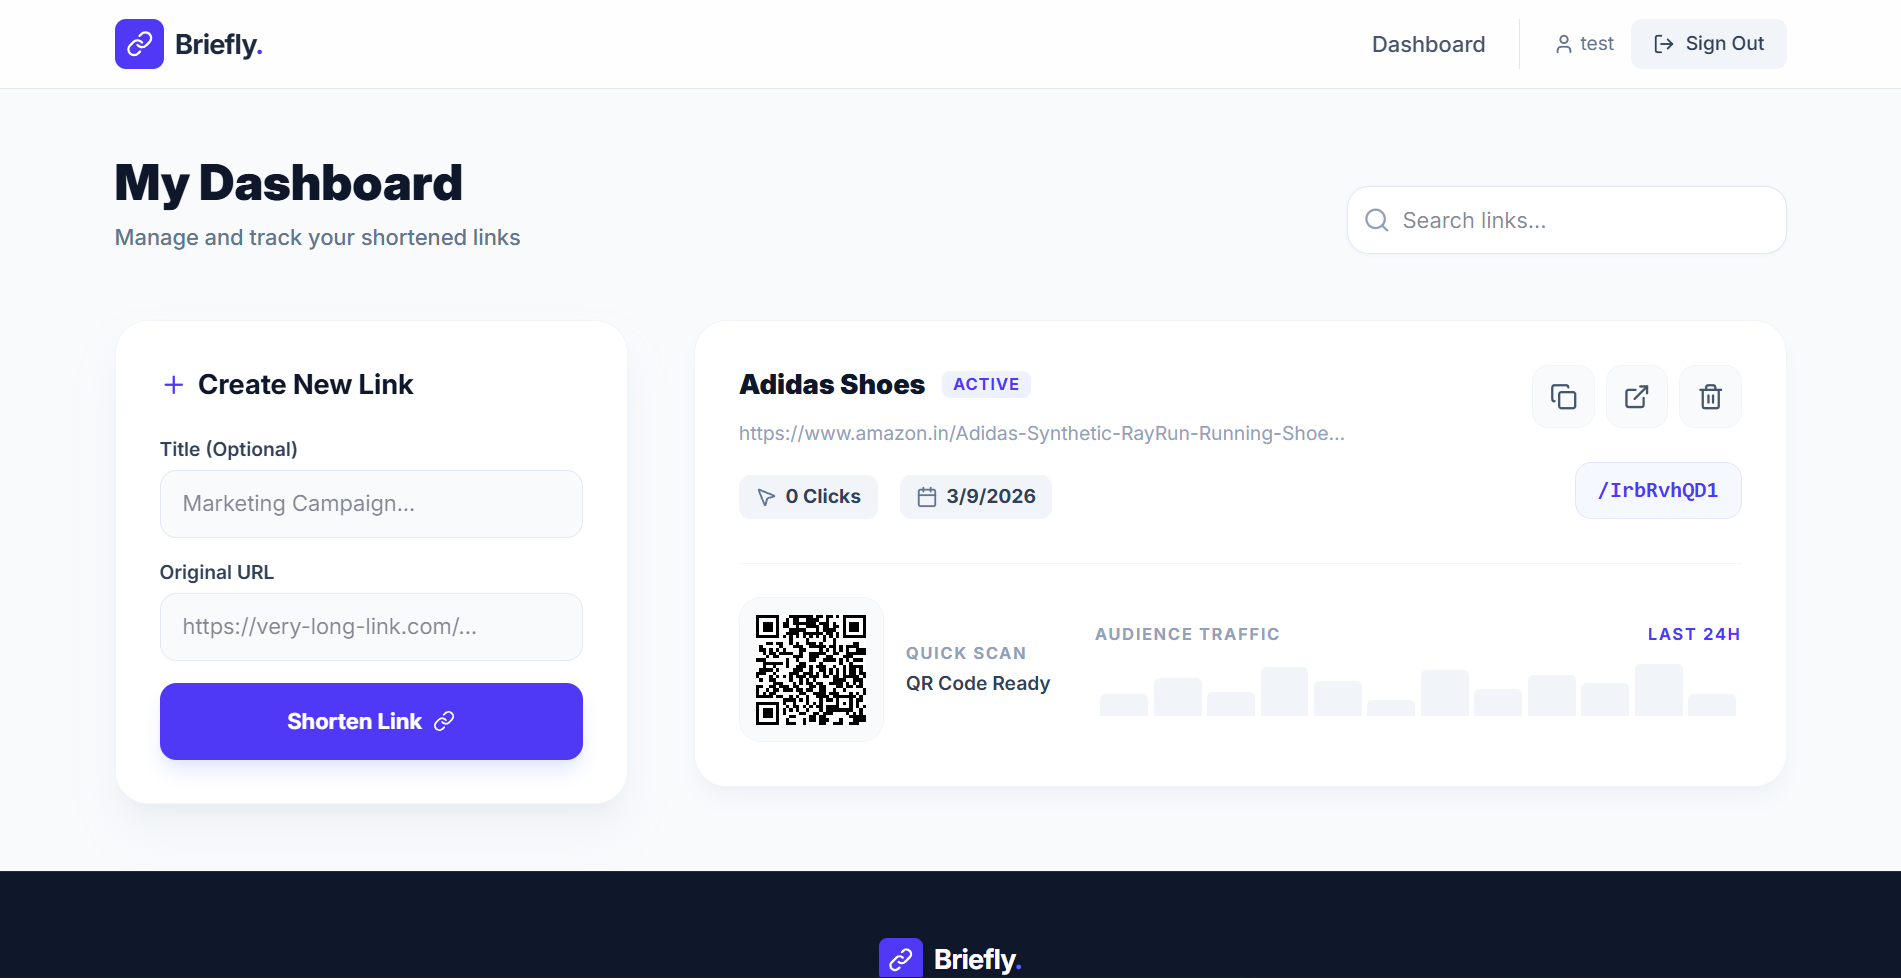
- Premium Dashboard: A centralized hub to create, search, and manage all your shortened links.
- Real-time Click Analytics: Automatically tracks click counts, timestamps, and metadata for every redirection.
- Instant QR Codes: Every link automatically generates a high-quality QR code for offline marketing (print, business cards, etc.).
- Link Management: Quick-action tools to copy, visit, or delete links instantly.
- Modern Aesthetics: A stunning, responsive interface built with Tailwind CSS 4 and smooth Framer Motion animations.
Functionality
- User Onboarding: Users register and log in to their private workspace.
- Shortening Logic: Users provide a long URL and an optional title. The system generates a unique, collision-resistant short ID.
- Smart Redirection: When a short link is clicked, the backend captures the visitor’s IP, User-Agent, and Referrer before seamlessly redirecting them to the destination.
- Data Visualization: The dashboard presents this data visually, allowing users to see their link’s performance at a glance.
Technology Used
- Frontend:
- React 19: Modern UI library for a fast, component-based interface.
- Tailwind CSS 4: Next-generation styling for a premium, custom look.
- Framer Motion: For fluid, professional micro-animations.
- Lucide React: Beautiful, consistent iconography.
- React Router: For seamless single-page application navigation.
- Backend:
- Node.js & Express: High-performance runtime and framework for API development.
- MongoDB & Mongoose: NoSQL database for flexible and scalable data storage.
- JSON Web Tokens (JWT): Secure, stateless user authentication.
- BcryptJS: Industry-standard password hashing.
- ShortID: For generating unique, user-friendly link identifiers.
Why This Project Is Useful
- Audience Insights: Unlike a simple redirect, this project tells you who is clicking and when, helping you refine your marketing strategy.
- Branding & Trust: Long, messy URLs with tracking parameters look suspicious. Briefly creates clean, trustworthy links that increase Click-Through Rates (CTR).
- Cross-Platform Marketing: The integration of QR codes bridges the gap between physical marketing (flyers/posters) and digital destinations.
- Organization: Professional users often manage hundreds of links; the searchable dashboard makes finding and updating them effortless.
Deployment and Environment Setup
- Environment Variables Setup:
- backend/.env
- PORT: 5000
- MONGO_URI: mongodb_url_string
- JWT_SECRET: your_jwt_secret_key_here (if needed)
- frontend/.env
- VITE_API_URL: backend_url
- backend/.env
- Deployment Overview:
- Render or Railway for backend hosting
- Vercel or Netlify for frontend hosting
- MongoDB Atlas for the database
- Backend Deployment:
- Push your code to GitHub.
- Go to Render.com or Railway.app.
- Create a new Web Service and connect your GitHub repository.
- Choose “backend/” as the root directory.
- Add the following environment variables on Render:
- PORT=10000
- MONGO_URI=your MongoDB Atlas URI
- JWT_SECRET=your JWT secret
- Start command: npm start (Ensure your backend/package.json includes “start”: “node server.js”)
- After deployment, note your backend URL, e.g. https://your-backend-name.onrender.com
- Frontend Deployment:
- Go to Vercel.com or Netlify.com.
- Create a new project and connect the GitHub repo.
- Select the “frontend/” folder as root.
- In environment variables, set:
- VITE_API_URL=https://your-backend-domain.com/api (or REACT_APP_API_URL if using CRA)
- Deploy.
- MongoDB Atlas Setup:
- Go to https://cloud.mongodb.com
- Create a free cluster.
- Add your current IP address in Network Access.
- Create a database user and password.
- Copy the connection string and replace username, password, and database name in MONGO_URI in backend/.env
Download Source Code
Project Setup Instructions
Note: This project is for educational purposes only. Not for commercial sale.


