Project Overview
The Student Management System is a full-stack web application built using the MERN (MongoDB, Express.js, React, Node.js) stack.
It allows administrators or staff to add, view, edit, and delete student records easily.
Each student record includes their name, email, course, and profile image – where the image is uploaded to the backend and stored securely, while its path is stored as a string in the database.
The project features a modern React frontend styled with Tailwind CSS v4.1, providing a clean and responsive interface.
It ensures a smooth user experience with CRUD operations fully integrated with the backend API.
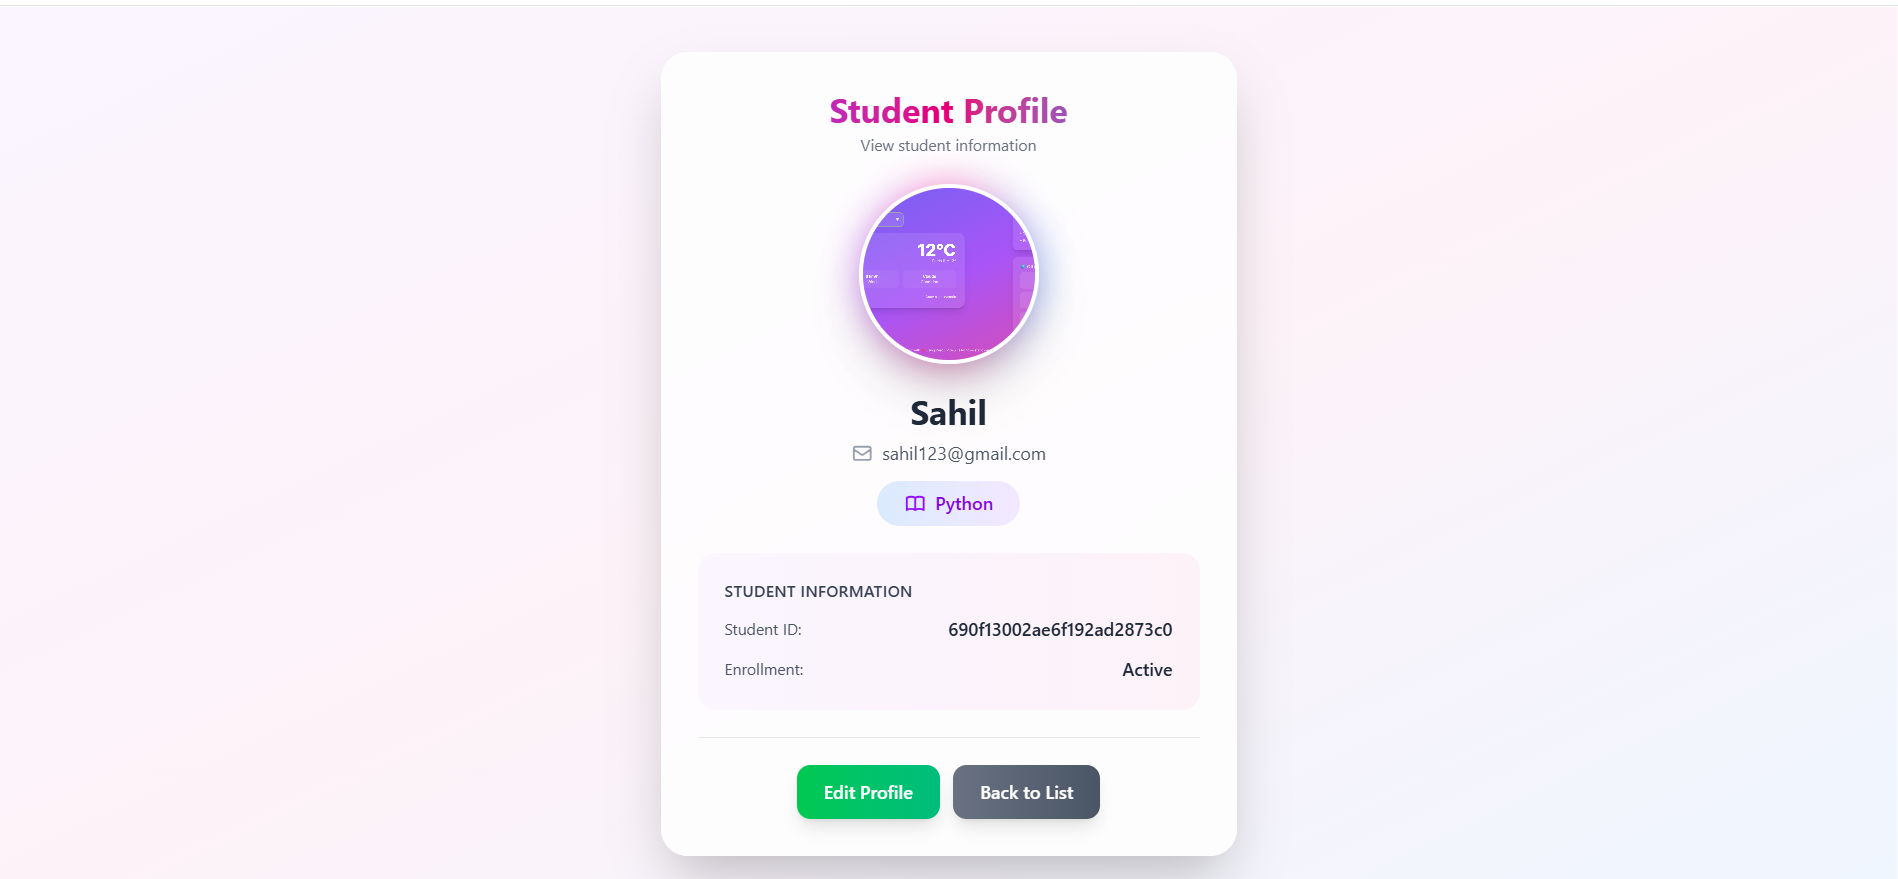
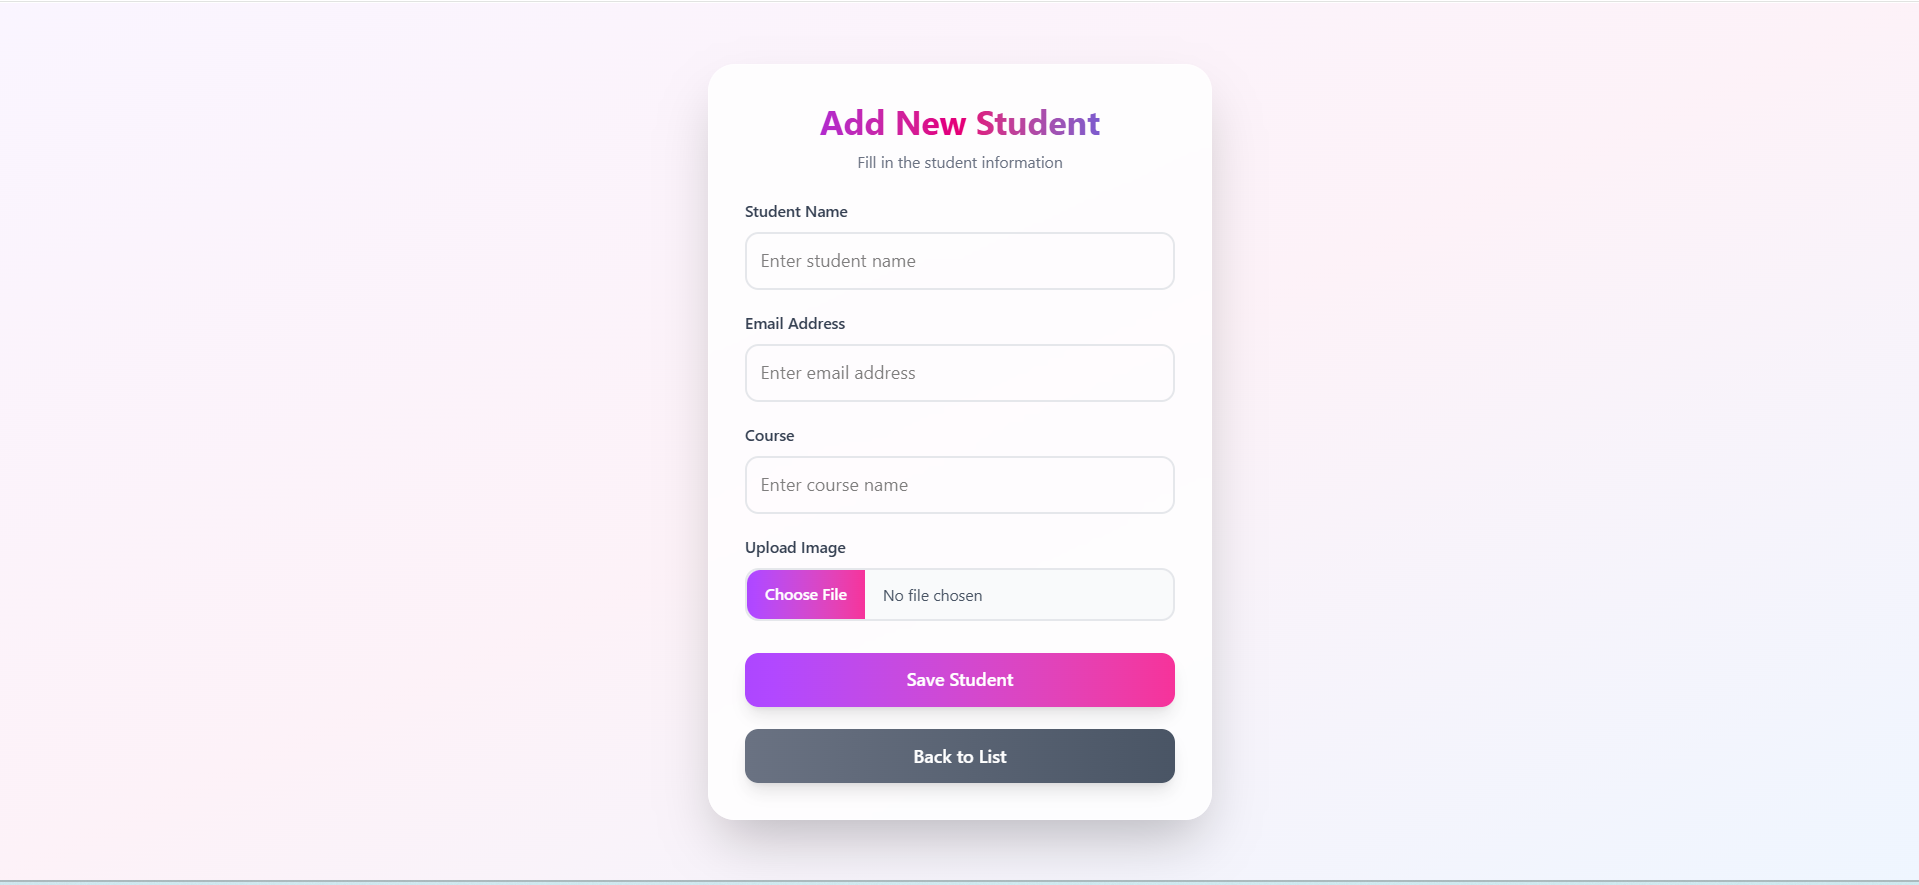
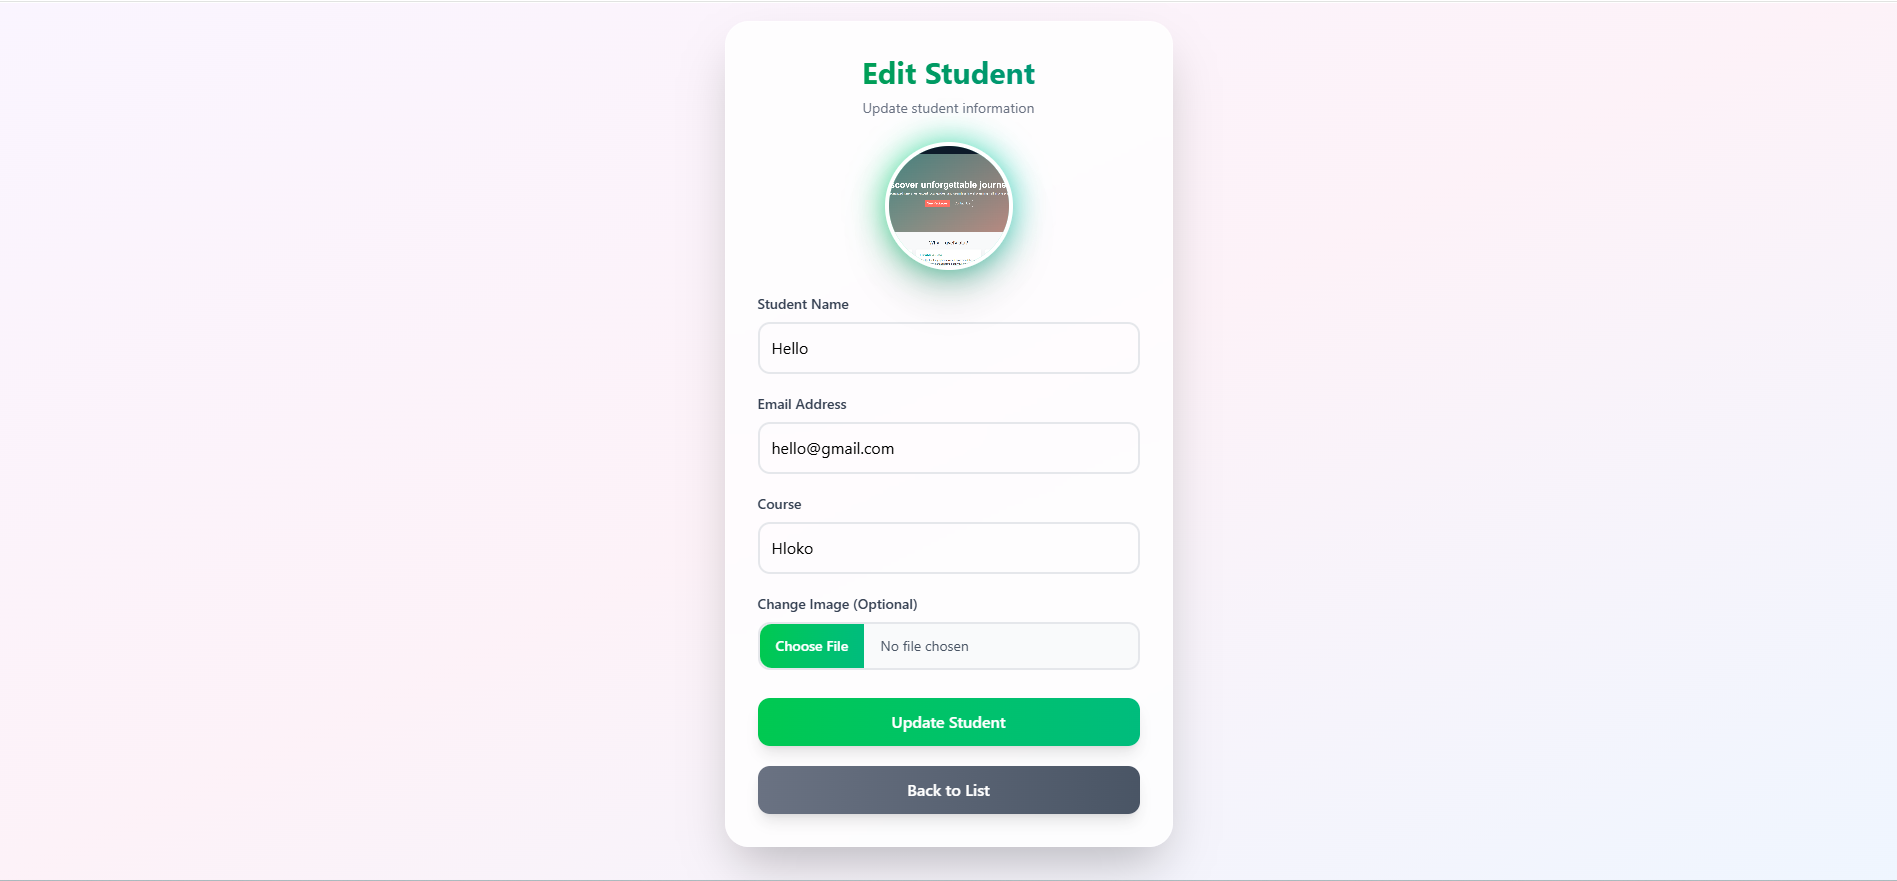
Screenshots

Key Features
- Add Student – Enter student details along with a profile image, which gets uploaded to the backend.
- View Student – Display complete student information in a professional profile layout.
- Edit Student – Update student details and replace their image if needed.
- Delete Student – Remove student data permanently with a single click.
- Responsive Design – Built with Tailwind CSS for mobile-friendly layouts.
- Modern UI/UX – Clean cards, hover effects, shadows, and rounded corners for better aesthetics.
- Backend Image Handling – Images are uploaded to the backend and stored inside the
uploads/folder, while their paths are stored in MongoDB. - RESTful API Integration – Full CRUD functionality between React frontend and Node.js backend.
Functionality
- Add Student: Collects student name, email, course, and image, then sends to backend via
POSTAPI. - View Student: Displays detailed profile information fetched via
GETAPI using student ID. - Edit Student: Loads student data for modification and updates it using a
PUTAPI. - Delete Student: Deletes student record from the database via
DELETEAPI call. - Student List: Fetches all students using
GETAPI and displays them in a responsive grid of cards or a table.
Technology Used
- Frotnend:
- React.js: For creating a dynamic and component-based user interface.
- React Router DOM: For seamless navigation between pages.
- Tailwind CSS v4.1: For building modern, responsive UI with minimal effort.
- Axios: For making HTTP requests to the backend API.
- Backend:
- Node.js: JavaScript runtime environment for server-side code execution.
- Express.js: Framework for building RESTful API endpoints.
- Multer: For handling file uploads (student profile images).
- MongoDB: NoSQL database for storing student information.
- Mongoose: ODM library for MongoDB schema modeling and data validation.
Why This Project Is Useful
- Practical CRUD Implementation – Demonstrates real-world use of full-stack CRUD operations using MERN.
- Modern Design Principles – Combines backend logic with sleek frontend UI using Tailwind CSS.
- Secure Data Handling – Handles file uploads safely and stores references in a database.
- Beginner Friendly – Ideal for learning MERN stack development and REST API integration.
- Reusable Architecture – Can easily be extended into larger systems like attendance, marks, or teacher management modules.
Deployment and Environment Setup
- Environment Variables Setup:
- backend/.env
- PORT: 3000
- MONGO_URI: mongodb_url_string
- JWT_SECRET: your_jwt_secret_key_here (if needed)
- frontend/.env
- VITE_API_URL: backend_url
- backend/.env
- Deployment Overview:
- Render or Railway for backend hosting
- Vercel or Netlify for frontend hosting
- MongoDB Atlas for the database
- Backend Deployment:
- Push your code to GitHub.
- Go to Render.com or Railway.app.
- Create a new Web Service and connect your GitHub repository.
- Choose “backend/” as the root directory.
- Add the following environment variables on Render:
- PORT=10000
- MONGO_URI=your MongoDB Atlas URI
- JWT_SECRET=your JWT secret
- Start command: npm start (Ensure your backend/package.json includes “start”: “node server.js”)
- After deployment, note your backend URL, e.g. https://your-backend-name.onrender.com
- Frontend Deployment:
- Go to Vercel.com or Netlify.com.
- Create a new project and connect the GitHub repo.
- Select the “frontend/” folder as root.
- In environment variables, set:
- VITE_API_URL=https://your-backend-domain.com/api (or REACT_APP_API_URL if using CRA)
- Deploy.
- MongoDB Atlas Setup:
- Go to https://cloud.mongodb.com
- Create a free cluster.
- Add your current IP address in Network Access.
- Create a database user and password.
- Copy the connection string and replace username, password, and database name in MONGO_URI in backend/.env
Download Source Code
Project Setup Instructions
Note: This project is for educational purposes only. Not for commercial sale.


