Project Overview
BlogSphere is a full-stack MERN-based Blog Platform that allows users to read and publish blogs seamlessly with a modern, responsive interface.
The platform offers a clean reading experience for all visitors, while registered users can create, update, and delete their own blog posts. An integrated admin panel provides powerful control to manage users and blogs efficiently.
It uses Multer for image uploads, storing files temporarily in the backend’s uploads folder while only saving the image path (string) in MongoDB – keeping the database lightweight and clean.
The frontend is designed with Tailwind CSS 4.1, providing an elegant and mobile-friendly user interface, ensuring an immersive blogging experience for readers and writers alike.
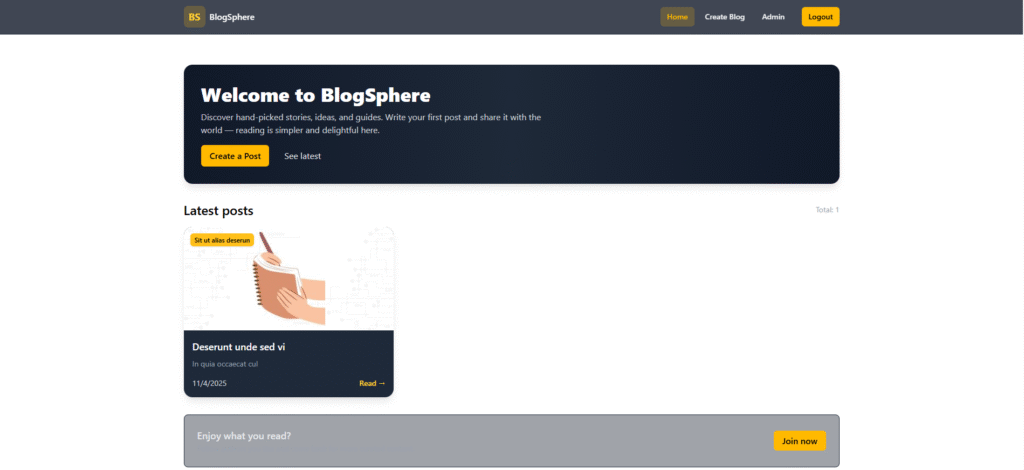
Screenshots
Key Features
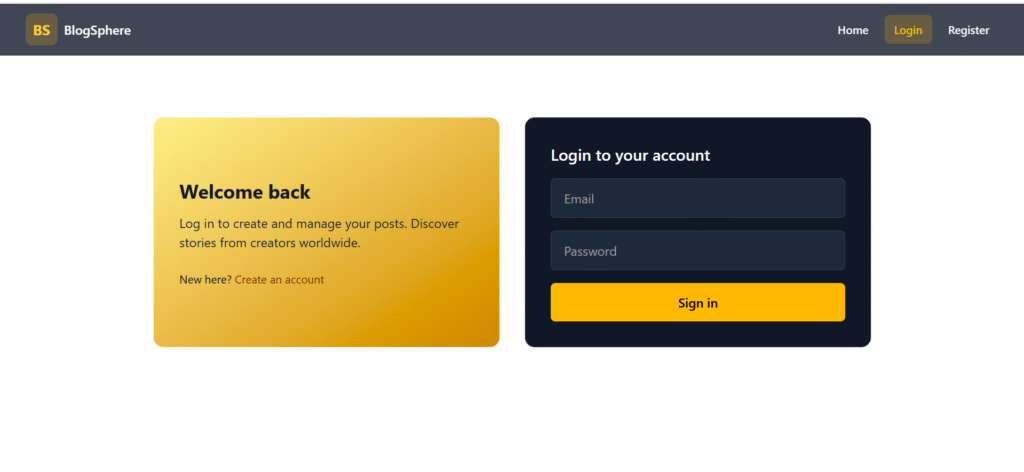
- User Authentication & Authorization: Secure registration and login using JWT.
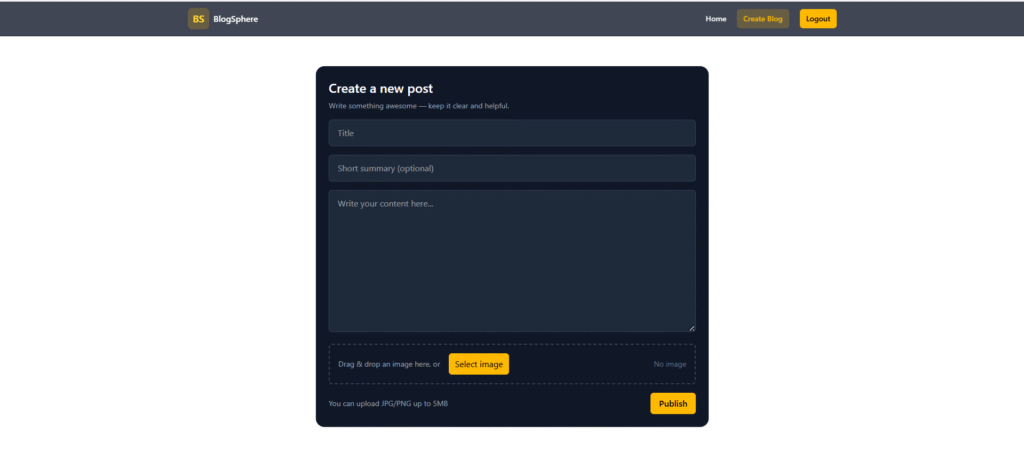
- Publish & Manage Blogs: Users can create, edit, and delete their own blogs.
- Image Upload with Multer: Upload and preview blog images easily; files are managed efficiently on the backend.
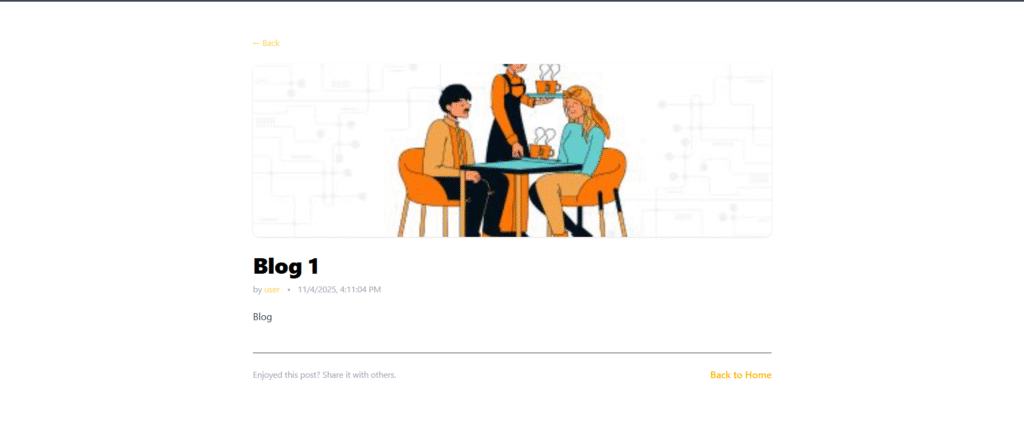
- Modern Blog UI: Tailwind CSS–powered elegant interface for both light and dark reading environments.
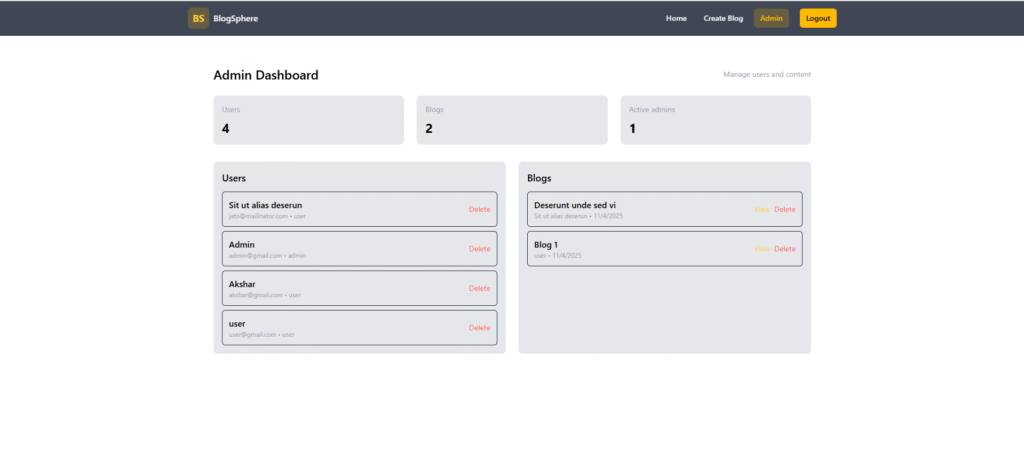
- Admin Dashboard: Manage users and blogs with full control.
- Fully Responsive Design: Works beautifully on desktop, tablet, and mobile screens.
- Dynamic Routing: Built using React Router DOM for smooth page transitions.
- Protected Routes: Prevent unauthorized access to blog creation or admin features.
- Reusable Components: Modular design for scalability and maintainability.
Functionality
- Visitor: Can view all blogs and read full content without registration.
- User (Logged-in): Can register, log in, publish blogs with images, edit or delete their own blogs.
- Admin: Can view and manage all users and blogs, and delete inappropriate content.
- Image Management: Uses Multer to temporarily store uploaded images in
/uploadsand saves only the filename string in MongoDB. - Authentication: Secure JWT-based login and protected routes for create/edit/delete functionality.
Technology Used
- Frotnend:
- React.js: UI and component-based architecture
- React Router DOM: Client-side navigation
- Tailwind CSS 4.1: Modern and responsive styling
- Axios: API communication with backend
- Backend:
- Node.js + Express.js: Server-side framework and routing
- MongoDB + Mongoose: Database for storing users and blogs
- JWT (JSON Web Token): Secure user authentication
- Multer: Image file handling and uploads
- CORS & dotenv: Cross-origin support and environment configuration
Why This Project Is Useful
- Provides a real-world blogging platform experience built from scratch using MERN.
- Demonstrates how to integrate secure authentication, image upload, and CRUD operations in a scalable web app.
- Showcases full-stack proficiency, from database design to API handling and frontend UI development.
- A great foundation for portfolio projects, internships, or startup ideas (can be expanded with comments, likes, or categories).
- The use of modern tools (React, Tailwind, JWT, Multer) prepares you for professional-grade web application development.
Deployment and Environment Setup
- Environment Variables Setup:
- backend/.env
- PORT: 3000
- MONGO_URI: mongodb_url_string
- JWT_SECRET: your_jwt_secret_key_here (if needed)
- frontend/.env
- VITE_API_URL: backend_url
- backend/.env
- Deployment Overview:
- Render or Railway for backend hosting
- Vercel or Netlify for frontend hosting
- MongoDB Atlas for the database
- Backend Deployment:
- Push your code to GitHub.
- Go to Render.com or Railway.app.
- Create a new Web Service and connect your GitHub repository.
- Choose “backend/” as the root directory.
- Add the following environment variables on Render:
- PORT=10000
- MONGO_URI=your MongoDB Atlas URI
- JWT_SECRET=your JWT secret
- Start command: npm start (Ensure your backend/package.json includes “start”: “node server.js”)
- After deployment, note your backend URL, e.g. https://your-backend-name.onrender.com
- Frontend Deployment:
- Go to Vercel.com or Netlify.com.
- Create a new project and connect the GitHub repo.
- Select the “frontend/” folder as root.
- In environment variables, set:
- VITE_API_URL=https://your-backend-domain.com/api (or REACT_APP_API_URL if using CRA)
- Deploy.
- MongoDB Atlas Setup:
- Go to https://cloud.mongodb.com
- Create a free cluster.
- Add your current IP address in Network Access.
- Create a database user and password.
- Copy the connection string and replace username, password, and database name in MONGO_URI in backend/.env
Download Source Code
Project Setup Instructions
Note: This project is for educational purposes only. Not for commercial sale.


